

Table of Contents
- How to Join Backing Fabric for Longarm Quilting
- How Much Backing Fabric for Longarm Quilting
- Longarm Quilt Backing Preparation
- Quilt Backing Seam Allowance and Alignment
- Sewing Backing Seams
- Pressing Quilt Backing Seams
- Common Mistakes to Avoid
- Final Quality Check Before Longarm Loading
- Frequently Asked Questions
Last Updated: October 9, 2026
How to Join Backing Fabric for Longarm Quilting
Learning how to join backing fabric for longarm quilting is one of the most important steps before loading your quilt onto the frame.
A successful backing comes down to three things: accurate measurements, proper seam placement, and pressing technique.
The backing fabric you choose matters too. Wide-back fabrics like our Backings No.5 Pale Cotton Wideback Fabric eliminate the need to join pieces at all for many projects.

How Much Backing Fabric for Longarm Quilting
Before you buy fabric, know exactly how much you need. A generic "add a few inches" rule can cost you an extra yard or leave you short at the frame.
Measuring Your Quilt Top
Measure your finished quilt top lengthwise and crosswise with a ruler or tape measure. Don't estimate, write down both numbers, since everything else builds from them.
Why Longarm Backing Needs More Overhang Than Domestic Quilting
On a domestic machine you can pin or baste the sandwich and maneuver it by hand. On a longarm, the backing is held under tension by the frame's leader system, clamps, zippers, or a canvas leader with pins, and the take-up rollers advance the quilt as you stitch, keeping it flat and the stitches even.
If the backing is too small, the clamps or pins can't grip securely, the backing slips, and you get puckers, pleats, or a quilt that won't stay square.
Sizing by Longarm Setup
Required overhang varies by frame and leader system. Most practitioners find these ranges work well:
- Standard clamp or pin leader systems: 4 to 6 inches of extra backing on all four sides. This is the most common setup for home longarm frames.
- Zipper leader systems: 6 to 8 inches on all sides. The zipper tape itself consumes some of the overhang, so you need more fabric to reach the leader.
- Red snapper or channel-lock systems: 6 to 8 inches, and sometimes more on the sides, because the clamps need enough fabric to bite into without slipping.
A quilter's minimum overhang is not a suggestion. If you send a backing that's 2 inches short on one side, the provider may refuse the quilt, charge a re-prep fee, or quilt it with less tension than the pattern needs. Confirm the number in writing before you buy fabric.
The Sizing Formula
Once you know your required overhang, the math is simple:
Backing width = Quilt width + (overhang × 2) Backing length = Quilt length + (overhang × 2)
For a 60 × 80 inch quilt top with a 6-inch overhang: backing width = 60 + 12 = 72 inches; backing length = 80 + 12 = 92 inches.
Fabric comes in 42 to 44 inch quilting cotton or 108 inch wideback. With 42-inch fabric, a 72-inch backing needs two panels joined along the length; with 108-inch wideback, 72 inches fits in a single panel, no seam at all.
Converting Dimensions to Yardage
Yardage is sold by length, so calculate from the length dimension once you know how many panels you need.
- Wideback (108 inches wide): If your required backing width is 108 inches or less, you need one panel. Buy yardage equal to your required backing length. A 92-inch backing length means you buy 92 inches, or about 2⅝ yards. Round up to the next quarter-yard to allow for squaring up.
- Standard 42-inch fabric, two panels: Each panel must be at least half your required backing width plus a seam allowance. For a 72-inch backing, each panel needs to be at least 36 inches wide after selvage removal, which is right at the edge of usable width on most 42-inch fabric. In practice, you'll often need a third panel or a wider fabric to hit 72 inches safely.
- Standard 42-inch fabric, three panels: Three panels of roughly 26 inches each (after trimming selvages) give you 78 inches of width, comfortably covering a 72-inch requirement with room to square up.
When in doubt, buy one extra panel's worth of length. Fabric is cheaper than a re-do, and leftover yardage becomes binding, pillow backs, or practice fabric.
Wideback Simplifies the Math
A wideback fabric like our Grey Taupe Dry Brush Cotton Wideback Fabric at 108 inches wide eliminates panel math for most quilts: buy by the yard, cut to length, and load with no seams. For quilts up to about 96 inches wide after overhang, one length does the job.

A Quick Sanity Check
Before you cut, check your numbers once more:
- Quilt top width + (overhang × 2) = required backing width
- Quilt top length + (overhang × 2) = required backing length
- Compare required width to usable fabric width after selvage removal
- Compare required length to the yardage you're buying
If any number is close, round up. A backing that's 1 inch short doesn't work.
Longarm Quilt Backing Preparation
Preparation before you sew is where the real work happens.
Removing Selvages
Selvages are the finished side edges of fabric. They're tighter, don't absorb dye evenly, and cause problems in your backing.
Cut off both selvages from every piece you plan to use, trimming at least half an inch from each edge. Then measure your usable width, the width you actually have to work with.
Pressing Before Seaming
Press all fabric pieces with a hot iron before joining them. Wrinkles show in the finished quilt and creases cause uneven quilting; flat fabric is easier to align and sew. Lay each piece flat on your ironing board and press end to end, working in sections if the fabric is longer than the board.
Quilt Backing Seam Allowance and Alignment
This is where precision matters most.
Right Sides Together
Place your fabric pieces right sides together, the right side is the front you see on a finished quilt, so the seam ends up on the back where it belongs. Align the edges carefully; misaligned seams create lumps that show through quilting.
Pinning for Accuracy
Pin before you sew, placing pins every 3 to 4 inches perpendicular to the seam line, pins running parallel can cause puckers. Check alignment once more before sewing; it takes 30 seconds, while fixing a misaligned seam takes 20 minutes.
Sewing Backing Seams
Use a standard 1/2-inch seam allowance unless your longarm quilter specifies otherwise, some machines prefer 3/4 to 1 inch, so ask before you sew.
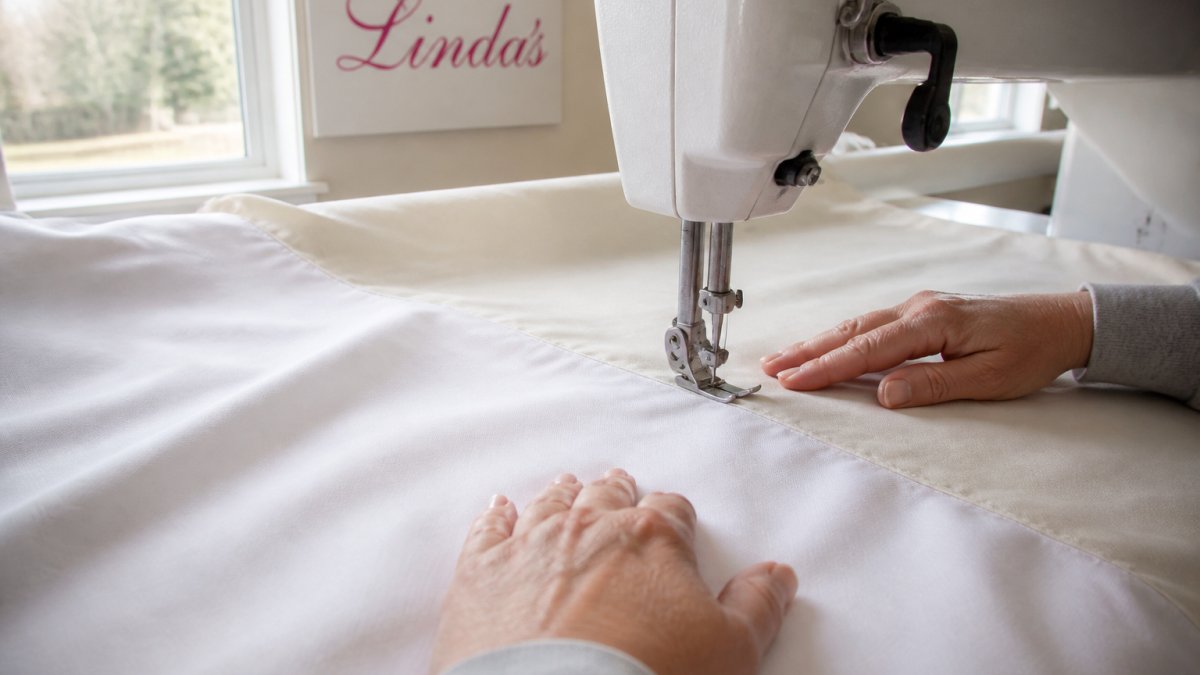
Use thread that matches your backing fabric so a visible seam is less noticeable. After sewing, remove pins carefully without pulling the fabric.
Backings No.5 Pale Cotton Wideback Fabric - 3 yard bundle →
Pressing Quilt Backing Seams
How you press your seams affects how your backing sits on the longarm frame and behaves once the machine starts moving.
Open vs. Flat Seams
An open seam is pressed flat to one side; a flat seam is pressed open with the allowances split.
Open seams create a ridge that runs across the backing like a speed bump. On a longarm, the hopping foot rides over it, tension changes momentarily, and you can get distorted or skipped stitches along the seam.
Seam Direction and Orientation for Longarm Loading
Seam direction matters more on a longarm than a domestic machine because the backing is under constant tension from the leaders and take-up rollers.
When joining two panels, try to run the seam the length of the quilt, not across it. If you must run it crosswise, press it open and flat and consider trimming the allowances to reduce bulk.
Lengthwise seam = smoother loading. Crosswise seam = more bulk at the roller. Plan your panel layout around the seam direction, not just the fabric width.
Reducing Bulk at the Seam
Even a well-pressed open seam adds thickness, which matters most where seams cross or meet a quilt-top seam.
- Trim seam allowances to ¼ inch after pressing open if your fabric doesn't fray badly, this cuts bulk roughly in half.
- Avoid stacking seams. Offset multiple seams so they don't intersect; a cross-shaped intersection is the thickest point and the likeliest spot for a skipped stitch.
- Press from both sides. Press open from the wrong side, then flip and press from the right so allowances lie completely flat.
- Use a seam roll or pressing bar for long seams; a flat board can stretch the fabric, while a seam roll supports the seam line and keeps it straight.
Troubleshooting Seams Before They Reach the Frame
Most seam problems are visible before loading. Check for these and fix them now:
- Puckers along the seam. Usually from uneven feeding or needle/bobbin tension mismatch. Rip, re-press both pieces, and re-sew with a slightly longer stitch.
- Wavy seam. The fabric stretched as you sewed, often from pulling it through instead of letting the feed dogs move it. Re-press with steam, or rip and re-sew with a walking foot.
- Skipped stitches at the seam. The needle is deflecting off thicker fabric. Switch to a 90/14 or 100/16 quilting needle, slow down, and press allowances flat first.
- Bulky intersection. Trim allowances at the intersection, or press so they fan out rather than stack.
Don't load a backing with a wavy or puckered seam and hope the longarm will quilt it out. The frame tension will exaggerate the problem, not hide it. Fix the seam before loading.
Machine Settings That Help
A few setup choices make backing seams easier to press and less likely to cause trouble at the frame:
- Stitch length: 2.5 to 3.0 mm. A slightly longer stitch puckers less than a short one.
- Thread: 50-weight cotton or cotton-wrapped polyester matches most quilting cotton and presses flat; heavier thread adds bulk.
- Needle: A 90/14 quilting needle handles a pressed seam without deflecting; step up to 100/16 for wideback or dense weaves.
- Presser foot: A walking or even-feed foot keeps layers moving together, preventing the wavy seam caused by one layer feeding faster.
Pressing Order for Multi-Panel Backings
If your backing has more than one seam, press in this order:
- Press each seam open from the wrong side.
- Flip and press the right side to set the seam.
- Check that no allowances are folded or twisted.
- Press the entire backing flat before loading.
A few extra minutes at the iron saves fighting the backing at the frame later.
Common Mistakes to Avoid
Most backing problems come from a handful of preventable mistakes.
Don't skip pressing, wrinkled backing causes uneven tension on the longarm.
Don't use selvages, they're stiffer and won't behave like the rest of your fabric.
Don't sew with tension that's too tight, it can cause puckering in the seam.
Final Quality Check Before Longarm Loading
Before handing your backing to the longarm quilter, run through this checklist.
Is it the correct size? Measure once more against your quilt top plus overhang.
Are seams pressed flat and open?
Is it square? Measure diagonally corner to corner; both measurements should match.
Any wrinkles? Press again if needed.
Is it clean?
Preparing your backing properly sets the foundation for beautiful longarm quilting. Our Grey Dove Speckled Metallic Cotton Wideback Fabric and other premium wideback options reduce the need for seaming altogether.

Frequently Asked Questions
How much extra backing fabric should you leave for longarm quilting?
Most longarm quilters require 4-8 inches of extra backing on all sides beyond your finished quilt top. This overhang allows the machine to grip and load the backing safely onto the frame. Check with your specific longarm quilter's requirements, as some may need more or less depending on their frame setup and loading system.
Should quilt backing seams be pressed open or to one side?
Pressing seams open is generally preferred for quilt backing because it reduces bulk and creates a flatter surface for longarm quilting. However, some quilters press to one side. The key is ensuring seams lie flat and don't create lumps that could interfere with the machine's feed. Ask your longarm quilter which method they prefer for optimal results on their machine.
What is the best seam allowance for piecing quilt backing?
A standard 1/2-inch seam allowance is commonly recommended for joining backing fabric. However, some quilters use 3/4 to 1 inch for added strength in high-stress seams. The most important factor is consistency: whatever allowance you choose, maintain it throughout all backing seams so the backing lies evenly and doesn't pucker or shift during longarm quilting.
Can you use a selvage edge in a quilt backing seam?
It's best to remove selvages before joining backing fabric. Selvage edges are tightly woven and don't have the same stretch as the rest of the fabric, which can cause puckering or misalignment in your seams. Trim them off cleanly before pressing and sewing your backing pieces together for a smooth, even result.


