
Table of Contents
- Getting Started with Longarm Quilting
- Longarm Quilting Machine Setup: The Foundation
- Longarm Quilting Tension Tips: Achieving Stitch Quality
- Loading Your Quilt: Preparation and Basting
- Free Pantographs for Longarm Quilting: Design Selection
- Longarm Quilting Stitch Regulation and Control
- Practice Drills: From Simple to Complex Designs
- Frequently Asked Questions
Last Updated: October 21, 2026
Getting Started with Longarm Quilting
Longarm quilting tips and tricks can transform your projects, whether you're starting out or refining your skills.

The biggest beginner mistake is jumping to complex designs before mastering the fundamentals. Thread tension, machine setup, and basic stitch control matter far more than fancy pantographs.
Most quilters find 15-20 minutes of practice drills per session builds confidence faster than working on actual projects.
Longarm Quilting Machine Setup: The Foundation
A poorly set up longarm will fight you on every quilt, no matter how skilled you are.
Sit-Down vs. Frame-Mounted Longarms
Sit-down and frame-mounted longarms work differently, so choose based on your space and style.
Sit-down longarms let you move the machine across stationary fabric while seated at a table.
Frame-mounted longarms move fabric through a stationary machine head.
Beginners often find sit-down machines more intuitive since you control the machine rather than fabric movement.
Threading and Bobbin Winding
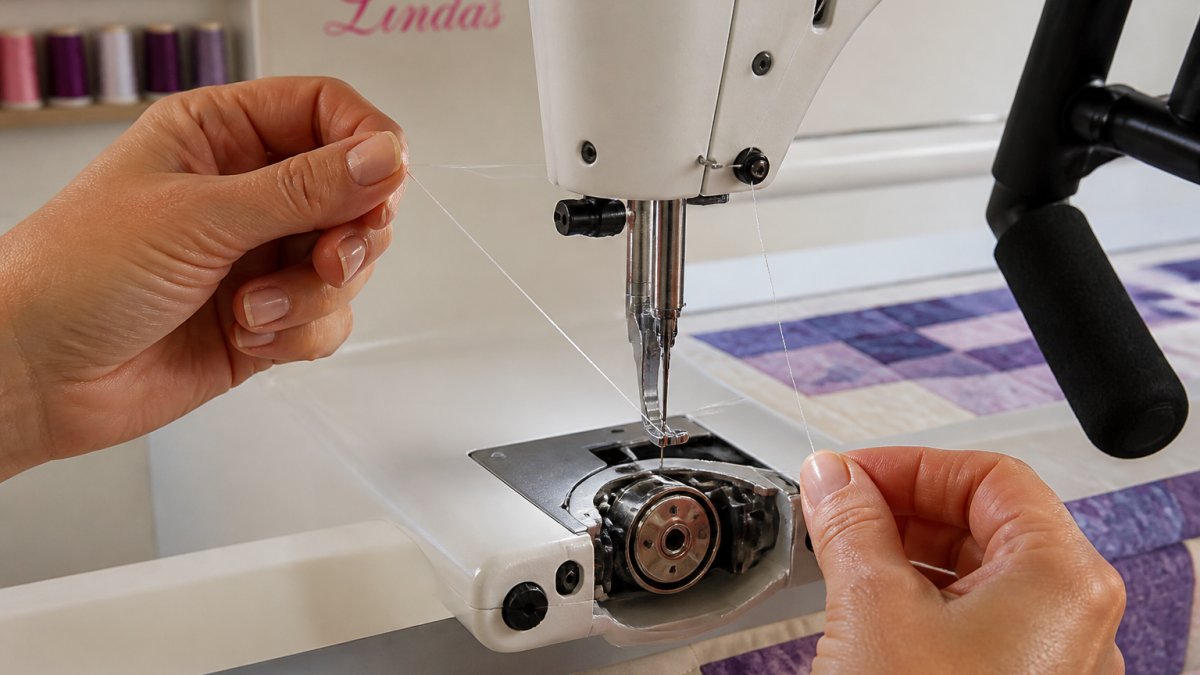
Threading a longarm differs from a domestic machine: the thread path is longer and tension points matter more. Rushing causes tension problems that haunt you for hours.
Threading steps:
- Raise the presser foot completely (this opens the tension discs)
- Guide thread through each tension point slowly and deliberately
- Check that thread sits properly in every guide and disc
A poorly wound bobbin creates uneven tension and skipped stitches. Wind bobbins evenly at a consistent speed and follow your machine's instructions.
Longarm Quilting Tension Tips: Achieving Stitch Quality
Thread tension is where most beginners struggle, but it's only one of four common stitch-quality problems. The chart below covers tension, skipped stitches, thread breaks, and puckering so you can diagnose instead of guess.
Proper tension means top and bobbin thread lock together in the middle of the fabric layers, with no color dominating either side.
Testing and Adjusting Thread Tension
Start with a 12-inch test sandwich of three fabric layers with batting in the middle. Stitch lines at different angles, then inspect the back.
What to look for:
- Top stitches should be smooth and even
- Back stitches should match the front in appearance
- No loops or puckering visible on either side
If top thread appears on the back, loosen top tension slightly; if bobbin thread shows on top, tighten it. Adjust one number at a time so you know what fixed it.
Symptom-to-Cause Troubleshooting Chart
Use this chart before touching a tension dial. Most stitch-quality problems come from threading, needle condition, or bobbin winding, not tension settings.
| Symptom | Most Likely Cause | First Check | Fix |
|---|---|---|---|
| Bobbin thread visible on top | Top tension too loose, or bobbin not seated | Rethread top path; reseat bobbin | Increase top tension one setting |
| Top thread visible on back | Top tension too tight, or bobbin tension too loose | Confirm thread is fully in every tension disc | Decrease top tension one setting; check bobbin case |
| Skipped stitches | Dull or wrong-size needle, or needle inserted backward | Inspect needle point and orientation | Replace needle; match needle size to thread weight |
| Thread breaking at the needle | Tension too tight, burr on needle, or thread catching on a guide | Run finger along thread path for snags | Loosen tension, replace needle, rethread |
| Thread shredding above the needle | Thread too thick for needle eye, or heat buildup at high speed | Compare thread weight to needle size | Step up one needle size; slow machine speed |
| Puckering along a seam | Layers not taut on the frame, or batting stretched | Push on the quilt layers to test give | Re-load with even tension; do not stretch batting |
| Loops on the back | Bobbin wound unevenly, or bobbin tension too loose | Inspect bobbin wind for crossovers | Rewind bobbin at consistent speed; adjust bobbin case |
| Wavy stitches on curves | Moving the machine faster than stitch regulation can compensate | Watch stitch length on curves | Slow hand movement; confirm stitch regulator is engaged |
Work the chart top to bottom: threading, then needle, then bobbin, then tension. Most problems resolve within two test samples; if not, it's usually mechanical, such as a burr on the needle plate or a bent needle.
When to Stop Adjusting and Service the Machine
If the same symptom returns after a fresh needle, rewound bobbin, and full rethread, stop adjusting. A burr on the needle plate, worn bobbin case spring, or lint behind the tension discs mimics tension problems. Clean the bobbin area and tension discs, then test again; if it persists, it's a service issue.
Loading Your Quilt: Preparation and Basting
Loading a quilt onto a longarm frame correctly makes the whole process smoother. Poor loading leads to puckering, uneven tension, and shifting layers.
Preparing the Quilt Top, Batting, and Backing
Before you touch the frame, prepare all three layers properly.
Quilt top preparation:
- Press seams flat and remove loose threads
- Square up your quilt top to the size you want to quilt
- Check that all seams are secure
Batting selection matters. Thicker batting needs more tension adjustment; lighter batting quilts faster but shows every imperfection. At Linda's Electric Quilters, we offer batting in rolls, packages, and by-the-yard options.
Backing fabric:
- Cut backing 4-6 inches larger than your quilt top on all sides
- Press backing to remove wrinkles
- Use high-quality fabric that won't pill or fray
Keeping Layers Square and Taut
This step determines whether your finished quilt lies flat: loose layers cause puckering, and uneven frame tension causes distortion.
Loading technique:
Mastering the Art of Longarm Quilting →
- Start by securing the backing fabric to the frame rails
- Pull backing taut but not stretched, you should have slight give if you push on it
- Smooth batting over the backing, working from center outward
Many quilters add spray basting to frame tension. A light spray adhesive holds layers together and prevents shifting.
Free Pantographs for Longarm Quilting: Design Selection
Pantographs are pre-drawn designs that guide your machine's movement. Free pantographs let you practice without buying expensive pattern collections.
Where to find free pantographs:
- Longarm machine manufacturer websites often provide free designs
- Quilting blogs and community forums share patterns regularly
- Online quilting communities have pattern libraries
Start with simple linear patterns, straight lines, gentle curves, basic geometric shapes, to learn machine control.
The best practice pantographs have clear starting points and consistent line spacing. Avoid tiny details and sharp angles while learning.
Longarm Quilting Stitch Regulation and Control
Stitch regulation keeps stitches consistent in length regardless of machine speed, the difference between amateur and polished quilting.
Your First Stitches and Machine Movement
Your first stitches should be on a test sandwich, not a real quilt.
First stitches checklist:
- Machine is threaded correctly
- Tension is balanced
- Needle is fresh and correct size
Move the machine slowly; speed comes later. Slow movement lets you feel how the machine responds and make small corrections. Most beginners move too fast, causing erratic stitches and tension problems.
Common Mistakes and How to Avoid Them
The most common mistake is quilting too fast too soon.
Another frequent error is gripping the machine too tightly. Tension in your hands transfers to the machine. Relax your grip. Let the machine do the work.
Many beginners neglect to check stitch length regularly. Aim for consistent stitches, usually 8-12 per inch depending on machine and preference, longer looks loose, shorter can pucker.
Practice Drills: From Simple to Complex Designs
Deliberate practice builds skill faster than quilting random projects. A structured drill plan with specific exercises, measurable success criteria, and a clear progression tells you exactly what to practice and when you're ready to move on.
The Four Drill Categories
Every longarm skill falls into one of four categories. Practice them in this order, because each one depends on the one before it.
- Stitch consistency: even stitch length at a steady hand speed.
- Line control: straight lines, then gentle curves, then deliberate direction changes.
- Spacing control: keeping consistent distance between quilting lines.
- Design memory: stitching a shape repeatedly without a marked guide.
Beginner-Level Practice Session Workflow
A 15-20 minute practice session should follow this structure:
- Warm-up (3 minutes): Stitch straight lines across your test sandwich. Focus on consistent stitch length and relaxed hand position.
- Primary drill (10 minutes): Practice one drill from the progression below. Do not switch drills mid-session.
- Cool-down (2-3 minutes): Stitch a simple shape you already know well to end on a success.
Keep a notebook of what you practiced and what felt difficult. Note the stitch length you achieved and whether the back looked as clean as the front. This helps you identify patterns and know what to focus on next session.
Drill Progression with Success Criteria
Move to the next drill only when you meet the success criterion for the current one. This is what separates structured practice from random stitching.
| Stage | Drill | How to Do It | Success Criterion |
|---|---|---|---|
| 1 | Straight-line ladder | Stitch parallel straight lines 1 inch apart across a 12-inch sandwich | Lines stay within 1/8 inch of parallel; stitch length is even front and back |
| 2 | Ribbon curves | Stitch a continuous gentle S-curve back and forth across the sandwich | Curves are smooth with no flat spots; stitch length stays even through the turns |
| 3 | Loop-the-loop | Stitch repeated same-size loops in a row | Loops are consistent in size; no crossings or sharp corners |
| 4 | Pebbling | Stitch small overlapping circles that fill a 6-inch square | Circles touch without gaps or overlaps; hand speed stays steady |
| 5 | Meander | Stitch a continuous random meander across the sandwich | No sharp angles; spacing between passes stays even |
| 6 | Feather | Stitch a simple feather with a spine and paired plumes | Plumes are symmetrical; spine stays straight |
Building Confidence with Quilting Rows and Lines
Straight lines are deceptively powerful practice tools. They teach you stitch consistency and machine control without the complexity of curves or pattern changes.
Progression for quilting rows:
- Week 1: Straight lines spaced 1 inch apart
- Week 2: Straight lines with consistent spacing, varying angles
- Week 3: Gentle curves maintaining consistent line spacing
This progression might seem slow, but it builds genuine skill. Quilters who rush through basic lines struggle with complex designs later.
Measuring Progress Without a Coach
You don't need an instructor to know whether you're improving. Use three self-checks after each session:
- Stitch length check: measure 1 inch of stitching and count stitches. Most quilters aim for 8-12 stitches per inch. If the count varies by more than two stitches along a line, slow your hand speed.
- Back check: turn the sandwich over. If the back looks noticeably different from the front, stop and re-check threading before your next session.
- Consistency check: stitch the same drill twice in one session. If the second attempt is cleaner than the first, you're learning; if not, the drill is too advanced and you should step back one stage.
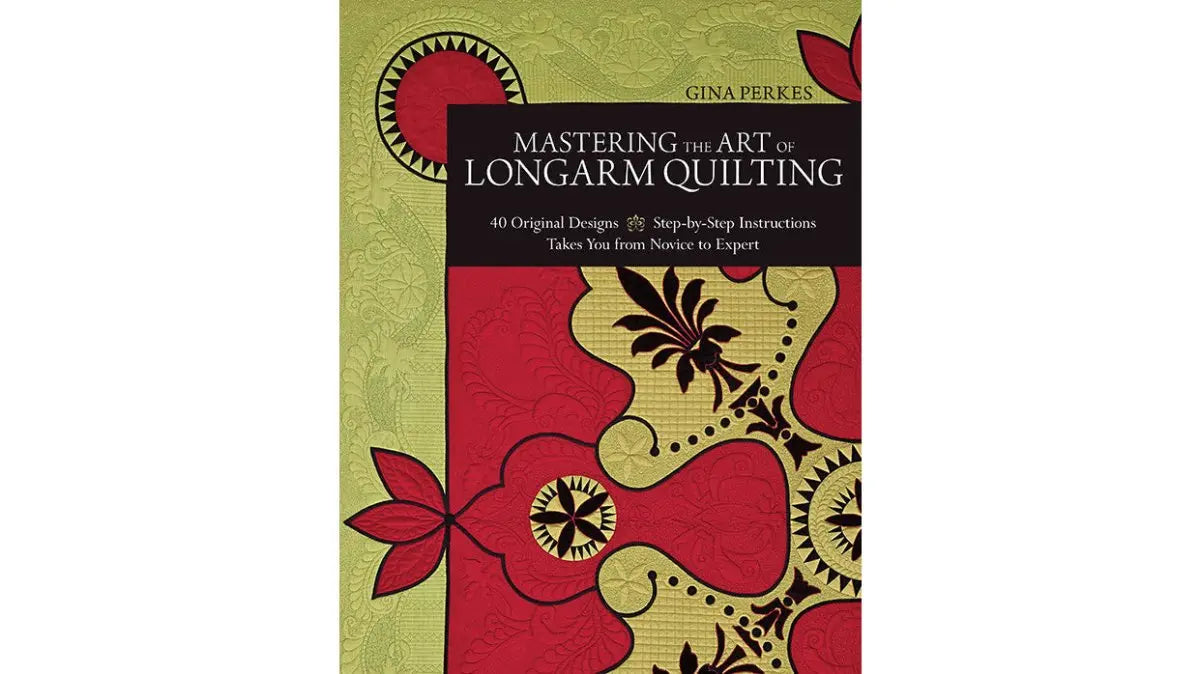
For resources that guide you through this progression with detailed instructions, consider Mastering the Art of Longarm Quilting, which includes 40 original designs and step-by-step guidance for quilters at all skill levels. Tools like the Creative Grids Machine Quilting Tool - Shorty provide tactile guidance for consistent design execution, while the Quilters Select 6" & 1" Machine Quilt Ruler helps you maintain accurate line spacing during quilting.

Frequently Asked Questions
What should a beginner know before using a longarm quilting machine?
Before starting longarm quilting, understand that you'll need to learn threading, bobbin winding, tension adjustment, and quilt loading. Beginners benefit most from practicing on scrap fabric for 15-20 minutes before working on an actual quilt. Familiarize yourself with your specific machine type, sit-down or frame-mounted, since setup differs. Take time to read your machine's manual and consider watching instructional videos. Most importantly, start with simple quilting lines and designs before attempting complex patterns. Patience and consistent practice build the muscle memory needed for even stitch quality.
How do you set the tension on a longarm quilting machine?
Longarm quilting tension is controlled through both top and bobbin tension adjustments. Start by threading your machine correctly, as improper threading often causes tension problems. Perform a tension test on scrap fabric: stitch a line and examine both sides. If the top thread shows on the back, loosen top tension; if bobbin thread shows on top, tighten top tension. Make small adjustments, usually a quarter turn, and retest. Keep notes on your settings for future reference. Consistent tension produces even stitch quality across your entire quilt and prevents thread breakage or skipped stitches.
How do you keep quilt layers from shifting on a longarm?
Proper quilt loading is essential for preventing layer shift. When loading, keep the fabric layers square and taut on the frame rails, tension should be firm but not so tight that you distort the fabric. Check that your backing fabric is pulled evenly and the batting lies flat. A properly loaded quilt resists shifting during the quilting process.
What causes skipped stitches when longarm quilting?
Skipped stitches result from several factors: improper threading, worn or bent needles, incorrect tension, or using the wrong needle size for your fabric and thread combination. Check that your needle is inserted correctly and not damaged, replace it if you suspect wear. Verify your top and bobbin threading; even a slightly loose thread path causes skipping. Test your tension on scrap fabric and adjust as needed. Ensure your needle is appropriate for your fabric weight and thread type. If problems persist after checking these elements, consult your machine's manual or seek guidance from an experienced longarm quilter.


