
Why Color Looks Different Once Fabric Is Cut
You know that moment. A fabric looks perfect on the bolt. The print feels balanced and the color is exactly what you wanted. You can already picture the finished quilt in your mind. Then you get home, cut it up, start piecing… and suddenly everything looks off.
The “soft sage” reads gray. The “warm cream” looks yellow. The “happy coral” is now screaming neon. And the palette that felt calm in the store now feels slightly chaotic.
So what exactly happened? It’s a lesson many new quilters learn the hard way:
Fabric color doesn’t behave the same once it becomes a quilt.
Visually, you lose the big “field” of color and start seeing small pieces. Psychologically, your brain starts comparing every fabric to the ones beside it. This shifts how you perceive value, undertones, and contrast. Add print designs and lighting into the mix, and your chosen fabric can look totally different once it’s chopped into blocks.
This is why experienced quilters don’t just pick fabrics. They swatch.
In this guide, you’ll learn what color swatching is and why it matters so much. We also show you how to swatch fabric colors in practical ways. Plus, we’ll even cover common mistakes, so you can choose quilt colors with confidence.
What Is Color Swatching?
Color swatching is the process of visually testing and comparing fabric colors. This is done before you commit to cutting and sewing. In plain language, it’s how you “audition” fabrics together to see what actually works.
In quilting, color swatching is more than just laying a few fabrics next to each other. You should be able to answer basic questions like:
-
Do these fabrics have enough contrast?
-
Are my lights and darks actually balanced?
-
Is this print reading too busy?
-
Does this “neutral” look warm or cool next to my other choices?
-
Are these colors harmonious or just similar?
Paint swatches are flat, uniform, and consistent. Fabric isn’t. Fabric has texture, sheen, and print scale. Many prints include built-in light and dark areas. So, fabric color swatching isn’t just picking a shade. It’s testing how that color behaves once it’s cut, stitched, and surrounded by other fabrics.
Digital palettes are great for inspiration, but they’re rarely accurate for final decisions. Screen brightness, device settings, and lighting all change how colors appear. A screen can’t show weave texture or print density.
Meanwhile, paper samples can help you choose a general direction, but they don’t reflect light the way fabric does. A “warm white” on paper might look creamy and soft, while that same color in cotton can read brighter or slightly gray depending on the finish
Why Color Swatching Matters More in Quilting Than Most Crafts
Color is a special kind of challenge in quilting. Because you’re not using just “one fabric” when you quilt. It’s usually 4 to 10 different fabrics interacting in a repeating system.
That repetition is what makes quilts beautiful. It’s also what makes color mistakes louder.
Choosing a slightly too-bright accent color means repeating that mistake across the entire quilt. It might appear 40 times in your quilt, making your small mistake a theme.
Moreover, quilts rely on contrast for design. Many blocks depend on it to show their shape. If your light and medium fabrics are too close in value, your block can look muddy.
Finally, remember that a quilt has two viewing modes:
-
up close, where you see print details and texture
-
from across the room, where you mainly see value and contrast
A quilt that looks stunning up close may look flat from far away. Swatching helps you check both.
How the Human Eye Misreads Fabric Color
![]()
You may have excellent taste and years of sewing experience, but your eye may still get fooled.
Why? Well, it’s because the brain doesn’t try to “see color accurately.” Rather, it tries to interpret what it sees based on context.
Color relativity: the “same” fabric looks different
When a warm gray is placed next to cream, it looks cooler. Put that same color next to icy blue, and it will look warm.
The fabric didn’t change but your perception did.
Warm vs cool undertones
This is one of the biggest reasons quilts feel “off” even when the colors are technically correct.
Two fabrics can both be “white,” but one is warm (creamy, buttery, ivory) while the other is cool (bright, crisp, bluish). And it’s the same thing with grays, beiges, blues, greens, and even reds!
When undertones clash, quilts can look accidentally mismatched. Swatching helps you catch undertone problems early.
Prints disguise value differences
A print with white flowers on a dark background might read as “medium” when folded. But when cut into pieces, you might end up with a lot of dark. The opposite is also possible. A dark motif on a light background might cut into mostly light pieces. Swatching allows you to catch a fabric’s real behavior.
Lighting: the silent saboteur
![]()
Fabric stores often use lighting that makes colors look crisp and bright. Meanwhile, home lighting can make the same colors look warmer, duller, more yellow, or more gray. Natural light shifts, too.
That’s why experienced quilters check swatches under multiple lighting conditions.
What a Fabric Color Swatch Actually Is (and Isn’t)
A fabric color swatch is a piece of fabric used by sewists as a decision tool. It’s not a keepsake or a “cute little scrap.” And it’s definitely not something you do only if you’re extremely organized and own 12 color wheels.
To further clarify…
A swatch is:
-
a test
-
a reference
-
a visual comparison tool
-
a way to see fabrics interacting before you sew
A swatch is not:
-
a guarantee
-
a perfect simulation of your final quilt
-
something you can do only with tiny 1-inch scraps
Why tiny snippets can mislead
If your swatch is too small, you lose important information like:
-
print scale
-
value variation
-
how the fabric reads from a distance
-
how it behaves next to other fabrics
Tiny swatches can make everything look “fine” but real cuts can tell a very different story.
When larger swatches are necessary
You need larger swatches if you’re working with:
-
large-scale prints
-
bold colors
-
low-contrast palettes
-
modern quilts with big blocks
-
borders and bindings
An effective swatch should at least be big enough to show the fabric’s personality.
Why photos and screens aren’t substitutes
Online photos are a good starting point. However, they can’t show:
-
true undertone
-
subtle shifts in value
-
texture and sheen
-
how fabrics interact under your lighting
Different Ways Quilters Use Color Swatching
Color swatching isn’t just one technique. Experienced quilters use it in different ways, depending on the project.
Here are the most common (and most useful) approaches:
Auditioning fabrics before cutting
This is the classic method.
You lay fabrics together, either as swatches or as full pieces, and start testing combinations.
This is especially useful for scrap quilts, stash-based quilts, and quilts with many fabrics.
You’re not just choosing pretty fabrics. You’re checking if they go well with each other.
Testing contrast in quilt blocks
This is where swatching becomes a design tool, not just a shopping tool.
Many patterns need light, medium, and dark colors. But your “medium” might actually be too close to your “light.”
Swatching lets you see if the block will show up clearly.
Planning borders, bindings, and backings
Borders and bindings can make or break a quilt. A binding fabric that looked perfect on its own might clash with your palette or feel too heavy. With swatching, you can audition border/binding options without committing.
Evaluating solids vs prints together
Solids can calm down prints and prints can add life to solids. But they don’t always play nicely.
Swatching helps you see whether your solids support or overpower your prints. This is especially important for modern quilts where solids do a lot of heavy lifting.
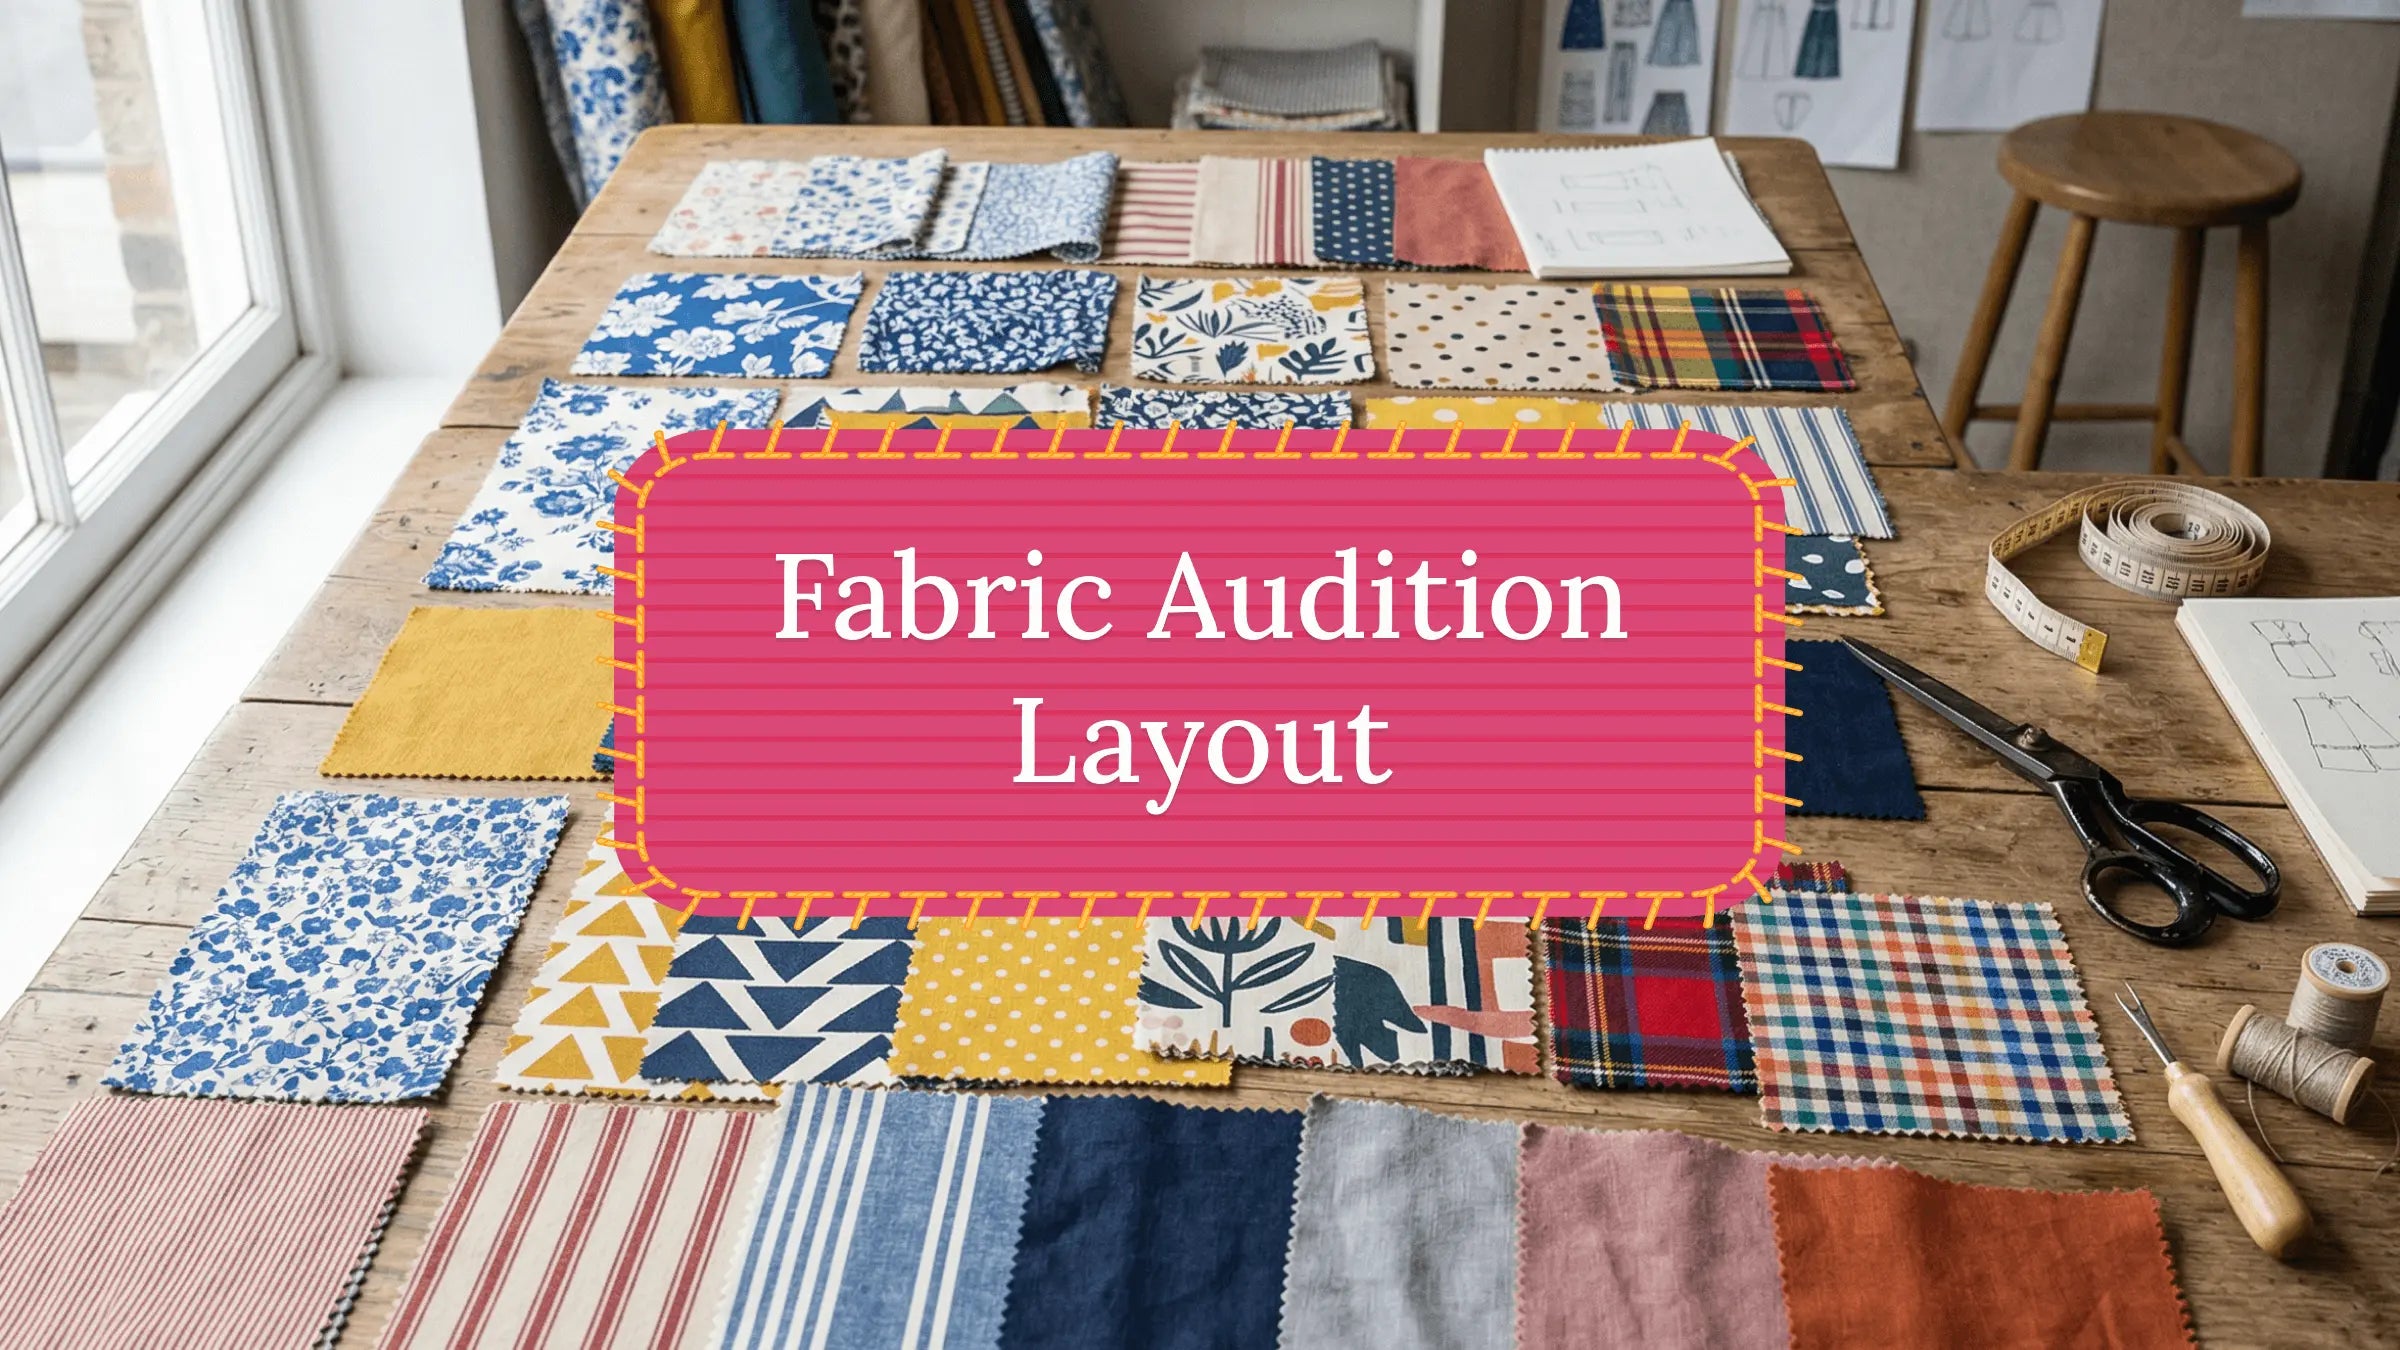
Step-by-Step: How to Swatch Fabric Colors for a Quilt
![]()
So, how do you actually do color swatching in a practical way?
Here’s a process that works whether you’re planning a quilt, a garment, or a multi-fabric sewing project.
Step 1: Choose swatch sizes that match your project.
Swatch size matters. A good rule of thumb is to use:
-
2.5” squares for patchwork-heavy quilts.
-
4” to 6” squares for large-scale prints and modern quilts.
-
8”+ squares for borders, bindings, and backings.
If you’re unsure, go bigger.
Step 2: Group fabrics intentionally
Don’t just toss swatches in a pile. Try grouping them by:
-
lights
-
mediums
-
darks
-
warm tones
-
cool tones
-
prints vs solids
This makes it much easier to see what you actually have. And it immediately reveals gaps in your palette.
Step 3: Lay them out like a mini quilt
You don’t need a full mock-up. But you do want to see fabrics interacting.
Lay them out in a rough layout:
-
clustered
-
alternating
-
in rows
-
in block-style groupings
By doing this, you’ll be able to see relationships better.
Step 4: View them in different lighting
This is non-negotiable if you want accurate decisions.
As much as possible, check your swatches under:
-
natural daylight (near a window)
-
evening indoor lighting
-
the lighting where the quilt will live (bedroom, living room, nursery)
If the colors only look good in one lighting condition, that’s a warning sign.
Step 5: Rearrange without committing
Swatching is where experimenting happens.
Move fabrics around. Swap out one “problem” fabric at a time.
Most often, one fabric is the troublemaker. And it’s usually the one you’re emotionally attached to.
Step 6: Photograph your swatches for distance checks
When you take a photo, you instantly see:
-
value structure
-
contrast
-
whether one fabric dominates
-
whether your palette feels balanced
Another strategy is to take the photo in black and white. This strips away hue and shows value clearly.
Step 7: Decide what role each fabric plays
This is where swatching becomes powerful.
Always ask:
-
Is this a background fabric?
-
Is this a supporting fabric?
-
Is this an accent?
-
Is this a focal fabric?
Not every fabric can be the star.
Pro tip: A great quilt usually has:
-
one main voice
-
several supporting voices
-
a few accents
Swatching helps you assign those roles before you start sewing.
Common Color Swatching Mistakes Quilters Make
Swatching is simple, but some still get it wrong.
Case in point, here are the most common mistakes for quilters:
Swatching only prints or only solids
Prints and solids behave differently. The best swatching includes both.
If you swatch prints exclusively, you might miss value problems. If you swatch only solids, you might miss how busy your prints will feel once repeated.
Ignoring value in favor of hue
Hue is the “color name” (blue, green, pink). Value is how light or dark it is. And quilts rely on value more than hue.
You can make a stunning quilt with weird colors if the value structure is strong. Also, you can make a confusing quilt with perfect colors if the value structure is weak.
Swatching flat instead of stacked or layered
Quilts aren’t viewed like a paint palette. Fabrics overlap visually. Try stacking swatches or layering them slightly. This helps you see how fabrics behave when they’re close together in real quilt blocks.
Making decisions under store lighting only
This is the classic mistake. Store lighting is not your home lighting.
If possible, bring fabrics home and swatch them in your actual environment before committing.
Even better, order swatches online first if you’re unsure.
Assuming “neutral” fabrics don’t matter
Backgrounds and neutrals are often where quilts succeed or fail.
A “simple” cream might clash in undertone or make colors look dull.
So, swatch your neutrals and avoid those problems.
Color Swatching for Different Types of Quilt Projects
Not every quilt needs the same kind of color planning. Swatching changes, depending on the style of quilt you’re making.
Scrap quilts
Scrap quilts are forgiving… but only to a point.
They can look beautifully lively, or accidentally chaotic.
Swatching helps you control:
-
value distribution
-
repeated colors
-
whether you have enough contrast
For scrap quilts, it’s best to sort by value first, then fine-tune the hues.
Pattern-driven quilts
Some patterns require specific contrast levels.
For example:
-
star quilts
-
log cabin quilts
-
flying geese patterns
-
high-contrast modern designs
In these quilts, swatching is less about “pretty.” Instead, it’s more about “does the block read correctly?”
This is where photographing swatches can be especially helpful.
Modern quilts
Modern quilts often use:
-
solids
-
negative space
-
bold contrast
-
large blocks
As such, swatching needs to focus on:
-
undertones
-
saturation
-
whether a solid reads too harsh
-
whether your negative space fabric is warm or cool
A modern quilt with slightly clashing undertones can feel “off” fast.
Traditional quilts
Traditional quilts often use:
-
busy prints
-
small-scale florals
-
multiple colors per fabric
-
classic palettes
Swatching helps you avoid:
-
muddy centers
-
low-contrast blocks
-
prints that fight each other
Traditional quilts usually benefit from a strong background fabric that supports everything else.
Baby quilts vs large bed quilts
Baby quilts are small, so you can get away with more color variety. But they’re also viewed up close a lot. So, prints and contrast matter.
On the other hand, large bed quilts are viewed from a distance more often. Value structure becomes even more important.
Swatching helps you plan for how the quilt will actually be seen.
How Color Swatching Saves Time, Fabric, and Frustration
Some quilters think swatching is extra work. In reality, it’s one of the fastest ways to avoid wasting time.
Here’s what swatching prevents:
Fewer ripped seams
When color choices are wrong, you often don’t notice until the quilt is partially assembled.
Swatching catches problems early, typically before you’ve sewn 120 pieces together.
Less unused fabric
Without swatching, you might buy fabrics that don’t actually work together. Then they sit in your stash forever, staring at you.
Swatching helps you buy intentionally.
More confident cutting
Cutting is the point of no return. Once fabric is cut, you can’t “uncut” it.
Swatching gives you confidence before you slice into that beautiful yardage.
Better finished results
This is the big one. Swatching doesn’t just prevent mistakes.
It helps you make quilts that feel:
-
balanced
-
intentional
-
visually clear
-
pleasing from both up close and far away
And that’s what people usually notice in great quilts.
Frequently Asked Questions
Do I need to swatch if I’m using a fabric bundle?
Not always, but it’s still a good idea. Fabric bundles are usually coordinated, but they can still include fabrics that are too similar in value, a print that dominates, and a “neutral” that doesn’t match your background fabric. Even a quick swatch check can save you from a quilt that feels flat.
How big should fabric swatches be?
It depends on the project. For most quilting color swatches, a practical range is 2.5” to 6” squares for general planning. You’ll need larger swatches for borders, bindings, and large prints. If your swatches feel too small to judge accurately, they probably are.
Can I reuse swatches for future quilts?
Absolutely. Many quilters build a swatch library over time. If you label them with fabric name or collection, fiber content, where you bought it, and date purchased, they become incredibly useful for future color planning.
Is color swatching necessary for beginners?
Beginners benefit the most here. Swatching teaches you how fabric behaves in quilts. It also helps you avoid that classic frustration of following a pattern but not loving the result.
What’s the difference between color and value?
Color (or hue) refers to the name of a color, such as red, blue, or green. Value is how light or dark it is. In quilting, value often matters more than hue. This is because value is what creates contrast and makes quilt blocks readable. A quilt with strong value structure will usually look good, even if the colors are unconventional.
Conclusion: Seeing Fabric Before It Becomes a Quilt
To sum it up, color swatching is one of those quiet skills that separates “pretty fabric” from “beautiful quilt.”
It’s not fancy or complicated. And it doesn’t require a design degree.
It’s simply the habit of pausing before you cut, and asking: “How will these fabrics actually behave once they’re sewn together?”
Because quilts don’t live as piles of fabric, but as stitched shapes and blocks seen from a distance.
And once you start swatching, something shifts.
Fabric shopping becomes less guesswork and more planning. Your color choices feel calmer. Your cutting feels more confident. And your quilts start looking more intentional.
So if you’ve ever felt overwhelmed by color, prints, or fabric selection, try swatching.
It’s not extra work. It’s how you see the quilt before it exists.


