
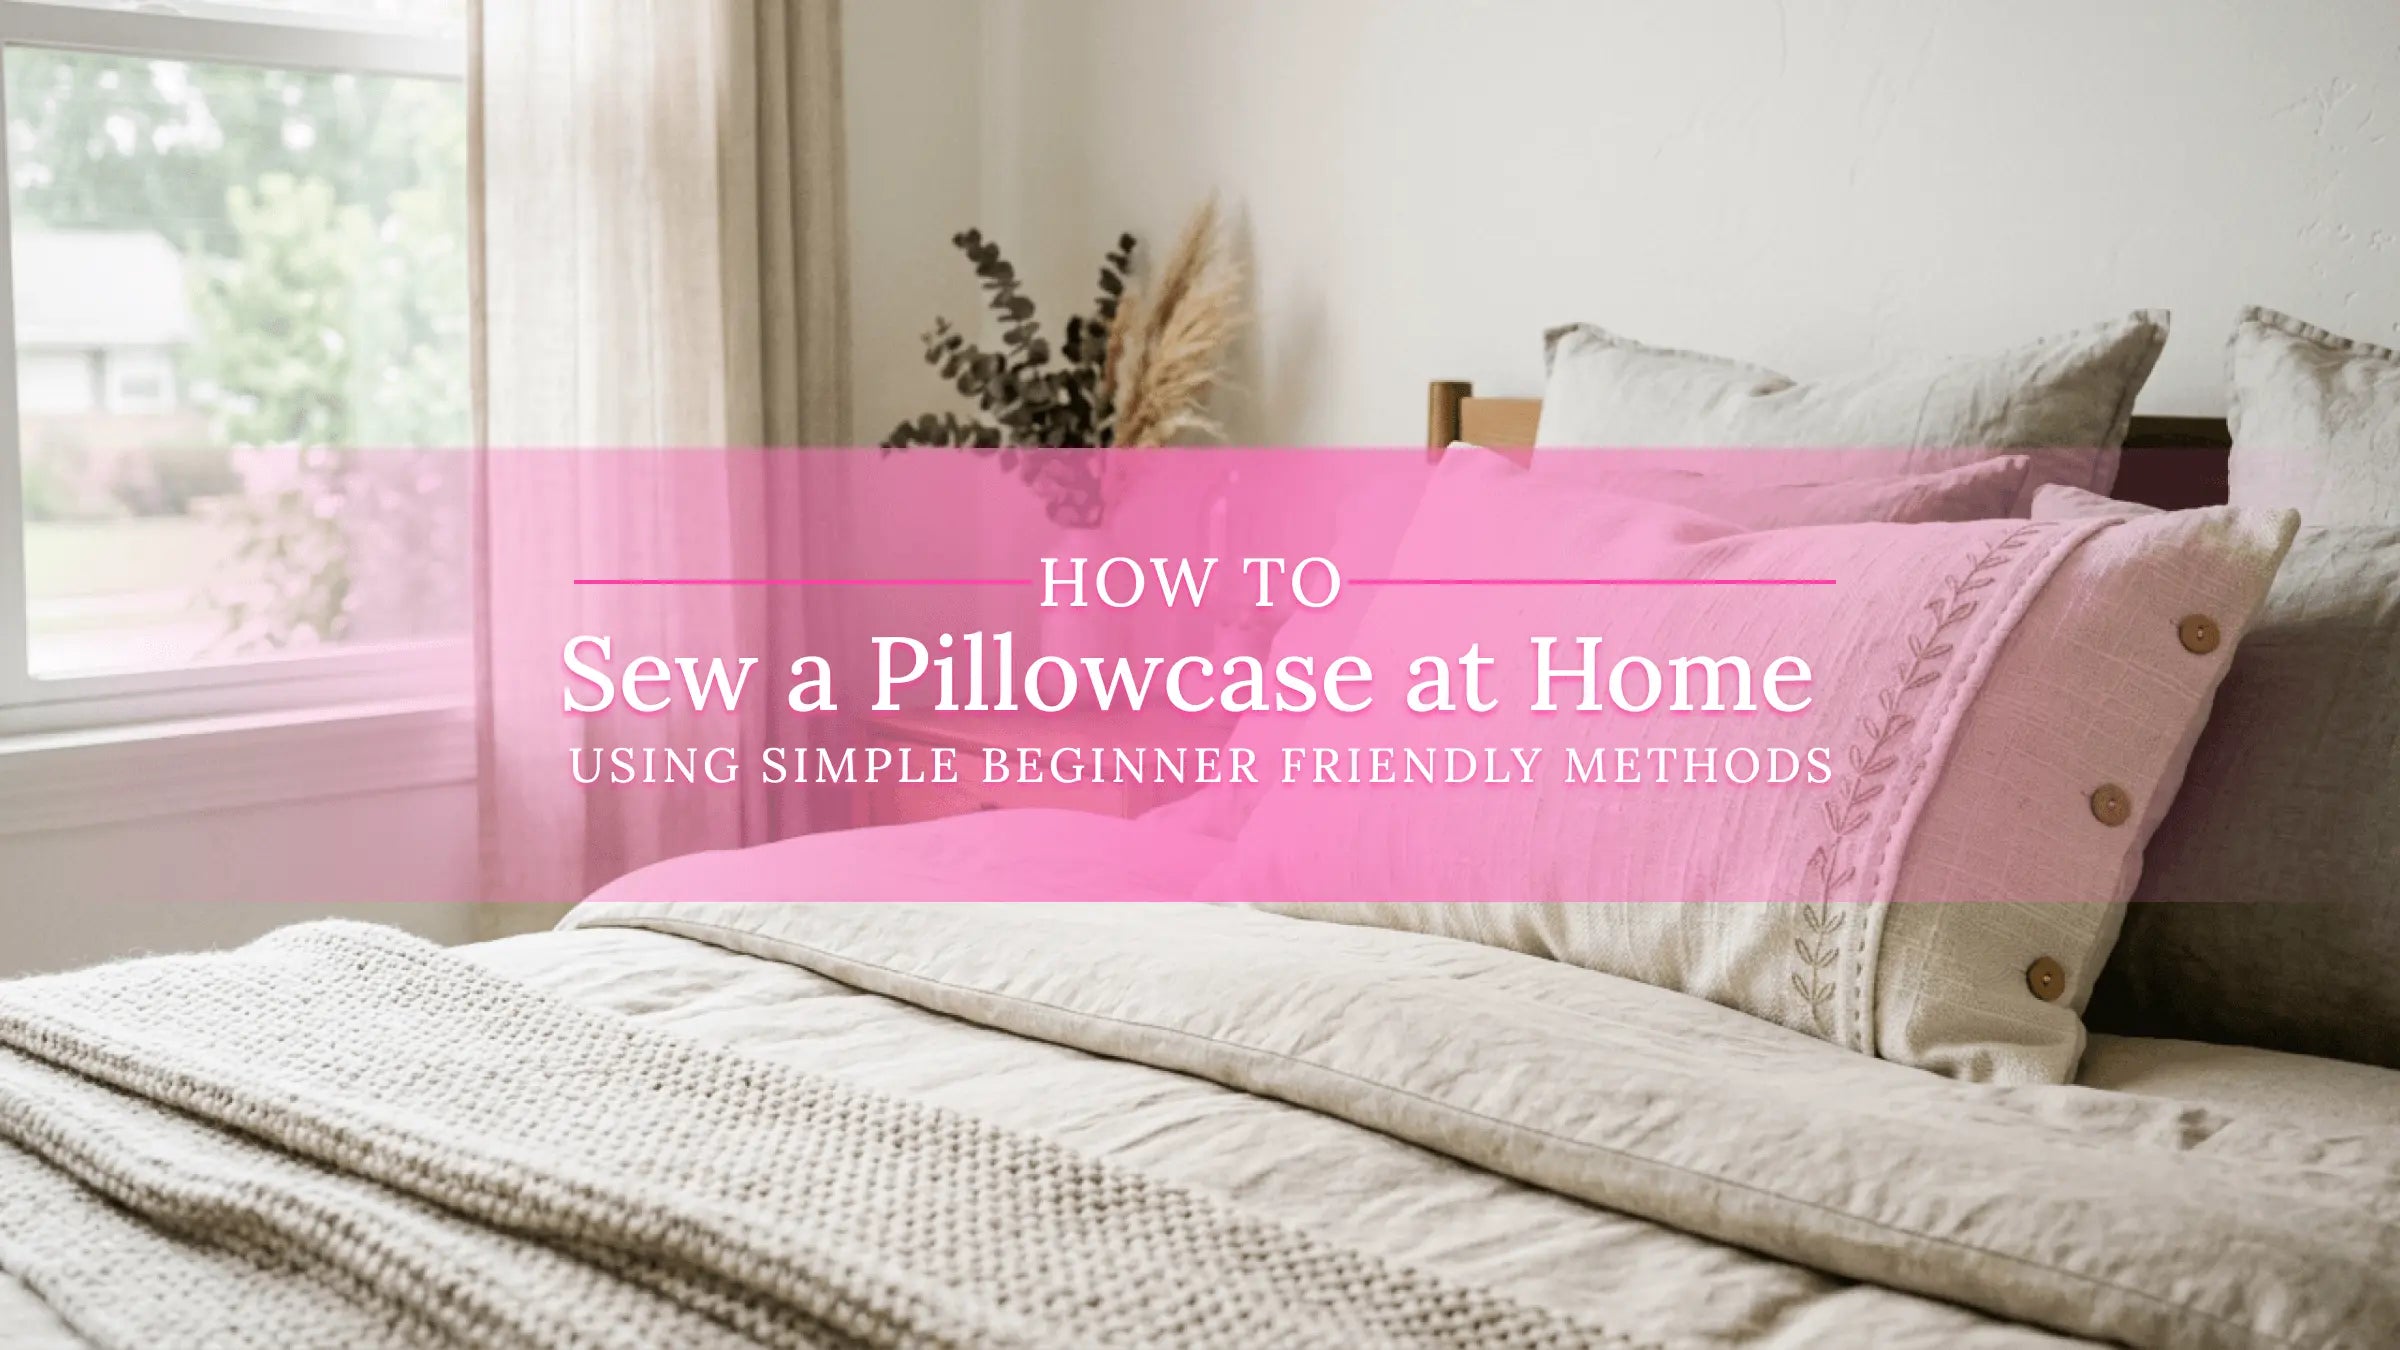
New to sewing? Well, here’s a little secret from someone who has spent years behind a sewing machine:
A pillowcase is one of the best beginner projects you can make.
Unlike some first sewing projects that end up hidden in a drawer, a pillowcase becomes part of your everyday life. You’ll see it on your bed or maybe even on your child’s pillow every night.
Pillowcase sewing doesn’t require complicated skills. It mostly involves straight stitching and a few simple folds. In fact, even a newbie can finish their first pillowcase in under an hour.
Also, there’s just something satisfying about the entire creation process. So, instead of grabbing store-bought products, you can customize your pillowcases by using your preferred fabric, colors, and style.
Want something playful for a kid’s room? Done. Need a soft floral for your bedroom? Easy.
In this guide, we’ll walk through how to sew a pillowcase step by step. Using beginner-friendly techniques, we’ll teach you:
-
what materials you’ll need
-
standard pillowcase measurements
-
simple pillowcase sewing patterns
-
easy DIY methods you can follow
-
tips to help your finished project look polished
Why Sewing a Pillowcase Is a Great Beginner Project
Experienced sewists often recommend pillowcases as a first project for beginners.
Here’s why:
Simple Straight Stitch Sewing
Most pillowcase projects rely almost entirely on straight stitches. There are no complicated curves or seam shapes. If you can guide fabric through a sewing machine and keep a straight line, you already have the needed core skill.
Small Amount of Fabric Needed
DIY pillowcase projects only need 1 yard of fabric, depending on the size and style. This means you can experiment with different fabrics without spending much. And if something goes wrong (which happens to most beginners), the loss is minimal.
Great Practice for Learning To sew Basics
Making a pillowcase teaches several fundamental sewing skills. Newbies get to practice:
-
measuring and cutting fabric
-
pressing seams with an iron
-
sewing consistent seam allowances
-
finishing edges neatly
These skills carry over into other advanced sewing projects, such as tote bags or quilts.
In short, sewing a pillowcase is simple enough for beginners. But it’s also meaningful enough to build real confidence.
Materials Needed to Make a Pillowcase
Before you begin your pillowcase DIY project, you need to gather a few basic sewing supplies. The good news? Well, most of these are common tools you probably have at home.
Fabric
Cotton fabric is usually the best choice for pillowcases. It’s breathable and incredibly easy to sew. In addition, it stays durable after washing.
Quilting cotton, cotton sateen, or soft flannel are popular options. Of course, 100% cotton fabric is the most beginner friendly. It doesn’t shift around too much during sewing.
Sewing Thread
Good quality polyester or cotton thread is ideal. Choose one that matches your fabric color. Cheap thread breaks easily while sewing. So it’s best to avoid it.
Scissors or Rotary Cutter
Fabric scissors work perfectly well. However, many sewists prefer a rotary cutter and cutting mat for straight, accurate cuts.
Measuring Tape or Quilting Ruler
A flexible measuring tape or clear quilting ruler ensures your fabric pieces are cut to the correct size.
Sewing Machine
While pillowcases can technically be sewn by hand, a sewing machine makes the process faster and easier. A basic machine with a straight stitch is more than enough.
Pins or Fabric Clips
Pins or clips hold your fabric layers together. This prevents shifting and helps keep seams aligned during sewing.
Standard Pillowcase Measurements
Most pillowcase sewing projects follow standard bedding sizes. Beginners and advanced sewists use these as the basis for a basic pillowcase sewing pattern:
|
Pillow Size |
Fabric Needed |
|
|
Standard Pillow |
20 x 26 inches |
Roughly 27 x 40 inches |
|
Queen Pillow |
20 x 30 inches |
Roughly 27 x 44 inches |
|
King Pillow |
20 x 36 inches |
Roughly 27 x 50 inches |
These dimensions include extra fabric for seams and the pillowcase cuff.
Step by Step Instructions for Sewing a Pillowcase
Step 1: Cut the Fabric Pieces

Start by cutting your main fabric piece based on your chosen pillow size. As mentioned, a good fabric size for a standard 20 x 26-inch pillowcase is around 27 x 40 inches. Adjust accordingly.
This piece will wrap around the pillow and form the body of the case. Make sure your edges are straight and square before moving on.
Step 2 Fold and Pin the Fabric
Next, place the fabric right sides together. Align the long edges and bottom edge so the printed side of the fabric is on the inside.
Pin or clip along the side and bottom edges to hold the layers in place. This forms the basic shape of the pillowcase.
Step 3: Sew the Main Seam

Using a straight stitch, sew along the side and bottom edges. Maintain a ½-inch seam allowance.
Be sure to:
-
backstitch at the beginning and end
-
sew slowly to keep seams straight
Once finished, trim any loose threads.
Step 4: Create the Pillowcase Cuff

The open edge of the pillowcase needs a finished cuff. Fold the top edge ½ inch inward and press with an iron. Then fold it again about 3 to 4 inches to create the cuff. Pin in place and sew along the folded edge.
This creates a clean, durable opening for inserting the pillow.
Step 5: Turn the Pillowcase Right Side Out
Turn the pillowcase right side out. Then gently push the corners outward. Use your iron to press the seams flat. Pressing is one of those small steps that makes a huge difference in the final appearance of your sewing project.
At this point, your pillowcase is finished and ready for use. You’ve officially learned how to sew pillow case from scratch.
Popular Pillowcase Sewing Methods
Once you’ve mastered the basics, you may want to explore other pillowcase sewing patterns. Each style uses a slightly different look or construction technique.
Envelope Style Pillowcase
This style is common for decorative throw pillows. Instead of leaving the back open, the pillow slides inside overlapping fabric panels.
Advantages include:
-
no zipper required
-
easy removal for washing
-
neat finished appearance
Basic Straight Seam Pillowcase
This is the method we covered in the tutorial above. It’s the simplest design and often the first sewing project beginners complete successfully.
Because it uses straight seams and minimal steps, it’s ideal for learning sewing basics.
Burrito Method Pillowcase
The burrito method is popular among quilters and sewing enthusiasts. It involves rolling fabric layers together before stitching. This creates a pillowcase with hidden seams and a decorative cuff.
Despite the funny name, it produces a very professional result. Once you understand the technique, it’s surprisingly quick to sew.
Free Pillowcase Patterns Beginners Can Try
There are many free resources for pillowcase patterns online that expand on the basic design.
Try checking out these beginner-friendly options:
-
Envelope Pillowcase Pattern
This envelope pattern adds overlapping panels to hide the pillow insert. It’s great for decorative cushions and living room pillows. -
Decorative Cuff Pillowcase
This cuff style pillowcase adds a contrasting band at the opening. It’s a simple upgrade to make pillowcases look more polished. Many people sew matching sets for gifts using this design. -
Patchwork Pillowcase
For sewists interested in quilting, patchwork pillowcases are a fun challenge. Small fabric squares are sewn together before forming the pillowcase. This is a great way to use leftover fabric scraps from other projects.
Tips for Sewing a Professional Looking Pillowcase
Even simple projects can look polished with a few small adjustments.
Here are some tips experienced sewists rely on.
Press Seams While Sewing
Pressing seams after each step keeps the fabric flat and accurate. Plus, it even helps prevent bulky edges.
Many beginners mistakenly skip this step. But honestly, it’s one of the easiest ways to improve your sewing results.
Use Matching Thread
Make no mistake about it. thread color does affect the finished appearance. Case in point, matching thread hides minor stitching imperfections.
Pre-Wash Fabric Before Sewing
Pre-washing removes manufacturing chemicals. It also allows the fabric to shrink before sewing. Moreover, it prevents the finished pillowcase from shrinking unevenly after the first wash.
Choose Quality Fabric
Soft cotton fabrics usually last longer. More importantly, they feel better against the skin compared with cheaper fabrics. Low quality ones fade quickly or become rough after repeated washing.
Common Mistakes to Avoid When Sewing Pillowcases
Incorrect Fabric Measurements
Cutting fabric too small can make the pillowcase unusable. So, always double-check your measurements.
Uneven Seams
If seams vary in width, the finished pillowcase may look crooked. Try sewing slowly. And make sure to guide the fabric gently.
Forgetting Seam Allowance
Many patterns assume a ½-inch seam allowance. If you forget to include it while cutting fabric, the finished size will shrink.
Skipping Fabric Pre-Washing
Unwashed fabric shrinks after sewing, causing seams to pucker. Take a few minutes to pre-wash your fabric so you can prevent this problem.
Frequently Asked Questions About DIY Pillowcases
How much fabric do I need to make a pillowcase?
You only need 1 yard of fabric to create a standard pillowcase. If you’re working with larger pillows, you’ll need a bit more to accommodate the extra length and width. Always measure your pillow size before cutting. Add a few extra inches for seam allowance and ease.
Is sewing a pillowcase good for beginners?
Yes, pillowcases are perfect sewing projects for beginners. The construction is simple and repetitive. Newbies get hands-on practice with basic skills like cutting straight lines, pressing seams, and sewing consistent stitches. Also, small mistakes are easy to fix. Or won’t be very noticeable in the finished result.
What fabric works best for pillowcases?
Cotton fabrics are usually the best option. They are breathable, durable, and easy to sew. They also hold up well after repeated washing. In particular, quilting cotton is easy to handle and stable under the needle. You can also explore softer options like cotton sateen. This gives a smoother, slightly more luxurious feel.
Ultimately, the key is to choose a fabric that balances comfort, durability, and ease of sewing.
Can I sew a pillowcase without a sewing machine?
Yes, you can sew a pillowcase by hand. It will take more time, but the process is the same. Using a simple backstitch or running stitch, you can create strong seams. Just be sure to keep your stitches small and even to maintain durability and a neat finish.
While a sewing machine speeds things up, hand-sewing can still produce well-made pillowcases.

Final Thoughts on Sewing Your Own Pillowcase
Learning how to make pillow cases at home is one of the most satisfying projects for beginners.
Once you finish your first pillowcase, you may find yourself experimenting with new fabrics, decorative cuffs, or patchwork designs. Before long, that one simple project becomes the springboard for bigger sewing adventures.
And that’s really the beauty of sewing. It begins with something small and then it opens the door to endless creative possibilities.
Ready to start sewing your first pillowcase?
Go explore quality cotton fabrics and pick up those sewing materials. With a little patience, your first project might just be the start of many handmade creations.


