
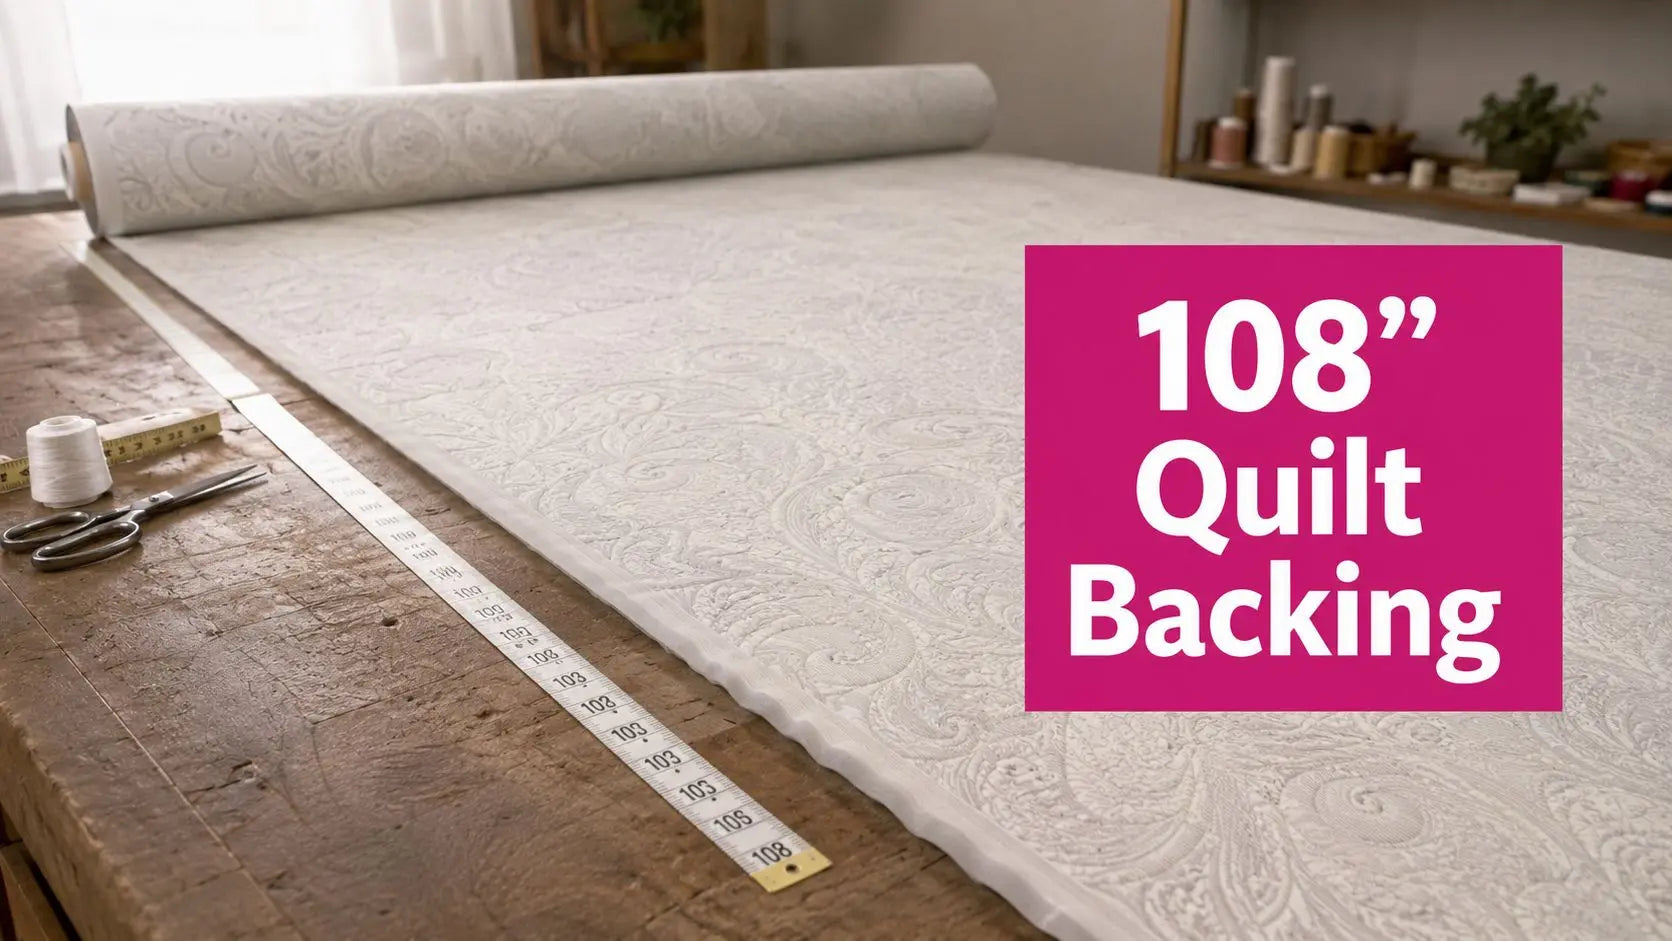
108-inch-wide fabric is about 3 yards across and can often back a queen quilt in one piece. Confirm the quilt's finished dimensions and required overhang before buying, because a king, square layout, or directional print may still need piecing.
You've finished the quilt top, pressed the borders, and reached the part many quilters postpone: finding a backing large enough to load without wrestling several narrow panels. 108 inch wide fabric for quilt backing can remove much of that work, but only when the fabric width, quilt orientation, print direction, and longarm requirements agree.
A queen quilt around 90 by 108 inches commonly needs backing near 98 by 116 inches after adding overhang, according to wideback sizing guidance from Quilted Joy. That example shows both the advantage and the limitation. The width may fit across the quilt, while the required length still determines how much fabric you must order.
What 108 Inch Wide Fabric Changes
A queen-size quilt gives the clearest example. Suppose the finished top is 88 by 92 inches. Adding 4 to 6 inches on every side creates a backing target of roughly 100 by 108 inches for longarm loading. A single 108-inch-wide fabric panel can cover that surface without a center seam, provided the print and grain work with the layout.
That single measurement changes the entire backing decision. Standard quilting cotton is usually sold at 42 to 44 inches wide, with usable width reduced after selvage removal. A wideback is not a different type of quilt or a special construction method. It describes fabric woven or printed at an unusually broad width, commonly around 108 inches, so one cut can cover a large quilt.
The decision starts before the backing purchase
Choose the backing plan before adding borders or buying several lengths of narrow fabric. The finished top determines the needed cut, and the longarm frame determines the practical overhang. A backing that fits the top exactly can still fail during loading because the clamps, rollers, and leaders need usable fabric beyond the quilt edge.
Directional prints make the decision more important. A one-way floral, stripe, or border-style motif may need to run along the quilt's length rather than across its width. Rotating the fabric can solve the measurement problem but create an upside-down or visually unbalanced back.
The timeless jacquard weaving method also helps explain why fabric construction matters. Width alone doesn't tell you how a material will behave. Weave, surface texture, grain, and drape affect whether a wide panel lies smoothly under batting and quilting stitches.
Practical rule: Treat 108 inches as the available width, not the guaranteed usable width. Square the cut, remove selvages, and leave room for the quilting setup before deciding that the backing is seamless.
Not every fabric sold on a wide bolt is intended for quilt backing. Some wide home-dec fabrics may have a different hand, coating, weight, or drape than quilting cotton. Test the material against your batting and thread plan before committing a large cut.
If your project fits the dimensions, browse a suitable quilt backing fabric collection before purchasing narrow yardage. Comparing the actual bolt width and print orientation early can prevent an expensive change of plan later.
Comparing Wideback With Pieced Backing
A one-piece wideback and a pieced 42- or 44-inch backing solve the same problem in different ways. Wideback usually reduces sewing and seam management. Piecing offers more control over color, design, grain direction, and the amount of fabric already in your stash.
For a queen project, verified quilting guides place the wideback requirement around 3 to 3.5 yards, depending on the finished dimensions and overhang. By comparison, a pieced backing may use roughly 8 yards, or around 8.25 to 9.75 yards in other queen-size examples, depending on the calculation method and usable width. See the No Stress Quilt Math Guide and Quilt Keeper's backing calculator for the underlying examples.
| Factor | 108-Inch Wideback | Pieced 42/44-Inch Backing |
|---|---|---|
| Seam count | Often zero for a suitable quilt size | Usually one or more long seams |
| Fabric amount | A queen example may use about 3 to 3.5 yards | A queen example may require roughly 8 to 9.75 yards |
| Labor | Cut, square, press, and load | Cut multiple panels, sew, press, and match grain |
| Finished look | Smooth back with no internal seam line | Design flexibility, but seams remain visible |
| Print control | Limited by bolt orientation and repeats | More freedom to combine prints and colors |
| Longarm handling | No seam ridge under the quilting area | Seams need careful pressing and loading |
What happens under the quilting foot
A center seam isn't automatically a problem. A well-sewn seam with an appropriate allowance and careful pressing can quilt successfully. It does, however, create a change in thickness that may be noticeable on a solid backing or may telegraph through batting during dense quilting.
A wideback removes that internal ridge, which can make basting and longarm movement simpler. The trade-off is that you lose the opportunity to use a pieced back as a second design surface. Intentional piecing may be the better artistic choice for a reversible quilt, a scrap-driven project, or a backing that needs better color matching.
The practical rule is straightforward. Use 108-inch wideback when the required width fits within the usable fabric and the print can be placed correctly. Choose piecing when the quilt is oversized, square, strongly directional, or budget-locked to fabric you already own.
Before ordering, test the measurement with the wideback yardage guidance from Big Sky Quilts. A single continuous cut isn't economical if you still have to add panels, trim away a large amount, or fight a print that only works in the wrong direction.
Calculating Backing Yardage
Start with the finished quilt top, not the pattern measurement. Borders, curved edges, quilting shrinkage, and last-minute design changes can all alter the final size. Lay the top flat and measure through the middle in both directions rather than trusting the original block dimensions.
A repeatable measuring method
- Measure the finished top. Record width and length after borders are attached and the top has been pressed flat.
- Add overhang. Add 4 inches on each side for a common machine-quilting setup. A longarm may need 6 to 8 inches per side, depending on the frame, clamps, leader cloths, and the quilter's loading method. The QuiltMetric backing calculator also describes a practical 4-inch-per-side rule and includes a waste allowance in its calculation approach.
- Compare the total with usable width. If the quilt width plus both side allowances fits within the usable 108-inch fabric width, one continuous cut may work. If it exceeds that width, plan a seam or consider a wider backing option.
- Add seam allowance when piecing. A joined backing needs allowance at each seam, plus extra fabric if a directional print must be matched. Don't calculate only to the finished quilt measurement.
- Convert the length to yards. Divide the required length in inches by 36 inches per yard, then round up enough to protect against squaring, shrinkage, and cutting error. Some calculators round to the next eighth of a yard, while shops commonly sell practical quarter-yard increments.
The exact cut should always come from your top, but a published wideback chart provides useful starting points:
| Quilt Size | Finished Top (in) | Backing Cut Needed (in) | 108-Inch Fabric to Order (yards) |
|---|---|---|---|
| Crib | 40 by 60 | Allow for overhang on all sides | 1.5 |
| Throw | 60 by 70 | Allow for overhang on all sides | 2.25 |
| Twin | 72 by 92 | Allow for overhang on all sides | 2.5 |
| Full | 86 by 92 | Allow for overhang on all sides | 2.75 |
| Queen | 92 by 96 | Allow for overhang on all sides | 3 |
| King | Measure the finished top carefully | May require more than one width | Confirm before ordering |
The crib through queen figures come from the Backside Fabrics wideback yardage chart. They're useful for an initial estimate, not a substitute for measuring your actual quilt.
Measure twice, order once. A backing cut short in the length can't be rescued by having extra width.
A queen example illustrates why orientation matters. For a quilt around 90 by 108 inches, one source calculates approximately 3.25 yards of 108-inch wideback compared with about 9.75 yards of 42-inch fabric when the narrow yardage is pieced. Another guide gives approximately 3.25 yards versus 8.25 yards for a different queen-size measurement. The difference comes from the top dimensions, overhang, usable width, and layout, so use the figures as examples rather than universal prescriptions.
For king quilts, check especially carefully. A backing at least 116 to 118 inches wide may be more practical for some large or square layouts, as explained by fabric-width sizing guidance. The cheaper-looking 108-inch option can become a false economy if it still requires a seam.
Choosing Fiber Weight and Print Direction
A backing does more than cover the underside. Its fiber content, weight, shrinkage behavior, and drape affect how the finished quilt feels against the skin, how it moves over a bed, and how it behaves while quilting.
100% cotton quilting-weight wideback is the familiar choice for machine quilting. It generally presses predictably and works with common cotton batting and cotton or polyester thread. Cotton-poly blends can offer a different hand and reduced wrinkling, while flannel adds softness and a warmer, heavier feel.
| Fabric Type | Weight (oz/yd²) | Shrinkage | Drape | Best Use |
|---|---|---|---|---|
| 100% cotton quilting weight | Check manufacturer specification | Test or follow care label | Balanced and breathable | Everyday quilts and detailed machine quilting |
| Cotton-poly blend | Check manufacturer specification | Often behaves differently from cotton | Smooth, sometimes less crisp | Quilts needing easy care or reduced wrinkling |
| Flannel wideback | Check manufacturer specification | Test carefully before cutting | Softer and heavier | Cozy quilts where warmth and hand matter |
The table avoids assigning unsupported numeric weights because wideback collections vary by manufacturer. Check the bolt label or product specification rather than assuming every 108-inch fabric has the same construction.
Match the backing to the quilt's purpose
A low-loft cotton batting paired with cotton backing can produce a flexible quilt with clear quilting texture. Flannel changes the hand and may affect how the layers feed, especially when paired with a lofty batting or a brushed top. Drape matters just as much as surface softness. A quilt intended for a wall hanging doesn't need the same movement as one used daily on a bed.
Pre-washing is optional, but matching the top matters. If the top was pre-washed, pre-washing the backing helps the layers respond more consistently. If you want a crisp, unwashed finish, confirm that the fabric is colorfast and allow extra room for later shrinkage.
Print direction can override the yardage calculation. Stripes, one-way motifs, and large-scale florals may need centered placement or additional length. Mark the top edge before unrolling, then check how the design runs relative to the quilt top.
For a useful distinction between ordinary quilting cotton and fabric selected for garment work, review this guide to quilting cotton for dressmakers. The comparison helps clarify why similar-looking cottons can differ in hand, stability, and intended use.
- Check the grain. Selvages aren't proof that the body of the fabric is square.
- Audit the repeat. Large motifs may need extra length for centering.
- Plan the thread. A solid backing reveals quilting texture, while a busy print can soften visual irregularities.
- Test the hand. Compare the backing with the batting before cutting the full panel.
If the wideback has a directional design, don't let the promise of no seams make the design decision for you. A carefully pieced backing with a properly aligned print may finish better than a technically continuous panel placed sideways.
Handling and Cutting Wide Quilt Fabric
Wide fabric is manageable when you control the first edge. A crooked leading cut can travel across the entire panel, leaving you with a backing that looks wide enough on paper but isn't square on the cutting table.
Lay the fabric on a clean, flat surface. A large cutting mat helps, but a clean floor grid can also work for an oversized panel. Align the leading edge against a known straight line, then identify the lengthwise grain and crosswise grain before measuring the cut.
A reliable preparation sequence
- Square the leading edge. Use a long ruler or a clearly marked floor line. Don't measure from a slanted fold.
- Remove selvages before final sizing. Selvages can shrink or pull differently from the fabric body.
- Keep the bolt orientation. Fold along the existing bolt wrap instead of refolding the panel in half, which can introduce a new bias fold.
- Cut with a sharp tool. A rotary cutter with a long ruler gives a clean edge; sharp shears work when the fabric is fully supported.
- Mark the top edge. A small piece of low-tack tape prevents orientation mistakes during basting and longarm loading.
Press the fabric from the wrong side with steam, using enough heat to remove fold memory without glazing a printed surface. Printed widebacks can react poorly to excessive heat, so test on an inconspicuous area first.
Wide panels are awkward to fold repeatedly. Once you've cut the backing, roll the leftover fabric around a tube or fold it loosely on a flat shelf. Rolling helps avoid hard creases that may require aggressive pressing before the next project.
A wideback can also carry subtle distortion from the bolt. If the crosswise edge won't square easily, pull gently along the grain instead of stretching the fabric diagonally. Stop if the print begins to skew. The goal is a stable panel, not a forced rectangle that has been stretched out of shape.
Before basting, place the top edge label where you can see it. This small habit preserves print direction and makes it easier to align a pantograph or center a backing motif.
Preparing Wideback for Longarm Quilting
A backing without a seam removes an internal seam, but it doesn't remove loading requirements. The panel still needs enough overhang for the frame, straight attachment to the leaders, and even tension across the full width.
A one-piece backing has no seam to help an operator judge center or grain. Mark the center of the backing and the top edge before loading. Attach the leading edge squarely to the leader cloth, then smooth the fabric across the frame so the grain runs consistently from roller to roller.

Why overhang and tension still matter
Leave practical working room at the sides and bottom. The verified longarm guidance supports approximately 4 to 6 inches per side, while some setups need more depending on clamps and roller placement. Extra fabric protects the quilt edge from frame hardware and gives you room to trim a square finished edge.
Pin or clamp placement should hold the panel evenly across its width. For a domestic loading setup, some operators may use attachment points every 3 to 4 inches, but follow the frame manufacturer's method and avoid presenting that spacing as universal. The essential point is consistent tension without stretching the backing off grain.
Directional prints demand another inspection. A backing can be square at the leader and still drift as it rolls. Watch the motif as the quilt advances, and correct a developing angle before it becomes a full-width distortion.
Pre-loading checklist
- Square the panel. Confirm that the leading edge and side edges meet at usable right angles.
- Remove or account for selvages. Don't let tight selvages create a draw-up line.
- Mark the center. Match the backing center with the leader and quilt top.
- Secure the leading edge. Use a straight attachment method appropriate to the frame.
- Check the side margin. Confirm enough fabric remains for clamps and trimming.
- Smooth before stitching. Look for tucks, ripples, and bias pull across the entire width.
- Verify direction. Make sure a one-way print is upright and aligned with the quilt top.
Seamless does not mean automatically compatible. A wider pieced backing may load more safely than a tight 108-inch panel when the quilt is oversized or square.
For professional longarm work, ask for the quilter's backing policy before ordering. Frame width, leader size, clamp design, batting loft, and the chosen quilting pattern all influence the actual margin required.
Linda's educational resources, including live shopping content and instructional videos, can be useful while you prepare tools, batting, thread, and backing for the same project. Pairing fabric preparation with a dedicated batting category keeps the layer choices together instead of treating the backing as an afterthought.
Finding and Buying the Right Wideback
Choose the buying source according to the finished quilt and how the backing will be loaded. A local quilt shop lets you inspect color, hand, drape, and print scale. Online wideback specialists make continuous cuts and broad print selections easier to compare. Manufacturer-direct bolts suit shops and frequent longarm work that need repeat access to a particular line.
Linda's Electric Quilters carries wide quilt backing options such as grunge-style textures, blenders, and novelty prints, with promotions, flat-rate shipping, and pickup in McKinney, Texas. Before ordering, compare the printed face, fiber information, and available cut format. Confirm that the offered cut can cover the finished quilt with the required overhang, rather than choosing by width alone.
| Source | Selection | Price Range | Shipping | Best For |
|---|---|---|---|---|
| Local quilt shop | Hand-feel and color checking | Varies by collection | Carry out locally | Matching a top in person |
| Online wideback specialist | Broad print and swatch options | Varies by fabric | Delivery policies vary | Comparing several designs |
| Manufacturer-direct bolt | Repeat access to selected goods | Varies by order size | Depends on supplier | Shops and frequent longarm work |
Check the actual product measurement. It may be 108 inches, a wider 118-inch option, or another width. Account for selvages, squaring, and the margin required by your longarm frame. Some European goods list 110-inch widths, which may work, but compare that measurement with the backing target after the quilt's finished dimensions and print direction are considered.
A directional print can change the practical value of a wideback. A single panel may avoid piecing, yet an awkward motif orientation or tight side margin can make loading and trimming difficult. A wider pieced backing may offer safer overhang for an oversized or square quilt.
Price per yard may be higher for wide goods, while total yardage and labor are lower. Compare the complete project cost, including narrow extra yardage, seam supplies, cutting, pressing, and print matching. A pre-washed cut may cost more in some assortments, but it can reduce uncertainty about later shrinkage.
For a distinctive theme, add a small coordinating notion such as Fabric Collector Award Stickers. It does not replace the backing calculation, but it can serve as a finishing detail or gift-shop addition for a dedicated quilter.
Wideback Questions and Final Project Advice
Should wideback fabric be pre-washed?
Pre-wash when matching shrinkage behavior matters, especially if the quilt top was pre-washed or the backing has a strong color. Leave it unwashed when you want a crisper finish and have confirmed the fabric is colorfast, but allow room for later shrinkage.
How should leftover yardage be stored?
Fold it flat or roll it on a tube. Don't hang a heavy wide panel for long periods, because its own weight can distort the fold or pull the grain.
Can wideback cover wall hangings and table runners?
Yes. Trim the panel to the project size, then use the remaining fabric for another small project, pillow back, binding accent, or coordinating label.
How can leftover fabric improve the finished quilt?
Reserve enough for pillow backs, binding accents, a hanging sleeve, or a repair patch. The value of a wideback isn't only the first cut. A planned remnant can keep the quilt's color story consistent across future accessories.
The decisive action is simple: measure the finished quilt, add 4 inches on each side for overhang, check the print direction, and confirm that 108 inches is enough for your loading setup. If the dimensions are tight, compare a wider option or plan a seam instead of forcing a false finish.
Linda's Electric Quilters offers wideback fabrics, batting, threads, and quilting supplies with flat-rate shipping, educational resources, and McKinney pickup options. Visit Linda's Electric Quilters to choose a backing that fits your finished quilt, longarm loading plan, and desired drape, then order the cut you can quilt with confidence.


