
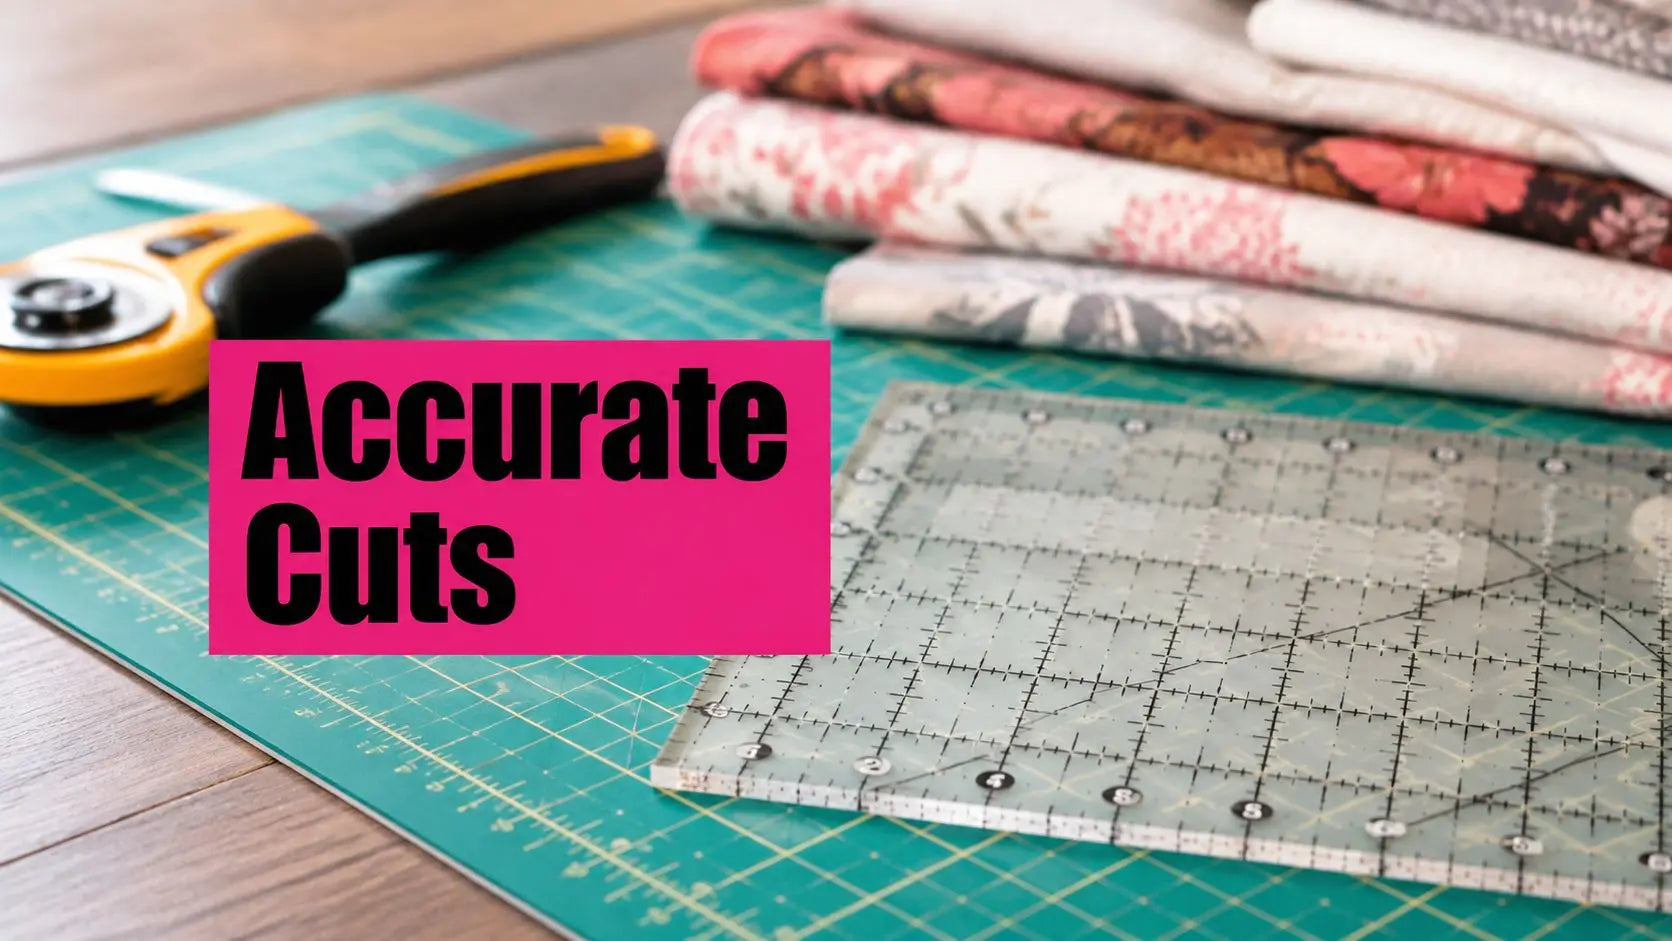
You're halfway through a strip cut when the acrylic quilting ruler shifts. The rotary blade follows the new position, and a strip that should be straight now has a wandering edge. That small error can make seams harder to match, blocks less square, and fabric more difficult to use efficiently.
A well-chosen acrylic quilting ruler gives you a transparent, rigid guide for rotary cutting, measuring, squaring, and angle work. The best results come from combining the right thickness and markings with steady hand position, controlled pressure, and a clean cutting surface. This guide will help you choose the right ruler, use it safely, and build a practical kit for the projects you sew.
Why Acrylic Quilting Rulers Changed the Cutting Mat
Before acrylic quilting rulers became common, quilters often relied on scissors, cardboard templates, or less specialized measuring tools. The introduction of rotary cutters in 1979 changed the cutting process, and acrylic rulers developed alongside that faster method. Industry histories place quilting-specific ruler production in the 1980s and 1990s, including brands such as Omnigrid, Creative Grids, and Quilter's Rule. This history of quilting rulers notes that Omnigrid began marketing rulers in 1985, while Quilter's Rule launched its first fabric-gripping ruler in 1983.
The important change wasn't only speed. Clear acrylic lets you see the fabric beneath the ruler, so you can align a grid line with the selvage, a seam, or a printed motif instead of guessing from the outer edge. The rigid body also gives the rotary blade a stable cutting boundary, while the markings help you repeat the same measurement across multiple pieces.
Practical rule: Align the measurement line that matters to your project, not merely the ruler's outside edge.
Acrylic also became a practical material because it combines transparency with rigidity. A later quilting-ruler patent described acrylic, including cast or extruded acrylic, as a preferred manufacturing material, reflecting the category's development into a standardized transparent cutting tool. Sewing-industry guidance on quilting rulers explains that acrylic provides visibility and stability without the splintering associated with wood.
Accuracy still depends on the quilter. A ruler can't correct fabric that's folded unevenly, a mat that's crowded with scraps, or a blade pushed at an angle. But when the fabric is prepared correctly and the ruler stays planted, the tool creates a dependable connection between the rotary cutter and the finished quilt block.
Choosing the Right Acrylic Quilting Ruler for Your Work
Product descriptions often use similar language, but the details can make a real difference at the mat. Start with material and thickness, then examine the blade, grip, and printed or etched markings.
Most rotary-cutting rulers use clear acrylic or acrylic plastic at a standard thickness of 1/8 inch, or 3 mm, according to quilting-ruler manufacturing guidance. Sewing-industry guidance also identifies 1/8-inch clear acrylic as common, while some ruler-work tools use 6 mm clear acrylic for greater support around machine quilting feet and edge control. This quilting-ruler technical guide explains the relationship between thickness, transparency, and rigidity.
Read the edge before admiring the grid
The edge is where the rotary blade meets the ruler, so inspect that feature first. A clearly defined, straight edge is easier to follow than a heavily beveled edge or one obscured by paint. Industry descriptions also emphasize laser-cut edges, etched grid lines, and high-visibility markings as design choices that support repeatable work. Technical information about quilting-ruler accuracy discusses premium tolerances of ±0.001 inch across the full length and ±0.002-inch edge straightness over 24.5 inches.
Look for markings that match your work:
- Fine grid lines help with strip widths and seam allowances.
- Bold numerals reduce eye strain during repeated cuts.
- 30°, 45°, and 60° angle lines support triangle, bias, and diagonal cutting.
- Grip dots or a textured backing help limit movement on fabric.
The 1/4in Guide Ring Pink can also help you measure the quarter-inch distance from a ruler to a sewing line, and its set includes eight sizes with marked interiors, a stand, and a clear plastic storage jar.

Compare the features that affect accuracy
| Feature | What to Look For | Why It Matters |
|---|---|---|
| Acrylic thickness | Clear acrylic around 1/8 inch, or 3 mm, for rotary cutting | Provides rigidity while keeping the fabric visible |
| Specialty thickness | 6 mm or 1/4-inch templates for machine quilting applications | Gives additional support around quilting feet and guided ruler work |
| Cutting edge | Straight, clearly defined edge with clean finishing | Gives the rotary blade a consistent path |
| Markings | Legible grid lines with 30°, 45°, and 60° guides | Supports repeatable strips, squares, and angled pieces |
| Grip | Non-slip dots, textured backing, or fabric-gripping treatment | Reduces ruler movement during pressure and cutting |
| Accuracy specification | Published edge or length tolerances | Shows how closely the tool is engineered for repeatable cuts |
Choose length based on the fabric you commonly handle. A longer rectangle is useful for yardage, borders, and sashing, while a square is easier to control when trimming blocks. Don't choose a ruler only because it has many lines. The markings must be easy for your eyes to distinguish against both light and dark fabric.
Measuring, Squaring Up, and Strip Cutting with Confidence
Accurate cutting begins before the rotary blade touches fabric. Press the fabric so it lies flat, then place it on the mat with the wrong side facing up when the pattern or print makes alignment easier from that side. The ruler should rest firmly across the fabric, and your eye should align a grid line with the selvage or a trusted fabric reference, not automatically with the ruler's outer edge.
That distinction matters because the fabric edge may not be perfectly straight. If you align the grid to a distorted edge, you can reproduce the distortion in every cut. Use the mat's grid as a second reference, but let the ruler's markings control the finished measurement.
Square the reference edge first
When a block or strip has an uneven edge, place a crosswise ruler line against the portion that should remain square. Press the ruler flat, then trim the uneven border in one smooth pass. Avoid nibbling away at the edge with several short cuts. Each repositioning creates another opportunity for the ruler to move.
After trimming, check the result from more than one direction. A block can appear square along one edge while still carrying a slight angle across the opposite side. Use the ruler's perpendicular lines and the mat's grid to confirm that the reference edges meet cleanly.
A confident cut starts with a stable reference edge. If the first edge is crooked, every later measurement inherits the problem.
Let the blade travel
For strip cutting, fold the fabric according to the pattern directions and keep the layers aligned. Place the long ruler over the fabric, then distribute your non-cutting hand across its surface rather than pinching one corner. Apply even pressure before the blade enters the fabric.
Guide the rotary cutter along the ruler in one continuous motion that moves away from your body. Let the blade do the cutting. Pressing harder won't make the cut straighter, and excessive force can make the cutter harder to control.
Once the strip is cut, flip or rotate it carefully and compare its width against the ruler. Check the measurement at more than one point along the strip. If the width changes, stop and inspect the fabric fold, ruler placement, and blade angle before cutting the next piece.
Measuring feeds squaring, and squaring feeds strip cutting. When each stage begins from a reliable reference, accuracy carries forward instead of drifting through the project. That habit matters more than cutting quickly.
Ruler Safety and Hand Position at the Cutting Mat
Safe cutting feels calm, not tense. Hold the rotary cutter with a firm but relaxed grip, keep the blade closed between passes, and position your body so the cutter can move away from you without forcing your wrist into an awkward angle.
Your other hand should press across the ruler with fingers spread wide. Keep fingertips away from the line, and curl them rather than laying them flat beside the blade path. Your knuckles can act as a buffer, but they shouldn't hover directly over the edge.
Build stability before the first stroke
Place the ruler, then apply downward pressure before opening or engaging the blade. This sequence prevents the cutter from becoming the force that shifts the ruler. If the ruler moves, stop cutting. Don't chase a wandering blade or try to correct the line halfway through a stroke.
Common trouble spots include:
- Lifting the ruler mid-cut: Finish the pass or close the blade before repositioning.
- Pinching the edge: Spread your hand across the ruler for broader control.
- Using short, choppy strokes: Use a smooth motion that follows the edge.
- Leaving the blade open: Close the guard immediately after each cut.

The cutting demonstration below is useful for watching hand placement and blade movement in real time. Pause it before your own session and compare your setup with the demonstrated posture.
A sharp blade, a clear mat, and a deliberate hand position make cutting safer and more consistent. If you notice your shoulder tightening or your wrist bending sharply, stop and reset your stance.
Matching Ruler Shapes to the Blocks You Love
A ruler kit should reflect the blocks you sew. A long rectangle may be indispensable for strip work, but it won't replace a square ruler when you're trimming a finished block. Specialty shapes can save marking time when a pattern calls for repeated diagonal cuts.
| Ruler Shape | Best For |
|---|---|
| Long rectangle | Strip cutting, sashing, borders, and binding |
| Medium square | Squaring up pieced blocks and checking perpendicular edges |
| Small square | Sub-cutting strips, trimming small units, and travel work |
| Half-square triangle ruler | Cutting or trimming diagonal units |
| Quarter-square triangle ruler | Managing quarter-square triangle components |
| Strip or miter ruler | Border joins, binding, and mitered corners |
A compact 6 x 12-inch ruler is easy to maneuver for sub-cutting strips and portable sewing work. An oversized 12-1/2-inch square ruler gives broad support when you're squaring up larger blocks, although it can feel less nimble on small units.
Start with one versatile rectangle and add shapes based on your patterns. If your projects contain repeated half-square triangles, a specialty triangle ruler may be more useful than another general-purpose rectangle. If you make sampler blocks, a square ruler can earn its place quickly.
The right shape reduces awkward repositioning. Less repositioning means fewer chances to lose alignment, especially when the fabric contains multiple layers or bias edges.
Cleaning, Storing, and Keeping Your Ruler Accurate
Acrylic quilting rulers collect lint, thread, and fabric fuzz during normal use. Even a thin layer beneath the ruler can create a small lift, which may allow movement during a rotary cut. After a session, wipe the ruler with a soft cloth and mild soapy water, then dry it completely.
Avoid harsh cleaners and paper towels. They can damage markings or create micro-scratches that make the grid harder to read. Handle rulers by the edges when possible, especially if the surface includes a specialized grip treatment.
Give the edge a simple inspection
Set the ruler against a known straight line on your cutting mat and examine the edge from end to end. Look for chips, nicks, or a visible bow. A damaged edge can change the blade path even when the markings still appear accurate.
Store rulers upright in a rack when you can. If you store them flat, keep them supported rather than placing heavy fabric on top. Leaning acrylic against a warm wall may encourage bowing over time, so choose a stable, moderate-temperature storage spot.
A quilter who finishes a cutting session by cleaning and drying her favorite ruler avoids carrying lint into the next project. When she reaches for it the following week, the edge is clear, the markings are readable, and the tool is ready to deliver the same dependable alignment.
Putting It All Together and Building Your Ruler Kit
Your cutting kit doesn't need to be large to be useful. Choose a clear acrylic ruler with at least 3 mm thickness, a dependable grip, and markings you can read against your usual fabrics. For rotary cutting, the common 1/8-inch, or 3 mm, format provides a practical balance of visibility and rigidity, as described in this quilting-ruler reference.
Keep your technique just as consistent as your tools:
- Prepare the fabric: Press it flat and establish a reliable reference edge.
- Control the ruler: Press down across its surface before the blade moves.
- Match the geometry: Use rectangles for strips, squares for blocks, and specialty shapes for diagonal units.
- Protect accuracy: Clean the ruler, store it safely, and inspect the edge regularly.
A practical starter kit can include a 6.5 x 24-inch long ruler and a 6.5-inch square, followed by one specialty shape for each project type you make most often. Keep a note of the dimensions your patterns use, then fill gaps instead of collecting tools at random.

Browse the acrylic ruler selection at Linda's when you're ready to complete your cutting setup.
Frequently Asked Questions
What are acrylic quilting rulers made from?
Most rotary-cutting rulers are made from clear cast acrylic or acrylic plastic, commonly at 1/8 inch, or 3 mm, thick. Acrylic lets you see the fabric beneath the grid while providing a rigid edge for rotary cutting. Quilting-ruler material guidance describes 3 mm as a typical size for cutting and marking fabric.
Are machine-quilting templates thicker than rotary-cutting rulers?
Generally, yes. Longarm and midarm quilting templates are commonly 1/4 inch thick, while rotary-cutting rulers are commonly 1/8 inch, or 3 mm, thick. The thicker template supports guided machine quilting work and helps provide clearance around the quilting foot. This comparison of custom quilting templates outlines the distinction.
Which angle markings should an acrylic ruler have?
Look for 30°, 45°, and 60° lines if you cut triangles, bias strips, diamonds, or other angled units. These guides make it easier to align the ruler consistently instead of estimating the angle by eye. Markings should remain clear against the fabrics you use most.
How can I stop my ruler from slipping?
Use even pressure with your non-cutting hand, spread your fingers across the ruler, and place the pressure before the rotary blade begins moving. A ruler with non-slip dots, a textured surface, or a fabric-gripping treatment can provide additional stability. Clean away lint and fuzz because debris beneath the ruler can create lift.
How should I store an acrylic quilting ruler?
Store it upright in a rack or flat on a supported surface. Don't lean it against a warm wall, and don't place heavy fabric on top of a flat ruler. Check the edge against a straight reference line occasionally so you can identify chips or warping before they affect a project.
Linda's Electric Quilters offers quilting fabrics, batting, threads, notions, educational videos, and live shopping resources for quilters building a precise cutting and sewing setup. Visit Linda's Electric Quilters to find the acrylic quilting rulers and supporting tools that can help you cut straighter, square your blocks with confidence, and finish your next project accurately.


