

“Always prewash flannel” isn't enough advice. When you're backing a quilt with flannel, measure how much the fabric shrinks in each direction, then calculate yardage from the backing rectangle your frame needs. Otherwise, you can wash the fabric exactly as advised and still end up short at the leaders.
The reliable sequence is test, calculate, wash, square, piece, and load without stretching. That gives you the soft hand you chose flannel for without asking roller tension to straighten fabric that should've been corrected at the cutting table.
What Flannel Does on the Back of a Quilt
Before cutting, plan for a backing that remains large enough after washing and pressing, not just when it comes off the bolt. The extra fabric is working space for loading and quilting, not spare cloth to trim away early.
A quilt has three stitched layers, the decorative top, insulating batting, and backing, as the Metropolitan Museum of Art explains. The backing is therefore a structural layer, not merely a lining. On a longarm, it's also the surface you attach to the leaders and tension across the frame.
Check the whole piece on the cutting table before deciding where the panels will go.
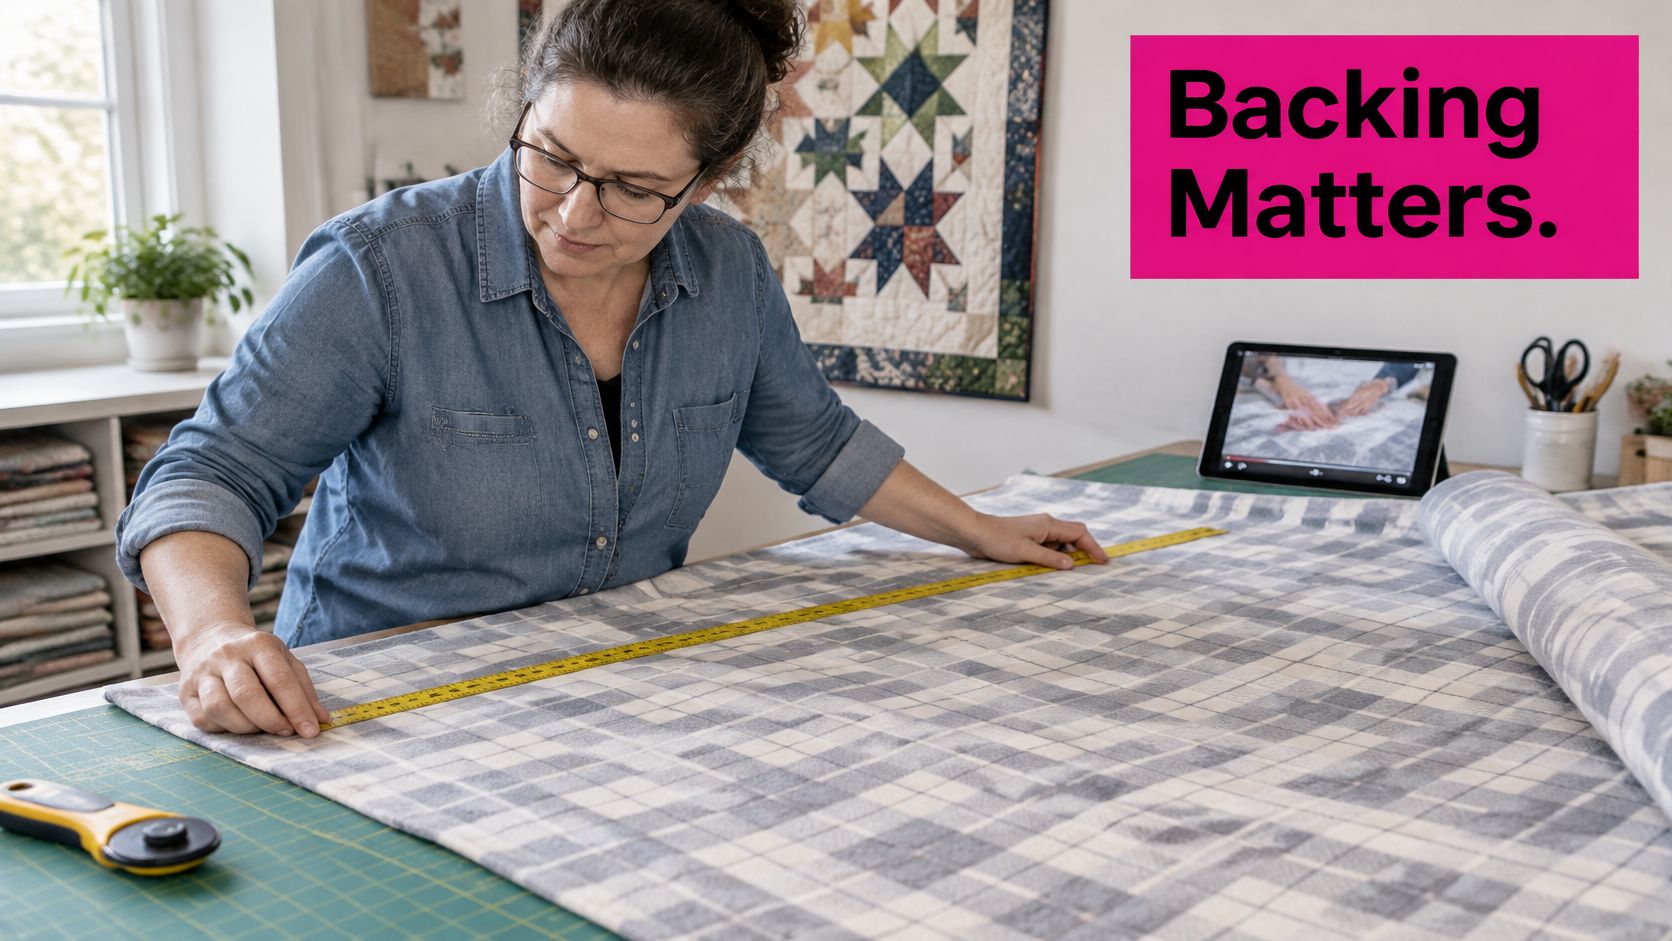
How does flannel weight affect handling?
Quilting flannel commonly measures 42 to 44 inches wide and weighs approximately 4 to 6 ounces per square yard, according to H.C. Quilts' flannel guide. Width determines whether you'll need a seam. Weight, weave, and brushing help determine how the cloth behaves while you make that seam and advance the quilt.
Flannel weight and what it does on the frame
| Flannel weight | Handling | Risk on the frame |
|---|---|---|
| Under 5 oz per sq yd | Loose weave with a softer drape | Stretches while sewing and shrinks more in the wash |
| About 4 to 6 oz per sq yd, typical quilting flannel | Warm, soft, and more stable under the rollers | Needs steady feed and even tension |
| Heavy napped flannel | Warmest and bulkiest hand of these options | Can drag under roller tension and shed lint |
Use those descriptions as handling cues, not a guarantee that weight alone predicts stability. Feel the fabric, inspect the weave, and notice whether an edge lengthens when you handle it.
Does flannel replace the middle layer?
Flannel adds warmth and surface softness, but it doesn't replace the batting in a traditional quilt sandwich. The batt supplies loft. Choose that loft with the backing's existing weight in mind, rather than treating every soft backing as a reason to add a thicker middle.
The nap, or brushed surface, also affects appearance. Stroke the fabric in opposite directions and look for a change in shade before arranging panels.
If you're still comparing blanket textures, That Blanket Co.’s guide can help you find the right custom blanket fabric. Use that comparison to settle the hand you want before committing to flannel yardage.
Practical rule: Choose the finished feel first. Then prepare the fabric for the frame, rather than trying to make it behave like smooth quilting cotton.
Yardage and Overhang for a Flannel Back
A flannel back can lose its frame margin before it reaches the longarm if you size it only from the quilt top. Start with the required washed backing rectangle, then use shrinkage measured from a swatch to calculate the unwashed fabric to buy. This keeps the planned overhang tied to the fabric's actual change in width and length.
Flannel backing size after shrink and frame overhang
| Top | Minimum back after preshrink | 44-inch flannel | 108-inch flannel |
|---|---|---|---|
| Throw 60 × 72 in | 68 × 80 in | 4.5 yards | 2.25 yards |
| Lap or twin example 60 × 80 in | 68 × 88 in | Measure washed width | Measure washed width |
| Target about 90 in finished width | About 96.3 in with a simple 7% added allowance, an estimate rather than a shrinkage calculation | Usually two lengths | Often one panel if width holds |
The throw yardage figures are starting layouts, not guarantees for every flannel. Check the usable width after washing, and allow for the panel layout and edges that may need trimming.
The QCS longarm preparation guide calls for at least 8 additional inches in width and length, giving 4 inches per side. So a 60 × 80-inch top needs a minimum 68 × 88-inch backing after preshrinking. Treat that margin as working room on the frame, not as fabric available for seams or squaring.
Why isn't adding a shrinkage percentage enough?
A percentage added to the finished size is only an estimate; shrinkage must be applied to the unwashed dimension. Use the measured rate for each direction separately:
Unwashed dimension needed = required washed dimension ÷ (1 − measured shrinkage rate)
For example, calculate width from the width shrinkage rate and length from the length rate. That distinction matters when the backing is close to the bolt's usable width. A small difference can determine whether one panel covers the quilt or a join is needed.
Budget separately for seam allowances, unusable edges, and squaring loss. These reduce the cloth available for the backing, while frame overhang is the margin needed to load the quilt.
When does a wideback beat a pieced back?
A wideback avoids a join when its washed usable width covers the required rectangle. With narrower fabric, plan the panels and seam first, then calculate the length to buy. Divide the required backing width between the panels, include their seam allowances, and confirm that each washed panel is wide enough. The printed bolt width alone does not confirm usable width.
This image shows a cotton wideback option, not a verified flannel product.
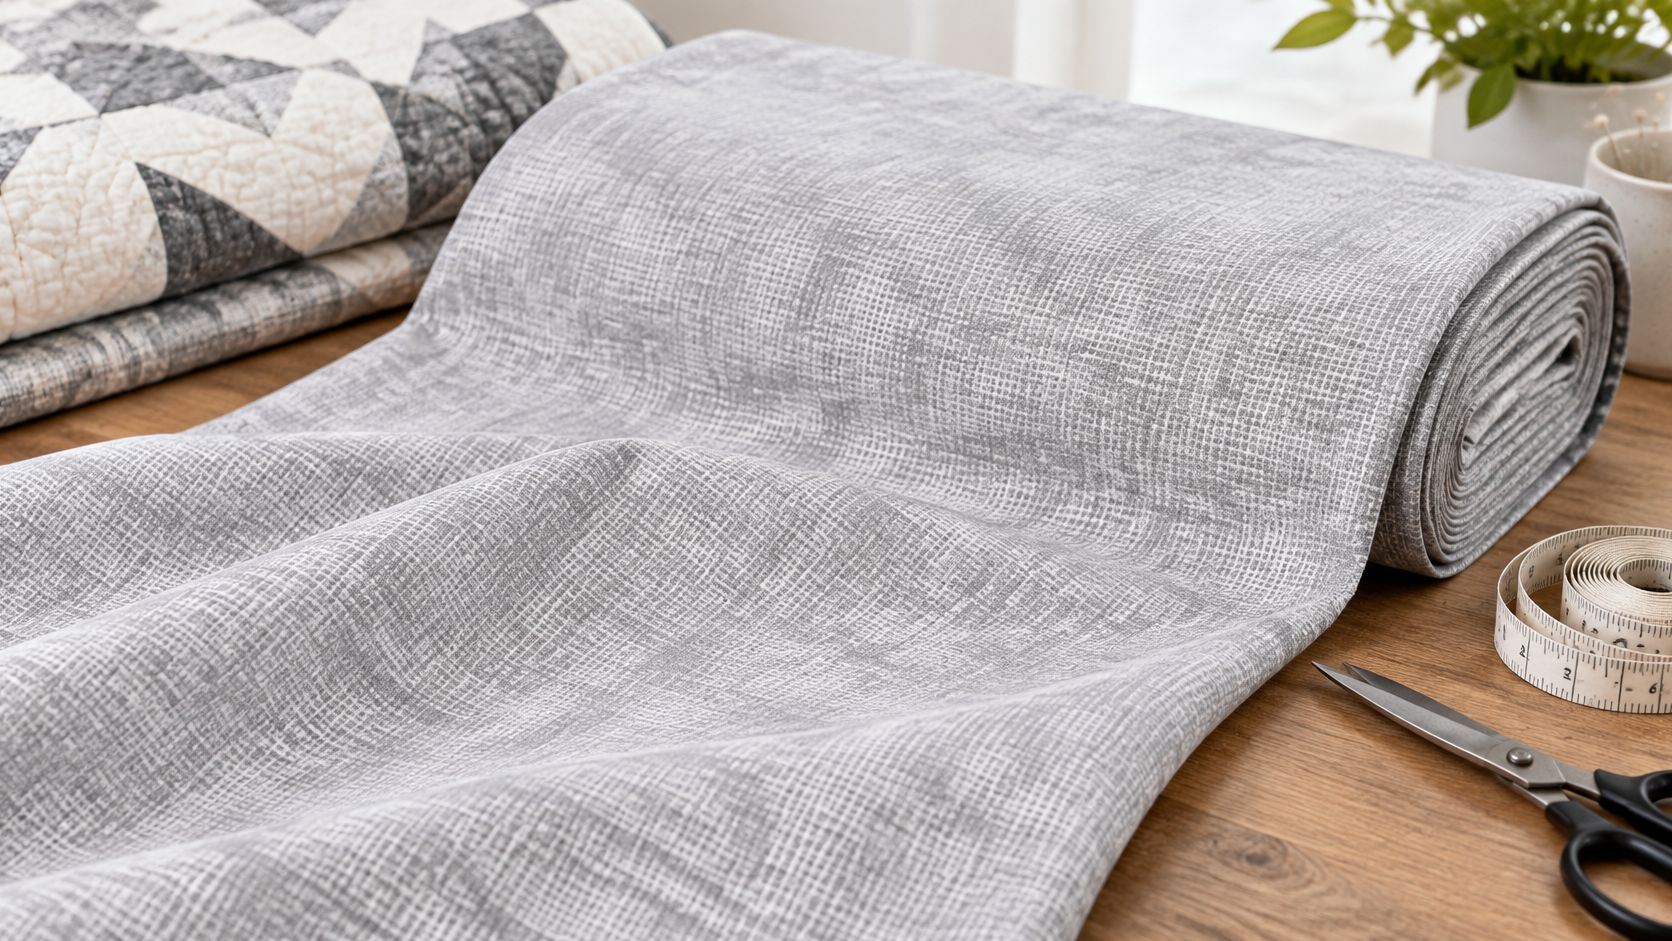
The Grey Metal Chalk and Charcoal Cotton Wideback Fabric Per Yard is a cotton backing. Its product description does not establish that it is flannel, so account for the difference in hand before choosing it for a flannel-backed quilt.
Before ordering, record the required washed rectangle, panel arrangement, and measured shrinkage rates. Then apply those directional rates to the frame-overhang dimensions to determine the unwashed yardage.
How to Prewash Flannel and Measure Shrinkage
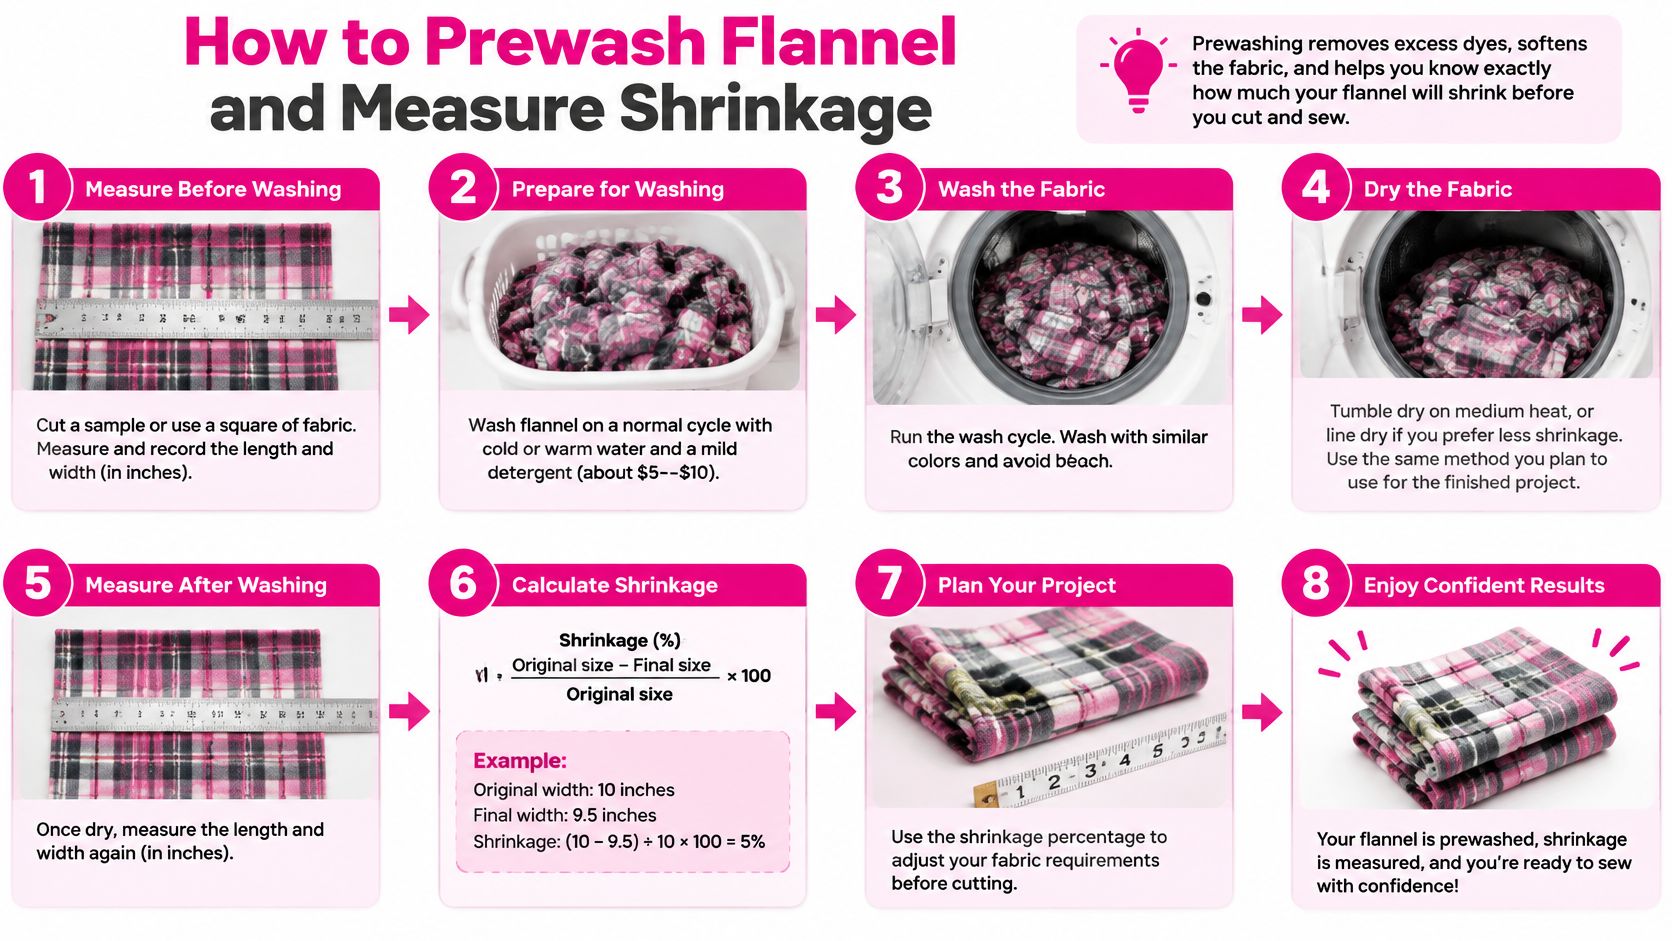
Prewashing works as a measured test you record, not a routine hot wash. A swatch shows how your flannel changes in length and width under the care planned for the finished quilt. Apply those separate rates to the backing dimensions, including the 8-inch frame overhang, to estimate the yardage needed and keep the finished back square.
- Mark the grain directions. Cut a generous square swatch, or mark a rectangle on the full piece with a washable fabric marker. Identify the warp, parallel to the selvedge, and the weft, across the fabric.
- Record the distance between the marks in each direction. Measure the cloth flat and relaxed, without pulling an edge straight.
- Wash and dry as the quilt will be washed and dried. Use the intended water temperature and drying method. A hotter test won't predict shrinkage under gentler care.
- Let the sample cool and relax, then measure between the same marks again.
- Calculate each shrinkage rate separately. Subtract the washed measurement from the original, then divide the difference by the original measurement.
- Apply the lengthwise and crosswise rates to the corresponding dimensions of the backing rectangle. Include the frame allowance before calculating how much fabric to buy.
- Launder the purchased fabric before piecing. Press with a lifting motion, then measure its usable width and length.
- Square the relaxed cloth. Don't stretch a short edge to make it match the opposite edge.
Keep the measurements together. A simple record helps prevent swapping the lengthwise and crosswise rates when you calculate the cut size.
What shrinkage range should you expect?
TextileTuts' flannel care guide reports the temperature-related changes below. A peer-reviewed cotton-fabric analysis reports directional shrinkage in cotton twill. For flannel, Fabric Company's wide-flannel guide discusses the broader range shown in the table.
Flannel shrinkage by care and direction
| Condition | Reported change | What to do with it |
|---|---|---|
| First wash about 40°C | About 4–6% | Test this care method if the quilt will be warm-washed |
| First wash about 60°C | Up to 10% or more | Use only if the quilt will be hot-washed |
| Later hot washes | About 0.5–1% more each | Allow for additional change over time |
| Warp on tested cotton twill | About 3.7–6.8% | Measure length separately |
| Weft on tested cotton twill | About 1.9–3.2% | Don't copy the warp rate |
| Common flannel guides | About 5–7% | Let the swatch guide your estimate |
The cotton-twill results demonstrate directional shrinkage, not a specification for your flannel. Use your own swatch rates when calculating the fabric needed. Generic ranges are useful context, but they can't replace a measurement of the fabric you plan to use.
Should the quilt top get the same treatment?
For a top that hasn't been assembled, plan compatible washing for its fabrics before construction. If the top is already pieced, consider its preparation history before washing it. Vulnerable seams and raw edges may not tolerate a wash cycle just to match the backing.
The finished quilt's care plan matters too. A preshrunk backing won't make unwashed fabrics elsewhere in the quilt dimensionally stable.
Check dark flannel for dye transfer with a damp white cloth and a separate wash test before pairing it with a light top. If dye continues to transfer, resolve that before assembly.
Save the swatch record with your project notes. Compare its directional rates with the purchased fabric's measured usable dimensions before cutting.
How to Cut and Piece a Flannel Backing
Cut the backing only when the washed fabric is dry, relaxed, and measured. Backing a quilt with flannel goes more smoothly when you support the cloth instead of letting its weight pull against the ruler or presser foot.
Keep the fabric fully supported while cutting.
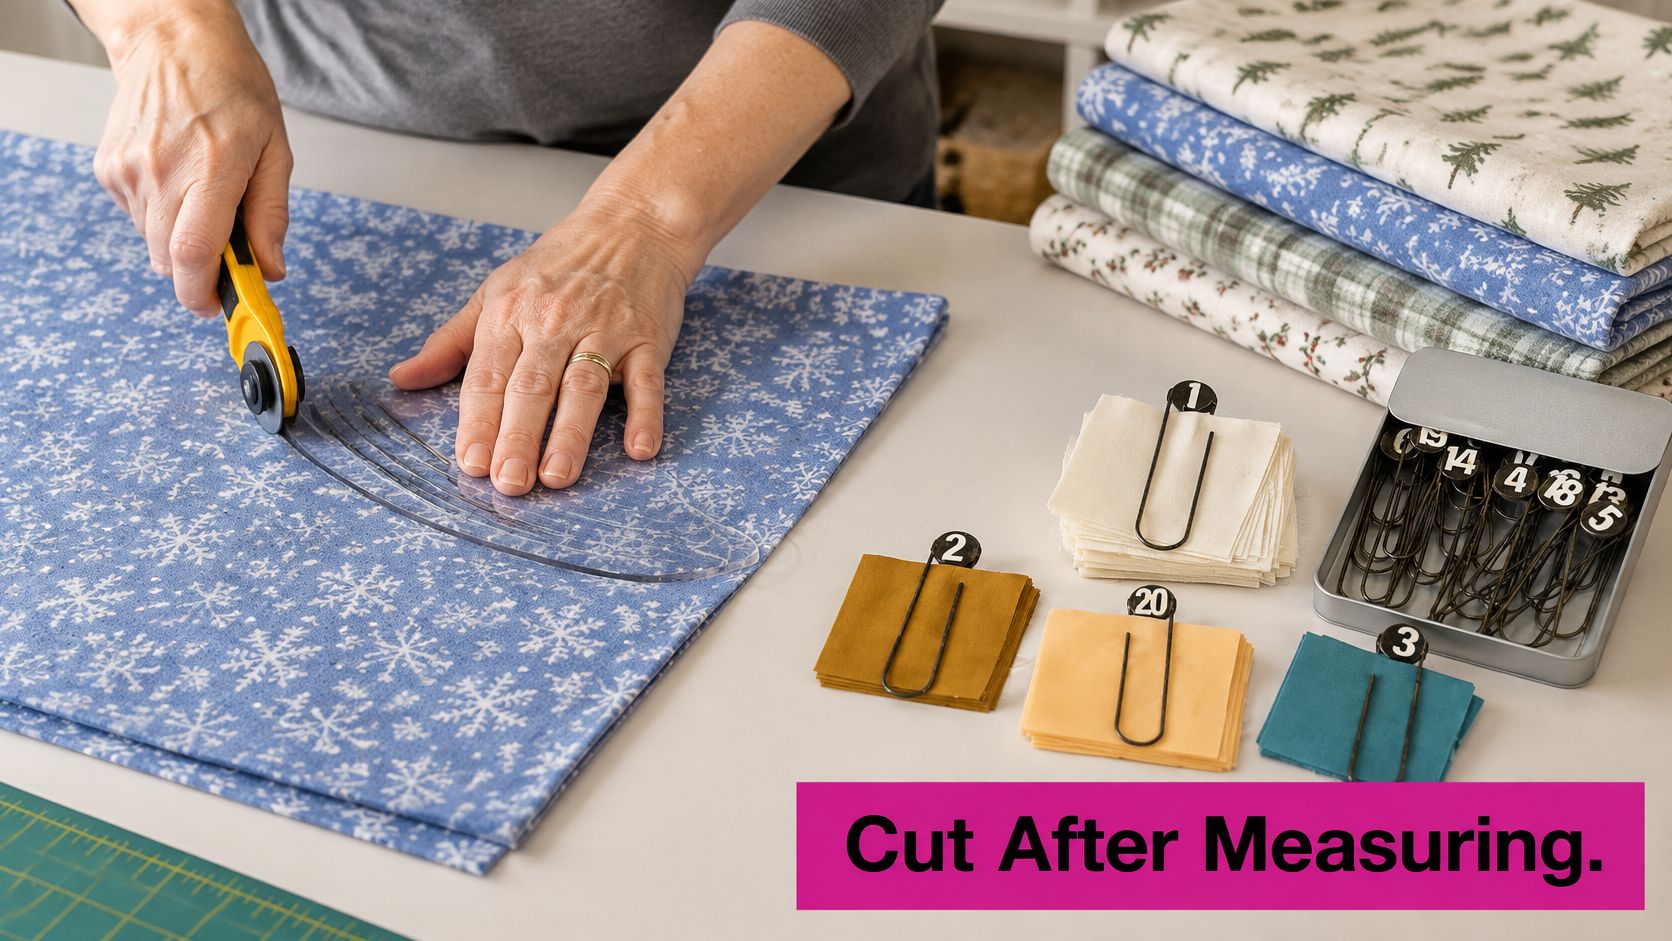
How do you keep the panels square?
- Spread the preshrunk fabric on a smooth surface. Clear anything that catches the nap. Support the remaining yardage so it doesn't hang off the table and pull the panel sideways.
- Square the cloth and cut to the planned panel dimensions. Use the measured fabric, not the selvedge printing, as your guide.
- Align the nap before joining panels. Stroke both pieces in the same direction and check them under the same light. Opposing nap can make matching fabric look like different shades.
- Stabilize the seam zone lightly if needed, then stitch without pulling either panel. Support the cloth behind the machine as well as in front.
- Press the seam open with a lifting motion. Let it cool flat, then check that the join is straight and that neither panel has gathered along it.
- Recut an out-of-square edge. Pulling it into position only hides the distortion until the fabric relaxes.
Seamwork's flannel sewing guide recommends a longer stitch, starch for control, and increasing the usual ¼-inch seam allowance to as much as ½ inch. It also identifies flannel under 5 ounces per square yard as especially likely to have a loose weave.
Test the stitch on scraps before joining the full panels. The seam should hold securely without looking tightly drawn or perforated along the stitching line.
Should you starch the entire backing?
Use starch where you need sewing control, not automatically across the whole back. A light application at the seam can reduce stretching while preserving a useful sense of how the remaining fabric handles.
A straight seam sewn without strain is more useful than a perfectly matched plaid pulled out of square.
Keep pins or clips close enough to control the layers, but don't force unequal edges to match. If one panel feeds ahead, stop and correct the feed rather than sewing the excess into a wave.
For a visual reference while preparing the project, use this tutorial alongside your cutting-table checks.
Finish the seam inspection before moving to the frame. A bowed join is easier to correct on the table than after the backing is attached to the leaders.
Loading Flannel on a Longarm Frame
Flannel can be longarmed successfully. The fabric name alone doesn't tell you whether the load will behave. A stretchy weave, uneven attachment, excessive tension, or accumulated lint can each create a different problem.
Use the symptom to choose the first adjustment. Don't turn the tension dial every time something looks wrong.
Flannel frame problems and the first fix
| What you see | Usual cause | First fix |
|---|---|---|
| Ripples that grow as you roll | Roller tension too high on a stretchy weave | Ease tension and smooth from the center |
| Back drags or stalls | Heavy nap and friction | Check leaders and side clamps before adding tension |
| Thread breaks and fuzzy stitches | Lint in the bobbin or thread path | Clean the path, then test on a scrap sandwich |
| Seam thumps at the needle | Pressed ridge or crooked join | Press open and confirm the seam is straight |
| Quilt looks tight now and wavy later | Back was stretched while loading | Reload relaxed and square |
These are starting checks, not exclusive diagnoses. A damaged needle or unsuitable thread can also break thread, and poor stitch balance still needs a proper tension test.
Pro tip: If leader edges need more body, starch those edges lightly rather than stiffening the entire backing. Keep a soft, unstiffened area available for evaluating the quilt's actual hand and drape.
How tight should the backing be?
Attach the leaders straight, then smooth the backing from the center toward the sides. Set the side clamps evenly and take up slack without stretching the fabric into a drum-tight surface.
Look across the nap under low-angle light. If tension creates pronounced tracks or a stretched band at the clamps, release the load and reassess it.
A loose lightweight flannel may elongate while appearing beautifully flat. Heavy napped cloth may resist movement even when it isn't stretched. Adding more roller tension doesn't solve both conditions.
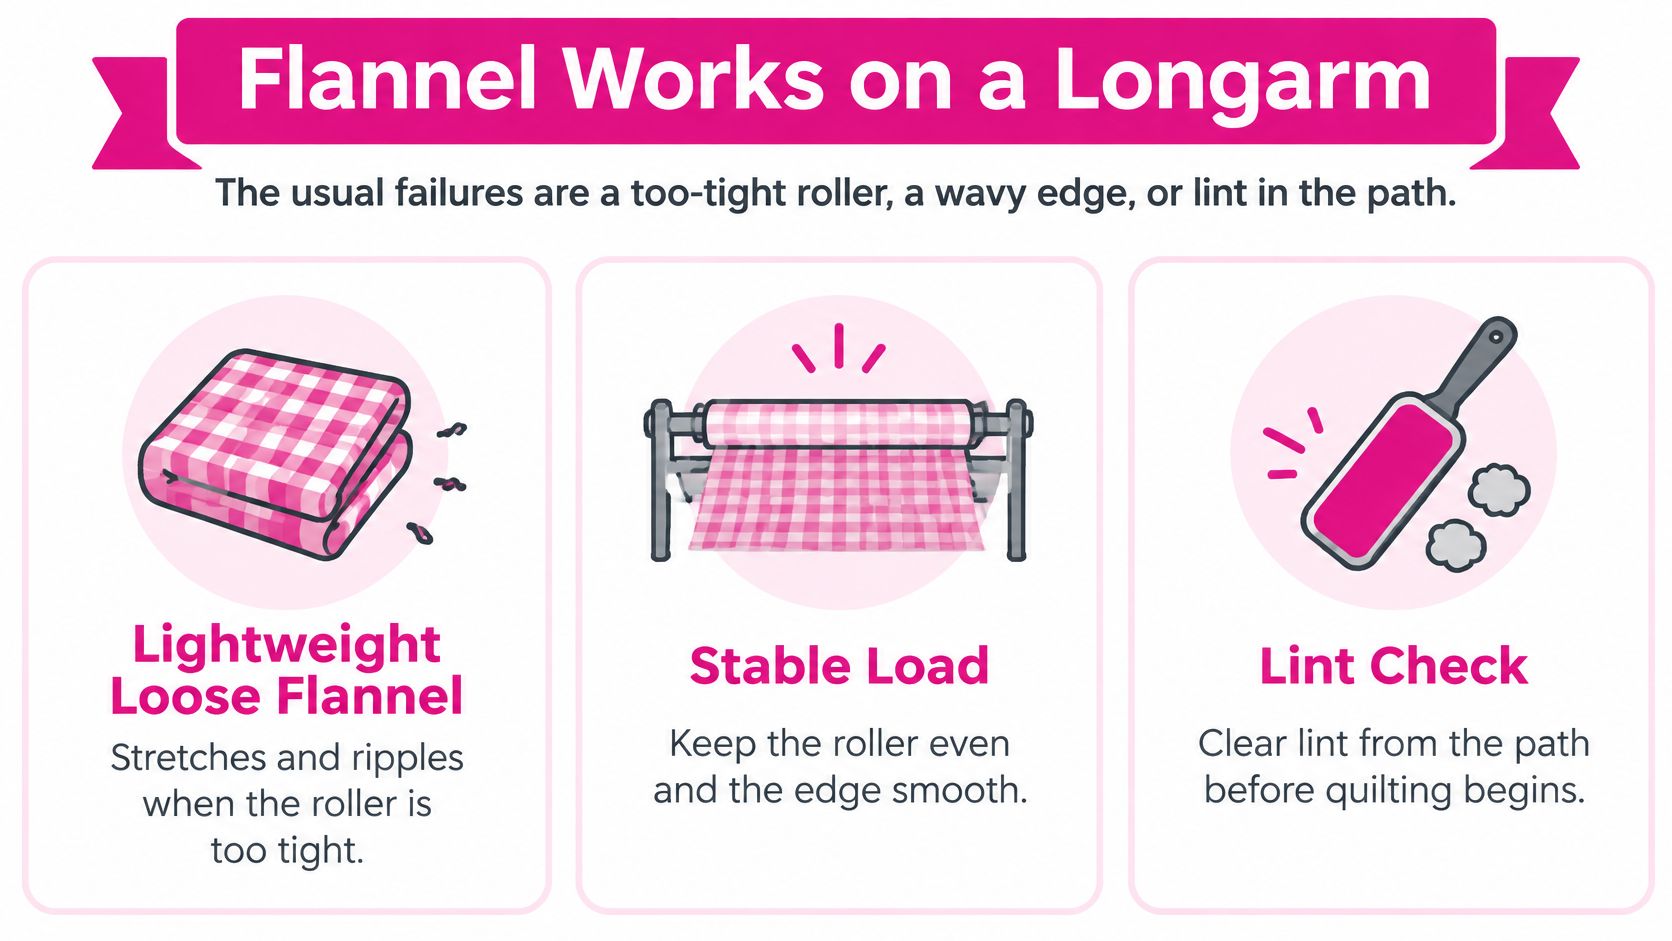
The loading checks are summarized in this visual.
What should you test before quilting the top?
Make a representative sandwich with the actual backing, batting, top fabric, needle, and thread. Quilt both open curves and the tighter movements your design requires, then inspect the front and back after the sample relaxes.
Check these items before changing stitch tension:
- Needle condition: Replace a damaged needle and confirm that its size suits the thread and sandwich.
- Bobbin area: Clear fuzz from the bobbin casing area according to the machine's maintenance instructions.
- Thread path: Look for lint, snags, or thread that isn't seated correctly.
- Fabric clearance: Confirm that clamps, leaders, and the rolled quilt aren't restricting movement.
- Stitch balance: Test again after cleaning and correcting the load.
Loops on the back aren't proof of a backing-feed problem. They can also indicate an upper-thread tension or threading issue, so inspect the whole system before deciding on the cause.
For a preparation reference at the machine, keep Linda's quilting-with-flannel tutorial open while you work.
How does quilting density change the result?
Dense stitching compresses the sandwich and changes its flexibility. Judge the design on the relaxed sample, not just while it's stretched across the frame.
Choose spacing that supports the batting while retaining the hand you want. Don't assume a soft backing will remain equally supple under every quilting pattern.
After quilting, use care compatible with the tested fabric. Linda's backing-fabric guide recommends gentle washing and moderate drying to help preserve the surface and avoid unnecessary wear or distortion.
Choose Batting and Finish the Quilt
Flannel already adds substantial weight and hand to a quilt. Choose batting by the quilting spacing it allows and the drape you want, rather than by warmth alone. A high-loft batt can make the finished quilt feel fuller and heavier, so consider how the batting and flannel will work together.
Warm & Natural is needle-punched cotton with no scrim resins and can be quilted up to 10 inches apart. Treat that as the batting's spacing limit, not a target. Your quilting pattern can use closer spacing wherever the design calls for it.
Which quilting plan keeps the quilt flexible?
Check the widest unquilted gaps in your planned design. A large motif may look evenly spaced while leaving broad areas without stitching. Measure those gaps on the layout, then adjust the design where needed. Adding small stitches everywhere can compress the sandwich and change its hand.
Compare the overall effect before committing:
- Open quilting: Leaves more of the sandwich's loft and flexibility intact.
- Moderate coverage: Defines the design while avoiding heavy stitching across every area.
- Dense detail: Builds stronger texture, but test a sample to check for stiffness and bulk.
What should go on the finishing list?
Use the backing's washed-width calculation to confirm your fabric needs, then select batting that suits the quilting plan. Add shaping tools only when the design requires them. For scallops and curved crosshatching, the Mini Curvit Ruler for Longarm Quilting provides inside and outside curves, as well as straight and curved edges with guidelines.
Use a compatible ruler foot and keep the ruler supported on the quilt sandwich. The ruler guides the machine; it should not push or stretch the backing.
Let the quilt rest flat before binding. Check the perimeter and trim it square without cutting into secured quilting. Test the binding around a corner to judge how much bulk gathers there.
Frequently asked questions
Can I use flannel backing on an already finished quilt top?
Yes. Prepare and test the backing separately, then account for the top's washing history when choosing the finished quilt's care routine.
Should I trim the backing flush before binding?
Keep enough edge support for your binding method, and avoid cutting into the secured quilting.
What notes should accompany a flannel-backed quilt?
Include the tested wash and dry method, the backing's orientation, and any dye-transfer concerns. Mark the intended top edge if the print or nap is directional.
Linda's Electric Quilters offers wideback backing fabric and quilt batting, including 108-inch Supreme Backings and 3 Yard Wideback Packs. Bring your washed-width measurements and quilting plan to Linda's Electric Quilters to choose backing and batting suited to your project.


