
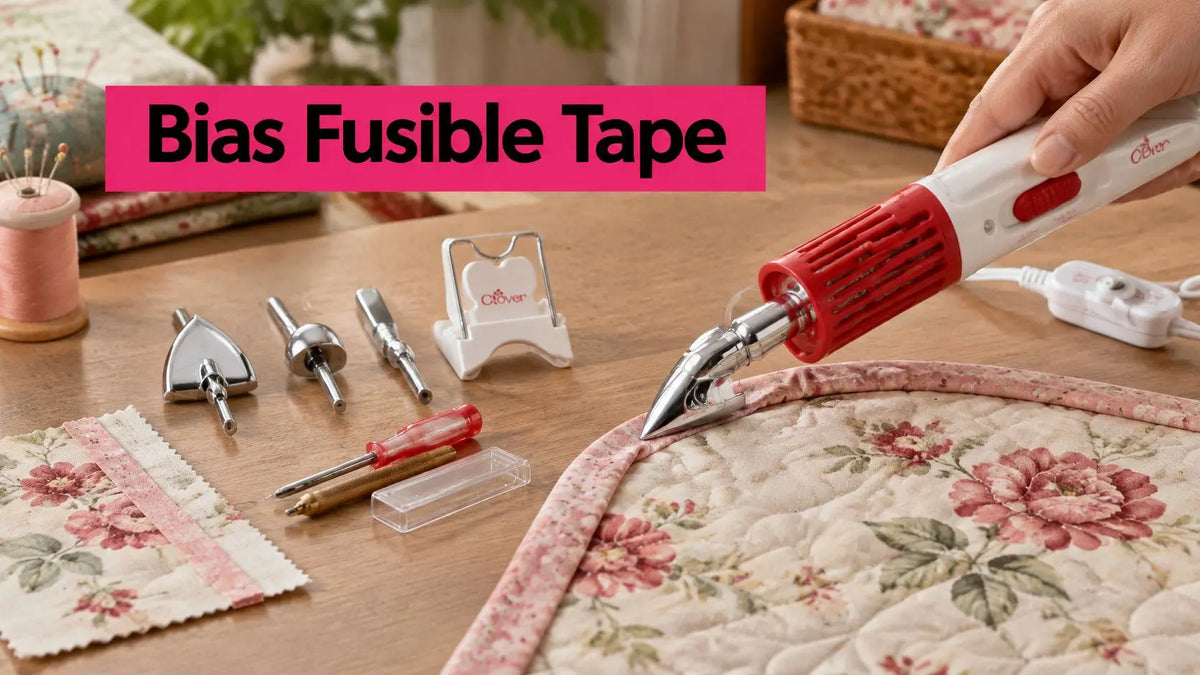
Bias fusible tape is a narrow fabric strip cut diagonally across the grain, with a heat-activated adhesive layer that bonds it to fabric when pressed. If it holds so neatly after ironing, why do experienced quilters still stitch it down? That question matters, because this tape is best judged as a positioning aid, not permanent structure. How much movement an edge needs, and how often the finished piece will be washed, should decide whether you reach for it.
What Bias Fusible Tape Is and How It Works
What holds a folded fabric edge in place before you sew it? Bias fusible tape is a narrow strip of bias-cut fabric with a heat-activated adhesive web. Heat and pressure soften the adhesive, temporarily bonding the tape to the project fabric; after cooling, the bond helps keep the edge positioned for stitching.
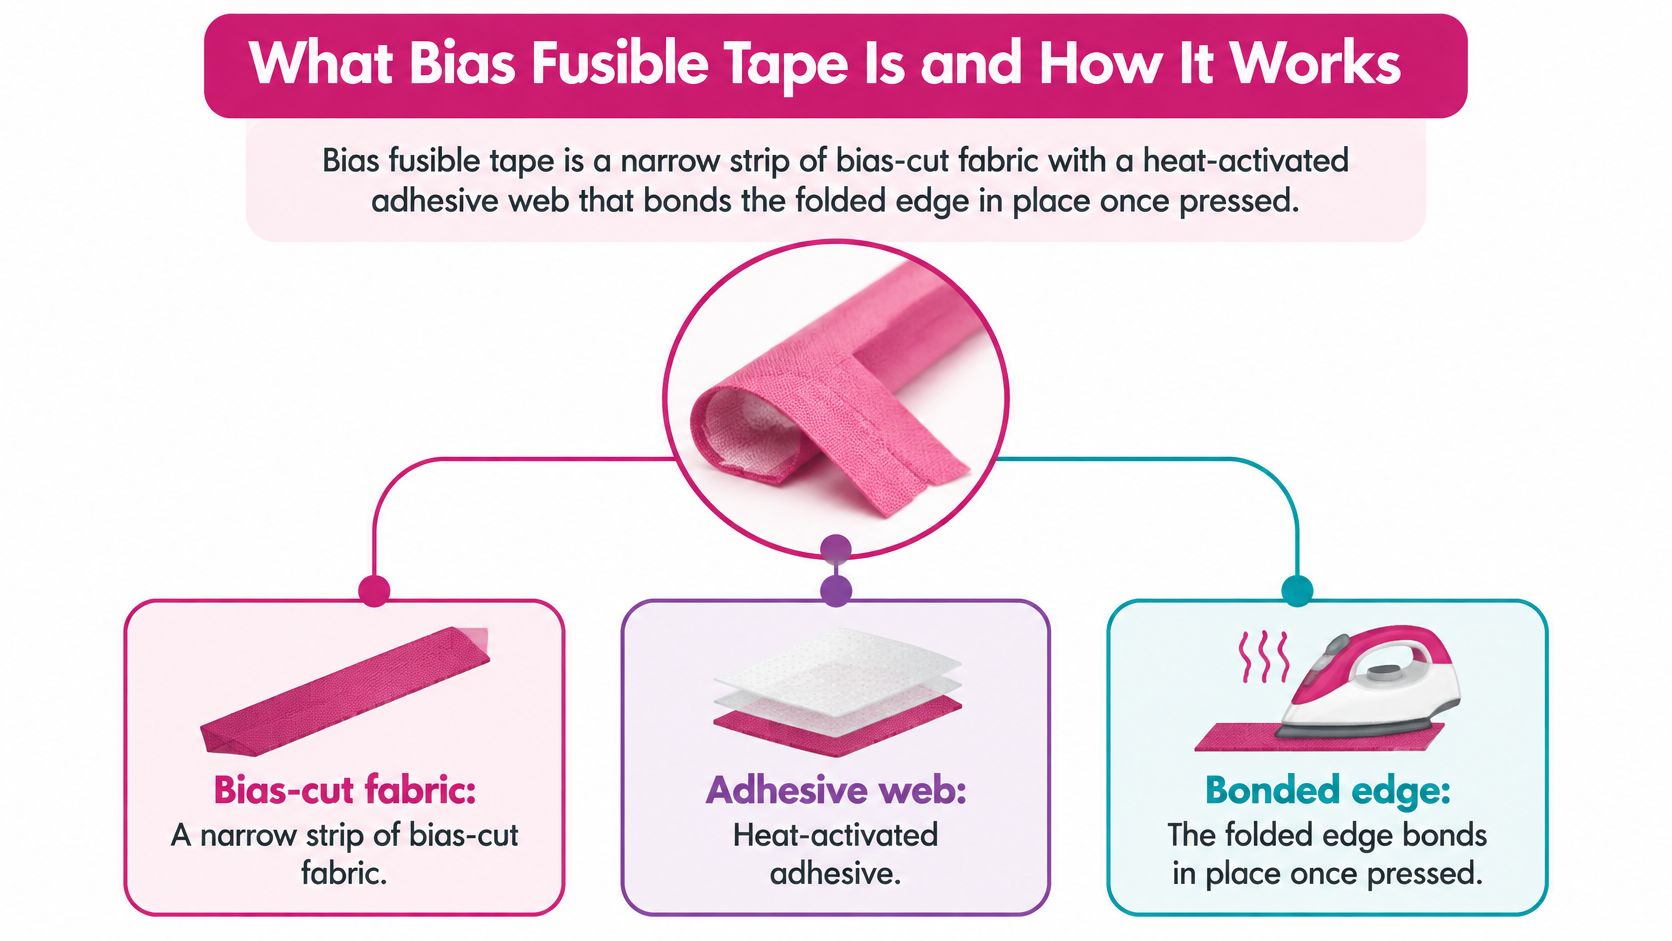
The fabric strip and adhesive do different jobs. Cut diagonally across the grain, the strip can flex as its threads shift against one another. That flexibility helps it follow curves and shaped seams with less puckering than a straight-grain strip, as described in this overview of heat-fusing textile materials. The adhesive is a fusible layer, a thermoplastic material that softens under heat and pressure, then bonds the textiles as it cools.
The Three Formats You Will Meet
Sewing references describe three formats: tape with an integrated fusible web, tape with no fusible web, and nonfusible construction. For making bias tape, a tape maker plus steam pressing helps keep width even around curves. A ready-made fusible strip can hold a narrow binding, appliqué edge, strap, or seam finish in position without pinning or temporary basting.
Core idea: Fusible adhesive helps position the tape; stitching carries the load. Judge its suitability by how much movement the edge needs and how long the project must withstand washing. Heat, pressure, and dwell time affect the bond, but an easy press does not make the adhesive permanent structure.
Before pressing, check the tape's instructions and test a scrap of the same fabric. Too little heat or time may leave the bond weak; too much can affect the fabric's hand or flatten its loft. A pressing cloth can help protect delicate surfaces.
Fabric Types and Projects Where It Works Best
Read the fit ratings below as a measure of how well bias fusible tape bonds and holds shape on that fiber. They are not ratings of how pretty the finish looks.
The governing rule is simple. Bias-cut fabric is flexible because of its orientation, and pressing fusible tape onto a stretchy or bias edge can flatten it, stretch a neckline, or leave a ridge. That trade-off between stabilizing an edge and preserving its designed movement is the point raised in sewing guidance on stretch, grain direction, and stabilizer choice. Woven cottons, linens, and most quilting cottons give the most predictable bond. Silk, rayon, and wool ask for lower heat, a pressing cloth or steam, and always a test swatch.
Fabric Fit and Best Projects for Bias Fusible Tape
| Fabric | Fit | Watch For | Best Projects |
|---|---|---|---|
| Quilting cotton | Excellent | Scorching or gloss at high heat | Quilt binding, appliqué edges, table runners |
| Linen | Good | Heavier weight; may need higher heat and a shrinkage test | Tote bags, napkins, garment edges |
| Polyester and other synthetics | Good | Low heat; glaze or shine if overheated | Costume trims, bag linings |
| Silk | Fair | Low heat, pressing cloth; visible adhesive marks | Scarves, delicate trims |
| Wool | Fair | Needs steam setting; test for shrinkage | Coat facings, felted accessories |
| Rayon or viscose | Caution | Stretches and distorts when pressed | Light blouse edges, only with a test |
| Stretch knits | Poor as a sole stabilizer | Pressing can distort recovery | Use knit interfacing or stay-stitching instead |
Quilt sandwiches add a complication. Fusing through quilt top, batting, and backing changes how heat reaches the adhesive, so test with the same batting you will quilt. Batting loft matters here. High-loft batting traps heat and slows fusing, while a flatter batting lets the bond form more evenly. The hand of the finished edge, meaning how it feels and drapes, changes with loft too.
Measure the edge before and after fusing, then handle it and check recovery. If it grew, rippled, or stopped springing back, the tape was the wrong stabilizer for that spot.
Fuse on woven grain. Stitch on stretch.
Match your test swatch to your actual project by shopping Linda's fabric and batting categories for the same fiber and loft you plan to finish with.
How to Apply Bias Fusible Tape Step by Step
How do you keep bias tape in place without stretching the edge or making the bond do more work than it can? Use the tape to position the fabric, then stitch when the finished edge needs to withstand handling and washing.
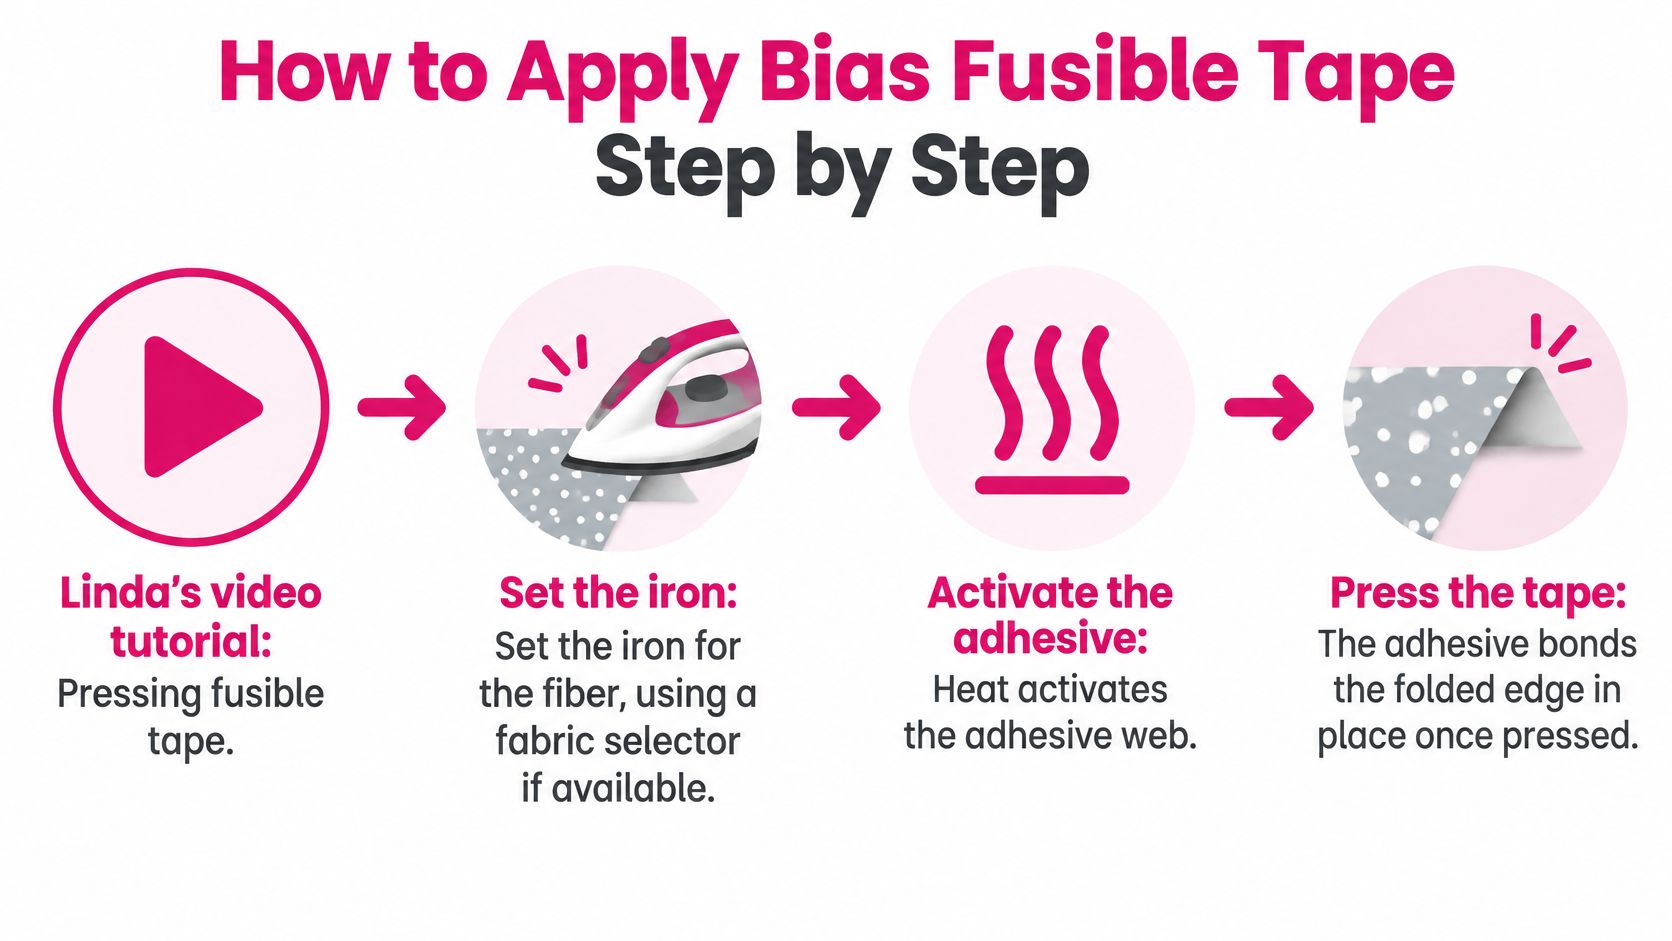
- Set the iron for the fiber. Choose the fabric setting if your iron has one. The Oliso M3Pro offers synthetic, wool, cotton, and linen settings. For narrow tape, medium heat around 140 to 160°C is a common manufacturer baseline, but the fabric fiber and tape instructions determine the setting. Clover's fusible web manufacturer guidance gives product-specific heat guidance.
- Make a test swatch. Use a scrap with the same fabric and batting as the project. Let it cool, then flex it and check for adhesive migration or unwanted stiffness. This shows whether the tape's hand suits the edge before you press the project.
- Align the fold. Place the adhesive side against the fabric and line up the tape edge with the seam or appliqué line. Bias can shift like a ribbon on a curve, so guide it into place without pulling it straight.
Pro-Tip: If the bond feels weak, add pressure and dwell time before raising the heat. If the fabric scorches, shines, shrinks, or shows adhesive bleed, lower the heat and use a pressing cloth. Heat is the last setting to change, not the first.
- Press in short, overlapping sections. Lift and place the iron instead of sliding it, holding each section for the time specified for your tape. One product specification describes dry ironing for approximately 8 seconds per section. That instruction applies to a specific 12 mm tape made from 83% polyamide and 17% polyester at 54 g/m², according to the manufacturer's bias tape product specification. Treat that eight-second dwell time as that product's specification, not a universal rule for every tape and fabric. The same product calls for a reinforcement stitch to control geometry and is available in 5 m or 100 m formats.
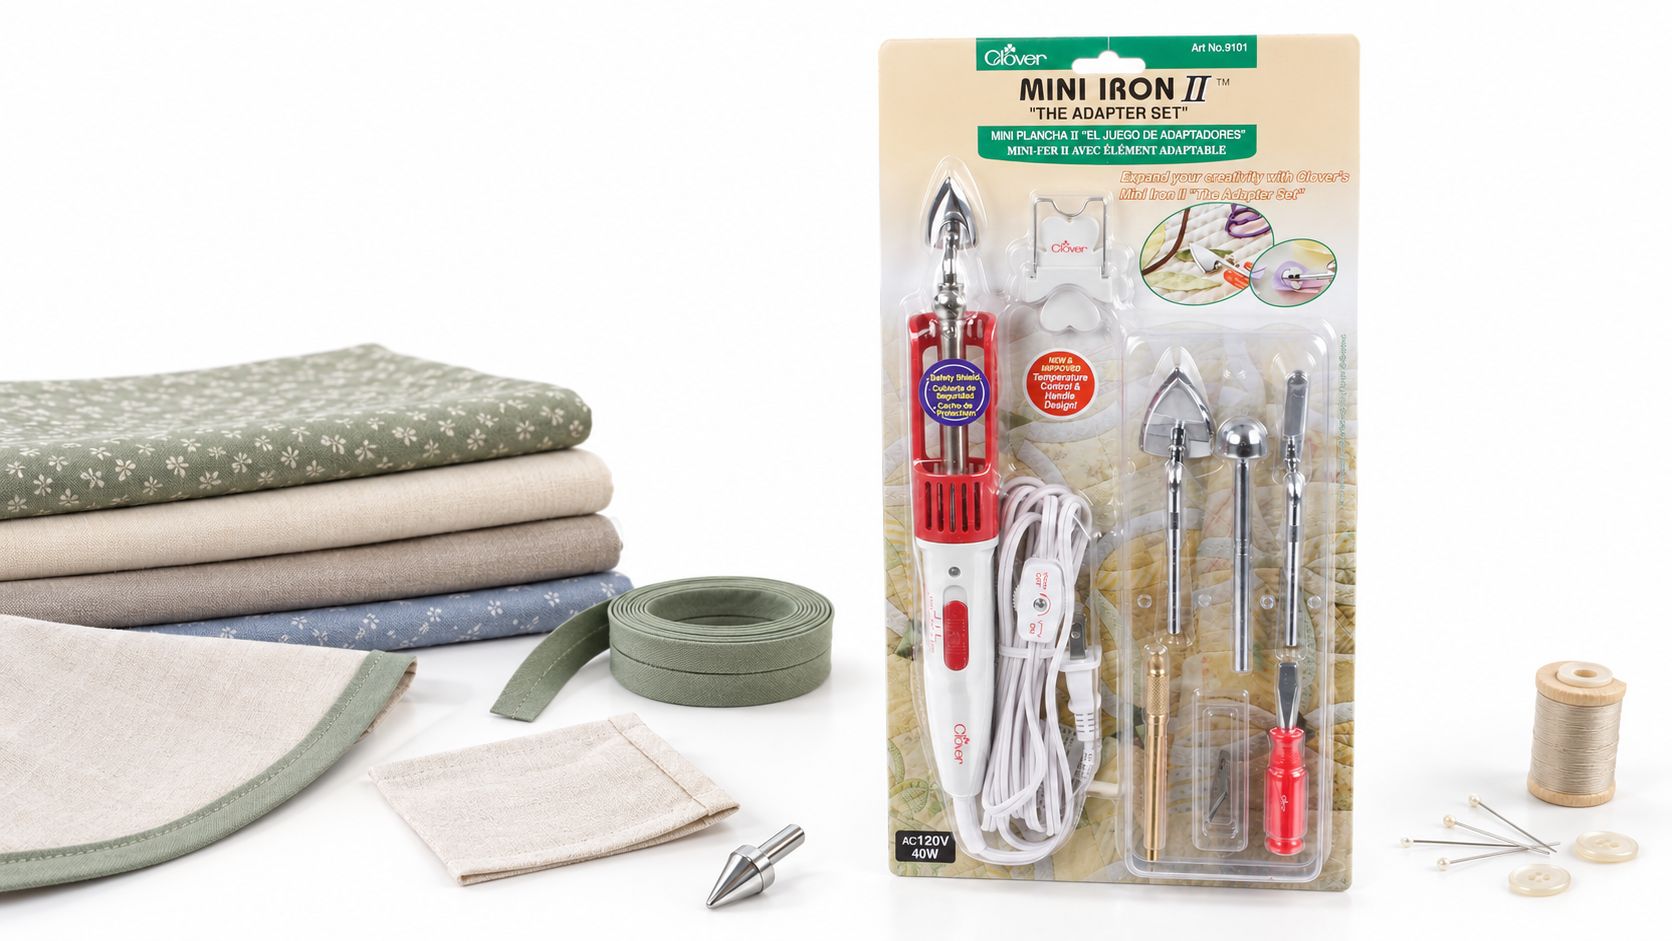
For narrow hems and points, a detail iron can make placement easier. The Mini Iron II With Assortment of Tips comes with chevron tips for corners and points, plus a slim line tip for fine hems and fabric folding.
- Let it cool completely. Warm adhesive can shear, much like a soft layer of glue. Wait until the tape is cool before moving or stitching the edge, or the alignment may shift.
- Stitch the edge. Once cool, use a straight stitch or a narrow zigzag if the edge needs a little flexibility. On a test swatch, begin with a stitch length of about 2.5 mm and sew roughly 1/8 inch from the tape's inner edge, adjusting to suit the tape width and fabric. Keep the seam line consistent around curves. At corners, stop with the needle down, pivot, and backstitch briefly at the start and finish to secure the seam. The tape holds the position; stitching supplies the mechanical hold.
Iron Setting and Pressing Approach by Fiber
| Fiber | Iron Setting | Pressing Approach | Main Check |
|---|---|---|---|
| Quilting cotton | Medium to high, cotton setting | Use the tape's specified dwell time; pressing cloth optional | Gloss or scorch marks |
| Linen | Medium to high, linen setting | Short dwell; press dry | Shrinkage after fusing |
| Polyester and synthetics | Low to medium, synthetic setting | Short sections, no sliding | Shine or distortion |
| Silk | Low, silk setting | Pressing cloth, brief contact | Adhesive marks or water spots |
| Wool | Wool setting, steam on | Steam may help the bond; press, do not slide | Shrinkage and scorch on a test swatch |
| Stretch knits | Not recommended as sole stabilizer | Use knit interfacing or stay-stitching | Edge recovery after handling |
The sequence is simple: set the iron, test, align, press, cool, then stitch if the edge needs lasting support.
Use the tape as a positioning aid, not as permanent structure. Judge the method by how much the edge must move and how many washes the project must endure, rather than by how quickly it irons on. The Oliso M3Pro iron is listed in Linda's Notions category.
Advantages and Limitations Compared to Stitched Binding
How much movement must an edge allow, and how long must the finish last through handling and washing? Those questions make a better guide than pressing speed alone. Bias fusible tape works like a temporary extra set of hands: it holds an edge in place while you sew, but the stitched method determines how the finish stands up to use.
Bias Fusible Tape Versus Stitched Edge Methods
| Method | Setup Speed | Stretch Control | Wash Durability | Best Fit |
|---|---|---|---|---|
| Bias fusible tape | Fast, pressed in minutes | Limited on stretch edges | Varies; test after laundering | Quilt sleeves, appliqué, decorative edges |
| Hand-sewn double-fold bias binding | Slow, pins and hand stitching | Good, follows curves | Strong when fully stitched | Quilt bindings, heirloom pieces |
| Stay-stitching with knit interfacing | Moderate, machine stitching | Keeps recovery on knits | Strong, mechanical hold | Knit necklines, armholes |
Fusible tape is useful when placement takes care. It holds a narrow edge steady as you guide it to the machine, helps position curved appliqué before sewing, and speeds up setup for small projects such as runners and trims. Pressed correctly, it also avoids pin marks.
The trade-offs depend on fabric and use. Heat can stretch or flatten a flexible edge and reduce its recovery. A tape with too much body can leave a ridge against soft fabric, while excess heat may push adhesive through the cloth and change its hand. These are reasons to test the fabric, tape, and iron setting together before starting the project.
The adhesive bond is not uniform across products. The American Sewing Guild material on fusibles discusses accelerated-aging tests in which fusible webs varied in yellowing, stiffening, bleed-through, and strength loss. Some changed unacceptably after prolonged heat exposure; the material cautions against using such webs in quilts intended to become heirlooms.
A pressed bond can still weaken with repeated laundering, steam, or heat. Make a sample, care for it as you will the finished item, then flex the edge and inspect for lifting or stiffness. That test shows whether the tape can handle the project's expected movement and washing.
For baby quilts, garments, bags, or items handled daily, add stitching to secure the edge. Decorative wall quilts face less wear, so the tape may suit their needs better. Choose according to the movement the edge needs and the wear the finished piece will receive.
Where Sewers Use It for Binding, Facings and Hems
Bias fusible tape works best as a positioning aid: it holds an edge steady while you sew, but the finished seam or stitch must provide the lasting support. Choose each use by how much the edge needs to move and how often the project will be washed.
Quilt Binding
A finished width of 1/2 inch is commonly used for double-fold quilt binding, covering the quilt sandwich. 3/8 inch is another common finished width, and one standard construction method uses a 3/8-inch seam allowance, as shown in this double-fold bias tape construction guide.
Use fusible tape to position the binding, then machine-stitch both sides of the finished edge. It should not carry the wear of the binding on its own.
Facings
For a woven neckline or armhole, tape can hold the facing's inside edge in place while you stitch. Avoid it where the edge needs to stretch over the head or shoulder. A fusible bond can limit that movement, even if the facing looks smooth when pressed.
Skip the tape if the fabric is stretchy or the finished edge must flex freely. Check the hand and loft on a sample first; a ridge that feels minor on the ironing board may be noticeable against the body.
Hems
On narrow hems for bags, napkins, or home décor, tape keeps the fold even while you topstitch, in place of basting. Cotton and linen are practical choices to test. Use a short dwell time, following the tape's heat directions, so the iron bonds the adhesive without flattening the fabric.
At corners and thick seams, the Oliso M3Pro detailer tip can reach where a full iron may rock. Topstitching still secures the hem for use and washing.
Appliqué
For appliqué, tape can steady an edge before a satin or blanket stitch. Center the web along the turned edge, test the background fabric, and make sure the decorative stitching covers the raw turn. Press from the back when the design allows, to avoid flattening raised pieces.
| Use | Check before fusing |
|---|---|
| Quilt binding | Confirm the width covers every layer; test heat through the full sandwich. |
| Facings | Check stretch and hand; avoid tape where the edge must flex. |
| Hems | Test the fabric and use a short dwell time. |
| Appliqué | Center the web and confirm the stitch will cover the raw edge. |
Choose the bond for the edge's movement and washing needs, not just for the ease of pressing.
Making Your Own Fusible Bias Tape at Home
Homemade tape gives you exact color and print control. The tool's logic is simple. A tape maker folds the raw edges inward while a strip of fusible web feeds through the center, and the iron behind the tool bonds everything in one pass.
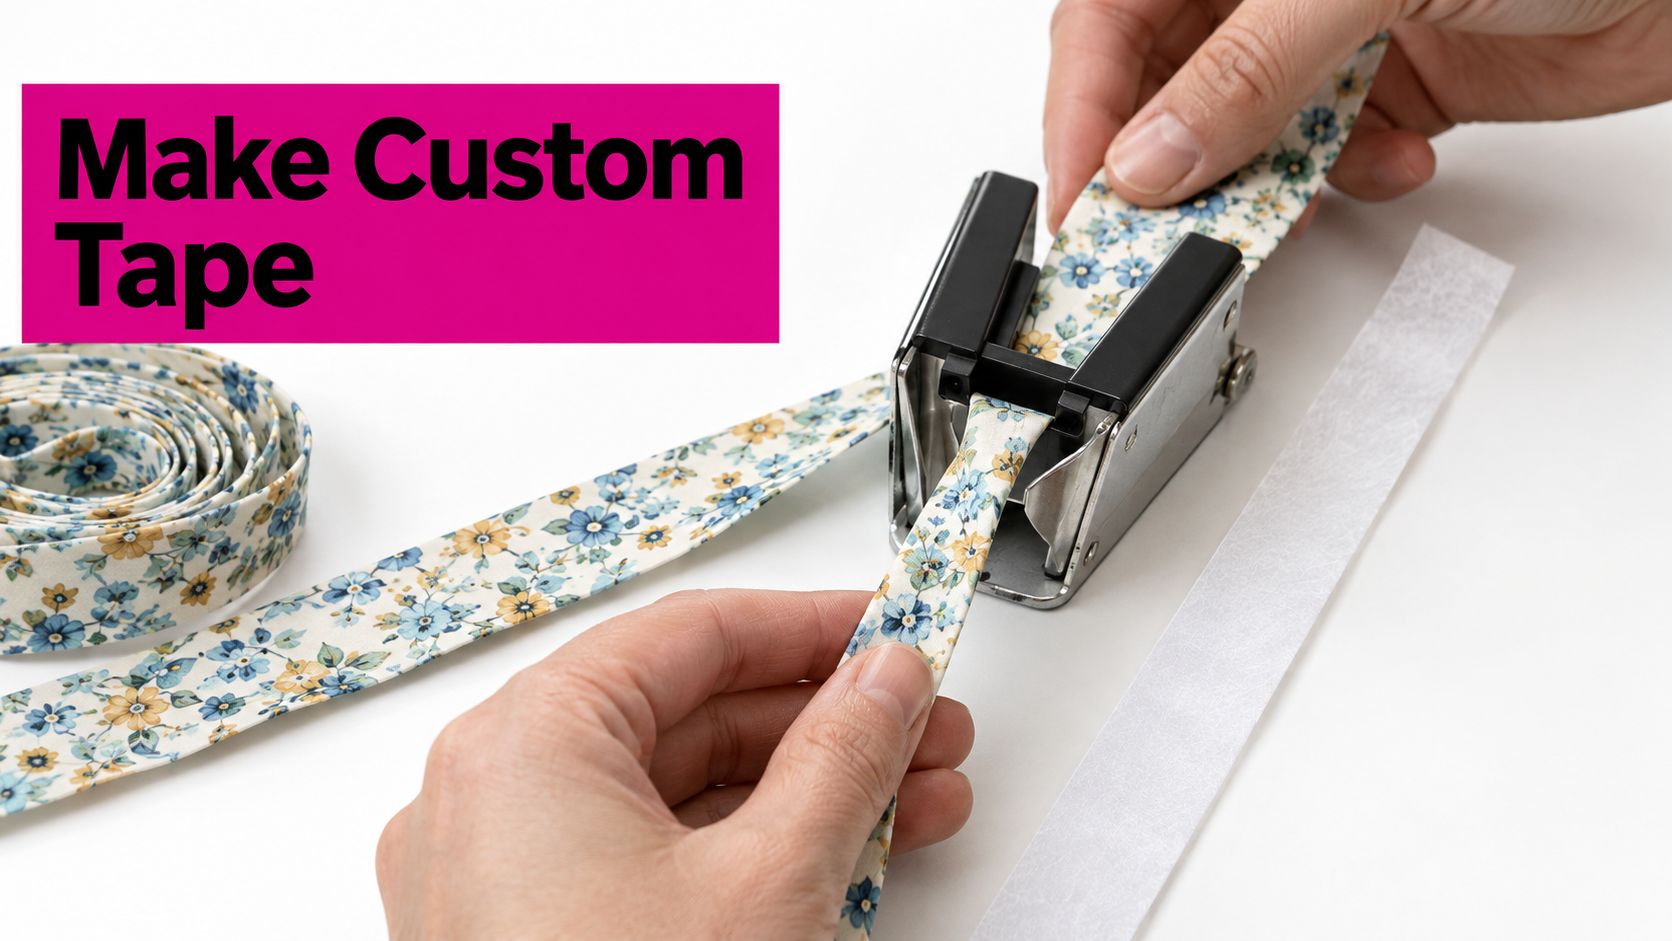
One practical method cuts fabric strips 15/16 inch wide, feeds fabric through the lower opening and fusible tape through the upper opening, then draws both through while a hot, steamy iron fuses the layers, as shown in this Clover tape maker demonstration. For an 18 mm maker, the fabric strip is approximately 36 mm wide, about 1.4 inches, with web approximately 10 mm wide, per the tape maker manual instructions.
Sizing needs care before you buy web:
- Maker widths: In 2025, Clover stated its fusible bias tape maker supports 6 mm, 9 mm, 12 mm, 18 mm, and 25 mm, listed on the Clover fusible bias tape maker product listing.
- Web matching: Clover specifies 5 mm web for certain 6, 9, or 18 mm configurations and 10 mm web for 12, 18, or 25 mm configurations, so check the maker's chart first.
- Centering: The web must stay centered for an even bond. Off-center web leaves one fold loose and the other sticky.
The trade-offs are straightforward:
- Custom fabric and width: Perfect matches for appliqué stems, vines, and stained glass effects.
- Setup time: Cutting true bias and joining strips takes longer than opening a packet.
- Steady hands required: An uneven pull or wandering iron gives you wavy tape with wandering adhesive.
Guide the maker, do not drag it. Let the iron press straight down behind the tool. For tape makers and matching web, start in Linda's notions category.
Choosing Fusible Bias Tape for Your Next Project
Will the edge stay mostly still, or must it flex and take strain? Let that answer guide your choice. Bias fusible tape works like a temporary extra hand: it holds fabric in position while you press or sew, but does not replace stitches when the edge needs lasting support.
Choose it for stable woven edges and decorative work, such as a wall quilt, runner, or appliqué panel. A fused sample that holds after washing can help you judge whether the bond suits your project. For details on fabric compatibility and when stitching should carry the load, see the earlier sections on fabric types and tape limitations.
Consider two quilts. A wall quilt that hangs with little handling may need only a neat, positioned edge. A baby quilt washed often needs stitching to help keep its binding secure. The difference is not how quickly the tape irons on, but how much movement and wear the finished edge must withstand.
For controlled pressing, Linda's Electric Quilters offers the Oliso M3Pro Project Iron, with a detailer tip, LED ProLight, and fabric selector. Pair it with notions for your binding project.
Bias Fusible Tape Questions Sewers Ask Most
Why Can a Fused Edge Lift After Washing?
The result depends on the fabric, adhesive, and care routine. A cotton table runner washed gently may keep its edge in place, while a frequently laundered garment puts the bond under more strain. For a project that will see regular washing, treat fusible tape as a positioning aid and let stitching provide lasting support.
What Happens If I Fuse Tape to a Knit?
The iron can flatten the knit's loft, and heat or pressure may stretch the edge out of shape. Check the fabric's hand and recovery on a small scrap first. If the edge needs to move with the fabric, use a stretch-compatible stabilizer or stitching rather than relying on fusible tape alone.
Why Does the Same Tape Feel Different on Different Fabrics?
The fabric changes the bond. A tightly woven cotton gives the adhesive a steadier surface than a lofty or loosely woven cloth, where fibers can shift under the iron. If the tape feels stiff or the edge puckers, reduce pressure and check the result on a scrap before applying it to the project.
Can I Skip Sewing After Fusing?
That depends on what the edge must withstand. A decorative panel that hangs untouched may need only a temporary hold; a garment hem or quilt binding faces movement and handling. Follow the application steps above for heat and dwell time, then choose stitching if the edge must stay secure through wear.
For bias tape makers, fusible web, pressing tools, batting, and test fabrics, Linda's Electric Quilters carries supplies for binding and appliqué projects.


