
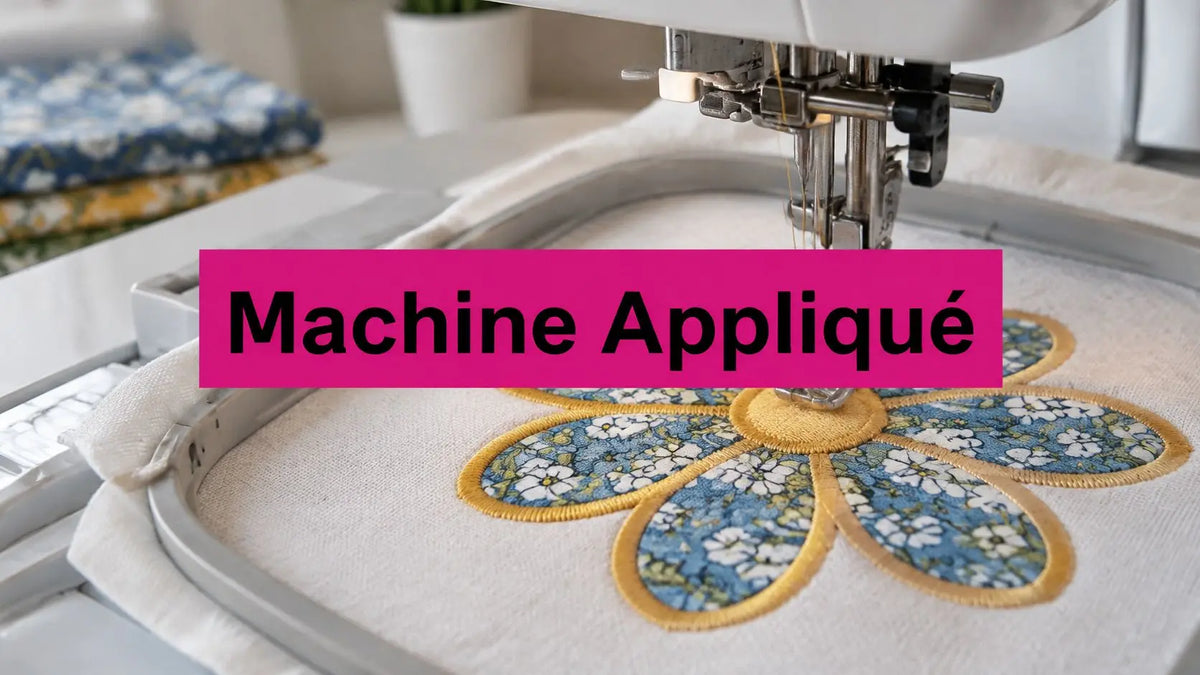
You've hooped the sweatshirt, run the placement line, laid the fabric down, and watched the satin border land half off the edge. Now you're picking out stitches and wondering whether to blame the hoop, the stabilizer, or the file. That guesswork is the core problem. Learning how to applique on an embroidery machine isn't just knowing the steps. It's knowing which step failed, physical or digital, before you stitch the same design again. Work in order, check registration after each phase, and test on scrap first. Trimming closer won't fix a design whose placement line, tack-down, and border were never aligned.
Machine, File and Hoop Setup Before You Stitch
The border finishes outside the placement line, even though the fabric was trimmed close. On a hoop with slack, the fabric can shift between the placement run and the satin border. Trimming more will not correct that registration error. Check the machine, design file, and hoop before stitching.
Fit a new needle suited to the fabric and thread. Seat the bobbin in its casing, thread the machine, and check tension on scrap. Move the hoop through the full design area by hand or with the machine's trace function. Make sure the presser foot and embroidery arm clear the fabric.
Check the File Before the Fabric
The design needs three distinct runs: a placement run, a tack-down run, and a satin or decorative border. Check the color-stop sheet to see where the machine pauses for fabric placement and trimming. If the file does not separate those operations, correct it before hooping. A file with a missing tack-down can leave the appliqué fabric unsecured under the border.
Computerized embroidery developed from punched-paper guidance into editable digital designs during the late 1970s and 1980s, as described in the history of computerized embroidery development. Separate digital objects let the stitcher control placement, securing, and finishing as distinct operations.
Practical rule: Confirm the three runs in the file or run sheet before you hoop. Fixing an object on screen is easier than removing stitches from a garment.
Hoop for Registration
Cut the background fabric larger than the hoop. Place it right side up over the stabilizer and hoop both layers smoothly. The fabric should be taut without being stretched. Press the surface lightly: if it ripples, slips, or shifts inside the hoop, rehoop before starting. On a loose hoop, the placement line may stitch correctly while the fabric creeps before the border, leaving the edge uneven.
Keep the same fabric, stabilizer, thread, and needle for a scrap test as for the finished piece. Dense designs may need extra stabilizer or a floater beneath the hoop. That support can reduce movement, but too much bulk can make the hoop harder to seat securely.
For a final setup check, confirm the needle and thread suit the fabric, the file has separate placement, tack-down, and border objects, and the background extends past every hoop edge. Then check that the hoop holds the fabric without slack and that the design area clears the machine. Keep the embroidery unit and hoops together between sessions to avoid bumps that can affect setup. An Embroidery Bag 19in Purple can hold the unit and accessories for class or travel.
Stabilizer Choices for Each Fabric and Stitch Count
A woven cotton sample can lie flat under a light design, then pucker under a dense one. Choose stabilizer by fabric behavior and stitch load, not fabric type alone. A wide satin border concentrates stress along a narrow edge, so the same fabric may need more support for one design than another.
For stable woven cotton, canvas, and denim, tear-away is a useful starting point. Stretch fabrics, knits, and sweatshirts usually need cut-away, which continues supporting the stitches after the hoop comes off, as described in BERNINA's machine appliqué guidance. Use this as a starting choice, then test the specific fabric and design.
Stabilizer Choice by Fabric and Stitch Load
| Fabric or Situation | Stabilizer | Why It Works |
|---|---|---|
| Stable woven cotton, canvas, denim | Tear-away | Supports the fabric during stitching and removes after |
| Woven fabric with a dense design | Two layers of tear-away, tested on a sample | Adds support when one layer lets the fabric pucker |
| Heavy stitch load on woven fabric | Extra tear-away layers or a floater | Adds support beneath the hoop |
| Knits, stretch fabric, sweatshirt fleece | Cut-away | Continues supporting the fabric after hoop removal |
| Sheer or delicate fabric | Wash-away | Dissolves rather than leaving a visible stabilizer |
| Textured surface such as towels or pile | Water-soluble topping | Helps keep stitches from sinking into the nap |
| Item that cannot be hooped | Adhesive or floating method | Holds the item in place without hooping it |
Treat stitch-count thresholds as shop rules of thumb, not universal stabilizer specifications. As a starting point for testing, try one tear-away layer on a light design, then add a layer if the sample puckers or shifts. If heavier stitching or a wide satin border still pulls the fabric out of shape, test a floater under the hoop. More backing can control distortion, but it can also make the finished piece stiff. Trimming will not correct a border that is misregistered; check whether the fabric shifted in the hoop or the artwork is misaligned before stitching again.
Cut-away gives unstable fabric lasting support through washing and wear. The trade-off is a firmer hand, and excess backing may show through light colors. Choose enough support to control the edge without making a soft garment feel board-like.
Build a small test matrix rather than relying on a stitch-count rule. Sew the same appliqué on cotton, sweatshirt fleece, jersey, and denim. Record edge distortion, puckering, wash performance, and how easily the stabilizer comes away. A few samples reveal which combinations hold registration and which need a different backing. Keep the stabilizers and fresh needles you use for those tests in Linda's notions selection, so the samples match your regular setup.
Step-by-Step Machine Appliqué Procedure
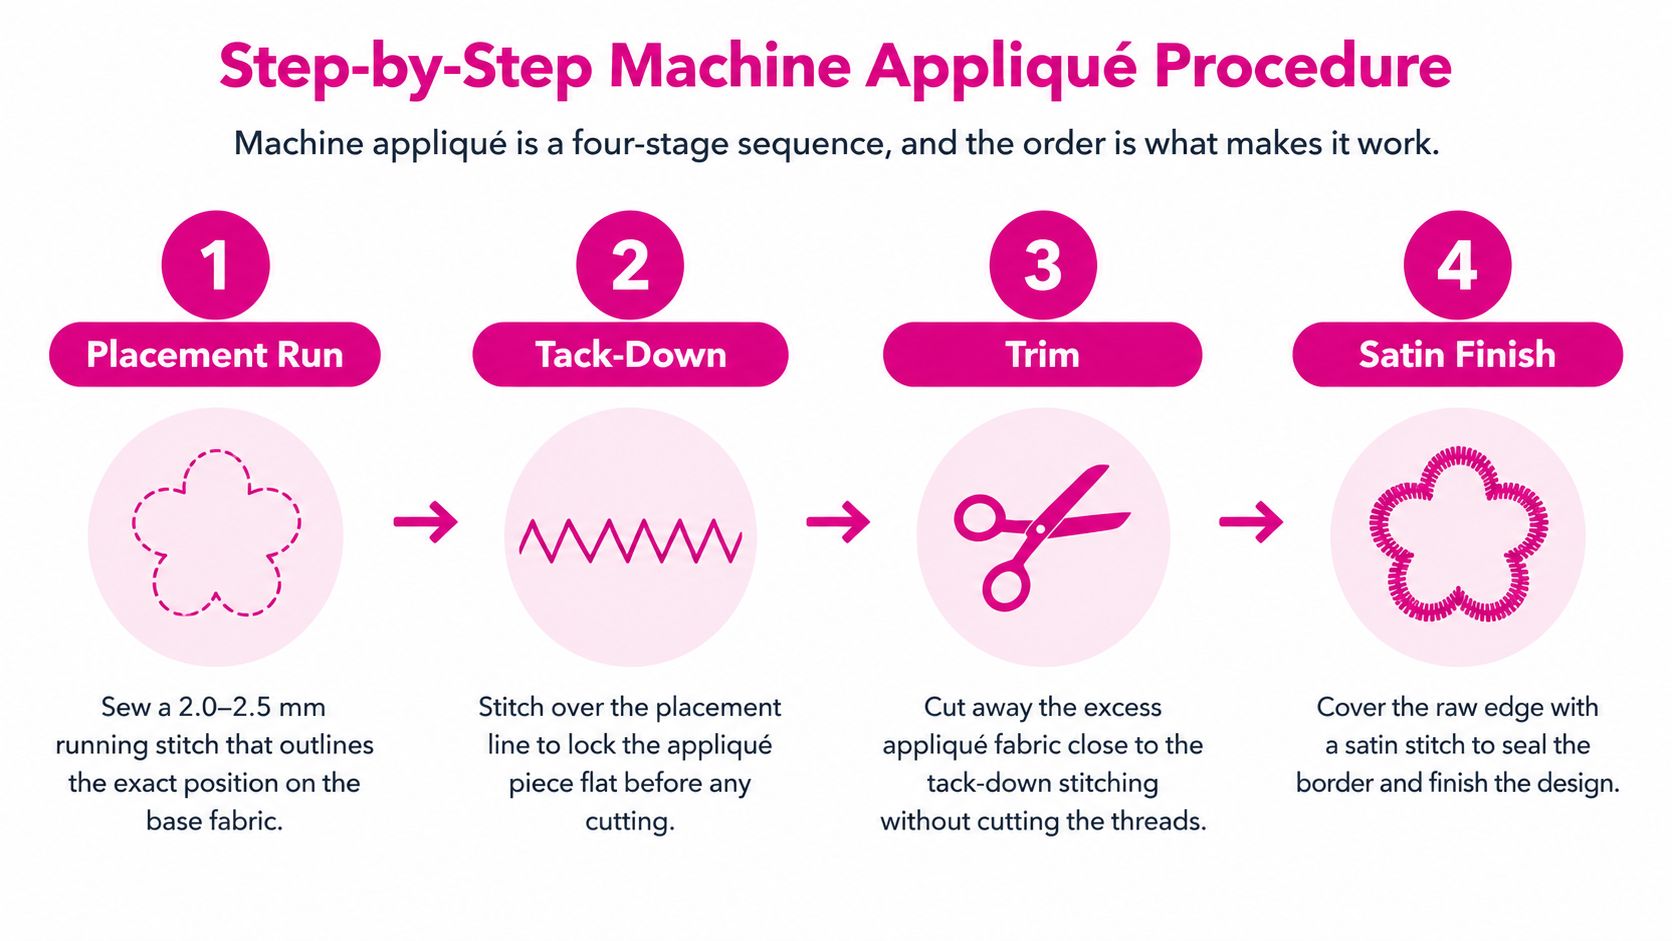
A satin border can drift even when the fabric looks flat. Check the stitch sequence before trimming or resewing: the symptom may come from hoop movement, poor fabric placement, or the digitized file. Each stage leaves a clue.
The visual below maps the four stages in sequence.
The Four Stages in Order
| Stage | Stitch Run | Purpose | Failure to Watch For |
|---|---|---|---|
| 1. Placement run | Running stitch outline on hooped base | Marks where the appliqué belongs | A shifted outline points to hoop movement or lost registration |
| 2. Fabric positioning | Pause at color stop, no stitching | Places fabric over the outline | A lifted or skewed edge can move before tack-down |
| 3. Tack-down run | Running stitch or light zigzag | Anchors fabric in place | A line too far from the outline can leave fabric outside the border |
| 4. Satin border | Satin stitch over the raw edge | Covers the edge and finishes the motif | A consistently offset border may come from the file, not the trim |
Stage one uses a 2.0 to 2.5 mm running stitch to mark the placement, as shown in the four-stage machine appliqué sequence. If that outline is already out of position, check hoop security and registration before continuing. A clean tack-down cannot correct a misplaced placement line.
At the color stop, lay the appliqué fabric over the outline and keep it flat. Use temporary adhesive if an edge lifts. If the piece shifts as you lower the hoop, reposition it before running the tack-down. A documented file specification places the tack-down line 1.2 mm inside the outline, as shown in the appliqué file specification with 1.2 mm tack-down offset. Follow the design's intended spacing; a poorly digitized offset can leave the border unsupported.
- Hoop and place: Hoop the background right side up on stabilizer and run the placement stitch. If the outline changes position after the hoop is removed and returned, suspect handling or hoop tension.
- Position the piece: Pause at the stop, then lay the appliqué over the outline. Use adhesive only as needed to prevent movement. An edge that keeps lifting needs better hold before stitching.
- Lay it on grain: Smooth the piece from the center outward. If it puckers or pulls toward one side, check the grain and fabric tension before tack-down.
- Tack it down: Return the hoop and run the anchoring stitches. A cutting line can use any thread color because the satin border covers it. If the line wanders beyond the placement outline, inspect the file and registration.
- Finish the stitch sequence: After tack-down, trim the excess fabric, then run the satin border. If the border is displaced around the whole motif, trimming will not fix misregistered artwork. Correct the hoop position or file before stitching again.
Watch the hoop removal, positioning, and cutting stitch in the clip below before trying the sequence on a garment.
A stable cotton practice block lets you check the placement and tack-down without risking a garment. Grey Metal Chalk and Charcoal Cotton Wideback Fabric Per Yard is one cotton option. Watch a Linda's live shopping clip on hooping and appliqué to see the pause, positioning, and trimming rhythm at machine speed.
Trimming and Finishing Without Edge Lift
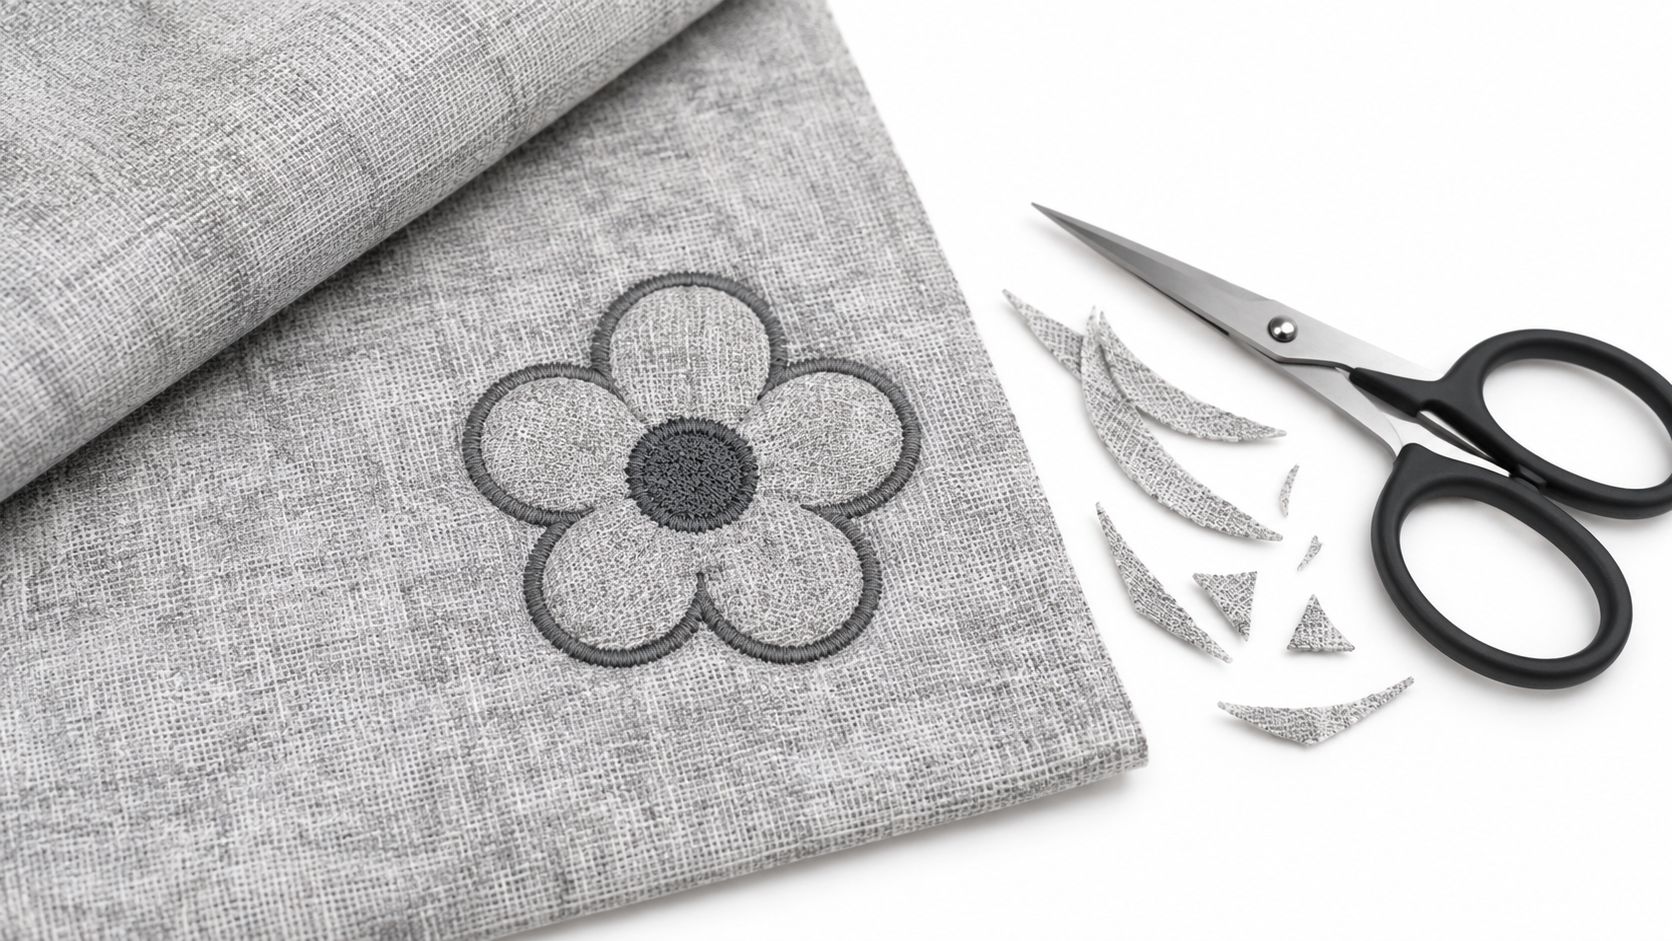
The trimmed edge should sit close to the tack-down without cutting its stitches. Leave too much fabric and a fringe can show beneath the satin border. Nick the tack-down and the edge may lift or fray when the piece flexes or is washed. The border will not hide either mistake.
Trim With the Hoop Still On
Keep the project hooped on the machine while trimming. Removing it can cost you registration. Gently lift the excess fabric with a pin or tweezers to expose the tack-down line. Hold fine-tipped scissors low and nearly parallel to the fabric, then snip in short, controlled cuts. Large shears can block your view of the stitch line.
On curves, the gap between the blade and thread changes as the fabric turns away from the tack-down. Rotate the hoop as you work instead of twisting your wrist. Pause at tight turns and inspect the edge before continuing.
Pro-Tip: Trim the top layer first, then examine the tack-down under magnification before stitching the satin border. A nicked stitch can leave a visible gap after the border is sewn.
Set the Satin Border
Use the digitized satin border as your guide rather than forcing a generic spacing onto every design. Fabric thickness, stitch density, and the shape of the edge all affect coverage. A dense border can build a stiff ridge or perforate the base fabric. A sparse one may leave the raw edge visible. Check the file on a test piece if the coverage is uncertain.
Before starting the border, inspect the full trimmed edge closely. Look for stray fibers, uneven trimming, and any tack-down stitch cut by the scissors. If a stitch is damaged, secure that spot with a short re-tack while the hoop is still in place. Trimming cannot correct a border path that is misregistered with the placement artwork. If the edge itself is clean but the design paths do not line up, identify the registration problem before restitching.
Fix Shifted Borders and Run a Test Sew
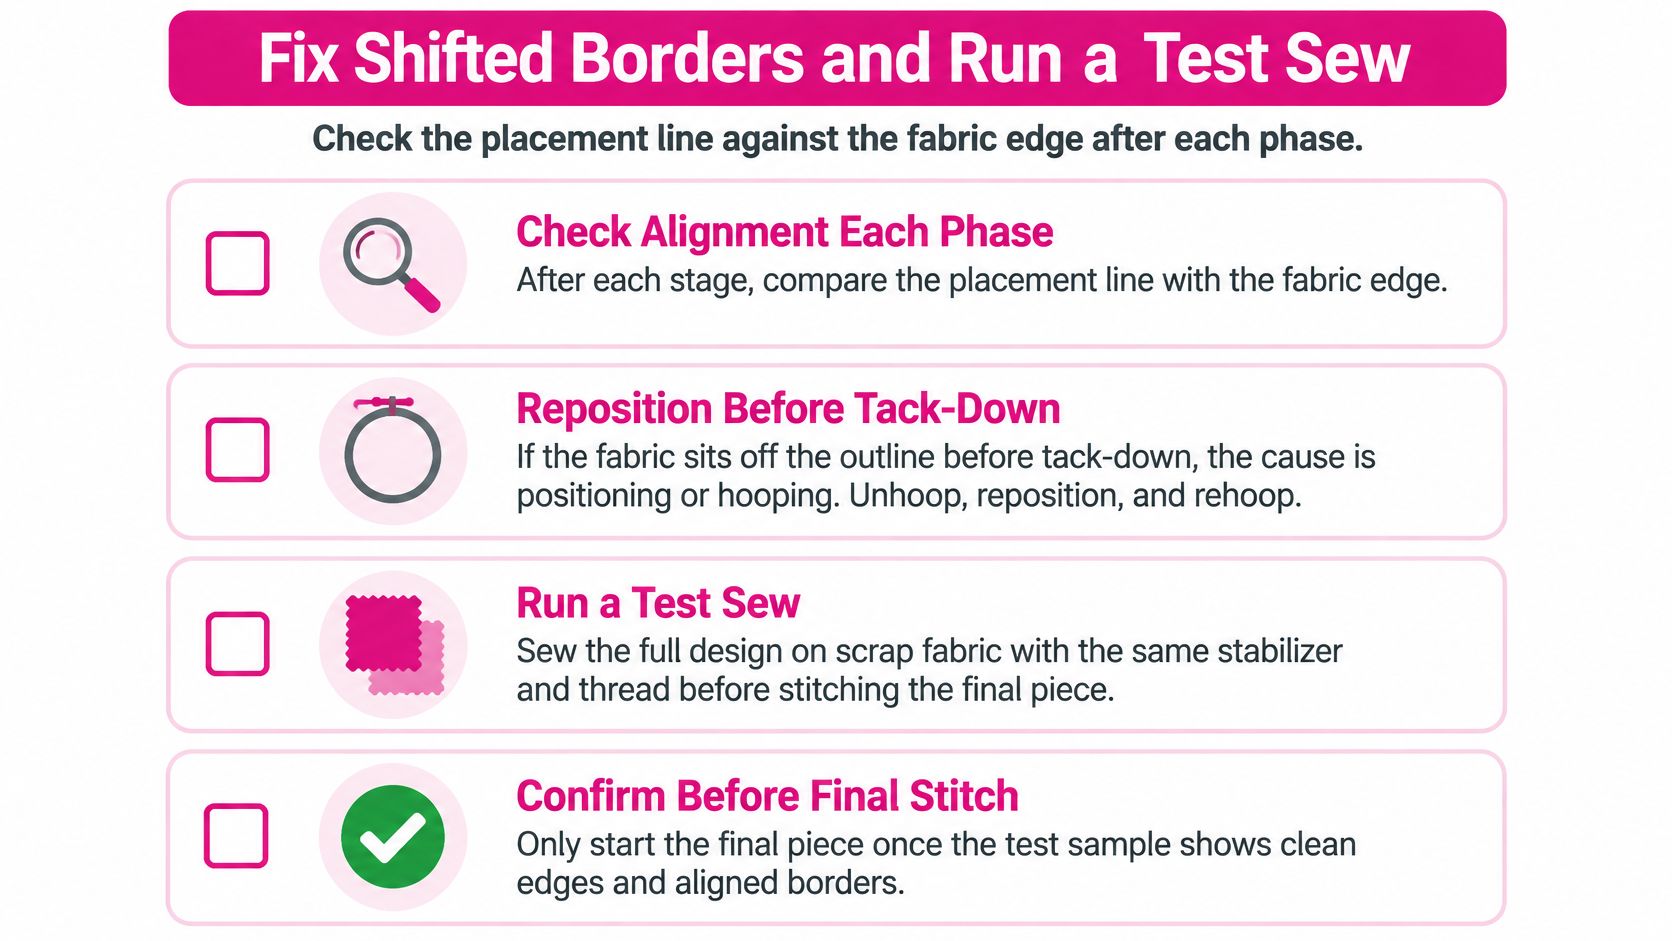
Ask one question after each phase. Does the fabric edge still match the placement line? That single check separates physical problems from digital ones, and it tells you what to change before you restitch.
If the fabric sits off the outline before tack-down, your cause is positioning or adhesive. Reposition it. If the tack-down itself moved, check hoop tension and stabilizer slip. If the same offset repeats on every copy in exactly the same direction, suspect the file. Misregistered placement and border paths won't respond to better hooping, and trimming can't correct them, a distinction drawn in guidance on separating physical and digital alignment failures.
The checklist below turns that check into a habit.
Symptom to Cause Lookup
| Symptom | Likely Cause | Fix |
|---|---|---|
| Gap between fabric edge and satin border | Fabric shifted during tack-down | Tighten hoop, add temporary adhesive, re-tack |
| Fabric fringe visible under border | Too much fabric left after trim | Trim closer, keeping tack-down intact |
| Edge lift or fraying | Scissors cut into tack-down | Re-tack and trim with a fine-tipped scissor |
| Border drifts across color stops | Hoop moved during pauses | Lock hoop, check for slack and stabilizer slip |
| Border offset the same way on every repeat | Digitizing misregistration | Redigitize placement and border paths |
| Stiff, perforated ridge | Satin density too high | Lower satin density in the file |
| Raw edge showing on curves | Satin density too low or tack-down too far in | Raise density or move tack-down closer to outline |
Read the table by timing, not just appearance. A gap that appears once points at your hands, your hoop, or your adhesive. A gap that appears identically three times points at the digitizing. Change the variable that matches the pattern, and change only one at a time.
Run a Go or No-Go Test Sew
Finish every fix the same way:
- Stitch the full sequence on scrap: Use the same fabric, stabilizer, thread, and needle as the project.
- Inspect each phase: Placement line, tack-down, trim, and border, in that order.
- Adjust one thing: Hooping, density, or the file, based on where the check failed.
- Repeat until clean: Only stitch the actual project when the scrap passes without excuses.
Shop Linda's notions for the needles, the Cutwork Scissor 4 1/2in, and bags you'll want ready for your next appliqué project.
Machine Appliqué Questions Answered
Why Does the Border Look Uneven on One Side?
Check whether the fabric's grain runs straight and whether the appliqué piece is cut on grain. A curved edge can also expose gaps where the tack-down sits too far inside the outline. Sew a sample with the same fabric before changing the file. If the same edge stays uncovered in every sample, adjust the tack-down path or satin coverage.
What Should I Check When Thread Breaks at the Border?
Inspect the needle for a burr, then check that the thread moves freely through the guides and tension discs. Dense satin stitches can also stress thread, especially around tight curves. Test a fresh needle and the same thread on scrap before changing stitch settings. If breaks keep appearing at the same point, review the curve and stitch density in the file.
Can I Use a Different Fabric for the Appliqué Piece?
Yes, but a thick or loosely woven fabric can change how the border sits. Test a small sample first, and check that the satin stitches cover the edge without sinking into the fabric. A lightweight piece may need a different stabilizer combination than a heavier base fabric.
What Supplies Should I Keep Beside the Machine?
Keep fine-tipped scissors, a spare needle, and thread that matches the project nearby. Linda's notions carry supplies for machine appliqué, so you can replace a tool without interrupting the sew.
Ready to add a clean border to a quilt block, sweatshirt, or towel? Shop stabilizers, needles, scissors, thread, and wideback fabric for your next appliqué run. Bring test-sew questions to the team in McKinney. Visit Linda's Electric Quilters to gather your supplies and start stitching with confidence.


