
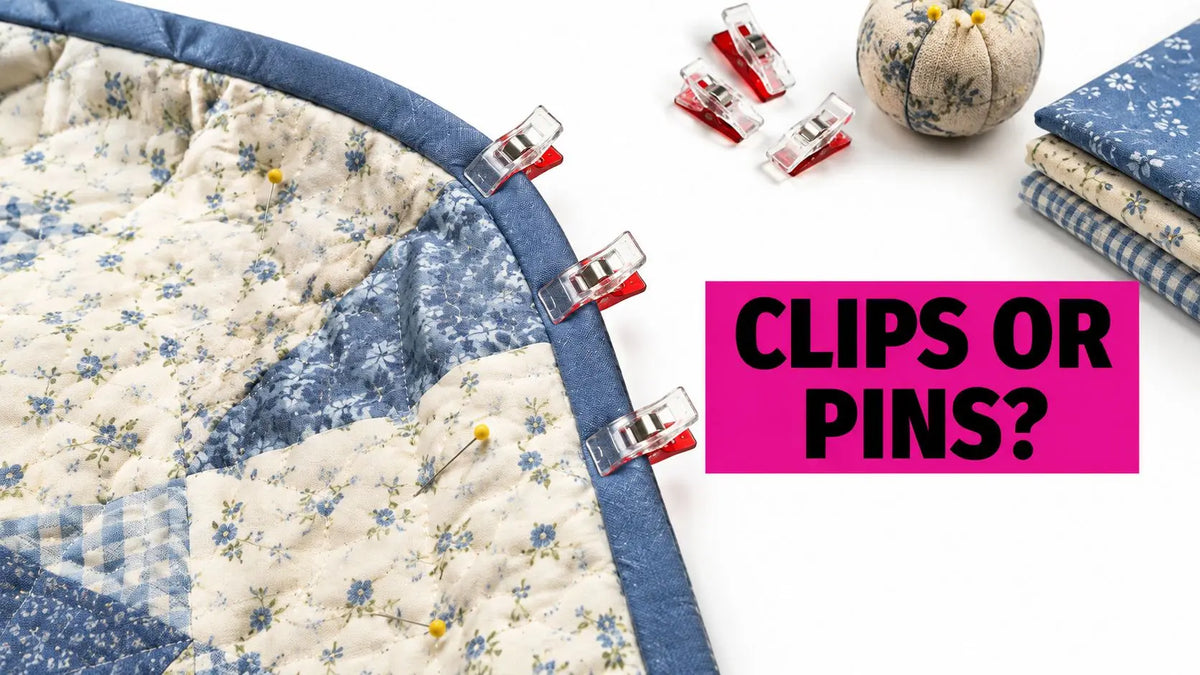
If a clip doesn't leave a hole, does that mean it can't distort your fabric? Wonder Clips for sewing are excellent for holding seam edges and quilt binding, especially when pins would leave permanent marks. But they aren't a universal replacement for pins. The right choice depends on where you need the hold, how much bulk you're managing, and whether the layers can shift under pressure.
What Is a Wonder Clip and Why Use It for Sewing?
What holds fabric layers together without piercing them? A Wonder Clip is a spring-loaded sewing clip that grips from the edge. Clover's Tool School introduction describes it as the first clip developed specifically for sewers, quilters, crafters, and beaders, rather than an improvised aid such as a binder clip, hairpin, or clothespin. The standard version measures 3/8 inch wide by 1 inch long and opens to approximately 1/2 inch.
Arrange the layers, squeeze the handles, and release the jaws over the edge. The clip keeps the layers in position while you prepare to stitch, much like a hand that stays put while yours move to the next step.
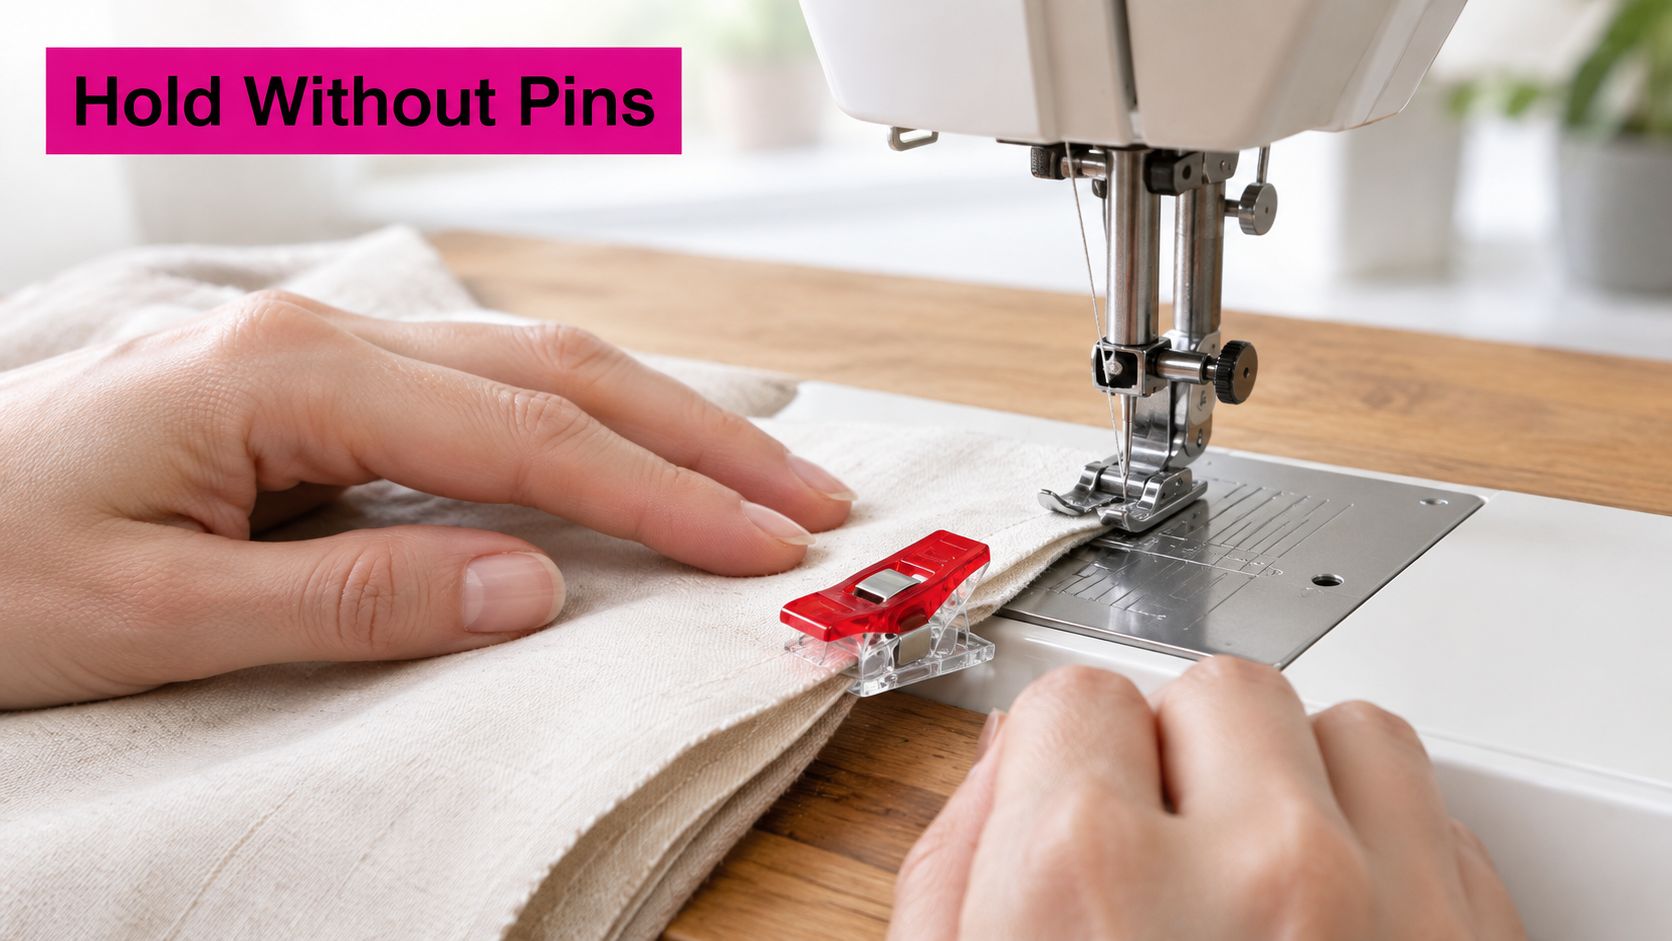
Why does the flat base matter?
The flat underside helps the clipped assembly rest more evenly on the machine bed than a rounded household clip. Graduated markings give you a positioning reference, so you can check placement rather than judge every edge by eye.
Brewer Sewing's Wonder Clips listing identifies seam-allowance references at approximately 1/4 inch (7 mm) and 1/2 inch (12 mm). Use them as checks; your machine's seam guide determines where the stitching lands.
Practical rule: Choose the holding tool for the material and the location of the hold, not because you prefer clips or pins.
Clips work well on vinyl, leather, laminated cotton, and bulky quilt edges because they avoid temporary pin punctures. Their grip comes from the perimeter, though, so they cannot hold an interior dart or pattern marking in place. Those locations call for another method.
Before choosing a tool, ask: would a pin mark this surface, and can the layers be held securely from the outside? Clips and pins solve different problems. A clip does not pierce fabric, but its pressure can still shift or distort a soft layer. Use a pin when you need to secure a point away from the edge; use a clip where an edge hold avoids holes.
Wonder Clip Sizes and What Each One Holds
Choose mini clips for narrow seams and small pieces, regular clips for general patchwork and binding, and jumbo clips for bulky edges and handles. Bigger isn't automatically better. An oversized clip can crowd a small project, while an undersized clip can sit awkwardly on a thick stack.
The pictured jumbo version has a longer body for handling larger assemblies.
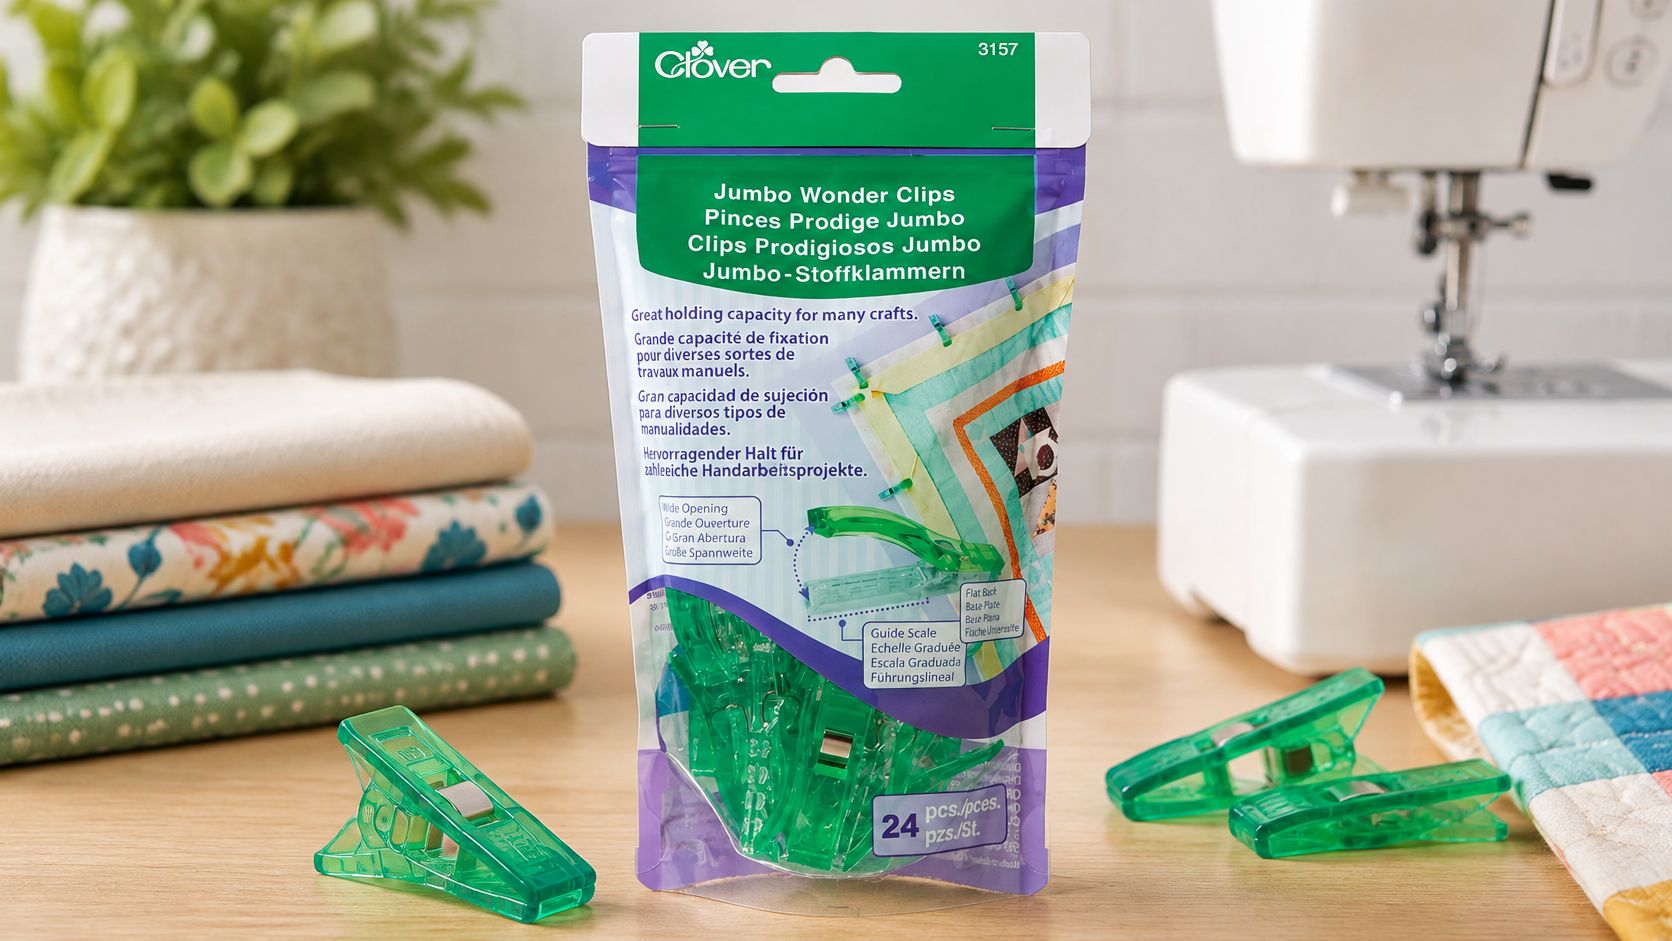
How do the sizes compare?
The dimensions and package quantities below come from Clover's Wonder Clips size guide.
Wonder Clip sizes, openings and pack counts
| Size | Dimensions | Opens to | Pack sizes | Best for |
|---|---|---|---|---|
| Mini | 1/4 in wide at handle, 1/8 in wide at point | Nearly 1/2 in | 20 or 50 | Narrow seams and small pieces |
| Regular | 3/8 in wide by 1 in long | 1/2 in | 10, 50 or 100 | General patchwork, quilt binding and multilayer seams |
| Jumbo | 3/8 in wide by 2 1/4 in long | 5/8 in | 24 | Thick layers, wide seam allowances, bag handles and vinyl |
Opening capacity isn't a promise of comfortable working capacity. The jaws need to sit securely around the assembly without struggling against a compressed bundle. If you must force a clip onto the edge, test a larger size rather than assuming a tighter grip will improve alignment.
Length matters too. A longer clip takes up more room beside your hands and machine foot. Mini clips provide a less crowded grip on small components, even though their opening is close to that of the regular version.
What should you buy for a quilt or bag?
Consider the project at its bulkiest stage, not just at cutting. A bag panel may begin as flat fabric but become substantially thicker after you add interfacing, lining, folded seam allowances, and handle connectors. Batting loft also changes how easily a quilt edge compresses.
- For binding: Plan enough clips to prepare a manageable working section without repeatedly borrowing them from the far end.
- For bags: Keep regular and jumbo sizes nearby so you can change at handle attachments and seam intersections.
- For small patchwork: Favor a manageable clip body over maximum capacity.
Linda's Jumbo Wonder Clips 24ct is a plastic-and-metal option with a flat back and guide scale. For organizing cut stacks, alphabet and number clips serve a different purpose: they help preserve the order of pieces before assembly.
When comparing Wonder Clips for sewing, a short side-by-side video is useful for judging handle size and opening action. Browse Linda's clip options with your thickest project section in mind, rather than choosing by color alone.
Which Tool Works Better for Each Seam and Quilting Job?
Ask yourself two questions: Does the hold need to sit at the edge or inside the piece? Does a pinhole matter for this material? If the hold is at the edge and punctures matter, clips are usually the better starting point. If the hold must sit within the fabric, pins or basting offer more flexible placement.
The distinction is simple: doesn't pierce is not the same as doesn't distort. Threadistry's comparison of sewing clips and pins explains why clips aren't always the strongest choice for precision alignment, including curves, elastic, and interior features.
Use this visual comparison as a starting point, then consider how your particular fabric behaves.
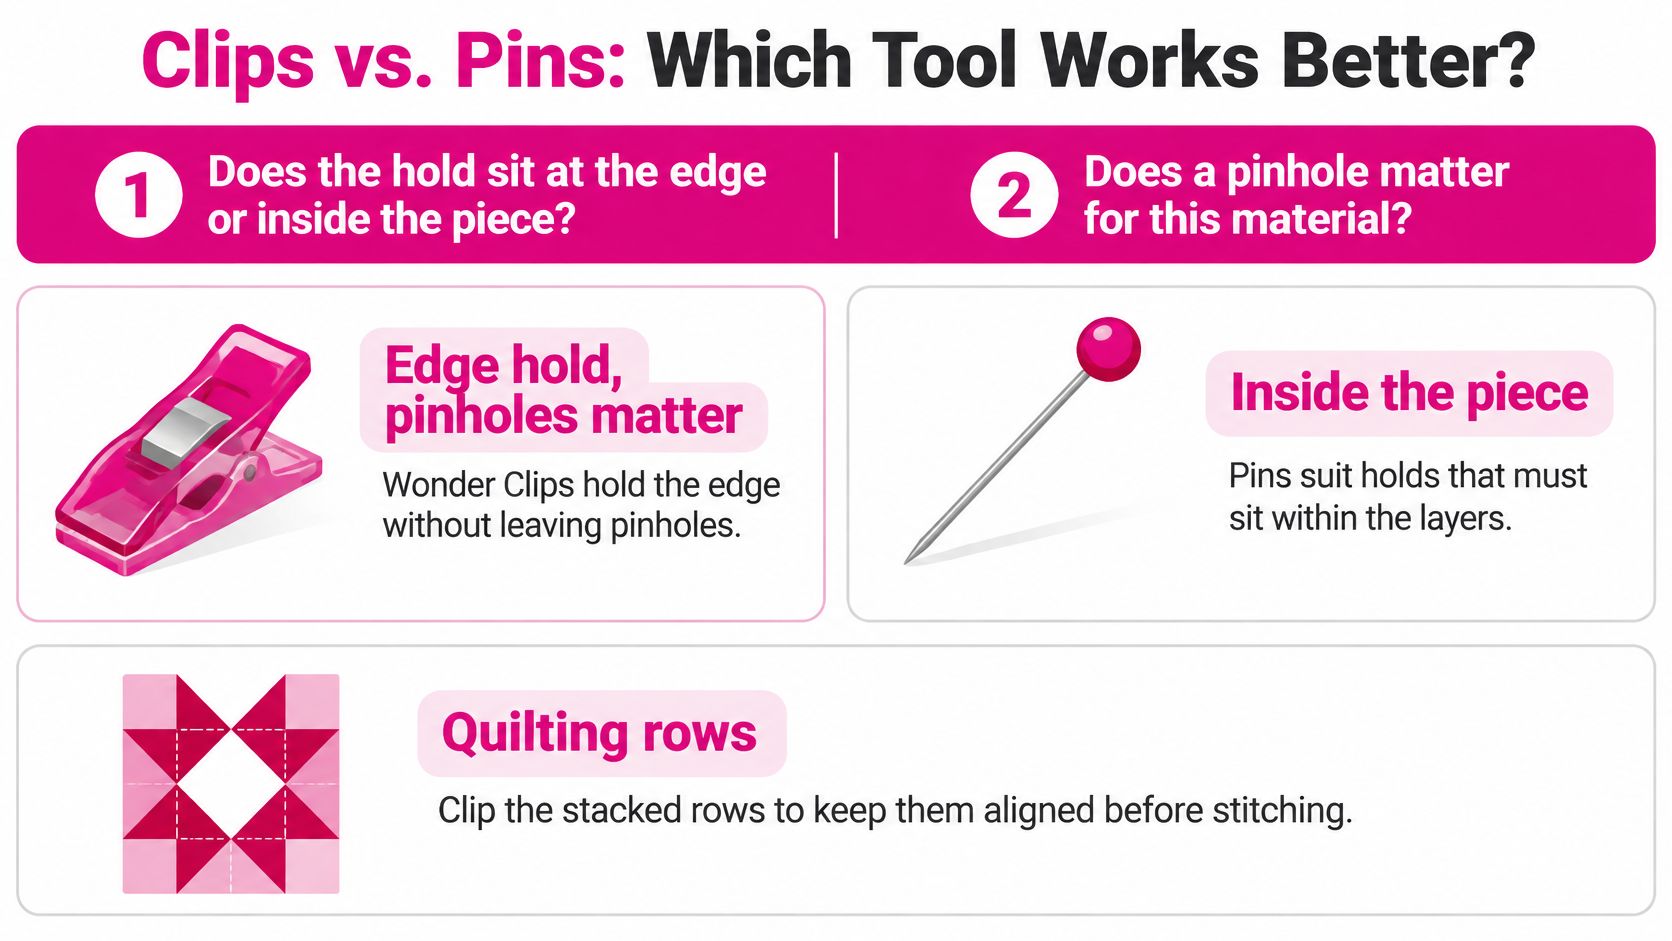
Which tool suits the task?
Clover's Wonder Clips feature guide identifies the strong grip, wide opening, and flat back as core features for holding multiple layers. The spring applies compression at the edge rather than adding pin perforations, while the flat underside helps the assembly sit without rocking.
Clips or pins by sewing task
| Task | Better tool | Why |
|---|---|---|
| Attaching quilt binding at the edge | Wonder Clips | Edge grip holds several layers without adding pinholes |
| Sewing vinyl, leather or coated fabric | Wonder Clips | Clips avoid permanent pinholes in the material |
| Thick layers at a seam edge | Jumbo Wonder Clips | Greater opening provides room for bulk beyond a regular clip's comfortable capacity |
| Darts, pleats or centered pattern pieces | Pins | Clips can't secure an isolated interior position |
| Curved seams | Pins, or densely placed clips | The layers need support between alignment points |
| Easing elastic or slippery fabric | Pins or basting | A continuous or precisely placed hold better controls shifting |
Avoid treating every visible sewing problem as a tensioning problem. If the seam begins aligned but finishes with one layer extending beyond the other, investigate layer control and feeding before changing the upper tension or bobbin settings.
What should you change when clips fail?
Layer shifting often means the hold isn't controlling enough of the assembly. Match notches first, add clips between them, and baste if the fabric still slides. Don't stretch the upper layer to make its end meet the lower layer.
Puckering calls for a different check. Release the clips and let the fabric relax on the table. If you clipped a stretched edge into position, the stitches can preserve that distortion.
Presser-foot interference means the clip is too close to the foot's working space. Stop and remove it. A foot riding against a clip can tilt or drag instead of pressing evenly on the fabric.
Edge distortion can occur when the jaws grip a delicate or compressible surface too firmly. Try a scrap first, use a better-fitting size, or switch to temporary basting.
A secure hold should preserve the shape you prepared. It shouldn't create a new shape that you must correct while sewing.
How does this work on real projects?
Say you're making a canvas tote with a vinyl-laminated pocket. Use Wonder Clips for sewing the pocket's accessible edges, keeping its coating free from unnecessary pin marks. If the pocket must stay in place within the panel, use a compatible temporary adhesive or basting method within the construction area instead of forcing clips to reach where they can't.
Now consider quilt binding crossing a bulky seam intersection. Clip the binding around the edge, allow the thick junction to settle naturally, and check that the folded binding hasn't rolled out of position. Where an interior cotton seam needs precise registration, a pin can support that point while clips handle the perimeter.
For longarm quilting, distinguish edge preparation from interior quilt stabilization. Clips holding a binding or stacked rows don't secure the center of a quilt sandwich. Keep them clear of the moving foot and needle path.
Browse Linda's notions selection with these jobs separated: edge holding, interior alignment, and temporary basting each deserve the right tool.
How to Clip Fabric Before You Stitch
How can you tell whether clips are holding a seam in position without shifting the fabric? Start with a short sample made from the same fabric, batting, and interfacing as your project. Include a folded edge or seam intersection, since a flat scrap won't show how the layers behave when thickness changes.
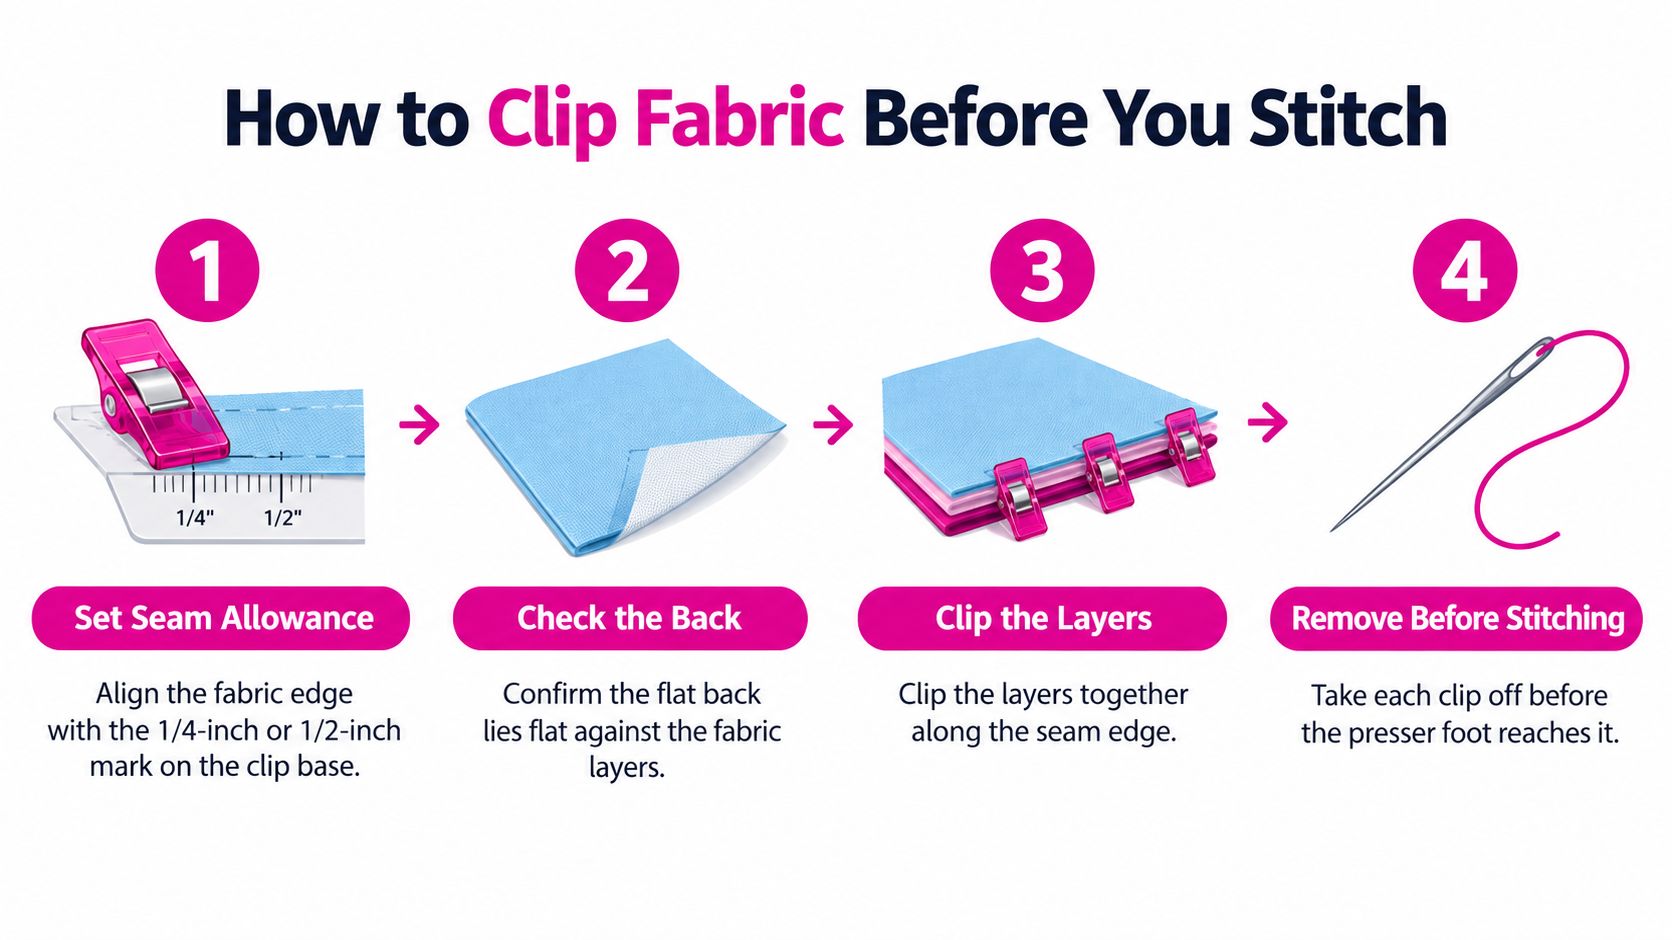
What's the correct clipping sequence?
- Set the seam allowance. Align the fabric edge with the appropriate base reference. Clover's product guide identifies 1/4-inch (7 mm) and 1/2-inch (12 mm) markings. These marks help you position the clip, but your needle-to-edge distance still determines the stitched seam allowance.
- Check the machine guide. Place the clipped assembly beside the seam guide before preparing the full length. This confirms that you're using the right reference line, rather than repeating a small placement error along the entire seam.
- Clip perpendicular to the seam. Match the starting points, then add clips between them to support the layers. Space them closer around curves and bulky transitions, where an unsupported section is more likely to shift. Clips hold the edge; they don't guarantee that the layers won't distort.
- Check the underside and presser-foot path. Keep the clip base flat and avoid twisting the fabric. The presser foot needs to rest on the fabric, not on a clip, so place clips outside its contact area.
- Recheck the alignment. On a long seam or binding, compare the layers at the start, middle, and end. If they no longer match, release some clips and redistribute the fabric. Pulling the last section into place can stretch or skew the edge.
- Remove each clip before the foot reaches it. Watch ahead of the needle, slow down as a clip approaches, and stop if you need more time to remove it. Never stitch over a clip or wait for it to touch the presser foot.
- Press and inspect. Choose a pressing method suitable for the fabric and any coating or adhesive. Compare the seam or binding with the pattern before continuing.
What does an efficient long-run workflow look like?
Work in manageable sections: align, clip, check, stitch, and collect the removed clips. Support the quilt's weight on the table so it doesn't tug the prepared edge away from the seam guide.
Keep your eyes slightly ahead of the needle. That gives you time to spot an approaching clip and stop before it enters the presser-foot path.
Before preparing the full binding, clip and stitch a scrap strip with the same fabric and batting. A successful pass keeps the folded edge aligned, feeds smoothly beneath the foot, and leaves the seam allowance consistent without stretching the layers. If the edge shifts or the fold rolls, adjust the clip spacing or reposition the layers, then try the sample again.
Safety, Care and Limits of Wonder Clips
Every clip must come off before the presser foot or needle reaches it. Sewing Bible's clips-versus-pins guide explains the trade-off: blunt clips avoid pin-prick injuries, but a needle or presser foot can strike a clip left in the stitching path. A clip does not pierce fabric, but it can still damage the machine if you sew over it.
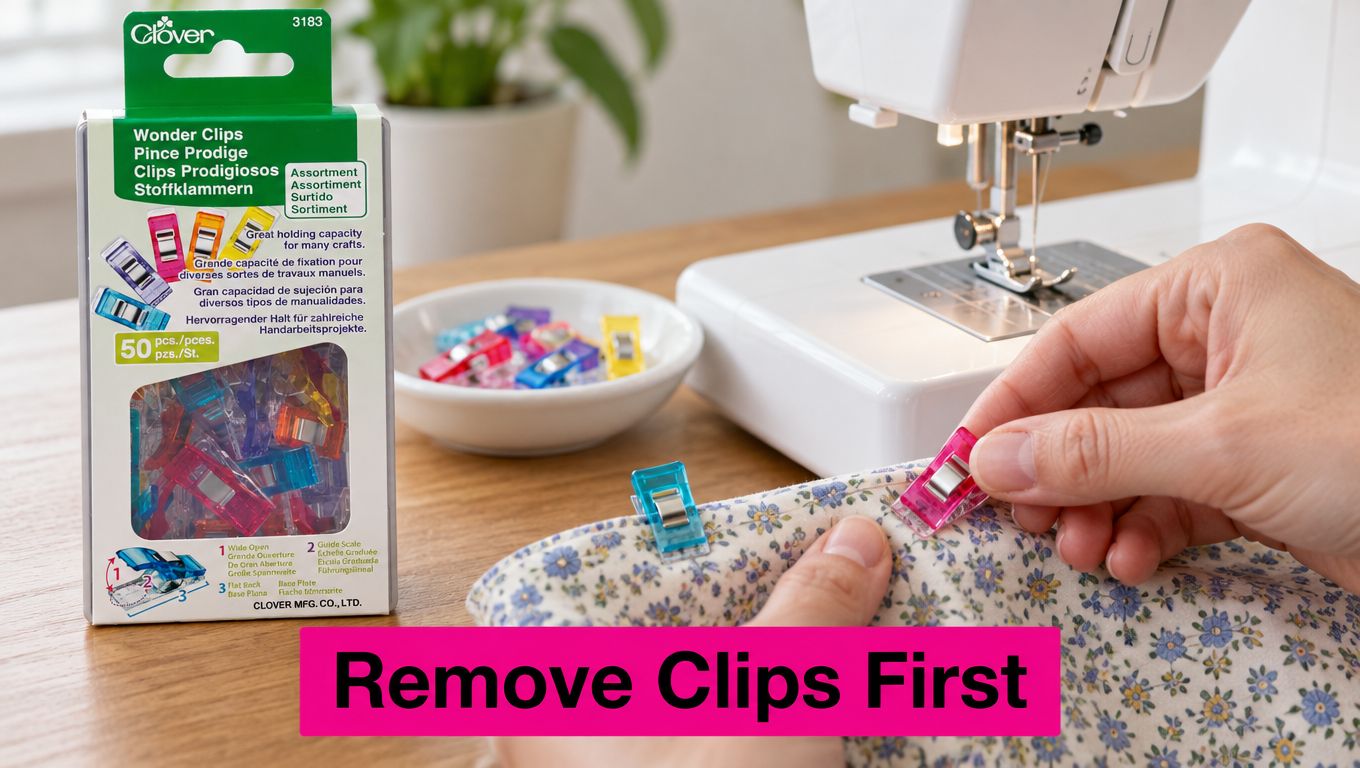
Are clips easier for every sewer to handle?
Visibility helps, but hand strength still matters. Clips are larger than pins and can be easier to find against dark or patterned fabric. Choose a color that contrasts with the fabric, since a bright clip may disappear against some prints.
The spring can make repeated opening uncomfortable if you have arthritis or reduced grip strength. Test the opening action before choosing a full set. You should be able to place and remove a clip without squeezing harder than feels comfortable or twisting your wrist.
Clips have blunt jaws rather than the exposed point of a pin, but their small size still matters around children and pets. Keep them in closed storage, away from curious hands and mouths. Pick up any dropped clips from beneath the machine table.
How should you care for sewing clips?
- Clear the jaws: Remove lint and adhesive residue so the gripping surfaces meet properly. Avoid scraping them in a way that damages the jaws.
- Inspect the body: Retire clips with cracks, loose components, or a visibly weakened grip.
- Store them closed: Keep clips together in a tin or sealed case, where they are less likely to collect lint.
- Keep a collection spot nearby: A shallow container beside the machine lets you put removed clips away without reaching across the quilt.
Pro-Tip: Place each removed clip directly in the collection container beside your machine. This keeps it out of your guiding hand and away from the fabric as you stitch.
For alphabet clips used to organize cut stacks, check whether the set includes a case or tin that closes securely. A designated container also keeps clips together between projects.
Which Substitutes and Starter Kit Should You Buy?
When clips cannot reach a spot or would press the fabric out of shape, choose a temporary hold suited to that job. Basting stitches make a line of temporary attachment, while adhesive holds small pieces in place. These options solve different problems, so match the method to the fabric and seam.
What can you use instead of clips?
Basting stitches work well for elastic or slippery fabric that shifts under a few points of pressure. Their continuous hold keeps the arrangement together while you check it before sewing the permanent seam. Keep removable basting accessible so you can take it out rather than sewing it beneath dense stitching.
Fabric glue or basting tape can secure small components where clip jaws cannot reach. Test the adhesive on scraps, especially with coated materials. Keep it away from the needle path unless the product is intended for stitching through.
A walking foot can help feed layers more evenly on a compatible domestic machine. It manages feeding rather than holding pieces in position, and it does not replace the frame setup or quilting foot used on a longarm.
Binder clips and hairpins can serve in an emergency, but their shape may obstruct access to the seam edge or sewing references. Check the surfaces that touch the fabric, and use care with delicate material because their pressure may be unsuitable.
What belongs in a practical starter kit?
- Regular clips: For routine seam-edge preparation and binding.
- Jumbo clips: For thick assemblies and folded handle sections.
- Pins: For interior placement, matching points, and fine alignment.
- A seam guide ruler: For checking the actual allowance before repeating a setup.
- Basting supplies: For slippery or elastic layers, or places where edge pressure alone does not hold the arrangement.
Choose supplies based on the kinds of construction your projects require. A binding demonstration can help you rehearse the hand movements before handling a finished quilt. That practice also gives you a chance to see whether basting, adhesive, or a different tool suits the layers better.
Frequently Asked Questions About Wonder Clips for Sewing
Are Wonder Clips safer than pins around children and pets?
Their blunt tips avoid the exposed sharp point of a pin. They still hold small parts that should be stored securely.
Which Wonder Clip size should I buy first?
Regular clips suit general patchwork and quilt binding. Choose jumbo clips for thicker seam intersections, wide allowances, or layered handles. Match the clip's opening to the fabric stack rather than forcing it closed.
How many clips do I need for quilt binding?
There is no fixed count. Use enough clips to keep the folded binding aligned along the section you are preparing, adding them closer together around bulky corners or joins where the layers shift more easily.
Can I use Wonder Clips with a machine embroidery hoop?
Use clips only where they sit outside the hoop and do not obstruct its movement or the needle path. If a clip prevents the hoop from seating flat, use another way to hold the fabric in place.
Linda's Electric Quilters offers sewing notions, fabrics, batting, and thread for quilt, bag, and home-decor projects. Its selection can help you choose clip sizes for your work, while pins and basting supplies remain useful for seams that need a different kind of hold.
Stock up in our quilt clips and clamps collection — binding clips, basting clips and frame clamps.


