
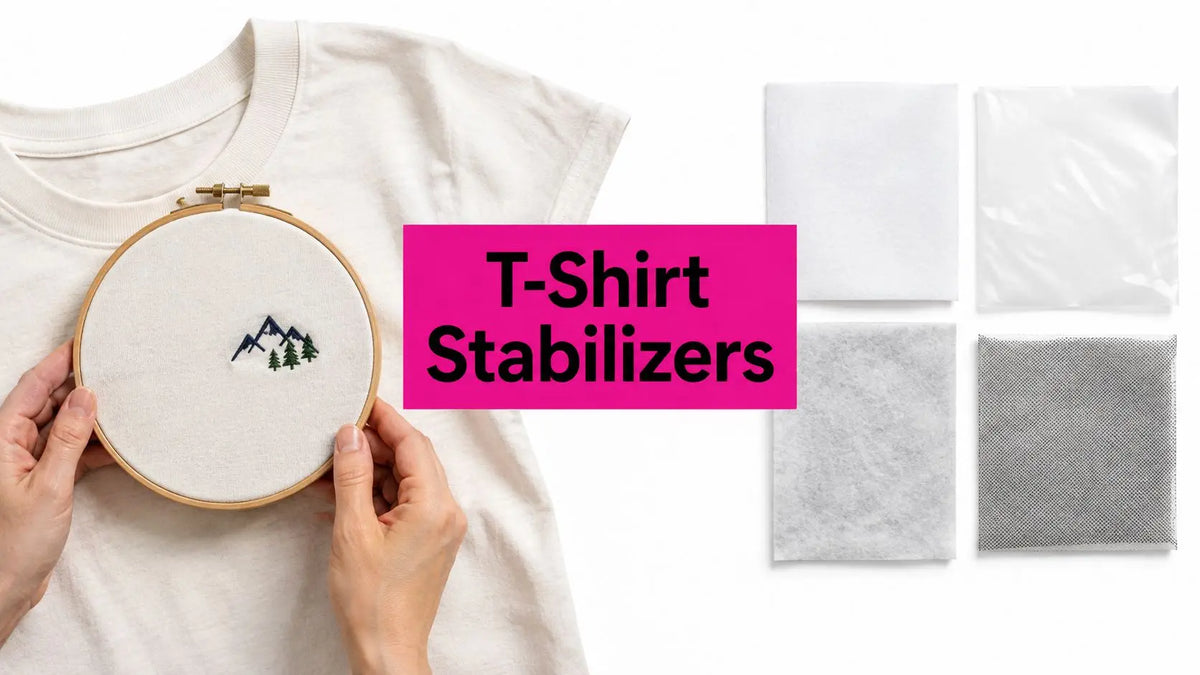
On a knit T-shirt, use cut-away stabilizer — medium weight is the default — because the knit keeps stretching after the hoop comes off and only a permanent support keeps the design registered through wear and washing. Tear-away is the common mistake: the design looks fine in the hoop, then distorts. Wash-away alone is for toppers and special cases, not as the T-shirt foundation.
The counterintuitive part is that removing more backing doesn't necessarily make a better shirt. A clean-looking reverse side means little if the logo loses its shape after washing, so choose embroidery stabilizer for T-shirts for the finished garment, not just the stitch-out.
Which Stabilizer Fits Your T-Shirt Project
Choose backing by fabric stretch and design density, not by the garment name alone. A compact filled logo pulls differently from an open outline, even on the same cotton tee. A performance knit can also need more lateral control than a stable cotton shirt, regardless of how small the design looks.
Stabilizer choice by T-shirt project scenario
| Project scenario | Recommended stabilizer | Why it works |
|---|---|---|
| Small dense logo on cotton tee | Medium cut-away | Dense fills need a stable base that won't stretch out |
| Full-chest design on poly-spandex performance tee | Heavy cut-away or suitably rated no-show mesh | High stretch and heavy stitch load need permanent lateral support |
| Lettering on a sleeve under 4 inches | Medium cut-away, plus water-soluble topping if loops show | Small dense text pulls the knit; topping keeps stitches from sinking into loops |
| Airy outline on a soft baby tee | Light soft cut-away | Low stitch load allows a softer backing against skin |
| One-off low-density motif on sturdy cotton | Medium tear-away, verified by sample | Stable fabric and light stitching can carry the design after backing removal |
| High-pile fleece-blend sweatshirt | Heavy cut-away with water-soluble topping | The backing controls movement while topping keeps pile from hiding stitches |
How should you read the project table?
Start with the knit, then inspect the design's most demanding area. An open-border logo with a tightly filled center needs backing suited to the center, not just the overall footprint.
No-show mesh describes visibility, not support. Check the backing's construction and stitch rating; a soft-feeling sheet is not automatically suitable for a dense design on a stretchy shirt.
Before choosing backing, stretch the shirt gently across and along the knit. Then inspect the file for concentrated fills, overlapping elements, and narrow satin columns. These details indicate where the fabric is most likely to shift or distort.
- Dense center: Select backing for the concentrated stitching.
- Stretchy base: Prioritize lateral stability over easy removal.
- Skin contact: Consider the reverse-side feel and how trimming affects bulk.
Why does consistency matter on uniform projects?
Embroidery represented more than 40% of global decorated-apparel revenue in 2023, according to Grand View Research's decorated-apparel market analysis. For team and promotional shirts, consistent placement, shape, and hand depend on matching the approved sample to the finished order.
For coordinated golf apparel, the Caddie Uniform customization guide can help clarify how garment choice and design placement affect the hoop area that needs backing. Confirm those choices before preparing the sample, since the garment's stretch and the embroidery footprint determine how much fabric must be stabilized.
Linda's Electric Quilters carries backing options with different support and softness characteristics. Choose by the knit, stitch load, and how the finished reverse side should feel, then confirm the choice on a sample.
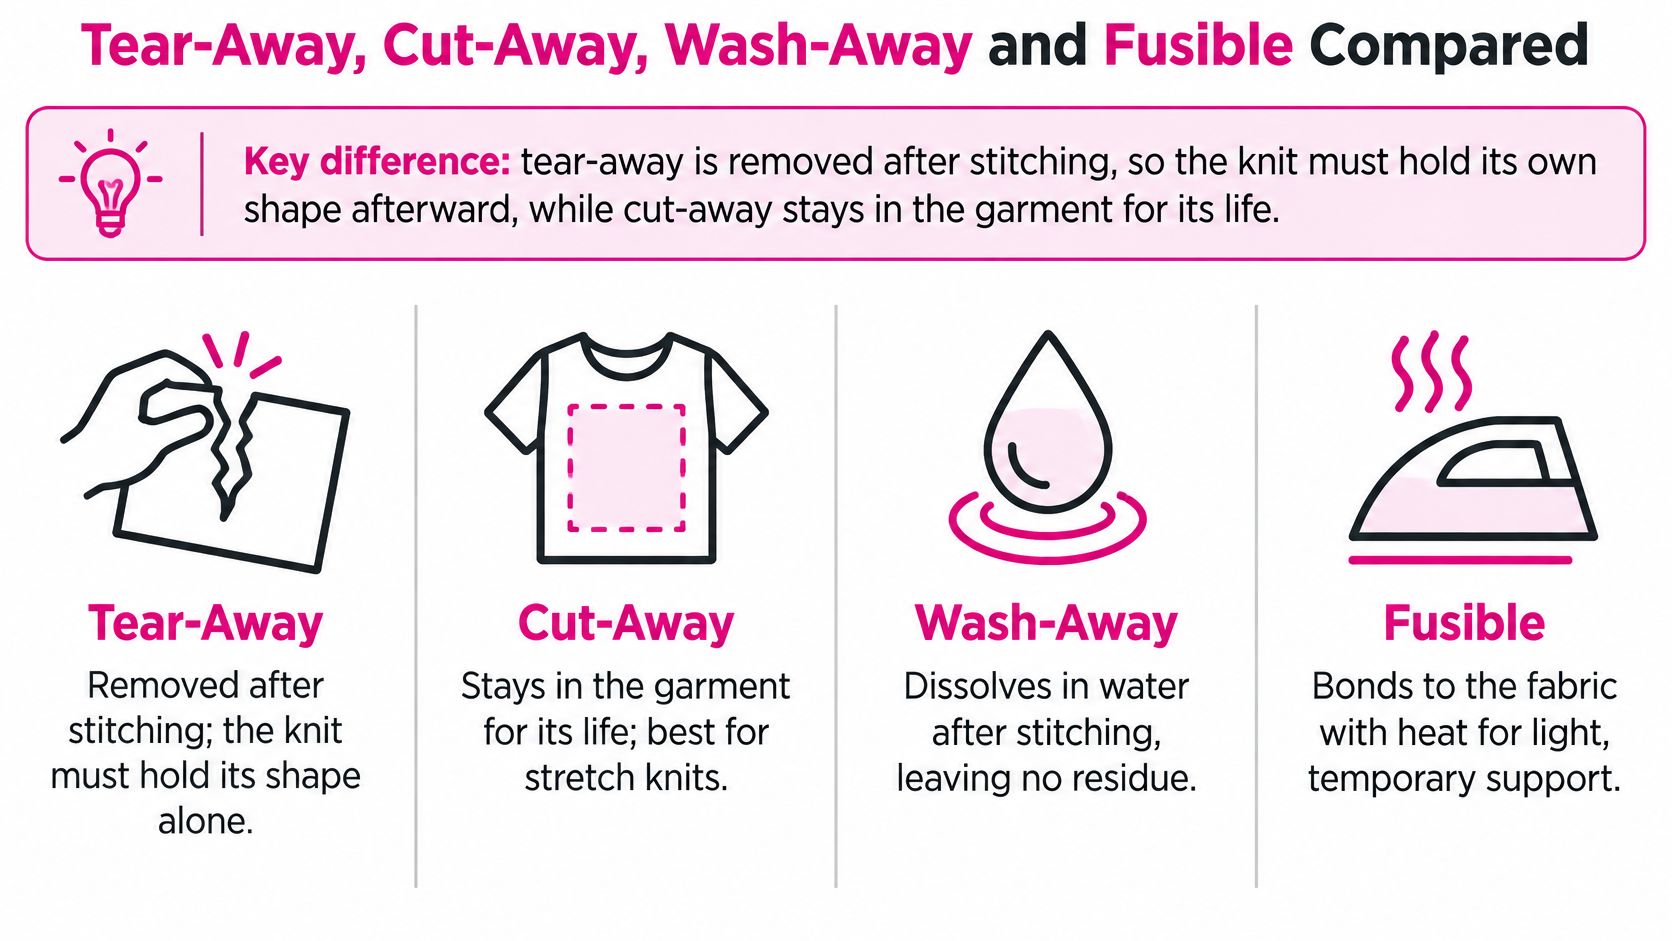
Tear-Away, Cut-Away, Wash-Away and Fusible Compared
Tear-away is removed after stitching; cut-away remains behind the design. That difference determines what supports the knit when the wearer stretches, washes, and wears the shirt.
Four stabilizer types compared for T-shirts
| Type | Knit stretch control | Best design load | After washing | Feel against skin |
|---|---|---|---|---|
| Tear-away | Medium support, less resistant to distortion | Light, low-density designs | Removed, so the knit supports the stitches alone | Soft outside the design, with fibers remaining in stitched areas |
| Cut-away, permanent | Strongest control against puckering and gapping | Dense fills, lettering, and heavy logos | Remains behind the embroidery through laundering | Can feel stiff; careful trimming reduces bulk |
| Wash-away, water-soluble topping | No lasting structural support | Topping for loops and pile | Dissolves with suitable rinsing | No permanent topping remains after complete removal |
| Fusible soft cut-away | Controlled by backing construction and bond quality | Medium designs on stable knits | Permanent backing remains; check bond performance | Can offer a soft hand; verify the specification |
Use this visual to distinguish removal methods, but remember that fusible describes an adhesive feature, not whether a backing is temporary or permanent.
Can you use tear-away on a knit shirt?
You can, but it needs a forgiving combination of stable fabric and sparse embroidery. The University of Illinois stabilizer tutorial describes tear-away as medium support with less resistance to distortion, and offers two layers of medium-weight tear-away as an uncertain-user starting setup.
That isn't a reason to make it your default for dense knit embroidery. Permanent cut-away or an appropriate no-show mesh is the more dependable choice for substantial fill, lettering, and garments that will be repeatedly laundered.
When you remove tear-away, you also remove the surrounding support. Judge the sample after removal, not while the backing still holds everything flat.
Which type fails first?
Cut-away provides the strongest control against puckering and gapping, but stiffness is its trade-off. Choose the lightest construction that passes your test, and reduce excess backing without cutting into the stitched foundation.
Water-soluble topping solves a surface problem. OESD's stabilizer guidance recommends cut-away for stretch fabrics, knits, and dense designs, with water-soluble topping where texture could swallow stitches. A topping isn't a replacement for permanent backing underneath.
Fusible soft cut-away helps prevent the garment and backing from sliding independently. Its limitations are heat compatibility, uneven bonding, and changes to the garment's hand, so test the pressing process as carefully as the stitch-out.
For repetitive trimming, Slice Self-Opening Scissors offer an ambidextrous, self-opening handle that reduces the hand effort needed between cuts. Keep the garment lifted clear of the backing while trimming.
On lasting stretch control, tear-away fails sooner; on permanent support, wash-away topping provides none. On softness, a firm cut-away may be the poorest fit, while a fusible can fail at the bond if its pressing requirements don't suit the shirt.
When comparing tear-away and cut-away options at Linda's, match the support class to your sample rather than treating the removal method as the whole specification.
How Knit Stretch and Stitch Density Set the Weight
A compact, dense fill can need more support than a larger outline. Match the backing to both the design's stitch concentration and the knit's movement, then check the reverse for stiffness and how much backing will remain against the skin.
The Bernina stabilizer reference compares a 4-inch design containing 15,000 stitches with an 8-inch design containing the same count. It also suggests poly-mesh cut-away up to 12,000 stitches and heavy support above 25,000 stitches. Use those figures alongside the design layout and fabric, since stitch distribution and application affect the support required.
The bands in Linda's embroidery stabilizer guide offer a practical place to start:
| Stitch count band | Support class | Typical T-shirt use |
|---|---|---|
| Under 5,000 stitches | Lightweight | Small outlines and sparse motifs on stable cotton |
| 5,000 to 10,000 stitches | Medium, usually medium cut-away; heavy tear-away only on stable, low-stretch cotton | Standard chest logos and small lettering |
| 10,000 to 15,000 stitches | Heavy cut-away or suitably rated no-show mesh | Full-chest knits and dense lettering |
| Over 15,000 stitches | Heavy or specialty mesh | Very dense fills, high-pile, or high-stretch garments |
Why don't stitch ratings agree across brands?
A rating applies to a product under its intended conditions. Stitch direction, underlay, fabric stretch, and overlapping elements can all change how much support a design needs.
Floriani's T-shirt guidance describes designs 4 by 4 inches or smaller as generally containing about 8,000 stitches, with its tear-away adding support for another 10,000 stitches. Treat these as product-specific figures, not a capacity that applies to every tear-away.
Stitch structure also affects the load on a knit. The guide to compare embroidery stitches for hat logos can help identify satin and fill stitches, but cap backing recommendations do not transfer directly to T-shirts.
How does stretch change the choice?
As the knit stretches and shifts more easily, test a stronger support class. Small lettering may spread or its columns may separate on a slick performance blend, even if the same design holds on stable cotton. The reverse matters too: extra support can leave a stiff patch against the skin and affect how the shirt feels after washing.
- Concentrated fills: Increase support when stitches pack tightly into a small area.
- Overlapping elements: Check stacked sections for excess bulk and gaps.
- Soft, open designs: Use less support when the fabric and stitch layout allow it.
Cut a sample through its densest area and inspect the front for gapping and the reverse for stiffness before committing to a run. When trimming, lift the garment clear of the backing so the stitched foundation stays intact.
Stabilizer Weights and Brands Worth Testing
Named T-shirt stabilizers and their stated specifications
| Product | Type and weight | Stated specification | Best test use |
|---|---|---|---|
| Gunold STIFFY 1640B | T-shirt and polo stabilizer, 51 g/m² | 75–80% cellulose and 20–25% polyester, in Gunold's 2026 specification | Knit tees where backing hand needs careful comparison |
| SewForLess fusible soft cut-away | Fusible soft cut-away | 70% recycled fibers; up to 10,000 stitches in a 4-by-4-inch hoop, in the SewForLess 2026 listing | Medium designs on stable knits that benefit from bonding without pinning |
| Sublime Stitching T-Shirt Stabilizer | T-shirt stabilizer, one 18-by-20-inch sheet | $6.95 in a 2023 listing, from Sublime Stitching | A single-sheet trial before a larger purchase |
These specifications give you useful comparison points, but they don't establish interchangeable performance. Historical prices and product listings can change, so confirm current details before ordering.
What does a stabilizer spec sheet tell you?
Grams per square meter describes material weight per area. It doesn't directly tell you softness, resistance to lateral movement, or how cleanly the backing trims.
Fiber content helps identify what you're comparing, while construction and finishing affect the result. Don't assume a cellulose blend will behave like a soft mesh just because their weights look similar.
A manufacturer's stitch rating also needs context. Check the design size and intended application before treating that rating as suitable for your own embroidery stabilizer for T-shirts.
How should you run a single-sheet test?
Cut a sample and pair it with a scrap from the same shirt fabric. Use the planned hoop, needle, thread, and design so you're evaluating the backing rather than a different setup.
- Before stitching: Compare flexibility, opacity, and any fusible bond.
- After stitching: Look for registration errors, tunneling, and compressed fabric around fills.
- After finishing: Trim the backing and feel whether the edge or the embroidered area is too rigid.
Buying rule: A specification earns a place in the sample pile. A finished, washed sample earns a place in production.
For a useful comparison, hold the design and fabric constant while changing the backing. Otherwise, you won't know which change improved the result.
Check Linda's stabilizer selection for comparable support classes and fiber information before committing to a larger supply.
How to Hoop a T-Shirt Without Puckering
A good backing can't correct fabric that was stretched into the hoop. The knit should lie flat in its relaxed shape, not look smooth only because you've pulled it tight.
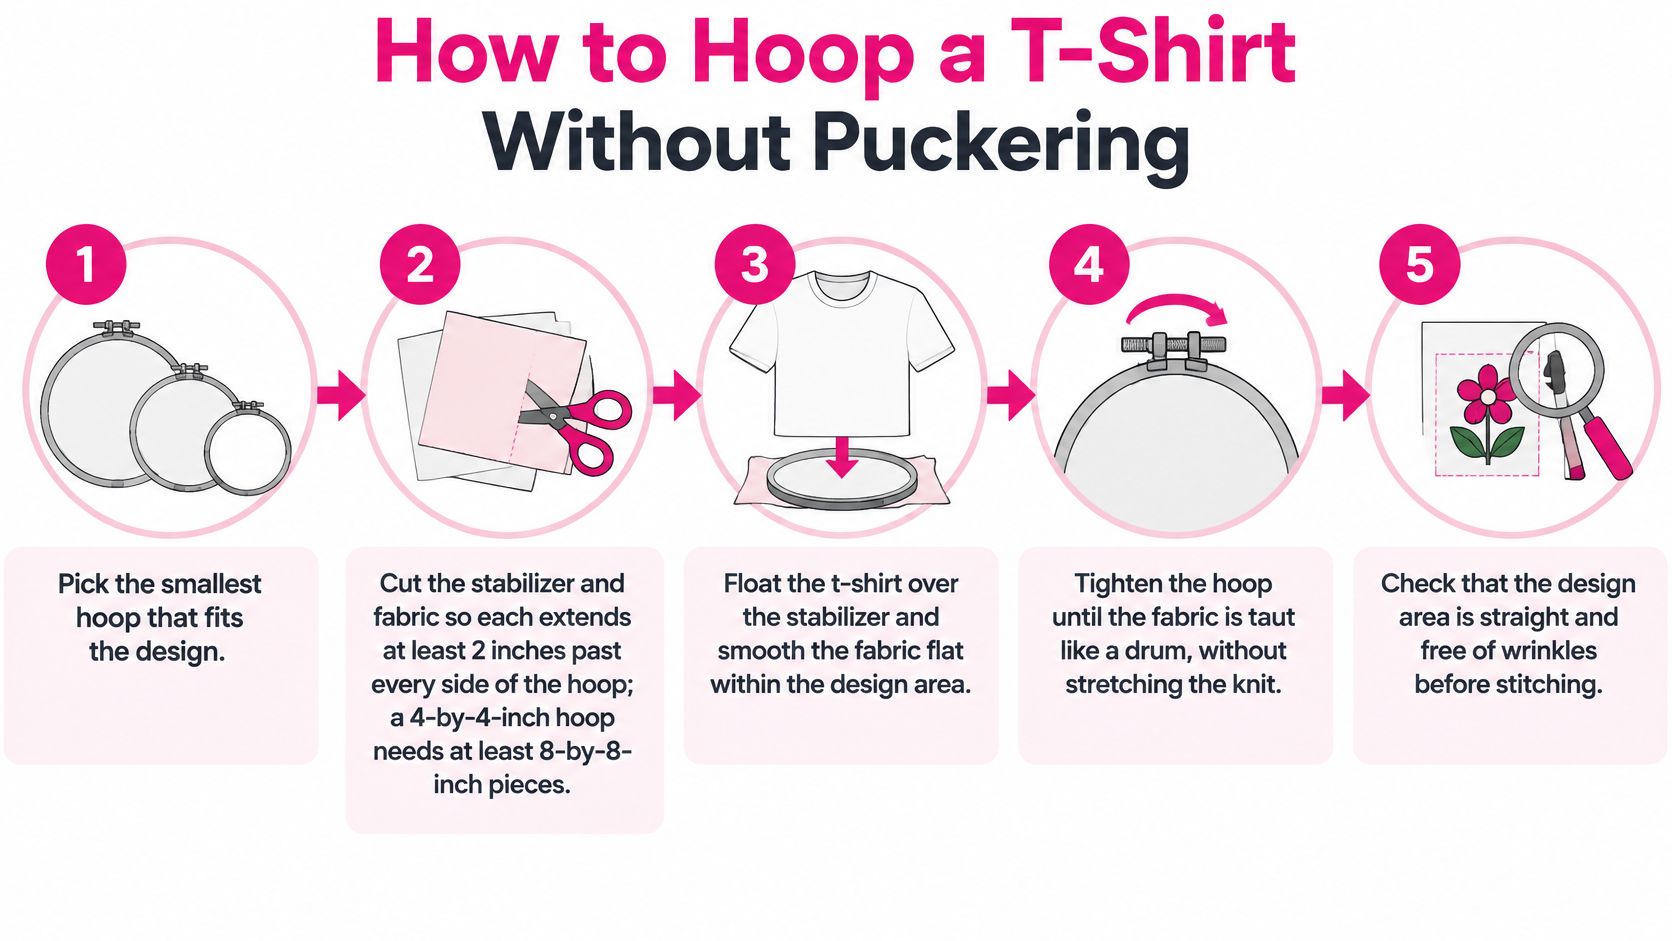
Use this visual as a positioning reference, while keeping relaxed knit alignment more important than a drum-tight feel.
What is the correct hooping order?
- Pick the smallest hoop that comfortably fits the design. Leave clearance for the presser foot and the machine's sewing field. An unnecessarily large unsupported area gives the knit more opportunity to move.
- Cut generous margins. The University of Illinois hooping tutorial recommends fabric and stabilizer extending at least 2 inches beyond every side, with at least an 8-by-8-inch piece for a 4-by-4-inch hoop. On a finished shirt, confirm that the intended area can sit flat without a seam interfering.
- Place the backing beneath the shirt fabric. Lay the outer hoop flat, arrange the supported fabric over it, and align the marked design position. Keep the back of the shirt clear so you don't accidentally stitch it to the front.
- Seat the inner ring and tighten the outer screw. Smooth the margins and gently check the hold without pulling the knit longer or wider. If the grain or placement marks bow, release and reset rather than compensating with more pulling.
Pro-Tip: If direct hooping stretches or marks the shirt, hoop only the permanent stabilizer and float the shirt using embroidery-safe temporary adhesive. Smooth it into place without stretching, then add a basting outline to help control lift and lateral movement.
- Stitch on the actual shirt fabric. Examine the sample outside the hoop for radial puckering, gaps between adjacent columns, and raised tunnels. A design that looks flat under hoop tension can reveal problems when released.
- Correct support before chasing tension. If the knit shifts or gaps, try a more supportive cut-away or a compatible fused backing. Raising thread tension can introduce looping or thread breaks without fixing fabric movement.
- Trim without releasing the design edge. Separate the backing from the garment with your fingers, then cut close to the embroidery perimeter without cutting its stitches or underlay. Leave enough backing to retain the foundation at the outline.
What should you check before pressing start?
Move sleeves, hems, and the shirt's back away from the stitching field. Trace the design boundary on the machine and check that neither the hoop nor nearby seams obstruct the travel.
For gift sets that include shirts and other personalized pieces, monogramming options for bridal accessories provide useful planning context. Each accessory still needs its own hooping and backing test rather than inheriting the shirt setup.
Use the hooping video to compare hand placement and fabric handling before your next sample.
Keep your approved backing sample, hoop notes, and trimming tools together when preparing the next project. Use Linda's tutorial resources alongside the sample record so you can repeat the setup instead of rebuilding it from memory.
Comfort, Washing and Disposal Trade-Offs
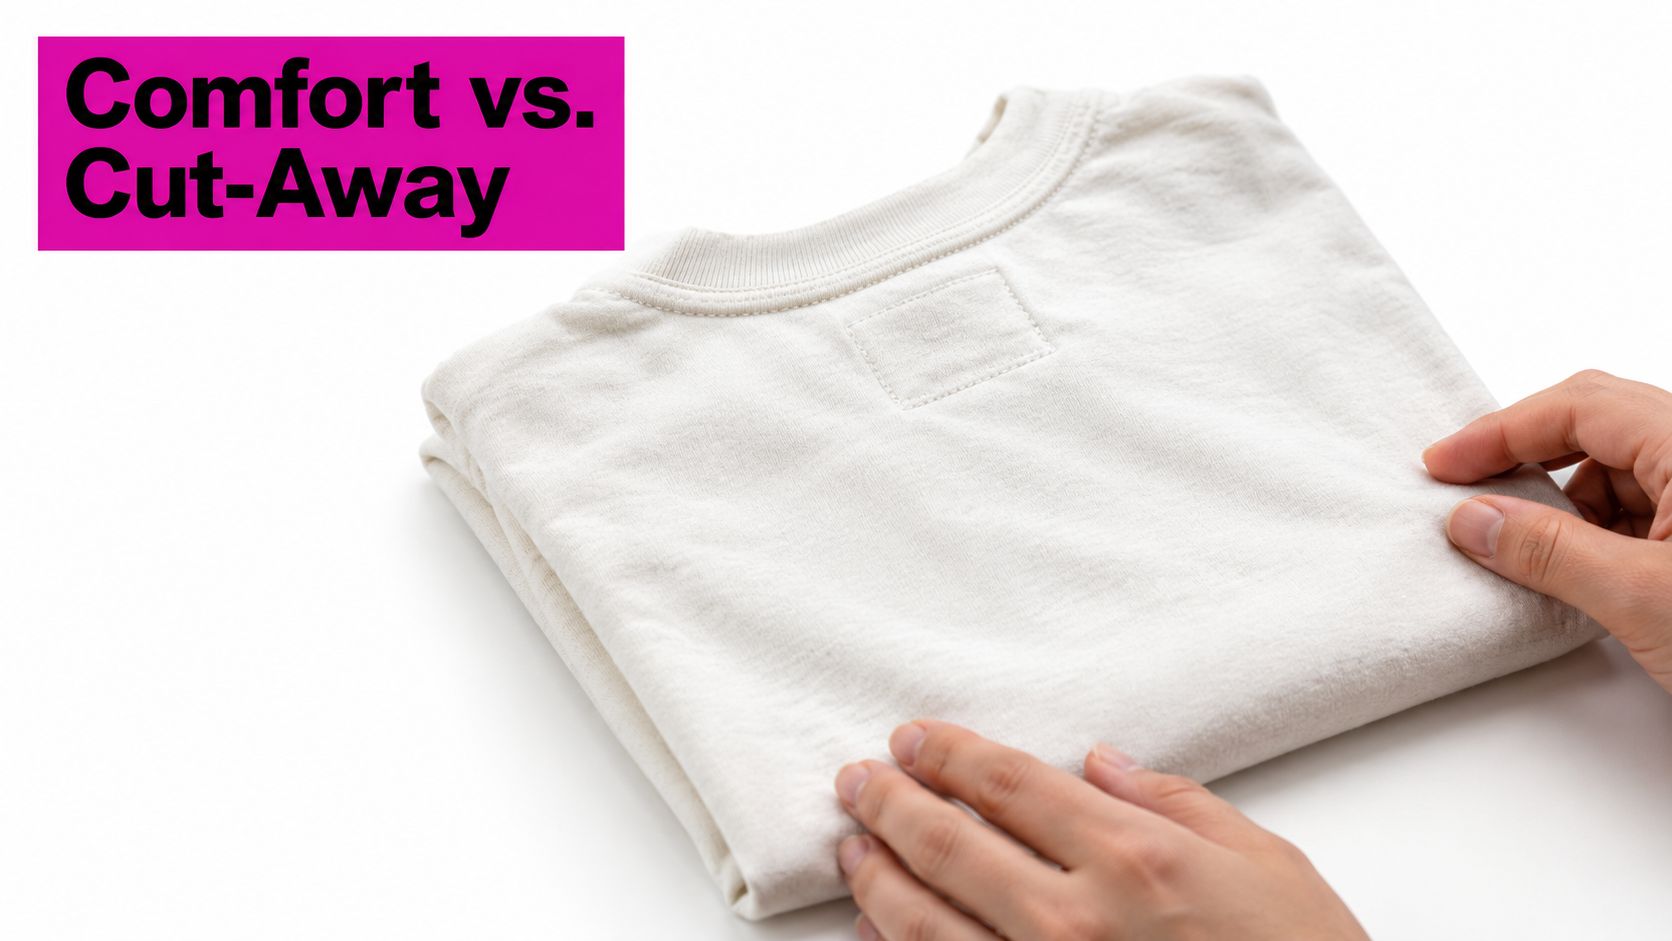
The backing on the reverse affects skin feel and wash life as much as the embroidered front affects appearance. A dense design may need permanent support to hold its shape, but that support can leave a stiff area against the wearer's chest. Turn the shirt inside out and assess the full contact area.
How can you improve skin feel?
Use a softer backing when it provides enough support. Trim the cut-away close to the design — leaving a small, even margin rather than a wide stiff frame — and trim projecting corners into rounded edges and remove loose fibers. For garments worn against sensitive skin, test a cover-up layer over the embroidery's reverse: a soft fusible cover applied over the back of the design keeps thread ends and trimmed edges off the skin without changing the support decision underneath it.
A cover-up can soften contact, but it does not replace structural backing. Check that its application temperature suits the shirt and that the added layer does not make the embroidered area too stiff.
- Backing edge: Run a fingertip along the trimmed perimeter.
- Embroidery underside: Check for scratchy thread ends and rough transitions.
- Finished hand: Flex the whole decorated area, including the backing.
Are biodegradable backings automatically better?
No. Textile Network's report on embroidery backings describes biodegradable and recycled options, including PLA-based cut-away for natural textiles and soft tear-away for garments worn against skin. It also notes the role of permanent support in maintaining dimensional stability through washing and ironing.
A biodegradable backing does not make a synthetic-blend shirt biodegradable, and its disposal requirements may not suit the garment's likely end-of-life route. The choice depends on the backing, shirt, embroidery thread, skin contact, and expected washing.
For example, if a soft tear-away sample loses support after washing while a permanent cut-away sample keeps a dense design stable, the cut-away offers better wash performance, though its remaining edge may feel less comfortable. Compare both the result after laundering and the reverse-side feel before choosing.
Ask about the complete construction, including backing fibers, adhesive, shirt blend, and embroidery thread. Check removal residue and durability as well as the environmental claim, and verify that the backing's stated disposal route fits the garment.
Test Your Stabilizer Choice Before the Production Run
A production run should use only a backing that passes both a stitch-out and a finished-shirt check. Use the same shirt fabric, hoop, embroidery setup, and finishing method planned for production. Before stitching, measure the shirt around the design and note the measurements.
After stitching, remove the shirt from the hoop and let it relax before measuring again. Launder and dry the sample according to the garment's care instructions, then compare its dimensions and appearance with the prewash record. Set a clear pass/fail limit before the test: reject the combination if the decorated area changes by more than 3 mm in either measured direction, develops ripples, or loses its shape. The measurement limit is a production tolerance, not a universal fabric specification.
What makes a sample production-ready?
- Shape: The design has no new gaps, ripples, or distorted outlines, and the measured change stays within the chosen limit.
- Skin contact: The backing and embroidery feel comfortable against skin, without scratchy edges or excessive stiffness.
- Support: The remaining backing holds the embroidered perimeter in place without loose residue or fabric that pulls away.
If the shirt fails the shape check, try the next more supportive backing class before changing machine tension. If the shape passes but the reverse feels uncomfortable, test a softer construction with comparable support. Change one factor at a time so the result identifies whether backing support or finishing caused the problem.
Frequently asked questions
Does a wash test replace a stitch test?
No. A clean stitch-out does not show how the shirt will behave after laundering. Check the sample outside the hoop, then compare its measured shape and appearance after washing.
Can I iron fusible stabilizer onto a finished shirt?
Follow the product's bonding instructions and the garment's heat limits. Check the process on matching scrap first, including the pressing surface and cooling method.
How do I remove leftover cut-away from a soft shirt?
Trim the excess close to the design without cutting stitches or the supporting perimeter. Leave the backing under the embroidery in place, then assess the trimmed edge for comfort.
How should I choose backing for a repeat order?
Use the same shirt fabric, design, hoop, and finishing method as the approved sample. Record any change in fabric stretch or stitch density, since either can call for a different support level.
Keep a sample record with the hoop size, backing type and weight, hooping method, finishing steps, and wash cycles. For example, log the shirt fabric and design alongside the result of each cycle, so a repeat order can use the approved setup rather than relying on memory.
Linda's Electric Quilters offers embroidery supplies, sewing notions, and educational resources. Browse its stabilizer options and finishing tools, then approve the combination on your own sample before producing the shirts.
Where This Fits in the Embroidery Compatibility Lab
This guide is the knit half of a pair. The same support decision on a stable fabric is worked through in embroidery backing choices for quilting cotton, and the supply-side readiness — including choosing bobbin supplies from your machine manual — is in the machine embroidery supplies guide. The knit ground fabrics referenced throughout are the jersey class in the knit fabrics collection — a cotton/spandex jersey such as Pink Cotton Solid Stretch Spandex Jersey Knit Fabric ($0.82) is the T-shirt case itself, with bamboo and poly slub jerseys as the softer and harder variants. The next question in this module — needle point and size for knit T-shirts, so stitching doesn't cut holes or start runs — is queued in the Embroidery Compatibility Lab.


