
On quilting cotton, start with tear-away for light-to-medium designs (up to roughly 12,000 stitches), move to cut-away when the design is dense or the finished piece will be washed and handled hard, and use wash-away when no stabilizer may remain, such as freestanding or see-through work. Quilting cotton is stable, so the choice is driven by stitch density and end use, not by the fabric's stretch.
Hey everyone. Today you will learn how to pick the right embroidery backing, so your stitching stays flat after the hoop comes off.
Here we go. This is where a lot of good embroidery goes wavy. The fabric looks fine in the hoop. Then you unhoop it. Oh my goodness. Puckers everywhere.
Most times, the thread is not the problem. The needle is not the problem. The backing is the problem. It was too light. Or it was the wrong type. Or it left too soon.
Think of stabilizer like a helper hand. It holds the fabric steady while thousands of stitches pull on it. A design at 10,000 stitches pulls a lot. A design at 25,000 stitches pulls even more. Your backing has to match that pull, and it has to match your fabric.
Materials
- Your fabric or garment, hooped or ready to hoop
- Tear-away stabilizer for stable woven fabrics
- Cut-away stabilizer for knits and stretchy fabrics
- Wash-away stabilizer for freestanding lace and sheer fabrics
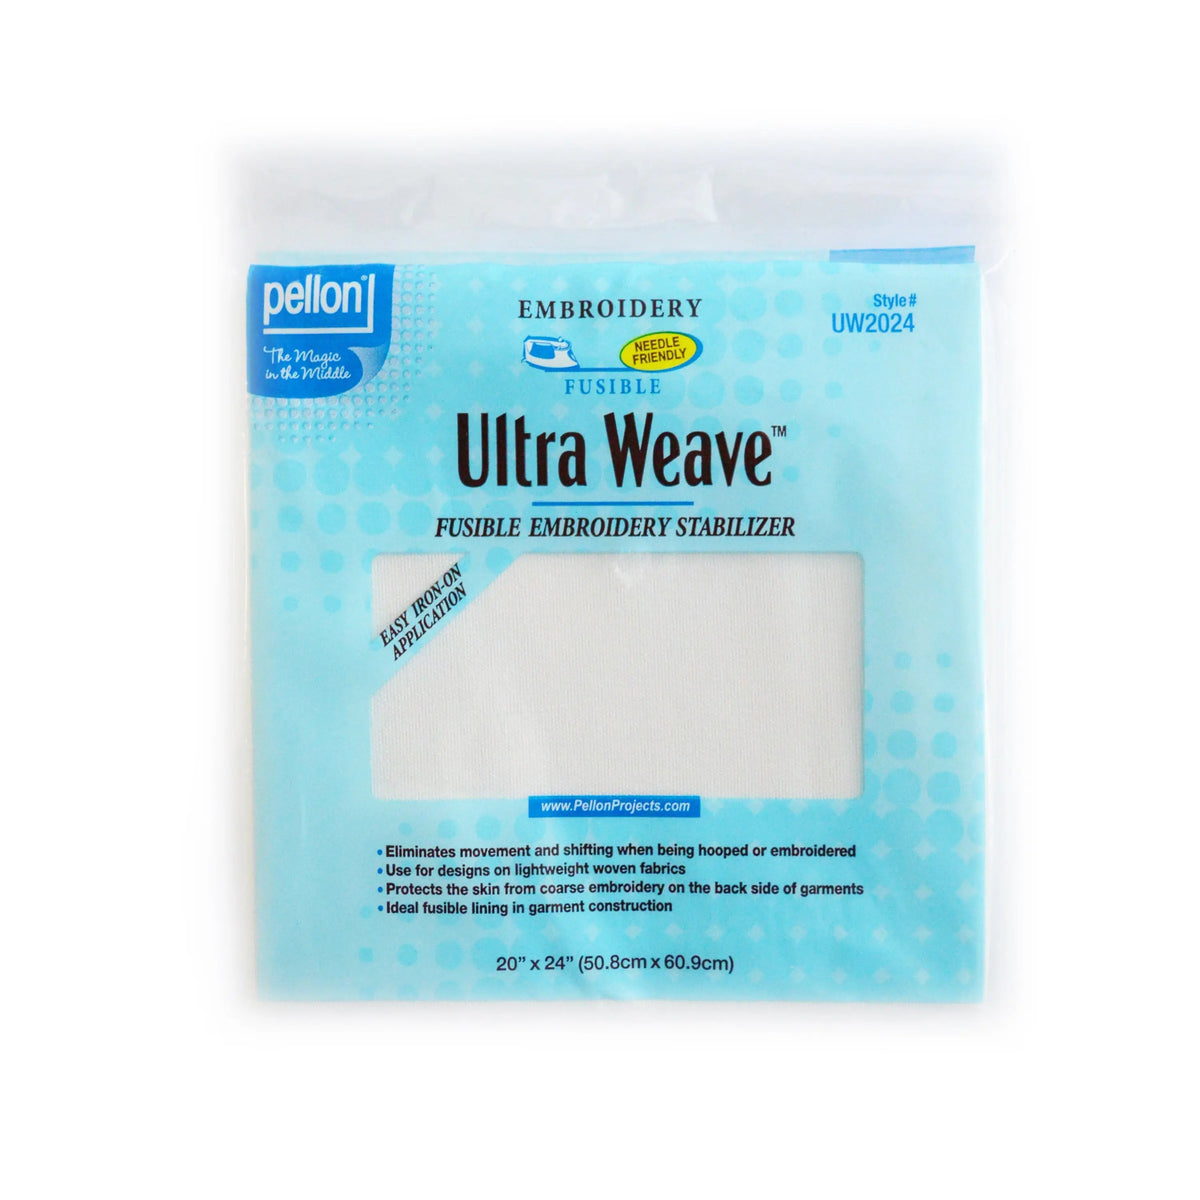
- Heavyweight fusible stabilizer for dense designs that need extra support
- Embroidery hoop that fits your design with room to spare
- 75/11 embroidery needle for most midweight fabrics
- Small, sharp scissors for trimming cut-away close to the stitching
- A test scrap of the same fabric, every single time
The Quilting Cotton Decision Table
| Design and end use | Support family | Removal notes |
|---|---|---|
| Light-to-medium design (up to roughly 12,000 stitches) on a quilt block or panel | Tear-away | Tear gently, supporting the stitches; residue leaves with the excess |
| Dense design, or a piece that will be washed and handled hard | Cut-away | Stays behind the design permanently; trim close to the stitch edge |
| Freestanding lace, sheer or see-through work where nothing may remain | Wash-away | Rinses away per package directions; the design must hold itself together |
| Dense fills or problem fabric that still shifts in the hoop | Fusible option | Fused to the wrong side before hooping; follows the product's heat directions |
The stitch-count bands are starting points, not guarantees — machine, design and thread all modify the result. Whatever the table suggests, run the test stitch in the steps below on a scrap of the same fabric, with the same design, and inspect the front and the back before committing to the real piece.
How to Choose and Stitch
- Start with the fabric test. Tug your fabric both ways. If it does not stretch, it is stable. Woven cotton is stable. If it stretches, even a little, treat it like a knit. That one test tells you most of what you need.
- Reach for tear-away on stable wovens. Use it for quilting cotton, denim, and canvas. Use it for light to medium designs, roughly under 12,000 stitches. Hoop the fabric and one layer of tear-away together, nice and taut. Stitch. Then tear the excess away gently, supporting the stitches with your other hand. Pulling hard can distort the design, so slow down here.
- Reach for cut-away on anything stretchy. Use it for t-shirts, jersey, sweatshirt fleece, and baby clothes. Knits keep moving after the hoop comes off. Cut-away stays behind the design for life, and that is the point. It keeps holding. Trim it about 1/8 inch from the stitch edge. No closer. Cutting into your stitches is a sad day, y'all.
- Reach for wash-away when nothing should remain. Use it for freestanding lace, organza, and towels where the back will show. On towels, a wash-away topping layer also keeps stitches from sinking into the pile. Rinse it away per the package directions after stitching. The design has to hold itself together, so this works best for designs digitized for it.
- Add heavyweight fusible when the design gets dense. This is my pick for thick satin columns, large filled areas, and fabrics that still pucker with a regular layer. Fuse it to the wrong side first, following the heat directions. Press from the back. Let it cool flat. That fused bond stops the fabric shifting inside the hoop. I use a fusible option on problem fabrics here at the shop, and it really really helps. Completely up to you, but test it once and you will see why.
- Match weight to density. Light design, light backing. Dense design, heavier backing, or two lighter layers. A good rule I teach: if you can see the design outline puckering on your test scrap, go one step heavier before you touch the real piece.
- Always stitch a test first. Same fabric. Same backing. Same needle. Stitch at your normal speed, around 600 to 800 stitches per minute on most home machines. Un-hoop it. Let it sit ten minutes. Then judge it. Fabric lies to you right out of the hoop. It relaxes and tells the truth later.
Tips and Variations
It does not have to be perfect. You are your own worst critic here. A tiny ripple that only you can see is not a failed project. Take your time. It is not a race.
Floating works too. Hoop only the stabilizer. Then pin or lightly stick the fabric on top. That helps on pieces that are hard to hoop, like small baby items. Just keep the fabric flat.
Layering is allowed. A cut-away underneath plus a wash-away topping on a towel is a great combo. We are not reinventing the wheel here. We are just giving each layer one job.
If I can do this, y'all can do this. Pick by fabric first. Then by stitch count. Then test. Just like that, your embroidery comes out of the hoop flat and stays flat.
Thanks for stitching along with me, folks. We'll see you next time. Bye.
Ground Fabrics and Next Steps
The stabilizer decision is made for a ground fabric, and quilting cotton is the ground this guide is about. Verified examples from the quilting fabric collection: Raspberry Quilt Blender Fabric — Reorderable ($0.91), a smooth blender cotton that makes a clean test ground; Dark Aqua-White Dot Print Cotton Fabric ($1.04), a printed quilting cotton; and Yellow Cotton Solid Quality Quilting Woven Fabric ($0.87), a solid for visible stitch work.
Before you hoop, make sure the rest of the setup is ready — the machine embroidery supplies guide now includes choosing bobbin supplies from your machine manual. The same support decision on a fabric that does stretch is covered in embroidery stabilizer for knit T-shirts. More fabric-by-fabric guidance is in the Embroidery Compatibility Lab.
Shop Pellon® 333 Ultra Weave Fusible Embroidery Stabilizer 20" x 24" Package. Color: White. at Linda's Electric Quilters.


