
The Carpenter Star quilt is one of those timeless patterns that just stops you in your tracks. It has this stunning, radiant design that looks incredibly intricate, but here's the secret: it’s all created from simple squares and triangles. It’s a classic eight-pointed star that’s a surprisingly rewarding project, whether you're just starting out or have been quilting for years.
What’s the Big Deal About the Carpenter Star Quilt?
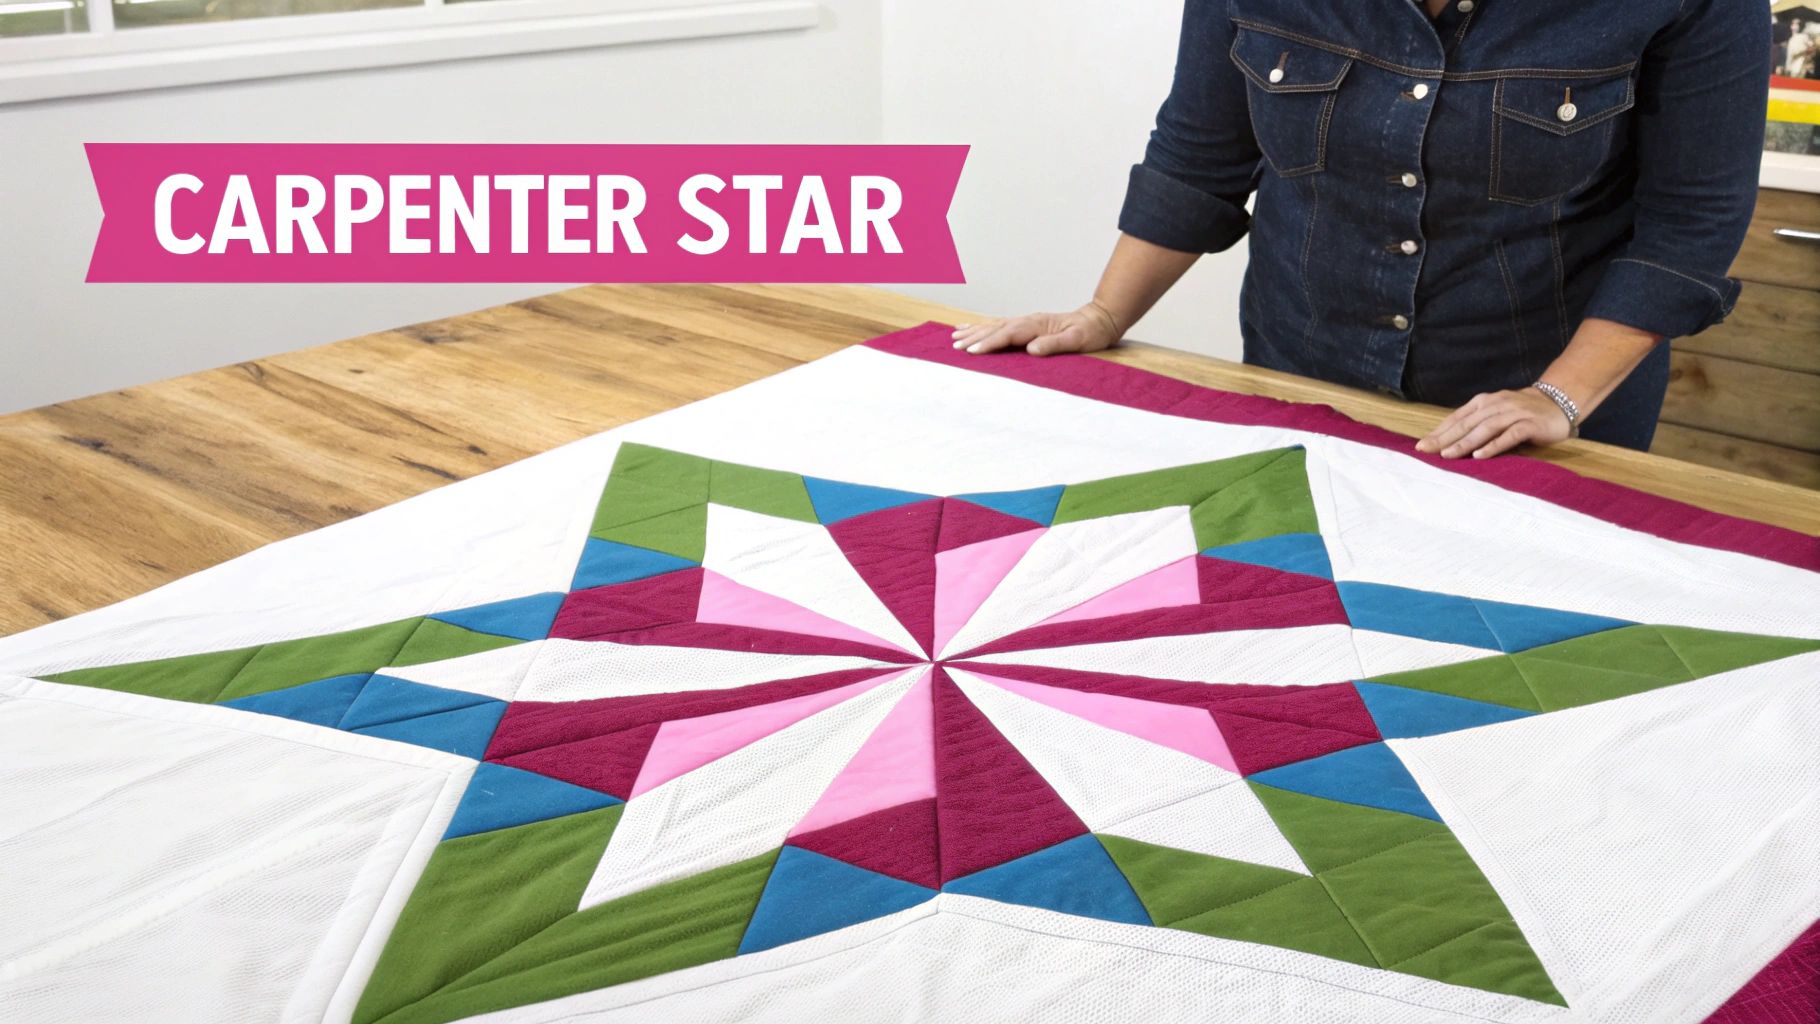
The Carpenter Star holds a special place in the quilting world. It’s a design that quilters come back to again and again, drawn in by its dynamic look and deep roots. At its heart, the pattern is a beautiful illusion. It uses basic building blocks—squares and half-square triangles—to build an intricate, layered star that seems to burst from the center of the quilt.
This clever construction is what makes it such a great project. It’s a perfect skill-builder for quilters looking to get comfortable with precision piecing.
So, why do we love it so much?
- It’s a Showstopper: The design creates a powerful focal point, pulling your eye right to the center and then out along its crisp, clean lines.
- Endlessly Adaptable: This pattern works with just about any color story you can dream up. It’s just as beautiful in a traditional two-tone palette as it is in a modern, scrappy explosion of color.
- Builds Your Skills: It’s fantastic practice for mastering essential quilting techniques, especially for getting those half-square triangles (HSTs) absolutely perfect.
A Design with a Story
The history of this pattern is just as interesting as its geometry. The Carpenter Star quilt has roots stretching all the way back to the 18th and 19th centuries. It first popped up in England, where it was called the "Mathematical Star" because of its precise shapes made from rhombuses and triangles.
As English settlers brought the pattern to America, it evolved. It picked up new names and became a regional favorite, especially in places like Baltimore by the mid-1800s. There, it was often known as the Star of Bethlehem or Star of the East. You can dive deeper into the pattern's rich history and its journey across the Atlantic.
The real beauty of the Carpenter Star is that anyone can make it. It proves you don’t need complicated techniques to create something truly breathtaking. All it takes is a little precision, some patience, and a love for the process.
Your Path to a Beautiful Quilt
I know, looking at the finished quilt can feel a little intimidating. It looks like a complex puzzle! But this guide is here to break it all down into simple, manageable steps. From picking out the perfect fabrics to piecing that final block, we’ll walk you through everything you need to know to make your project a success. This pattern is more than just another quilt; it’s a chance to create a true family heirloom.
Ready to start your own Carpenter Star journey? The first step is always gathering your supplies. For a fantastic selection of high-quality fabrics, notions, and quilting tools that will help you get those perfect points and beautiful seams, shop the amazing products at Lindas to get your project started off on the right foot.
Planning Your Quilt and Gathering Supplies
Every great quilt starts with a little bit of daydreaming and a solid plan. Before you even think about firing up your rotary cutter, taking a moment to plan your Carpenter Star quilt is the best way to make sure the finished project matches the vision in your head. This is the fun part—picking out colors, deciding on the perfect size, and gathering all your favorite tools.
The real magic of a Carpenter Star quilt comes from the play of light and dark fabrics. You need good contrast to make those star points really sing. The classic recipe is a dark fabric for the star points themselves, a medium fabric for the star's background, and a light fabric for the overall quilt background. This combination creates that stunning, radiant star effect that just pops.
Choosing Your Fabrics
To get a quilt that really wows, it helps to start by understanding basic color theory. Don't just think about color, though—think about the scale of your prints. I find that solids or small-scale prints tend to work best because they don't fight with the sharp, geometric lines of the star.
Here's a little trick I've used for years: lay out your fabric choices and snap a black-and-white photo with your phone. If you can clearly see the difference between the fabrics in grayscale, your contrast is strong enough to make your star stand out beautifully.
Calculating Your Yardage
Alright, you've got your beautiful fabric stack. Now, how much of each do you actually need? Nothing is more frustrating than running out of a key fabric halfway through a project, so getting your yardage right from the start is a lifesaver. The amount you'll need depends entirely on whether you're making a small wall hanging or a big, cozy bed quilt.
If you want to get into the nitty-gritty of fabric math, we have a complete guide that teaches you how to calculate fabric yardage for any project. But to make things easy for this quilt, I've put together a quick-reference chart for three of the most popular sizes.
I always suggest buying a little extra fabric. It's a small insurance policy against a cutting mistake or gives you wiggle room for squaring up your blocks.
Carpenter Star Quilt Yardage Requirements by Size
This table provides my estimated fabric yardage for three common quilt sizes. It's a great starting point to make sure you head to the fabric store with the right numbers in mind.
| Quilt Size | Dimensions (Approx.) | Color A (Star Points) | Color B (Star Background) | Background Fabric | Backing Fabric | Binding Fabric |
|---|---|---|---|---|---|---|
| Lap/Throw | 50" x 50" | 1 ½ yards | 1 yard | 2 yards | 3 ¼ yards | ½ yard |
| Twin | 70" x 90" | 2 ½ yards | 1 ¾ yards | 4 ½ yards | 5 ½ yards | ¾ yard |
| Queen | 90" x 98" | 3 ½ yards | 2 ½ yards | 6 yards | 8 ½ yards | 1 yard |
These are solid estimates, but remember that factors like pre-washing and fabric width can affect the numbers slightly.
Gathering Your Essential Tools
With your fabric plan sorted, it's time to round up your trusty tools. Using the right gear makes every step of the process smoother, more accurate, and frankly, more fun. A geometric pattern like this one really benefits from precision, and these tools will help you get there.
- Rotary Cutter and Self-Healing Mat: This combo is non-negotiable for clean, straight cuts. An ergonomic cutter makes a huge difference during long cutting sessions.
- Quilting Rulers: You'll want a long ruler (a 6" x 24" is a workhorse) for cutting strips from your yardage and a good square ruler for squaring up your blocks.
- High-Quality Cotton Thread: A neutral color like gray, cream, or beige is perfect for piecing because it blends into the seams.
- Sewing Machine: Make sure she's cleaned, oiled, and has a fresh needle before you start.
- Iron and Pressing Mat: Getting those seams pressed nice and flat is the secret to achieving those crisp, perfect points.
Now that you've got your blueprint and your supplies are ready to go, you can move on to the satisfying first step: cutting your fabric with total confidence. Find all the essential quilting notions you need to finish your project at Lindas.
How to Cut Your Fabric for Perfect Pieces
I've said it a thousand times, and I'll say it again: a quilt is only as good as its cuts. The real secret to a stunning Carpenter Star quilt isn't some complex sewing wizardry; it all comes down to how precisely you cut your fabric from the very start. Get this part right, and your star points will be sharp and your seams will meet like they were made for each other.
Think of it like baking a cake. You wouldn't just guess the flour measurement, right? Same thing here. Taking the time to prep and cut carefully prevents so many headaches down the road.
Before your rotary cutter even sees the light of day, let's talk prep. I’m a big believer in pre-washing my fabric. It gets rid of any factory sizing, lets the fabric do any shrinking it's going to do, and just makes it softer to work with. Once it's washed and dried, give it a really good press with a hot iron. You want that fabric perfectly flat, without a single wrinkle in sight.
The last—and most critical—prep step is to square up your fabric. Lay it on your cutting mat, line up the selvage edge with a grid line, and make one clean cut along the raw edge. This gives you a perfect 90-degree corner to work from. Trust me, starting with a squared-up piece of fabric is a total non-negotiable for me.
Mastering the Initial Cuts
Alright, with your fabric prepped and ready, it’s time to start cutting the pieces for your blocks. This is where your accuracy really counts. Grab your sharpest rotary blade, a clear quilting ruler, and your self-healing mat—these are your best friends for the next little while.
For each block, you'll be cutting a specific set of squares and rectangles that will become your star points and background pieces. Keep your pattern or yardage chart handy and double-check that you're cutting the right number of pieces for the quilt size you've chosen.
This simple graphic breaks down how these initial steps flow into one another.
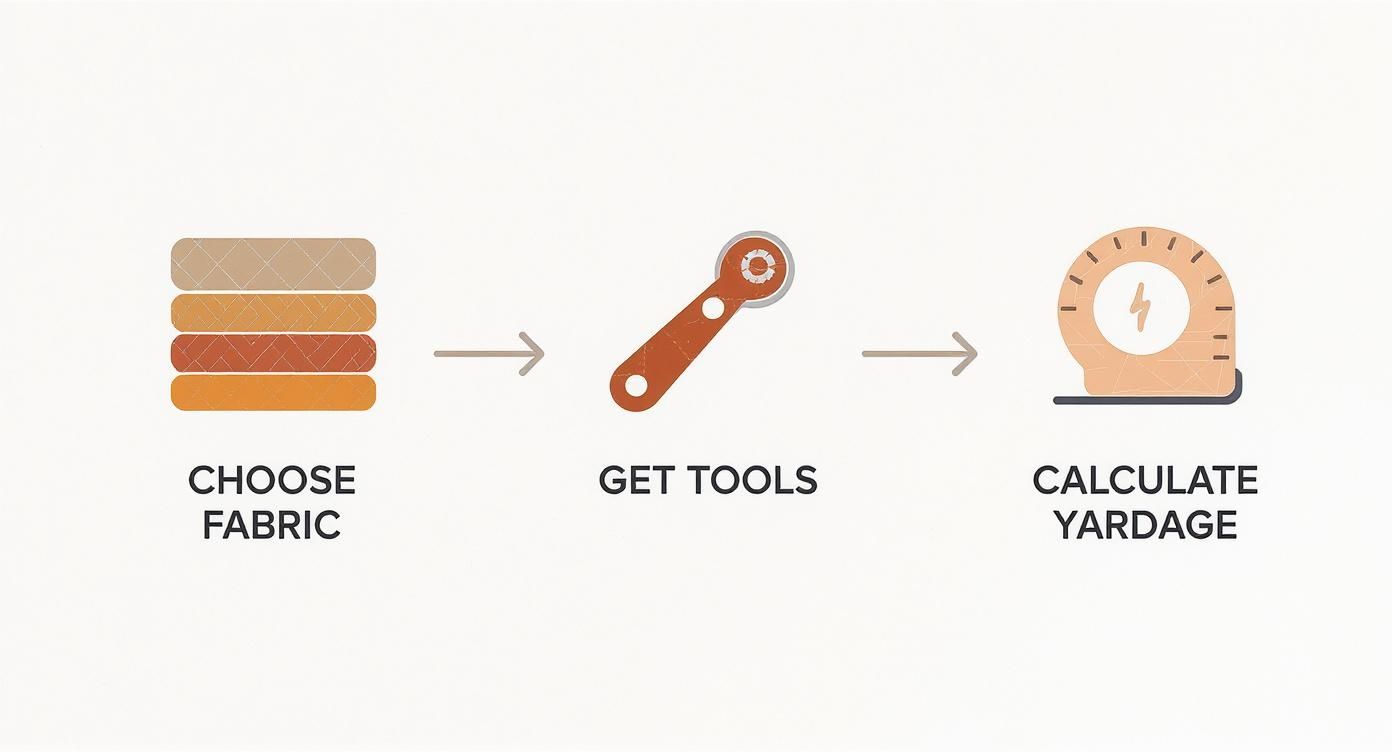
As you can see, all the planning—choosing fabrics, calculating yardage—funnels right into this critical cutting stage.
The Magic of Half-Square Triangles (HSTs)
The half-square triangle, or HST, is the absolute workhorse of this quilt. Now, you could cut individual triangles, but I strongly advise against it. Cutting on the bias like that is a recipe for stretched, wonky pieces. A much smarter and more stable way is the two-at-a-time method. It's a game-changer.
Here's the breakdown:
- Pair Up: Take two squares of the same size, one from your star fabric and one from your background. Place them right sides together.
- Draw a Line: Use a fabric marker to draw a single diagonal line, corner to corner, on the back of the lighter square.
- Stitch: Sew a ¼ inch seam on both sides of the line you just drew. You'll end up with two parallel stitch lines with your drawn line running right down the middle.
- Cut & Press: Now, carefully cut right on that diagonal line. Just like that, you have two perfect HST units. Press the seams (I usually press toward the darker fabric to avoid it peeking through), and you're done.
The two-at-a-time method is all about consistency. By sewing before you cut, you completely stabilize that stretchy bias edge, which drastically cuts down on distortion. This little trick is one of the best quilting tips for beginners you can learn to get professional-looking results right away.
Trim Down for a Perfect Finish
No matter how carefully you sew, your HSTs will probably need a little trim to get them perfectly square. This step, often called "squaring up," is what separates good quilts from great quilts. Grab a square quilting ruler that’s the exact finished size your HSTs need to be.
Trimming ensures every single unit is identical. It’s the key to making sure all your points line up flawlessly when you start assembling your block. It might feel a bit tedious, but the payoff is huge when you see how crisp and geometric your finished star looks.
Once all your pieces are cut and your HSTs are made and trimmed, do yourself a favor and organize them into neat little piles. It makes the piecing process so much more enjoyable. And if you find you need a sharper blade or a new ruler, we have everything you need at Lindas to make your project a success.
Putting Your Carpenter Star Blocks Together
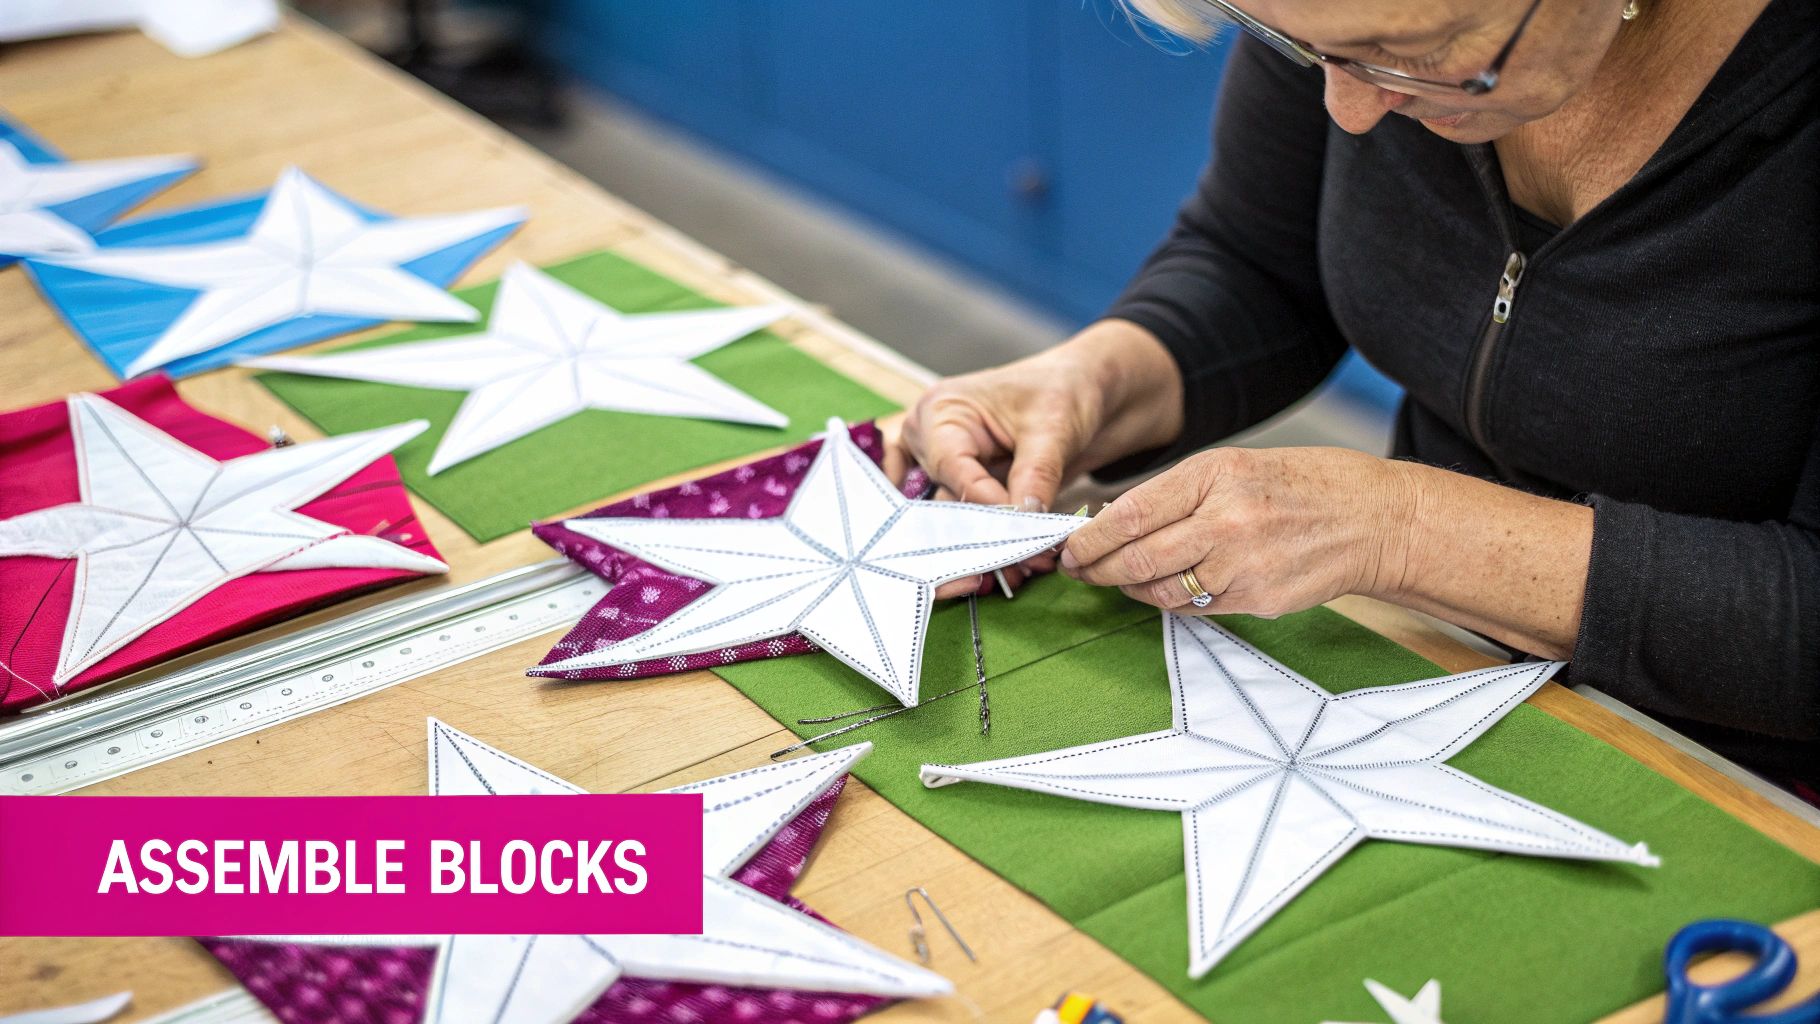
This is where the magic really starts to happen. All that careful cutting and organizing is about to pay off as you watch individual pieces of fabric become a stunning, geometric star. We'll take this one seam at a time, focusing on the little details that make for sharp points and perfectly flat blocks.
The whole process begins with those half-square triangles (HSTs) you made. By methodically piecing these units and pressing them with intention, you'll build a flawless foundation for your quilt top. Accuracy is your best friend here, but don't forget to enjoy the rhythmic, satisfying process of seeing it all come together.
Building Your Star Point Units
First things first, we need to create the eight distinct points of the star. Each point is born from a clever combination of your star and background fabrics, pieced together from the HSTs and squares you've already prepped.
Grab your pattern diagram and arrange your HSTs to match. Typically, you'll join two HSTs to create a larger triangle unit, which then gets paired with background squares or other pieced units. I always recommend laying out all the pieces for one full star point on your mat before you even think about sewing. It’s a simple way to visualize the finished unit and save yourself from sewing something on backward—we’ve all been there!
As you stitch, keep that quarter-inch seam allowance consistent and true. This is non-negotiable for a design like the Carpenter Star. Even a tiny deviation can throw off your block's final dimensions and lead to a real headache when you try to get those points to line up later.
The Art of Pressing for Flat Seams
Let me tell you, pressing is just as critical as sewing. The way you handle your iron can be the difference between a crisp, flat masterpiece and a bulky, frustrating mess. For a Carpenter Star, you've got a couple of solid options.
- Pressing Seams to One Side: This is the old-school, traditional method. You press both seam allowances toward the darker fabric to prevent it from peeking through the lighter side. It also sets you up perfectly for "nesting" your seams later.
- Pressing Seams Open: This is my go-to for reducing bulk, especially where multiple seams crash together (which happens a lot in this block). Pressing the seam allowances open, one to each side, helps everything lie incredibly flat. A tailor's clapper is your best friend here for getting those seams extra crisp.
Honestly, most quilters I know use a mix of both techniques. Play around and see what feels right for you, but remember the golden rule: press, don't iron. Lift and place the iron instead of dragging it, or you’ll risk stretching those delicate bias edges.
The star pattern itself has such a rich heritage. The Carpenter Star and its cousins, like the Broken Star and Carpenter's Wheel, were all the rage in 19th-century America. By 1890, you could find over 800 quilting designs, including this one, in mail-order catalogs from Sears and Wards for as little as ten cents! You can dive deeper into the history of these popular star patterns to see just how far back they go.
Assembling the Block Row by Row
With your smaller star point units all pieced and pressed, it’s time for the main event: assembling the full block. The most logical way to tackle this is by arranging the units into rows, just as you would with a simple nine-patch. A classic Carpenter Star is usually built in four neat rows.
Lay out every single component for one block on a design wall or a big table. This is your final sanity check to make sure every piece is facing the right direction before you commit to a seam.
Once you’re happy with the layout, start sewing the units in each row together. This is where nesting your seams really shines. If you pressed your seams to the side in alternating directions, you’ll feel them lock satisfyingly into place when you put two rows right sides together. It’s a fantastic little trick for nailing those perfect points where the corners meet.
Pro Tip: When you're joining those long rows, don't be shy with the pins. I place one at the start, one at the end, and one at every single seam intersection. It feels like overkill, but trust me, it’s the best insurance policy for perfect points.
After sewing your rows into a block, give the whole thing one last, gentle press.
Squaring Up for a Flawless Finish
This last step is absolutely crucial, so don't skip it! No matter how carefully you cut and sewed, tiny variations can sneak in. Squaring up trims your block to its precise unfinished size, guaranteeing that all your blocks will play nicely together when you assemble the quilt top.
Find a square quilting ruler that matches your block's final size and lay it on top. Line up the ruler's diagonal line with the main diagonal seam of your star. Carefully trim the two exposed sides with your rotary cutter. Now, rotate the block 180 degrees, line up the ruler with your fresh-cut edges, and trim the last two sides. This is your final quality control check for a beautiful quilt.
With your blocks assembled and squared, you’re ready to start laying them out! If you're planning to quilt this beauty yourself, it’s a great time to brush up on how to use a walking foot. It’s perfect for the kind of straight-line quilting that will make your star’s geometry pop.
Finishing Your Quilt From Top to Treasure
Alright, you’ve pieced and squared your gorgeous Carpenter Star blocks, and now for the really satisfying part. This is where all those individual pieces finally come together, transforming from a stack of blocks into a soft, textured quilt you can treasure forever.
First thing's first: how do you want to lay it all out? Your beautifully crafted blocks are the building blocks of your final design. You could create a showstopper by using a single, large Carpenter Star as a medallion, framing it with simple, wide borders to really let it be the hero. Or, you could join multiple blocks to create an all-over repeating pattern, maybe using sashing strips between them to give each star its own space to shine.
Assembling Your Quilt Top
Once you've landed on a layout you love, it's time to sew those blocks into a quilt top. If you decided on sashing, you'll sew the vertical strips between the blocks in each row first. After a good press, you'll join the rows together with the horizontal sashing strips.
If you’re joining the blocks directly, the trick is to keep nesting those seams just like you did when you made the blocks. This is the secret to making sure all your points and corners continue to line up perfectly across the whole quilt.
After the center is all pieced, it's border time. Borders do more than just make your quilt bigger—they're the frame for your artwork. They contain the energy of the design and give your eyes a place to rest. You can go with a single wide border or build up a few narrow ones for a more complex look.
Here's a pro tip I swear by: Always measure your quilt top through the center, both vertically and horizontally, before you cut your border strips. Never just trust the pattern's measurements. Tiny little differences in your seam allowances can add up, and cutting borders to fit your actual quilt top is the only way to guarantee you won't get wavy, distorted edges.
The Quilt Sandwich and Quilting
Now we build the "quilt sandwich." This is where the magic really happens. You'll layer three things: your finished quilt top, the batting in the middle, and your backing fabric on the bottom. The batting is the heart of the quilt, giving it warmth and that wonderful texture. The kind you pick—from cotton to wool to polyester blends—really changes the final drape and feel of your project.
Choosing the right batting can feel overwhelming, but it makes a world of difference. To get the full scoop on what might be best for your quilt, check out our guide: https://lindas.com/blogs/education/lindas-welcomes-the-warm-company-batting.
Once you have your batting, lay your backing fabric wrong side up, smooth the batting over it, and place your quilt top right side up on the very top. You'll need to baste these three layers together securely with safety pins, a temporary spray adhesive, or even long hand stitches to keep everything from shifting.
With your sandwich basted, you can finally start quilting! This is the stitching that holds it all together and adds that incredible dimension.
- Stitch-in-the-Ditch: A classic for a reason. You simply quilt right in the "ditch" of the seam lines. It’s a clean, elegant way to emphasize the geometric lines of your carpenter star quilt without adding any distracting new designs.
- Straight-Line Quilting: Quilting in parallel lines across the quilt gives it a crisp, modern feel that looks fantastic against the star's sharp points.
- Free-Motion Quilting: If you're feeling a bit more adventurous, this is for you. Free-motion designs like swirls, loops, or feathers can create a stunning contrast to the star's angular geometry.
The Carpenter Star is a truly timeless design, and it’s amazing to think about how many hands have crafted it over the years. It's estimated that star patterns like this one make up as much as 30% of all traditional quilt blocks made by quilters around the world.
Binding for a Beautiful Finish
We're on the home stretch! The final step is the binding—that's the fabric strip that wraps around the raw edges of your quilt for a durable and polished finish. Most quilters cut 2 ½ inch strips of fabric, sew them together end-to-end on a diagonal, and then press them in half lengthwise to create one long binding strip.
You'll attach the raw edge of the binding to the front of the quilt, mitering the corners as you sew around. Then, just wrap the folded edge around to the back and stitch it down. You can do this by hand for a nearly invisible finish, or by machine if you're looking for speed and extra durability.
And with that final stitch, you're done! You've created a beautiful quilt. If you want to ensure your Carpenter Star quilt lasts for generations, you might find some helpful preservation advice in these general tips for antique restoration.
Your Top Carpenter Star Quilt Questions, Answered
Every quilter, no matter how experienced, runs into a head-scratcher now and then. It’s just part of the process! When you’re deep in the zone, a small question can feel like a big roadblock.
Let's walk through some of the most common questions that pop up when making the carpenter star quilt. Think of this as your personal troubleshooting guide to keep you stitching happily.
Why Aren’t My Star Points Sharp?
Ah, the dreaded blunt point. This is hands-down the most common frustration with this pattern, but the fix is usually pretty simple. Nine times out of ten, it comes down to one of two culprits: a wonky quarter-inch seam or stretched bias edges on your half-square triangles (HSTs).
First things first, grab a quilting ruler and double-check your machine's seam allowance. Even being off by a thread’s width can compound over a block and throw everything off. Next, be gentle with those HSTs! When you press them, let the iron do the work. Avoid any dragging or "ironing" motions, which can easily stretch the fabric out of shape and kill your points before you even sew them.
How Do I Pick the Best Colors?
For a Carpenter Star quilt that truly sings, it's all about high contrast. You need that star to practically leap off the background. The classic recipe is to pair a light background with a mix of medium and dark fabrics for the star itself. This creates that gorgeous depth and dimension the pattern is known for.
Feeling a bit more modern? Try making a scrappy star from your favorite prints and set it against a single, solid background. It’s a fantastic way to let your fabric stash shine.
Here's my favorite pro-tip: snap a quick photo of your fabric pull on your phone and change it to black and white. If you can easily tell the difference between the fabrics in grayscale, your contrast is strong enough to create that beautiful, radiant star effect.
Is This Quilt Really Beginner-Friendly?
It absolutely is! I know it looks complex, but the entire quilt is built from just two of quilting's most basic units: simple squares and half-square triangles. That makes it a perfect pattern for building your skills and confidence.
The secret for a beginner is to take it slow and focus on being precise. Be a stickler for accurate cutting, a consistent seam allowance, and careful pressing. If you're feeling a little intimidated, why not start small? Make a single block into a pillow cover or piece a few together for a baby quilt. It’s a great way to nail the technique before committing to a bigger project.
Choosing quality materials will also make a world of difference. To get the scoop on one of the most important supplies, check out our guide on the best thread for quilting. A detailed tutorial like this one is your roadmap, and you can definitely do it!
Your quilting journey is a creative adventure, and having the right supplies makes all the difference. From vibrant fabrics to the sharpest notions, Linda's Electric Quilters has everything you need to bring your Carpenter Star quilt to life. Explore our amazing collection today at https://lindas.com


