
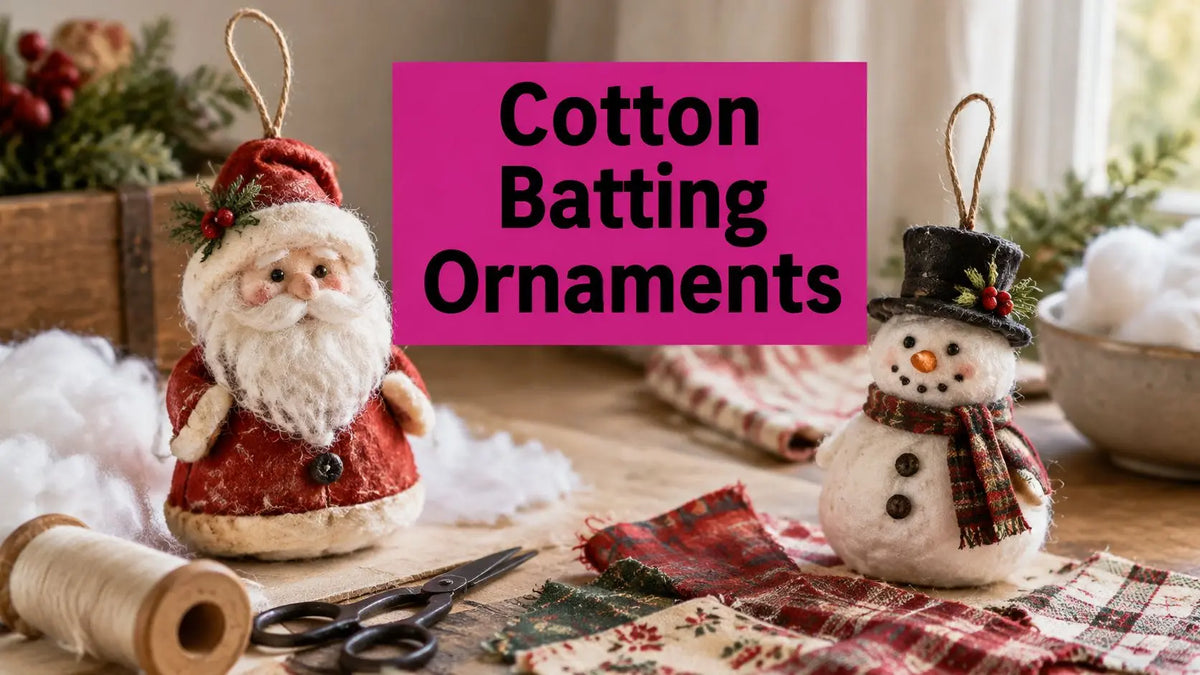
Cotton batting ornaments have roots in the early 19th century, when German makers hand-molded cotton around wire forms, according to Smile Mercantile's history of spun-cotton crafts. The useful lesson is that batting isn't just stuffing. It's the material that builds the shape.
For a manageable home project, start with low-loft cotton batting and choose either a wrapped wire figure or a lightly padded fabric shape. Thin, controlled layers give you cleaner contours than a dense bundle, and a properly anchored loop matters more than elaborate decoration.
Materials and Batting Choices for Your Ornaments
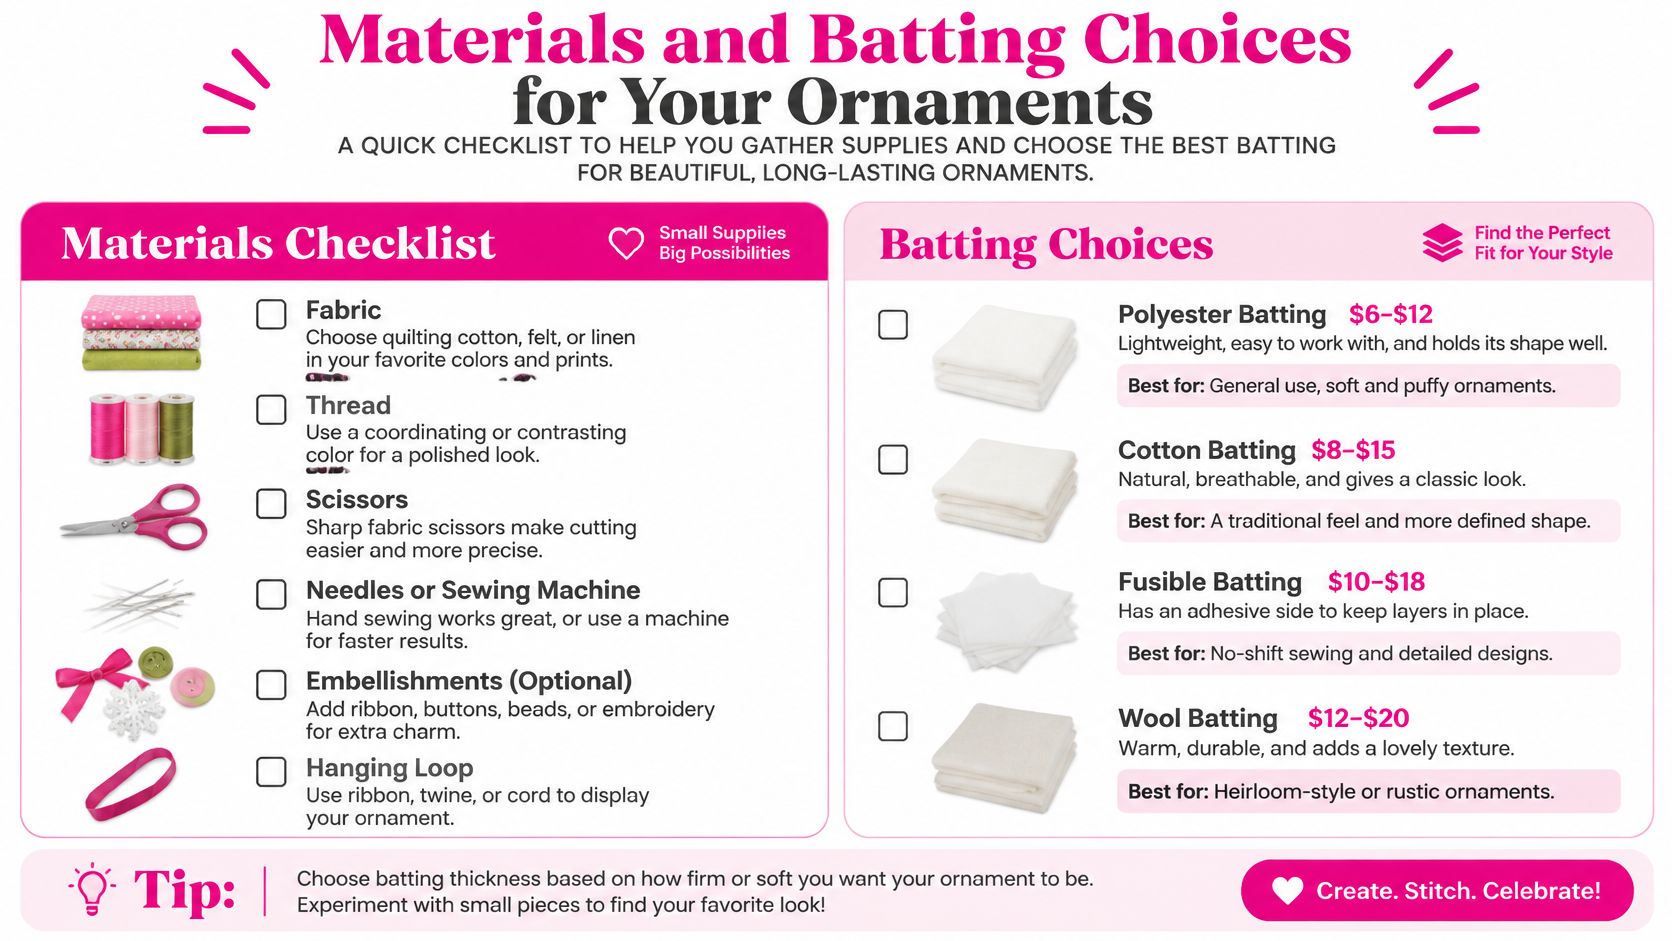
Batting forms the ornament's structure, so choose it by loft and construction before gathering finishing materials. Wire-wrapped figures use batting to build their contours; sewn fabric versions use it as internal padding. German craftspeople in regions including Saxony and Lauscha shaped batting around wire or cardboard to make snow children, angels, and Santa figures, as described by Deutsche Welle. The white cotton surface imitated snow.
Batting types compared for ornament builds
| Batting type | Typical loft | Shrinkage | Best use |
|---|---|---|---|
| 100% cotton, needle-punched or thermally bonded | About 1/16 inch | 3–5% | Heirloom and hanging ornaments |
| 100% cotton, resin-bonded | Check the product's stated loft | Confirm with the manufacturer before cutting | Avoid for keepsakes with long-term display |
| Cotton-polyester blend | Choose a low-loft product for a trial build | Confirm with the supplier and test a sample | Test pieces only; confirm loft and shrinkage with the supplier |
The natural-cotton loft and shrinkage figures above are planning benchmarks, not guarantees for every package; MFA CAMEO's entry on cotton batting describes the typical values. Bonding method, thickness, and surface treatments also affect how batting handles.
Loft is batting thickness before compression. Low loft wraps closely around a wrist or shoulder and makes it easier to close a small fabric seam without a bulky ridge. Cotton-polyester blends can feel springier than cotton, so test a small piece before choosing one for a sculpted figure.
What supplies do you need?
Gather materials for your chosen construction method rather than buying everything for both.
- Structural materials: Low-loft cotton batting and aluminum armature wire for wrapped figures.
- Sculpting supplies: Cotton roving, cornstarch medium, and a paintbrush for controlled surface shaping.
- Hanging and attachment supplies: Floral wire, wire cutters, and low-temperature hot glue.
- Sewing materials: Cotton fabric, cotton thread, a hand-sewing needle, scissors, and a blunt turning tool.
- Finishing supplies: Cardstock faces, paint, or lightweight fabric clothing.
Use this checklist to organize the work surface before cutting.
For keepsakes, choose needle-punched or thermally bonded batting rather than resin-bonded material. Mechanical or thermal bonding avoids resinous finishes that can complicate long-term material stability.
Browse Linda's Batting category to compare low-loft options by construction as well as fiber content. For sewn seams, check Baguette 009 cotton thread's product specifications against your needle and machine requirements.
Cutting Sizes for Miniature Figure Pieces
The Smile Mercantile cotton-batting Santa pattern gives starting dimensions for the figure's framework, face, limbs, and clothing. Wrapping and overlap set the finished size, so treat these as starting cuts.
Santa ornament pattern pieces
| Piece | Size | Quantity per Santa |
|---|---|---|
| Pipe cleaner body | 6 inches | 3 |
| Cardstock face | 3/4 to 1 inch tall | 1 |
| Batting limb strips | About 1 by 3 inches | 4 |
| Pant leg rectangles | 2 1/2 by 3 inches | 2 |
| Sleeve rectangles | 2 by 3 inches | 2 |
How do you assemble the miniature body?
- Form the three pipe cleaners into a triangle, balancing the shoulders and hips.
- Twist the torso four or five times to secure the framework and help keep batting from sliding along the center.
- Wrap the narrow batting strips around the limbs with even tension. Pulling too tightly can thin the cotton and leave the framework exposed.
- Add the pant-leg and sleeve rectangles, placing overlaps where the clothing will conceal them. A paper template helps keep paired pieces consistent.
- Attach the cardstock face after the body and clothing are stable.
Cut a sample set from scrap batting first. Bend the limbs to check that the framework stays covered, and make sure the sleeves leave enough space around the face.
Scale the body first, then adjust its coverings. Adding width to every batting piece before checking the framework can make the joints bulky and throw off the figure's proportions.
The same sequence works for angels and snow children. Fruit forms need a rounded framework in place of articulated limbs, but the silhouette still determines how much surface batting to add. Once the sample holds its shape, cut matching pieces for the rest of the set.
How to Build a Cotton Batting Ornament Step by Step
For a fabric-covered ornament, the goal is a smooth shell with enough padding to soften the outline, not a tightly stuffed cushion. Press the fabric faces smooth before cutting; a padded ironing board cover provides a suitable pressing surface without forcing you to work directly on a hard tabletop.
The Museum of Fine Arts Boston's CAMEO batting reference lists natural cotton batting at roughly 1/16-inch loft with 3–5% shrinkage; basting at approximately 2–3 inch intervals is a practical assembly benchmark for keeping larger layers aligned. On a miniature shape, place additional temporary stitches wherever a curve or narrow point needs control.
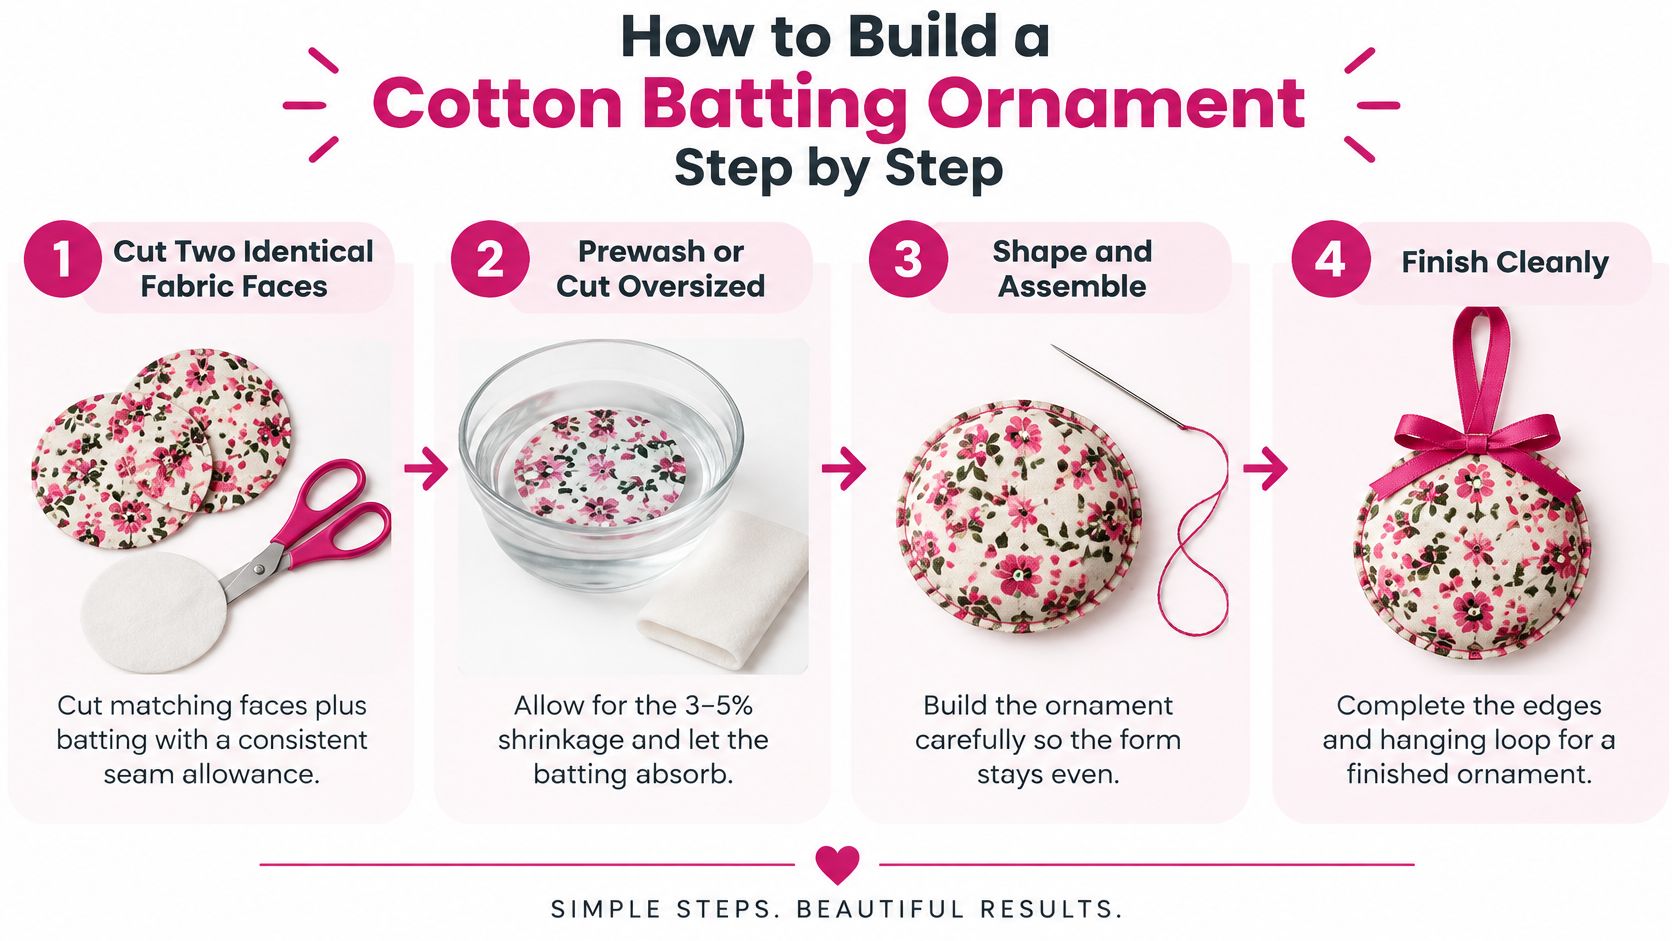
Use the process illustration as an overview, then work through the seam details carefully.
How do you sew the shape without bulky seams?
- Cut matching fabric faces. Trace the same template onto the front and back, adding a consistent seam allowance. Cut a thin batting layer for the intended padded area, keeping excess bulk out of narrow tips.
- Prepare the batting before final sizing. If the manufacturer permits prewashing, handle it gently and let it dry fully; otherwise, test a scrap and allow for the product's shrinkage rather than guessing.
- Baste where the layers can shift. Use loose temporary stitches that hold the layers without gathering the fabric. Keep basting clear of the final seam so it's easy to remove.
- Stitch the perimeter with right sides together, leaving a deliberate turning gap on a relatively straight edge. Use a short, balanced stitch and test the tension on a scrap sandwich first; the seam shouldn't pucker or show loose loops.
- Clip curves carefully. Clip inward curves and reduce excess allowance where outward curves bunch, stopping short of the stitching. Don't cut through a seam to make turning easier.
- Turn the shell and ease out the curves with a blunt tool. Add small batting pieces progressively, working them into empty areas rather than pushing a large wad through the opening.
- Close the opening cleanly. Fold the allowances inward and use a ladder stitch for a discreet finish, or a narrow machine seam if visible stitching suits the design. Keep loose fibers tucked inside the shell.
Pro-tip: Cotton settles and flattens with use. A lightly stuffed, evenly distributed ornament keeps a cleaner silhouette than a tightly packed shape with stressed seams.
Why do fibers push through the stitching?
Overstuffing compresses the batting and puts outward pressure on the seam. That pressure can distort curves and encourage fibers to emerge through needle holes.
Remove a little filling before changing the needle or tightening the upper tension. More tension won't correct a shell that's carrying too much stuffing, and unnecessary bobbin-case adjustments can create another problem.
Thread choice matters, but it isn't a substitute for balanced construction. Don't assume a thread is long-staple or low-lint unless its product description confirms those properties; test your chosen cotton sewing thread for smooth feeding and a tidy seam.
For a first set of cotton batting ornaments, a circle or broad heart is easier to turn than a shape with narrow points. Gather the batting and seam thread before starting so you can complete a sample without switching materials halfway through.
How to Finish the Hanging Loop and Surface Details
Build the hanger before adding fragile surface details. A loop secured only to face fabric can pull the fabric away from the body, even when the ornament itself feels light.
The image shows the basic wire-forming motion.
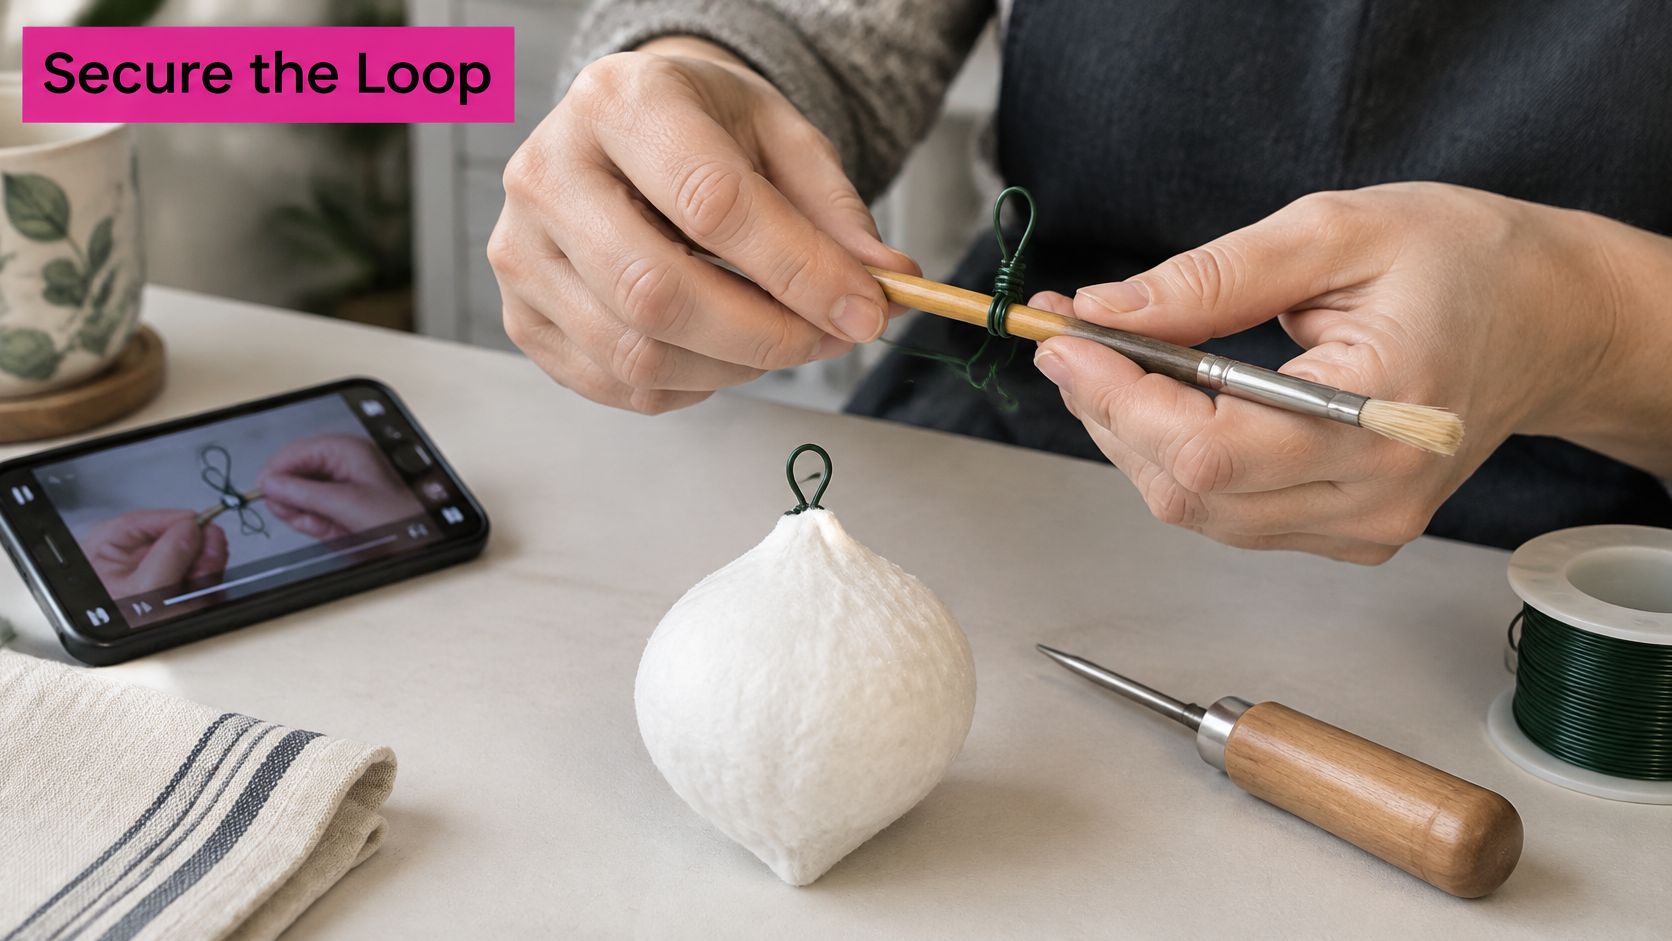
How do you make a secure hanging loop?
Smile Mercantile's Victorian figural ornament tutorial uses 24-gauge floral wire, wrapped twice around a paintbrush handle or awl, with the ends twisted and trimmed into a short attachment peg.
- Form the loop around the handle, following that method.
- Twist the ends together neatly and trim with wire cutters. Turn any sharp end inward.
- Connect the peg to the figure's armature and secure it within the batting, rather than relying on surface glue alone.
For a sewn ornament without an armature, use a stitched fabric or thread loop caught securely in the seam instead of inserting an unsupported wire peg.
Which surface details work well?
- Painted faces: Let the base dry fully before adding eyes, cheeks, or fine lines.
- Paper clothing: Shape and dry-fit the pieces before applying adhesive.
- Mica or glitter: Use a small amount and keep it away from the hanging connection and closing seam.
- Buttons and beads: Check the hanging balance before securing them permanently.
- Hot glue: Apply small dabs where the material tolerates it. Large deposits create hard, visible lumps.
Use the accompanying video tutorial as a visual reference while working on the finishing details.
Choose finishing thread and notions after dry-fitting the decorations, so you buy for the actual attachment method.
Finish with a pull test. Once the adhesive has set, support the ornament and apply gentle, even tension at the loop. If the peg shifts, the seam opens, or the body tilts sharply, correct the attachment before hanging.
Caring for, Displaying and Gifting Your Ornaments
Cotton batting ornaments keep their shape best when storage prevents pressure, moisture, and fading. A figure can flatten if heavier decorations rest on it during the off-season.
- Store in a stable place: Choose a cool, dry, dark cupboard rather than a damp basement or hot attic.
- Support the shape: Leave enough room that clothing, limbs, and loops aren't folded or crushed.
- Separate delicate surfaces: Place an undyed fabric barrier between batting and dyed, metallic, or embellished materials.
- Keep away from heat: Cotton is cellulose, not flameproof. Keep ornaments away from candles, fireplaces, heaters, and high-temperature lights.
The Conservation Center for Art & Historic Artifacts' storage and display guidance recommends careful material preparation and storage. Examine a completed ornament after 24 hours for fiber migration, crushing, or color transfer. Remove loose tufts gently rather than tugging fibers from the body.
Where should you display cotton batting ornaments?
On a tree, place each ornament where its loop sits securely on a branch and its body won't rub against nearby decorations. Eye-level placement makes small faces easier to appreciate; choose a higher branch if children or pets can reach the ornament.
A wreath offers a tucked display spot, provided nearby foliage won't snag the batting. For a shelf grouping, use stable supports and vary the heights.
This display image offers a reference for a soft white palette.
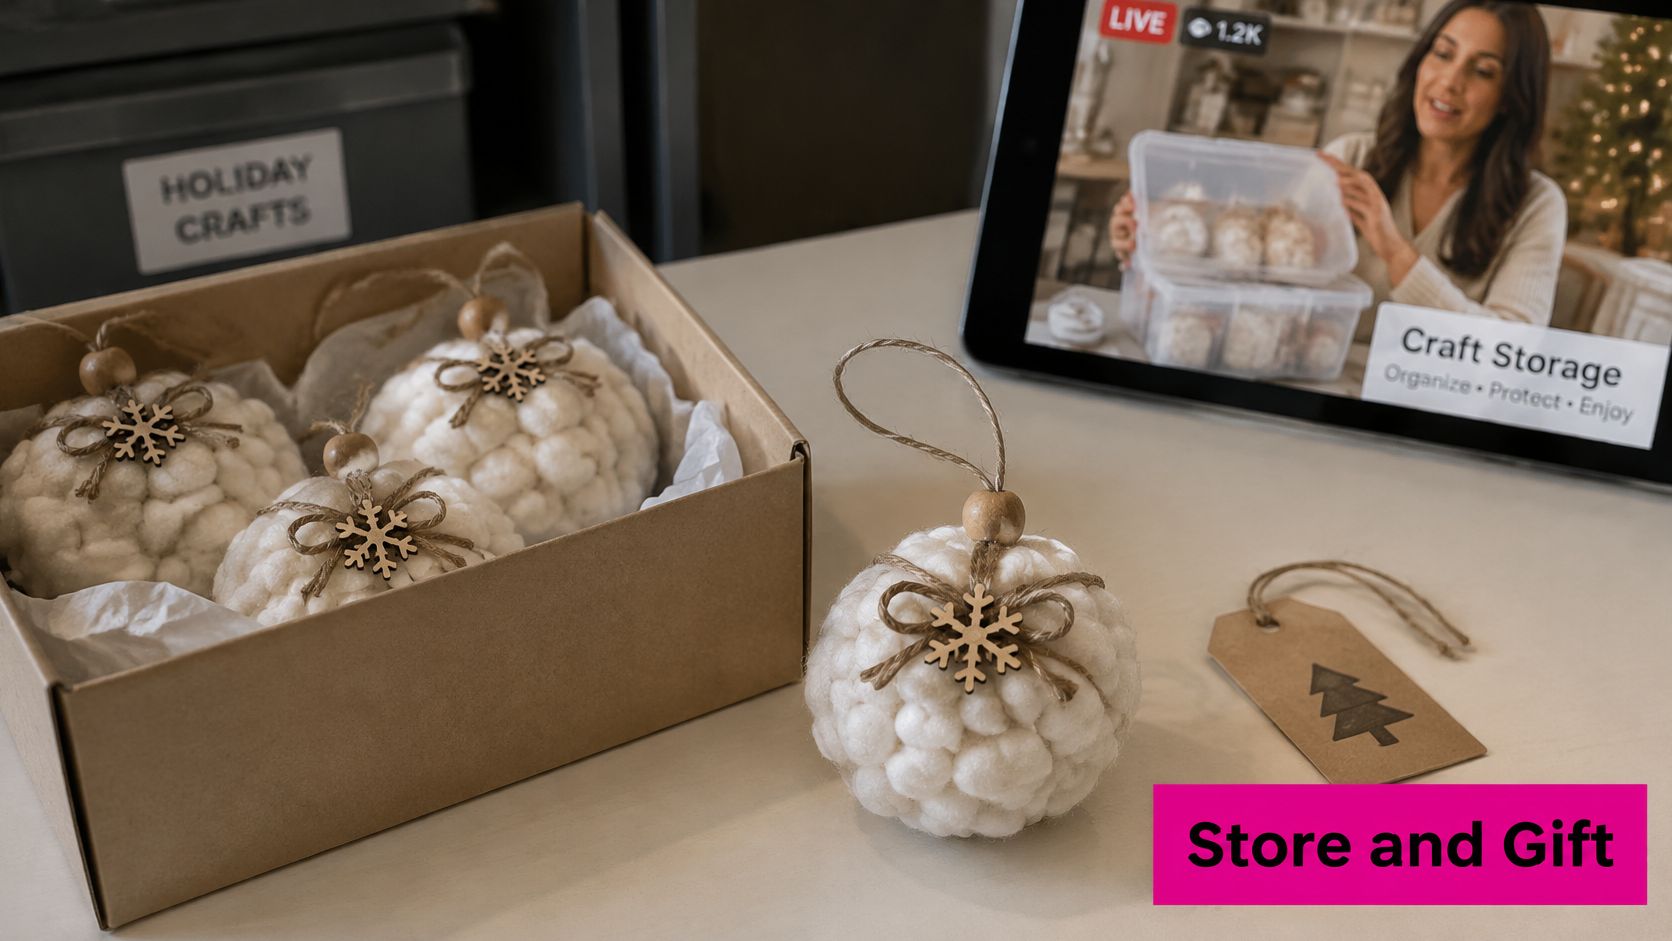
For an equestrian-themed arrangement, decorate with a black horse ornament from Bridle Up Hope Shop alongside handmade white cotton figures. Store ornaments with space between them so embellishments and finishes don't rub together.
How do you package them as gifts?
Line a small box with undyed cotton and support the ornament without tightly wrapping its surface. Add a handwritten tag naming the materials and a short care note: keep it dry, handle it gently, and use it as a decoration.
A neat closure and secure hanger make a useful gift without extra embellishment. When planning another batch, note which batting and attachment method gave the sample the cleanest finish.
Answers to Common Cotton Batting Ornament Questions
Are cotton batting ornaments safe for children and pets?
Treat them as decorations, not toys for unsupervised children or pets. Small beads, loose glitter, adhesive, and exposed wire can create hazards regardless of whether the batting is natural. Before display, check every attachment and choose a location that curious hands and mouths can't reach.
Can I wash cotton batting ornaments?
Treat a finished ornament as non-washable unless you've tested a sample with the same materials and finishes. Paper faces, paint, glue, and metal attachments may react differently to moisture than the cotton itself. Start with gentle dry dusting; consider localized spot cleaning only after testing an inconspicuous area, and don't soak the batting.
How long do cotton batting ornaments last?
There's no fixed lifespan for a handmade ornament. Construction quality, handling, and storage matter more than a promised number of seasons. Inspect the loop and closing seam when unpacking, reshape gently where possible, and repair a loose attachment before putting the piece back on display.
Are cotton batting ornaments sustainable?
Cotton is renewable, but that alone doesn't make a finished ornament sustainable. Mixed fibers, plastic glitter, and permanent adhesive make separation and disposal harder, while repeated replacement uses more material. Use clean scraps where their structure suits the project, favor repairable attachments, and choose a restrained finish you'll want to display again.
Linda's Electric Quilters offers batting, threads, and sewing notions for making and finishing cotton batting ornaments. Visit Linda's Electric Quilters to browse the batting category, check Baguette 009 cotton thread specifications, and gather the supplies for your first ornament this week.


