
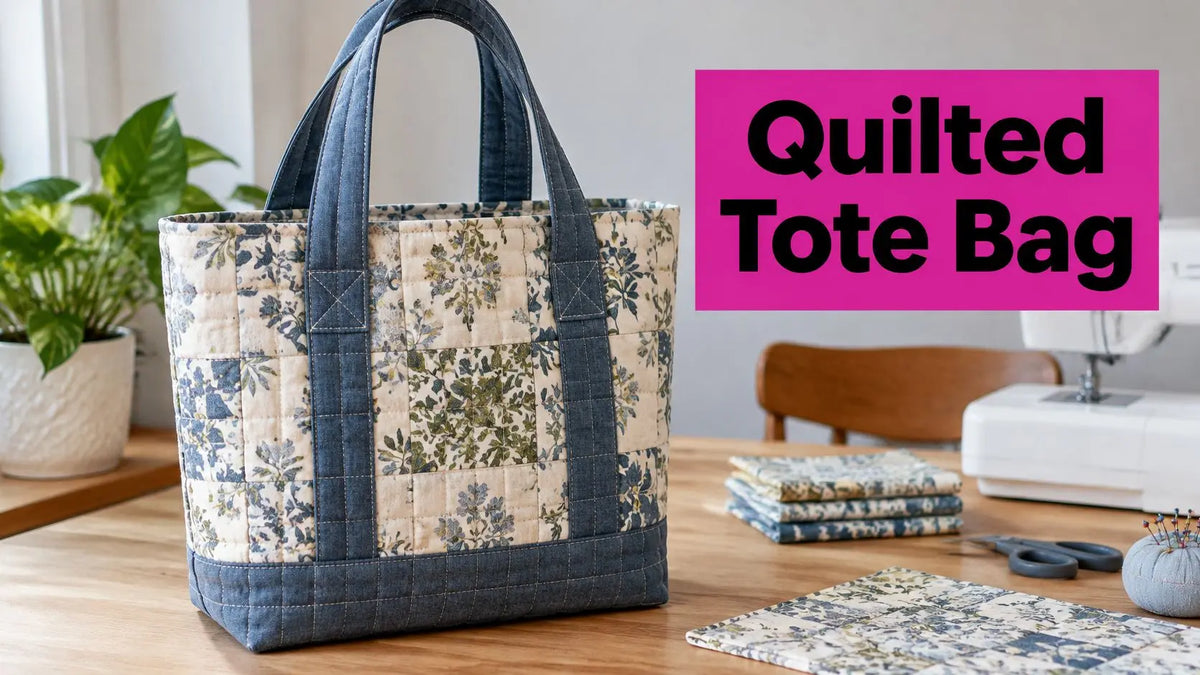
More quilting doesn't automatically make a stronger tote. Dense stitching can flatten the batting, stiffen the fabric, and make the finished bag harder to turn. If you're learning how to sew a quilted tote bag that holds up, concentrate on moderate quilting, stable straps, reinforced handle ends, and a realistic load test.
Build the fabric sandwich oversized, quilt it, square it, and only then cut the bag panels. That order gives you cleaner seams and a more even opening than cutting everything to its final size before quilting.
Pick the Filling and Size Before You Cut
Say you're making a tote for library books, a wallet, and a small sewing project. Choose a comfortable everyday size and a soft, moderately padded body rather than a rigid bag with heavily quilted walls. The filling should support the way you'll use the tote, not just the look you want in a photograph.
Start with the finished shape, then choose the filling, and finally decide on the cutting dimensions. Quilting draws fabric inward, so the outer fabric and backing need trimming room. Don't spend time cutting perfectly sized outer panels only to lose their square edges under the walking foot.
Which filling makes a durable quilted tote?
Loft means the thickness and puffiness of the filling. Hand describes how the finished panel feels and bends. A panel can have visible loft yet still have a soft hand, while a thin panel reinforced with interfacing can feel quite firm.
Filling choices for a quilted tote
| Filling | Best load | Hand and loft | Seam bulk | Skip it when |
|---|---|---|---|---|
| Moderate cotton batting | Books and light groceries | Soft, visible quilt loft | Medium | The bag must stand rigid daily |
| Fusible foam or soft-and-stable | Structured everyday tote | Firm, low drape | High | You want a slouchy shape or easy corners |
| Woven interfacing, or thin batting plus interfacing | Heavier grocery carry | Flat and flexible | Low | You want a puffy quilted surface |
These are construction choices, not load ratings. Foam helps a bag hold its shape, but it doesn't replace reinforced handles. Woven interfacing supports the fabric, but it won't rescue a weak attachment seam.
For this project, use outer cotton, moderate-loft batting, and a lightweight backing, then add a separate lining during assembly. That backing can be plain cotton. Keeping it separate from the final lining hides quilting threads and handle reinforcement inside the finished bag.
A plush panel isn't necessarily a practical bag panel. Fold your sample into a corner before deciding whether you like its thickness.
What should you test before cutting?
Make a sample with the actual outer fabric, filling, backing, needle, and thread. Quilt it, fold it, and stitch across the folded layers. You're checking whether your machine feeds the sandwich smoothly and whether the seam feels manageable rather than rope-like.
Pay particular attention to the handle ends, upper corners, and boxed base. Those areas concentrate either carrying stress or stacked fabric. More decorative stitches across the middle won't compensate for weak construction there.
If you'd like a broader grounding in fabric structure and surface design, the textiles course options at OCAD from The Online College of Art & Design offer a useful direction for further study.
Choose your batting or stabilizer at Linda's before cutting, and use the video demonstration below to help visualize how the flat panels become a bag.
Cut List for Three Quilted Tote Sizes
Quilted tote cuts by intended load
These are starting specifications for sample bags, not guaranteed finished measurements. The finished-size row is a planning target, especially because boxed corners change both height and usable width.
| Spec | Gift tote | Everyday tote | Grocery tote |
|---|---|---|---|
| Outer and lining panels | Two each, 12 x 12 in | Two each, 16 x 16 in | Two each, 18 x 18 in |
| Batting cut | 1 in larger all around | 1 in larger all around | 1 in larger all around |
| Approx. finished-size target | 10 x 10 x 3 in | 14 x 13 x 4 in | 16 x 15 x 5 in |
| Side and bottom seam | 1/2 in | 1/2 in | 1/2 in |
| Box mark from corner | 1.5 in | 2 in | 2.5 in |
| Handle cut, two | 3 x 22 in | 4 x 24 in | 4 x 28 in, interfaced |
| Filling | Moderate cotton batting | Moderate cotton batting | Thin batting plus woven interfacing |
Treat the outer-panel dimensions as your post-quilting cut targets. Cut the outer fabric and lightweight backing oversized too, not just the batting. Cut the separate lining panels to match the trimmed outer panels.
Sewing Patterns Explain gives an everyday starting range of approximately 14–16 inches wide by 15–16 inches tall, with handles cut 22–28 inches long and 3–4 inches wide, while noting that seams, quilting shrinkage, loft, and boxing affect the result.
How do seam allowances change the size?
For the worked everyday example, begin with the square panel size in the table and use its listed seam allowance. The flat shell loses fabric at both side seams, then the boxed base redistributes part of the remaining panel into depth. That's why finished width needs a definition: the opening width and the width across the standing base aren't the same measurement.
Make a paper mock-up if your tote must fit a particular book, container, or gift box. Fold and tape the proposed seams, then form the corners. Paper won't reproduce batting loft, but it will reveal whether the proportions suit the contents.
Keep the bag seam allowance consistent. A quilting habit of sewing narrow seams can leave the shell larger than the lining if you switch allowances without noticing.
Which direction should you cut the straps?
Cut the long dimension of each strap parallel to the selvage, along the lengthwise grain. This usually gives less give than cutting across the fabric, which matters when the tote carries books.
For an optional everyday or grocery pocket, try an 8-by-7-inch interfaced patch as a worked example. Turn and stitch the upper edge, press the remaining edges inward, and position it about 3 inches below the opening before sewing the shell together. Check that its upper corners won't overlap the handle reinforcement.
A curved ruler is optional for decorative marking, not necessary for cutting the rectangular bag pieces.
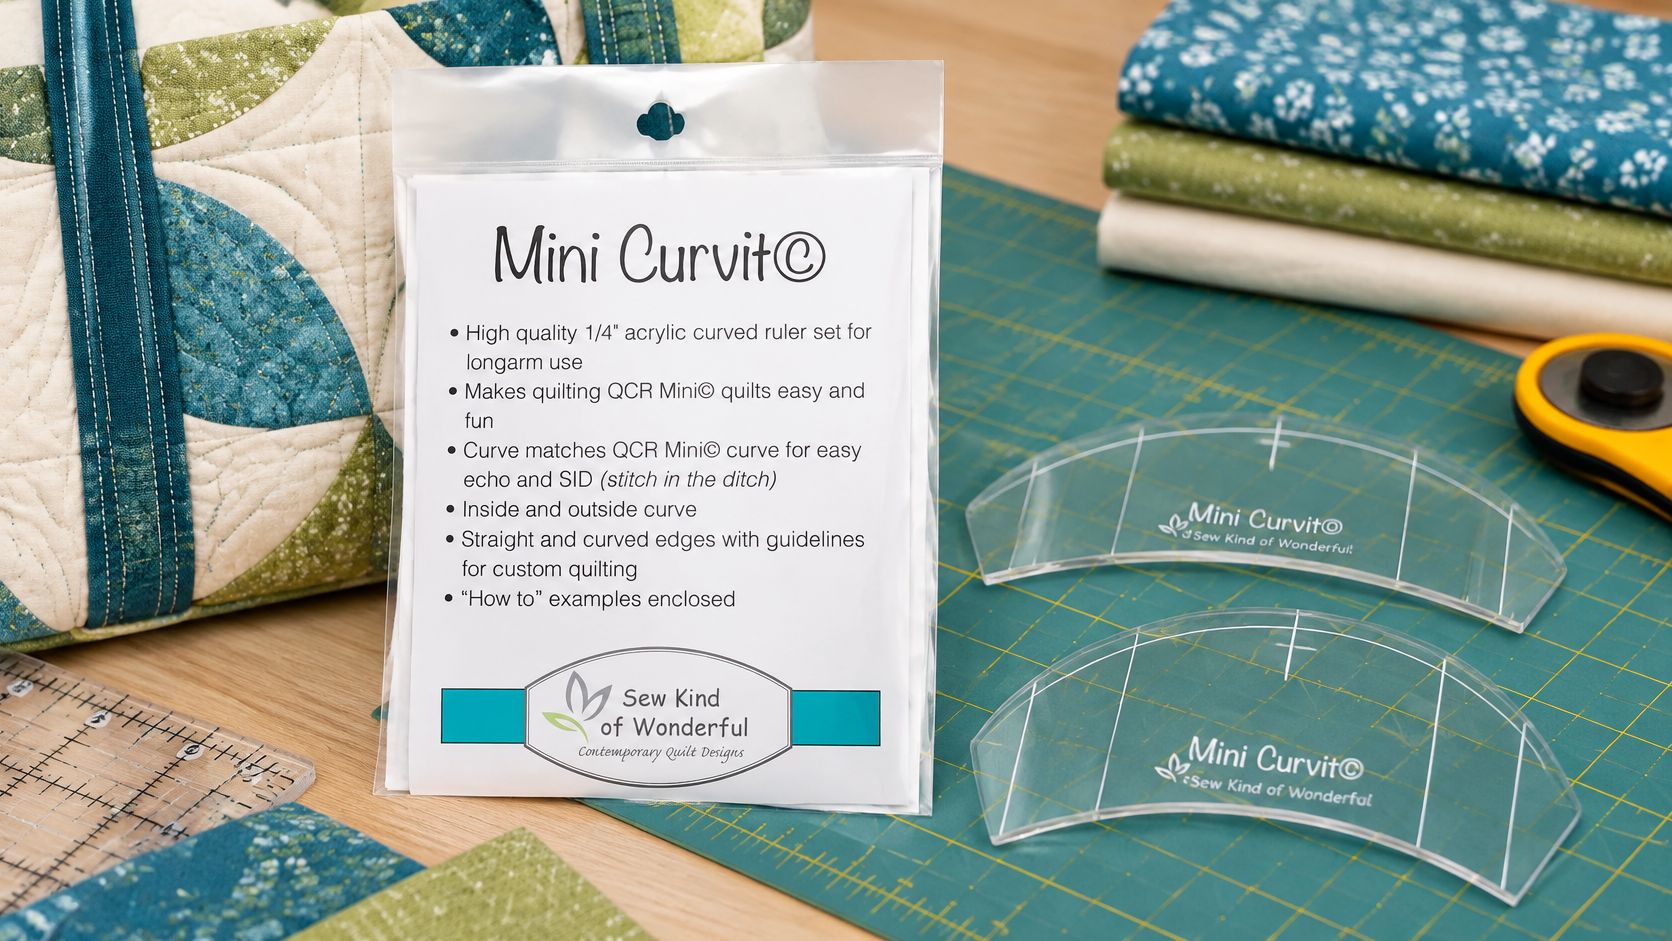
The Mini Curvit Ruler for Longarm Quilting has straight and curved edges with guidelines and can also mark designs for domestic-machine quilting. Choose cotton batting and bag-making notions at Linda's before marking your final quilting layout.
How to Quilt the Panels Before Assembly
The important difference between quilting a bed quilt and quilting a bag panel is what happens afterward. You'll fold this panel into seams, push it through a lining opening, and stitch across stacked corners. Flexibility matters alongside surface stability.
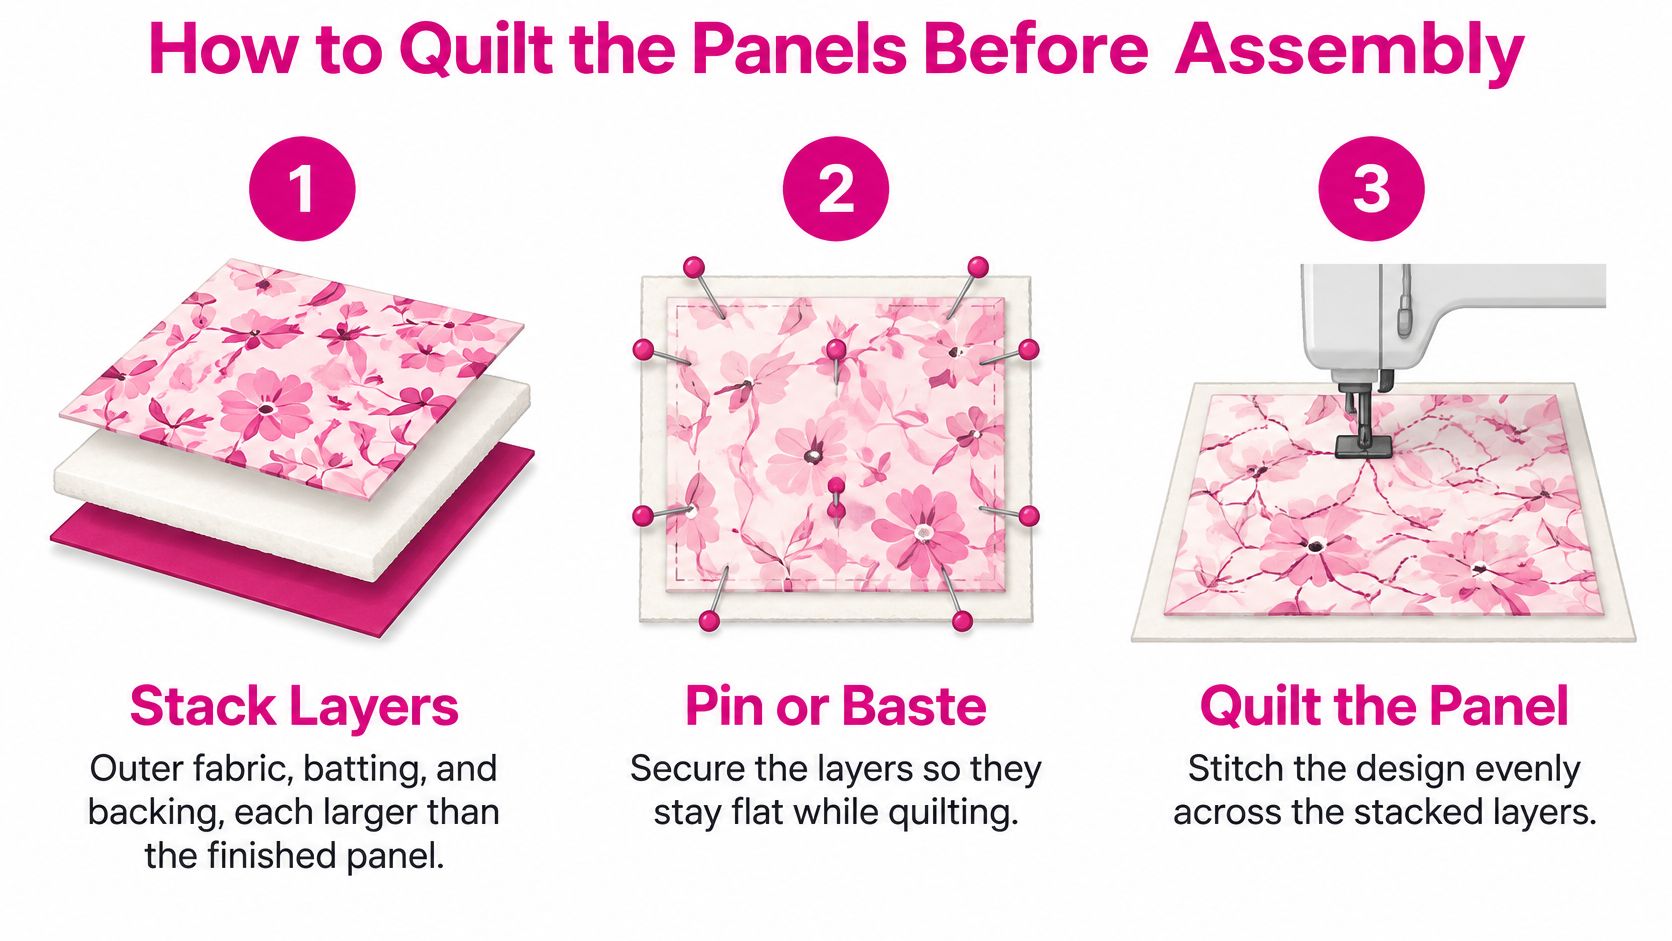
The illustration shows the basic layering sequence.
What order should you quilt the layers in?
- Stack the sandwich. Place the backing wrong side up, batting in the middle, and outer fabric right side up. Leave trimming room around the final panel outline.
- Pin or baste the layers on a flat surface. Smooth them without stretching the cotton, and remove pins before the needle reaches them.
- Mark a simple design. A straight grid or diagonal layout makes it easy to spot uneven feeding. Test the removable marker on a scrap first, including its removal method.
- Fit a walking foot and an appropriate quilting needle. A 90/14 or 100/16 needle with 50-weight cotton or polyester thread is a useful starting combination identified in the machine-quilting construction notes. Test it through the full sandwich rather than through a single piece of cotton.
- Set the stitch length on the sample. TextileTuts' quilting techniques guide suggests 2.5–3.0 mm, approximately 8–10 stitches per inch, and warns that stitches under 2.0 mm can perforate fabric while stitches over 3.5 mm can allow batting migration. Use that as a starting range, then check your batting's own quilting requirements.
- Sew from the center toward the edges, alternating direction. Support the panel on the table so its weight doesn't drag against the walking foot.
- Secure, press, and square. The same quilting guide recommends staystitching about 1/2 inch from the perimeter before trimming. Position that securing line with your final cut and seam lines in mind so it won't remain visible on the finished bag.
Press according to the filling manufacturer's directions rather than crushing the panel with the iron. Let it cool flat, then trim the outer panels to identical dimensions.
Is stitch length the same as quilting density?
No. Stitch length measures the distance between needle penetrations along a line. Quilting density also depends on how close those lines sit to each other. Shortening the stitch doesn't give you permission to ignore the batting's maximum distance between quilting lines.
Historical quilts offer context, not a tote setting: the Smithsonian's Nine-patch Pieced Quilt was quilted at 8 stitches per inch. Its construction doesn't establish the best spacing or machine settings for your bag.
Pro tip: Outline a decorative motif, then leave the surrounding quilting more open within the batting's limits. You can preserve the motif without making every seam-crossing area stiff and heavily compressed.
Check tensioning on both sides of the scrap. If the underside loops, rethread the upper path with the presser foot raised and check that the bobbin is seated correctly in its casing before adjusting tension screws.
Match your quilting thread to the filling you've chosen at Linda's, and keep the successful sample beside the machine.
How to Sew the Shell Lining and Straps
Keep the separate lining out of the way until the outer shell and handle attachments are complete. That gives you access to the reinforcement stitches and lets you inspect them before hiding the inside construction.
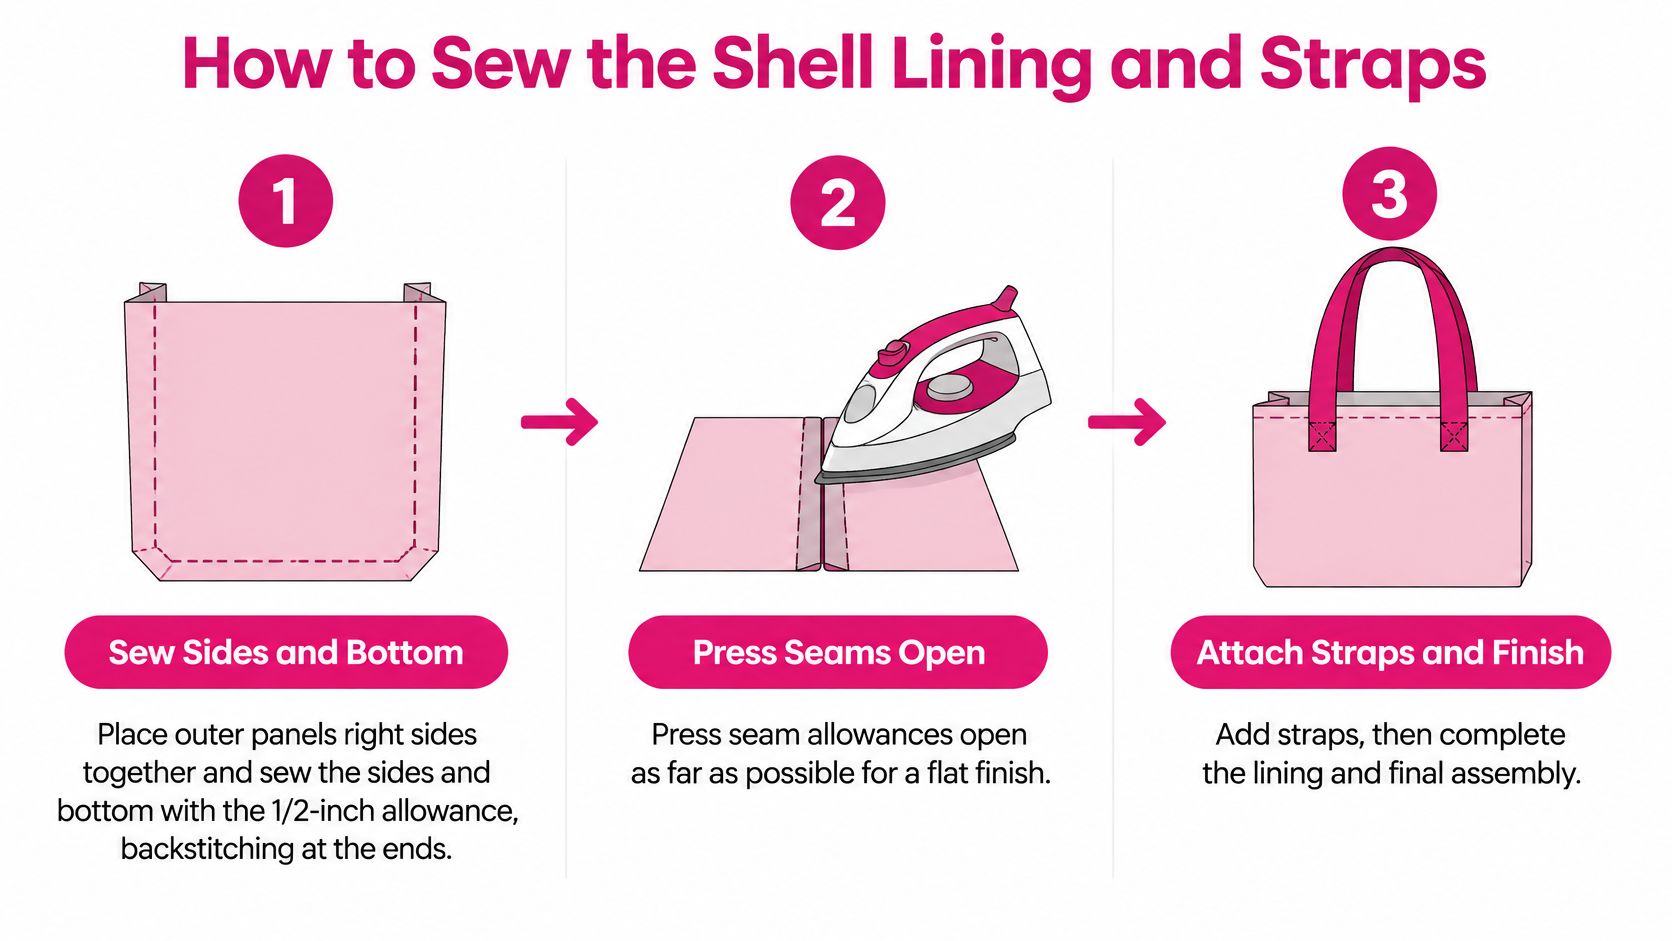
Use this assembly overview as a visual reminder of the main stages.
How do you make a boxed bottom?
- Sew the shell. Place the quilted outer panels right sides together. Stitch the sides and bottom using the chart's allowance, backstitching at the ends.
- Press the seam allowances open as far as the filling allows. Use a pressing surface inside the shell so you don't flatten unwanted creases into the opposite wall.
- Flatten each lower corner. Align the side seam directly over the bottom seam. Feel through the layers to check the seam lines, not just the raw edges.
- Mark and sew across the flattened point. The American Sewing Guild's boxed-corner guide uses half the intended base depth, such as a 2-inch mark for a 4-inch base or 1.5 inches for a 3-inch base, and recommends trimming the remaining corner allowance to 1/4 inch after stitching.
The measuring reference matters. Measure from the sewn corner point along the aligned seam, not from the outer tip of the raw seam allowance. Before trimming anything, check that the line across the triangle measures the intended base depth and that both corners match.
Heavy corners contain several fabric layers plus batting. Trimming the excess allowance reduces that stack, but don't cut into the stitching or shave the seam so narrowly that it becomes fragile.
How do you attach handles without weak spots?
- Make the straps. Press each strip lengthwise, bring the long raw edges toward the center, then fold again to enclose them. Topstitch both long edges, and add woven interfacing to grocery handles before folding.
- Position the handles on the right side of the outer shell with enough overlap below the future top seam for reinforcement. Turn under each exposed lower strap end, baste it in place, and check that the handles aren't twisted. Stitch a rectangle plus an X through each attachment area.
The rectangle spreads the pull across the strap's width and length. The diagonals connect those edges, so the bag isn't hanging from one short line of stitching. Keep the reinforcement below the future top seam, where you can see and inspect the entire box.
- Construct the lining. Sew and box it to match the shell, but leave a turning gap in its bottom seam. B-Sew Inn's tote tutorial leaves a 4- to 5-inch opening; check that yours comfortably passes the quilted shell without forcing it.
- Join the shell and lining right sides together around the top, keeping the handle loops clear of the stitching path. Turn through the gap, ease out the corners with a blunt tool, close the gap, and topstitch the rim using the longer finishing stitch you've tested.
Choose interfacing and an appropriate needle from Linda's notions before attaching the handles. It's easier to prepare those stress points while the shell is open than to repair them through a finished lining.
Fixes for Bulk Skips and Twisted Bases
Troubleshooting rule: Keep an offcut of the exact quilt sandwich. Test the walking foot, needle, and tension there before making another hole in the bag.
A bad seam doesn't always mean the machine needs more tension. A blunt needle, dragging panel, or foot tilted over a thick join can produce similar symptoms. Change one thing at a time so you know what fixed the problem.
Quilted tote problems and fixes
| Symptom | Likely cause | Fix |
|---|---|---|
| Handle end pops | Short attachment seam, stretchy crosswise strap, or insufficient reinforcement | Replace unstable straps with lengthwise strips and sew a rectangle plus X |
| Skipped stitches | Needle too fine, blunt, or poorly matched to the sandwich | Try the heavier needle selected for the project and retest on the scrap |
| Puckered panel | Dragging layers, poor basting, or repeated one-direction stitching | Support the panel and quilt center outward with a walking foot |
| Twisted top edge | Panels trimmed unequally or seams sewn unevenly | Unpick the affected seams, square the panels, and check the seam allowance |
| Lumpy boxed base | Excess filling or uneven seam stacking | Check alignment, trim the corner allowance, and press |
| Batting showing at the rim | Unsecured edge or fabric caught incorrectly in the top seam | Open the affected area, contain the batting, and resew before topstitching |
Which repairs need unpicking?
A needle change can solve skipped stitches without rebuilding the bag, although you'll still need to resew any incomplete seam. Replace a bent needle and worn or damaged thread from Linda's notions rather than forcing another pass through thick layers.
A twisted shell is different. Don't try to pull it straight with tight topstitching. Open enough of the lining and shell seams to inspect whether the panels match and whether a boxed corner was sewn off-center.
If a handle attachment has torn the cotton, stitching over the same damaged spot won't restore it. Add a suitable reinforcement patch behind sound fabric and reconsider the attachment area before using the bag again.
How should you load-test a handmade tote?
Put the items you intend to carry inside the finished tote. Start with a light load, lift it close to a table, then add books or groceries gradually. This is a practical inspection, not a certified weight rating.
- Watch the handles. Both should carry evenly without one attachment peeling away.
- Inspect the seams. Look for opening stitches, stretched fabric, and pulled thread.
- Set it down. The base should rest without a corner forcing the bag into a twist.
Empty the bag and inspect it again before gifting. A small repair at the sewing table is preferable to a handle failure on the way home.
Size Choices, FAQ and Your Next Step
Choose the smallest tote that comfortably fits the intended contents. A gift tote doesn't need the same broad base as a grocery carrier, and an everyday book bag shouldn't invite a load its handles haven't been built to support.
These examples show how the same construction approach can serve different uses.
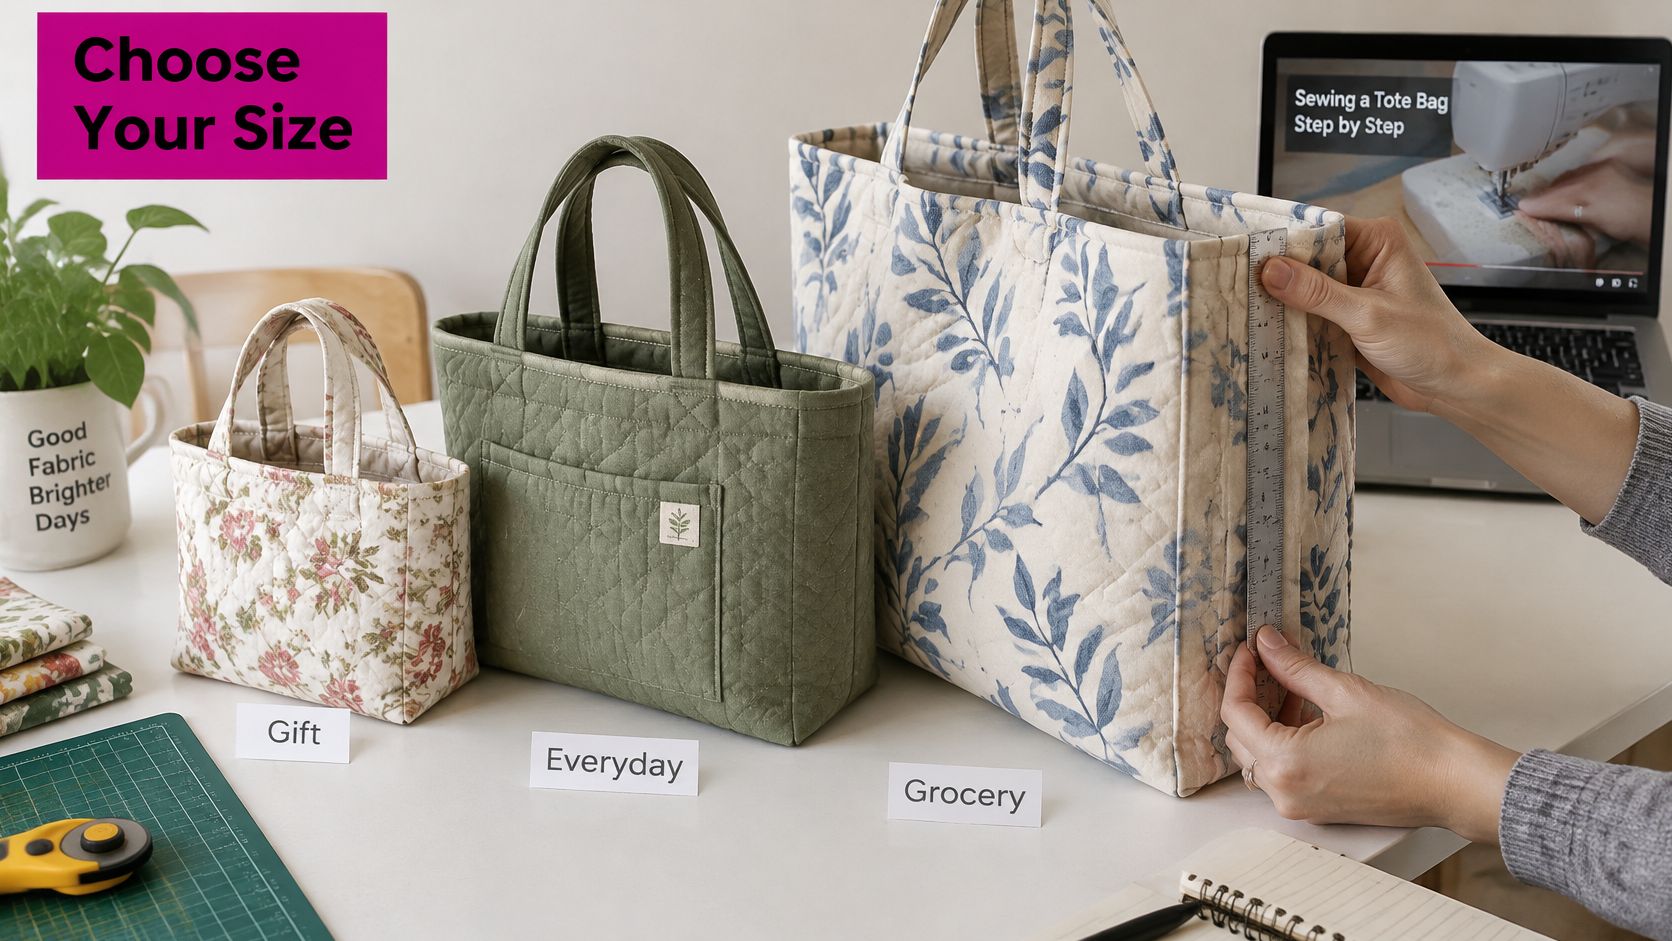
For a small present, keep the details simple. For an everyday tote, an interfaced exterior pocket gives easy access without adding much internal clutter. For groceries, prioritize stable handles, a usable base, and seams you can inspect and repair.
Hardware is optional. Back both sides of a magnetic snap with suitable reinforcement. Carrying D-rings need a supported top band and secure webbing attachments, not stitching into unsupported quilted loft.
Use this video as a companion demonstration when planning the assembly. Follow your chosen bag's measurements consistently rather than mixing dimensions between methods.
Can you quilt tote panels on a longarm?
Yes. Quilt an oversized sandwich on the frame, leaving enough room for clamping and trimming. After unloading, let the panel relax flat before squaring and cutting the bag pieces.
A longarm can make the quilting efficient, but it doesn't eliminate the need for a layered sample. Check the finished hand before committing the whole sandwich to a dense design.
Which seam allowance should you use?
Use the bag-seam allowance in the cutting table consistently for the shell and lining. A narrow allowance used to piece patchwork isn't automatically the allowance for assembling the tote.
How should you wash a quilted tote?
Follow the care requirements of every material in the bag, especially fusibles and stabilizers. For washable cotton construction, cold water, a gentle cycle, reshaping, and air drying are sensible starting choices. Test for dye transfer and shrinkage beforehand.
Repair loose handles promptly rather than waiting for the fabric to tear. Washing and repair choices affect how long the bag stays useful.
Can you use scraps for the outer fabric?
Yes, provided the pieced panel is stable and large enough to trim after quilting. Press bulky intersections carefully and avoid placing thick joins directly under handle attachments.
Learning how to sew a quilted tote bag is less about adding stitches everywhere and more about controlling the layers where they fold and carry weight. Choose materials you can sew cleanly, then let the sample and load test guide your final decisions.
Linda's Electric Quilters offers batting, thread, and sewing notions for building your quilted sandwich and finishing the reinforced seams. Visit Linda's Electric Quilters to choose your project materials, or ask the McKinney, Texas, shop for help matching filling, needles, and thread to your tote.


