
A mat labeled 24 x 36 inches can have an outer footprint of about 25.25 x 37 inches, according to HC Quilts' rotary-cutting mat guide. That difference can decide whether your cutting station works. When comparing cutting mats 24 x 36, check the outer footprint, printed grid, and table support before comparing price. A large surface helps with folded yardage and binding strips, but only when it lies flat, stays within reach, and hasn't developed grooves that steer your blade.
24 x 36 Mat Specs That Matter Before You Buy
864 square inches, or 6 square feet, is the nominal working area of this format; a professional mat specification also describes a five-layer PVC construction about 3 to 3.3 mm thick, with a smaller screened measurement field inside the body. The rectangular proportions give folded yardage, long strips, and a quilting ruler room to sit together.
The specification graphic highlights the relationship between the labeled dimensions and the working surface.
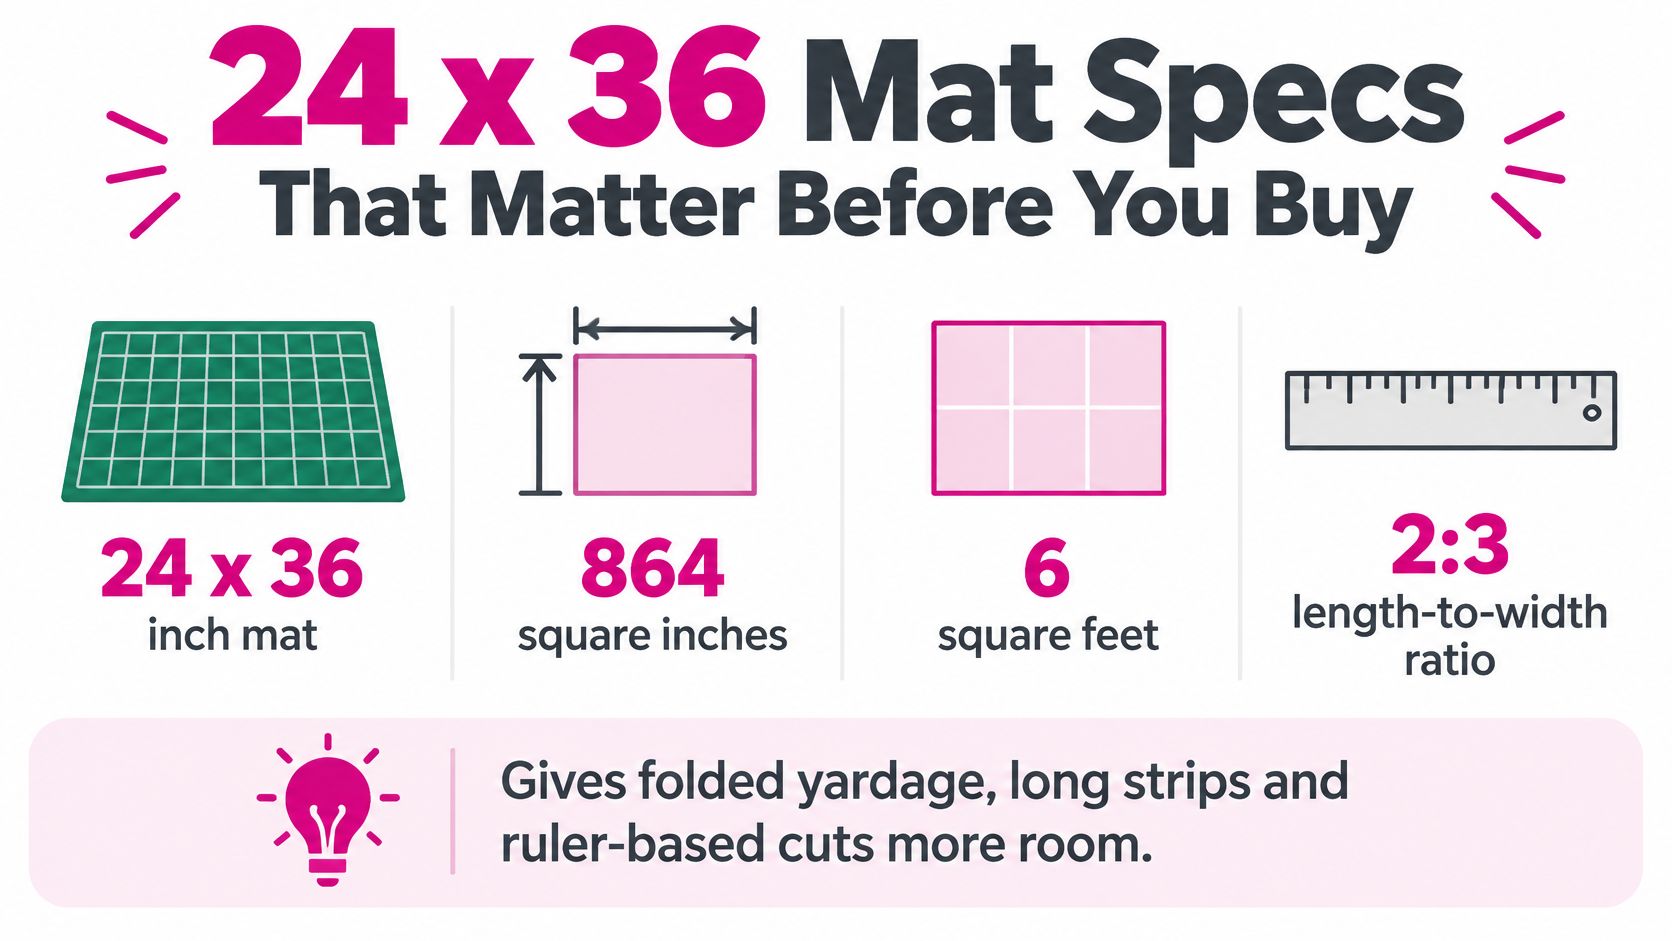
Key specifications of a 24 x 36 cutting mat
| Specification | Typical Value | What It Means for You |
|---|---|---|
| Nominal size | 24 x 36 in (864 sq in, 6 sq ft) | Plan table space for the full mat |
| Printed grid area | About 22 x 34 in | Measure cuts against the grid, not the outer edge |
| Outer footprint | About 25.25 x 37 in on some mats | Check clearance around the printed grid |
| Thickness | 3 to 3.3 mm (about 1/8 in) | Rigid for ruler work and still movable |
| Construction | 5-layer PVC | Soft top self-heals; dense core protects the table |
The printed grid isn't the same thing as the mat body. For example, the Dahle mat listing at Micro Center specifies a 22 x 34-inch working grid within its larger body. Use the screened measurements and your ruler, not the unmarked margin, to establish a cut.
The softer surface accepts shallow blade incisions, while the denser core limits penetration toward the table. That construction protects your work surface, but it doesn't make the mat a chopping board or compensate for excessive cutting pressure.
What should you confirm before ordering?
- Grid dimensions: Make sure your usual folded fabric and ruler fit within the marked field.
- Construction and thickness: Read the actual specification rather than judging by a product photograph.
- Guide markings: Choose the angle lines and measurement system your patterns require.
Compare those features before paying extra for a color or finish. Keep your most-used ruler beside you while shopping so you can judge the mat as part of a working cutting system.
Will a 24 x 36 Mat Fit Your Table
Plan for about a 30 x 42-inch flat surface if you want handling clearance around the mat; SewingTrip's quilting workspace guidance also gives roughly 34 to 38 inches as a common standing work-surface range. Those are planning references, not a requirement to rebuild your room around a particular table.
The essential rule is support. The Sewing and Craft Alliance's rotary-mat guide says the entire mat should rest on a hard, flat surface at least as large as the mat. Clearance helps you handle fabric; complete support keeps the cutting surface stable.
What should you measure?
- Table depth: Measure the usable top, excluding rounded edges, raised trim, and gaps.
- Edge overhang: Check every corner. A mat hanging beyond the tabletop isn't fully supported.
- Storage space: Identify a flat resting place before ordering, especially if the dining table serves as your cutting station.
- Comfortable reach: From your usual seated or standing position, check whether you can hold the ruler without stretching across the fabric.
- Actual task: Longarm preparation may need space for panels and backing sections, while ordinary block trimming needs less uninterrupted area.
For a fold-away station, a smaller mat can be the more accurate choice. You're better off repositioning fabric carefully on a supported surface than leaning across an oversized mat balanced on a narrow table.
Fit rule: Buy the largest mat you can support and control comfortably, not the largest one you can squeeze into the room.
A thin, firm non-slip liner can help on a slick tabletop, provided it doesn't create ridges or cushioning beneath the mat. It cannot fix overhang.
Before buying, tape out the proposed footprint on the floor to check room clearance. Then mark it on the tabletop and rehearse your cutting posture, including seated reach and wheelchair clearance where relevant. When choosing rulers from Linda's Notions selection, match their length to the supported cutting area, not just the table's advertised dimensions.
How Thickness Changes Cutting Accuracy
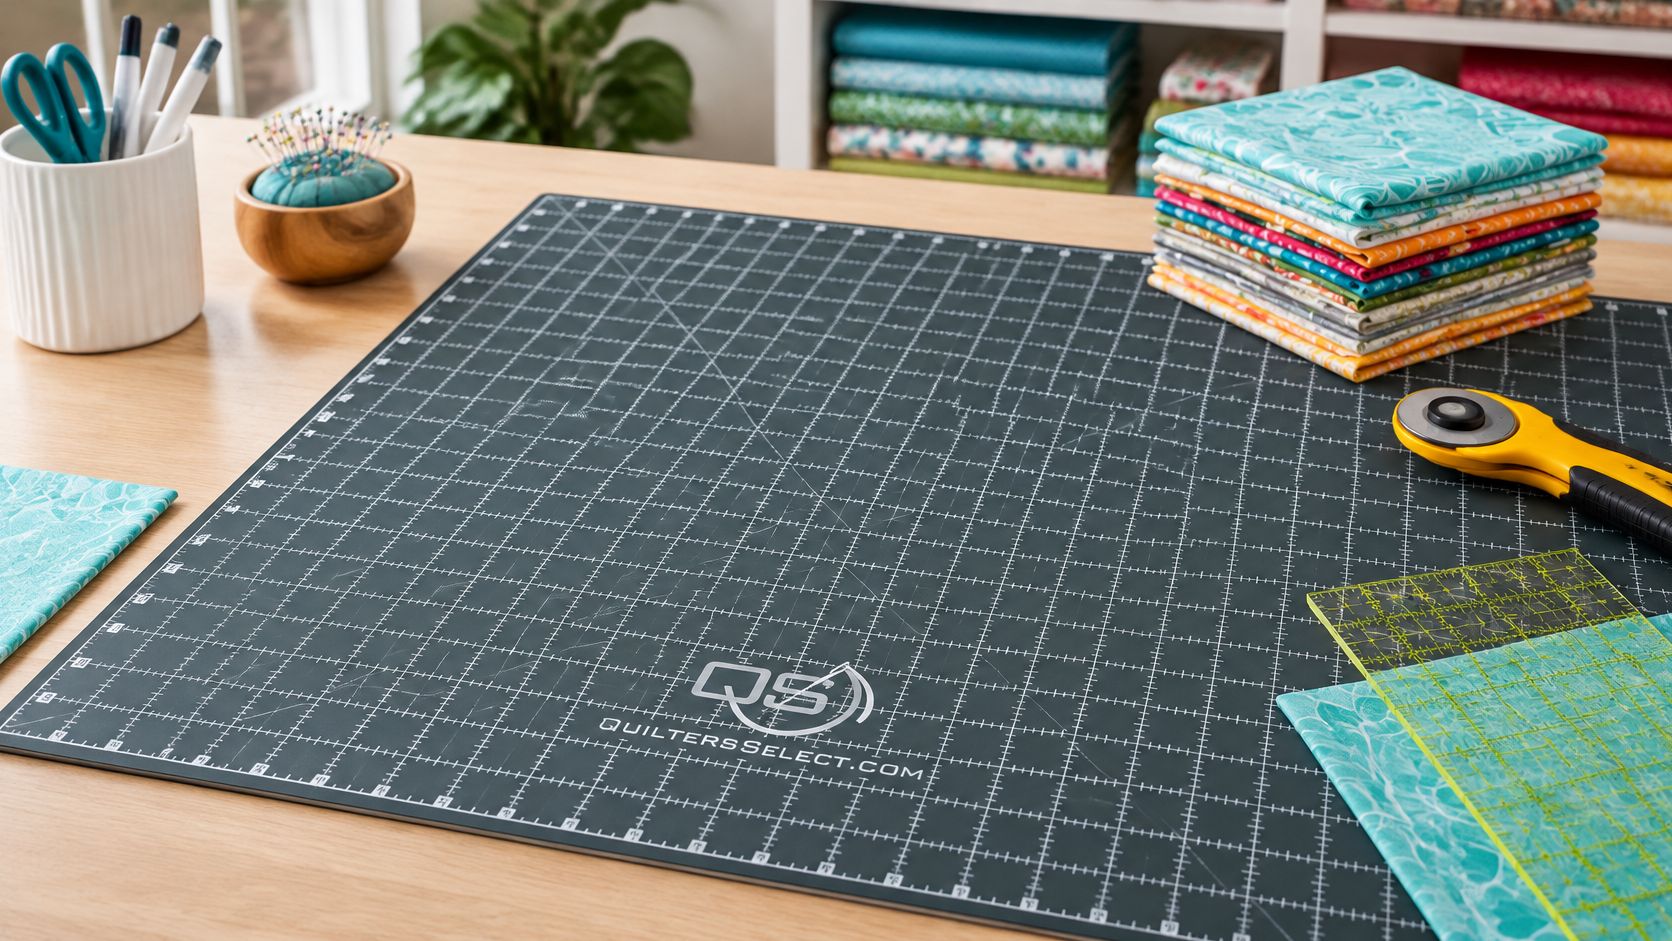
A 3 mm mat provides a useful benchmark for ruler-guided fabric cutting. Midwest Technology lists its Alvin 24 x 36 cutting mat at that thickness. Under ruler pressure, a mat that flexes can lose even contact with the fabric, making a straight cut harder to maintain.
Which thickness trade-offs matter?
| Priority | What to assess | Practical trade-off |
|---|---|---|
| Ruler stability | Whether the surface stays firm under the ruler | A stiffer mat flexes less under pressure |
| Frequent moving | How easily you can lift and carry the mat flat | A heavier board can be awkward in a shared room |
| Heavy cutting | Surface construction and resistance to persistent scoring | A thicker mat does not compensate for a dull or unsuitable blade |
| Value | Useful construction rather than appearance alone | A higher price doesn't automatically mean better accuracy |
If the mat lifts beneath the ruler, contact with the fabric can become uneven. The cutter may then skew a strip or press inconsistently along its path. A thicker surface can reduce flex, while excess pressure can still damage a mat or affect the cut.
Don't solve incomplete cuts by leaning harder on the cutter. Check for a dull or nicked blade, trapped lint, an unstable ruler, or an unsuitable fabric stack.
A heavier mat suits a station where it can stay in place. For a shared sewing room, choose a mat you can handle flat and store without bending; a sound multilayer construction matters more than weight alone. Before replacing a mat, press lightly along a ruler laid across it and check for flex, fabric movement, and uneven contact.
Grid Markings and the Projects They Speed Up
A one-inch grid and clear edge markings can speed up strip cutting by helping you align fabric and ruler without repeatedly measuring from scratch. The Quilters Select Dual Sided Cutting Mats 24" x 36" is a multilayer mat with printed markings on both faces. Check the markings on the side you plan to use, since a flipped mat may present a different layout.
The graphic shows how those markings relate to common quilting tasks.
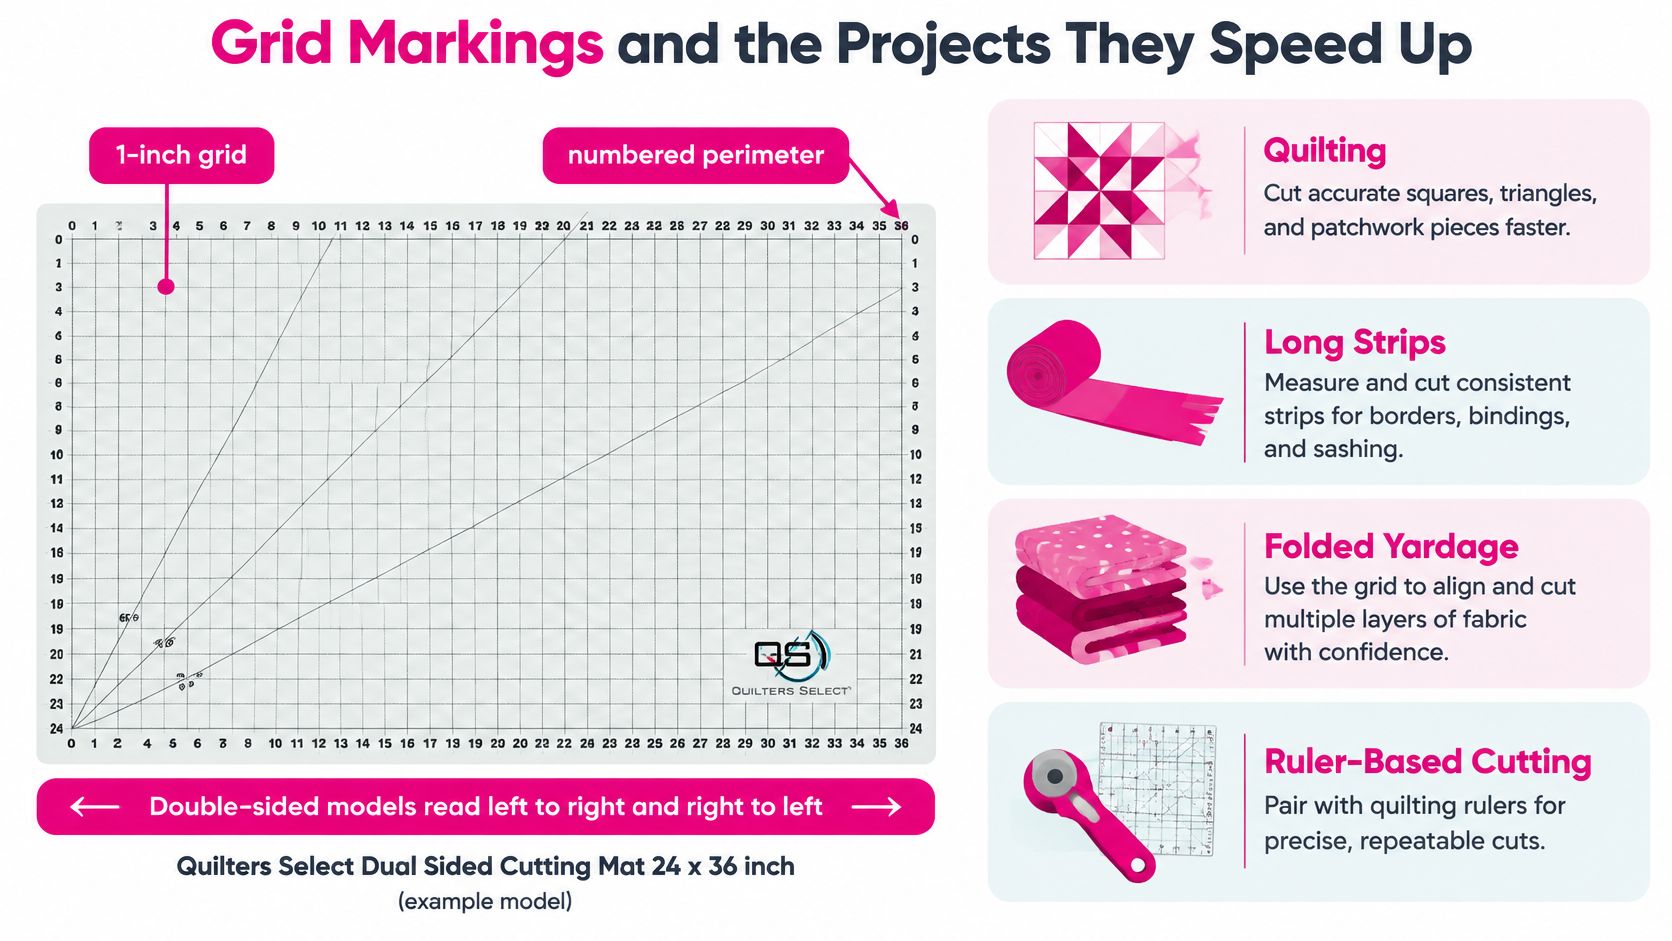
For angled work, Diamond Needle's large-format mat description documents 30-, 45-, and 60-degree guides, plus separate inch and metric grids on some double-sided models. These markings serve different tasks, so check the face layout rather than assuming every dual-sided mat has the same guides.
Grid markings and the cutting jobs they solve
| Grid Marking | Best For | Watch For |
|---|---|---|
| 1-inch grid with numbered perimeter | Strip cutting and yardage alignment | Confirm the numbers are legible from your working position |
| 30, 45 and 60 degree bias guides | Triangles, stars and bias strips | Align the fabric edge with the line before each cut |
| Inch and metric dual grid | Patterns drawn in either system | Confirm which face you're reading after you flip the mat |
| Solid reverse side | General cutting and an unprinted surface | Provides less alignment help than a printed grid |
How do you cut straighter binding and sashing?
- Fold the fabric once, bringing the selvages together without forcing a twist into the fold.
- Align the fabric, ruler, and grid on the flat mat. Keep the ruler fully supported.
- Check square before cutting, then make a controlled pass with light downward pressure.
Pro tip: Check the fold against a perpendicular ruler line before establishing the first straight edge. A small skew at the fold becomes a visible bend when you open the strip.
Use the same alignment discipline when squaring blocks or preparing panels before longarm loading. Straight preparation edges help with registration on the frame. Tensioning can't correct a panel cut out of square.
For a larger bench, the Cutting Mat Set of 3 Mats with Clips Green 35in x 70in measures 35 by 70 inches overall. Its larger footprint gives you more room for extended cutting work than a single 24 x 36 mat, but it also requires a correspondingly large work surface.
Use Linda's tutorial below to review fabric handling and cutting technique before preparing your next batch of strips.
Choose markings for the cuts you repeat most. At the cutting table, readable guides help with alignment, while a usable outer footprint determines how much fabric you can support at once.
Durability, Care and Replacement Timing
SewingTrip's cutting-mat care discussion cites estimated regular service lives of about 5 to 7 years for self-healing mats, compared with 2 to 3 years for non-self-healing alternatives. Treat those as broad estimates, not a replacement deadline. Your cutting habits and the condition of the surface matter more than its birthday.
Self-healing doesn't mean permanent. Shallow blade marks can close, but repeated deep passes through the same narrow cutting lane can leave a channel. Heat, prolonged sunlight, rolled storage, unsupported vertical storage, and unsuitable tools can also shorten useful life.
Care tasks and timing for a 24 x 36 cutting mat
| Care Task | How Often | Why It Matters |
|---|---|---|
| Shift the cutting position on the mat | Every project | Spreads blade wear across the surface |
| Check for grooves in one cutting zone | Monthly | Visible grooves show the self-healing surface is wearing |
| Air out a new mat | 24 to 48 hours before first use | Lets factory odor dissipate |
| Store flat, away from heat and sun | Always | Heat and sunlight shorten service life |
| Replace the mat | After about 5 to 7 years of regular use | Self-healing layers wear out over time |
The odor and replacement ranges in the table are planning guidance from the same care discussion, not promises about every product. Replace sooner if a groove catches the blade, the surface won't lie flat, or fabric snags during repositioning.
What should you do about odor and material claims?
Air a new mat in a ventilated space before bringing it into a small sewing room. If the smell remains strong or causes irritation, stop using it and contact the seller. Chemical sensitivity is a reason to act promptly, not to keep testing your tolerance.
PVC is common in multilayer mats, but a material label alone doesn't establish durability or environmental value. Compare these practical details:
- Useful life: Will the mat tolerate your cutting workload without early replacement?
- Recycled content: Look for a specific, documented claim rather than an unexplained green label.
- Certification: Check what the certification covers.
- Disposal route: Confirm whether a local facility accepts that material and product type.
For cost comparisons, divide the purchase price by the years of usable service you realistically expect. Don't pay an environmental premium for vague language.
Worn mats aren't automatically accepted in curbside recycling. Check local rules before discarding one, and keep a damaged mat away from precision cutting even if you retain it for non-cutting bench protection.
Choose the Right 24 x 36 Mat for Your Projects
A 24 x 36 mat earns its space when the printed grid fits your cuts and the full board sits securely on your table. For regular quilting, prioritize a stable, easy-to-read surface that you can handle and store comfortably. Choose a dual-sided mat if you cut from both ends of the table.
Match the markings to your work. For binding and sashing, look for readable perimeter numbers and a surface that holds a ruler steady. Angle guides help with geometric piecing, while a metric grid helps when your pattern uses metric measurements. Check which markings appear on each face.
Which setup matches your sewing room?
- Dedicated cutting station: Choose a stable mat with a layout you can read from your usual working position.
- Shared dining table: Give storage and easy handling priority alongside cutting area.
- Small studio: Choose a smaller mat that rests fully on the table rather than one with unsupported overhang.
- Heavy daily preparation: Consider a heavier board, and confirm its tool compatibility and handling requirements before buying.
For longarm preparation, leave room around the mat to manage backing fabric without dragging it off the table. Use the mat to establish straight edges, then check the backing's grain, squareness, and suitability for loading.
Use this buying sequence:
- Check support and clearance. Account for the mat's full footprint, fabric handling, and your usual reach.
- Check the grid and construction. Confirm the actual product details, including markings on the face you plan to use.
- Complete your cutting setup. Pair the mat with a sharp rotary blade and a ruler suited to your strips, blocks, or panels.
Choose tools that work together at the cutting table. A mat, ruler, and cutter suited to your method make repeated cuts easier to position and control.
Answers to Common 24 x 36 Mat Questions
Can I use a dull blade to protect my cutting mat?
No. A dull blade encourages extra pressure and repeated passes, so replace it when it skips threads or drags. Use the cutting-pressure checks to separate blade trouble from an unstable surface.
How do I clean a cutting mat?
Wipe it with mild soap and water, remove the soap with clean water, and let it dry flat away from direct heat. Avoid abrasive scrubbers, and follow any product-specific restrictions alongside the routine care checklist.
Which cutting mat size should a beginner buy?
Choose the larger format for regular yardage work if your station supports it comfortably, or a smaller mat for a compact sewing space. Complete the workspace measurement checks before ordering.
What should I do with an old cutting mat?
Check local recycling acceptance before putting it in a collection bin. Follow the replacement and disposal guidance, and retire it from precision work when damage affects blade tracking.
Linda's Electric Quilters offers cutting mats, quilting notions, fabric, batting, and educational videos to help you prepare and finish your projects. Visit Linda's Electric Quilters with your table measurements and cutting checklist to choose a mat and compatible tools for your next quilt.


