
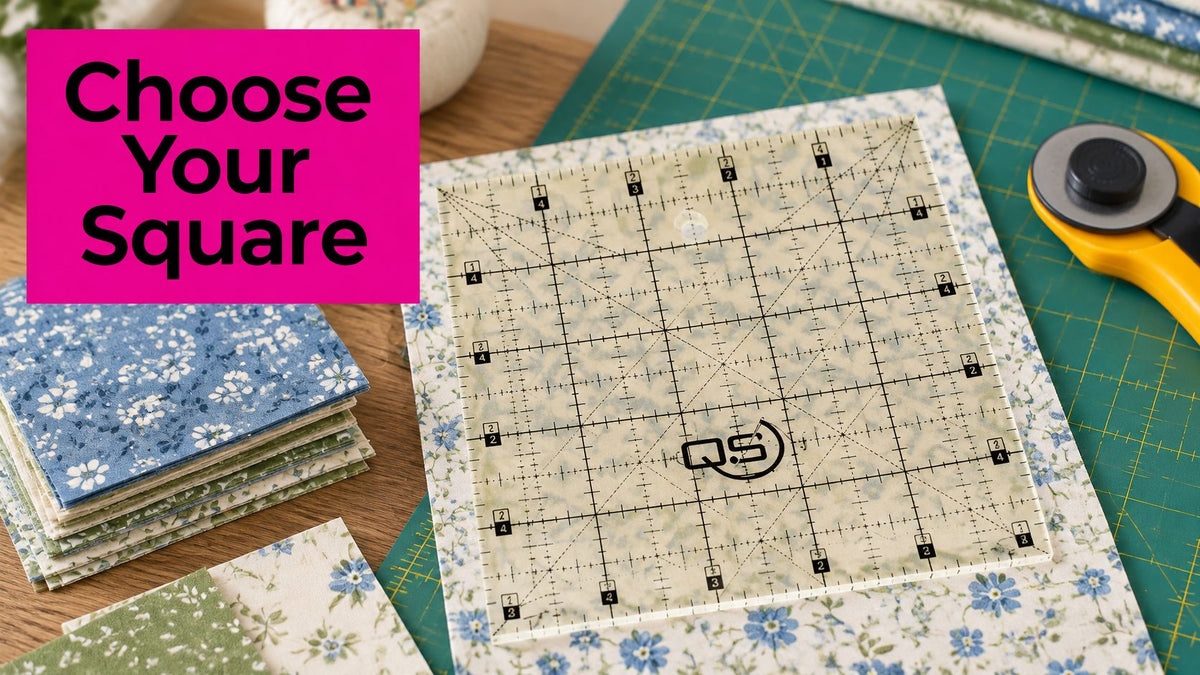
You've pressed a stack of pieced blocks, but their edges don't quite match. One has a wandering point, another looks square until you turn it, and your largest ruler feels awkward on every small unit. Choose quilters square rulers by the size of the piece you're trimming and the job you're doing, not by how much acrylic you can buy. A clear grid and diagonal guide help you control block geometry. A manageable size helps you hold that geometry steady. And a cutting ruler should never go under a sewing foot unless it's specifically designed for stitching.
Square Ruler Sizes and the Projects They Fit
Trimming a 6-inch half-square triangle with a 16-inch square feels like parking a bus in a bike rack. The acrylic covers the mat, your fingertips land far from the blade, and the fabric shifts before the blade moves. Match the square to the size of the piece and the cut you are making, not to the largest block you hope to sew someday.
A quilter's square ruler is a clear square measuring tool with a grid and, commonly, a diagonal guide. The right size covers the component while leaving your hand solidly over the ruler body. There is no single best size for every project.
Square rulers handle block squaring, strip sub-cutting, and fussy-cutting printed motifs. The SewingMachinesPlus guide to quilting ruler types identifies 4.5-, 6.5-, 9.5-, 10-, and 12.5-inch squares among the common sizes. Larger options include the 15.5-inch square listed by Missouri Star Quilt Co. and the 16.5-inch square listed by Artistic Artifacts.
Square ruler sizes and the task each one suits
| Ruler size (square) | Best task | Trade-off |
|---|---|---|
| 4.5 in | Fussy-cutting small motifs and compact piecing | Hard to steady on large units |
| 6.5 in | Half-square triangles and small blocks | Needs repositioning on large blocks |
| 9.5 in | Sub-cutting strips into uniform squares | Too short for larger block trimming |
| 10 in | Squaring standard blocks and sub-cutting strips | Leaves no margin when a unit is slightly oversized |
| 12.5 in | Trimming large blocks and aligning several edges | Harder to control and store |
| 15.5 in | Squaring large block sections | Bulkier to store |
| 16.5 in | Trimming oversized units with fewer repositions | Bulkier to store |
Treat these as task matches, not finished-block promises. A ruler must cover the unfinished component, including the seam allowance your pattern requires. A square labeled with the finished block dimension may be too small for trimming that block before assembly.
Which size gives you the most control?
For fussy-cutting, a small square lets you see the motif without reaching across a large sheet of acrylic. Center the printed feature, then check what will disappear into the seams. A beautifully centered flower can still lose its petals if you ignore the seam allowance.
For half-square triangles, choose a ruler that makes the diagonal seam easy to follow. Small squares also work well for trimming individual flying-geese units, provided the grid covers the whole unit and lets you preserve the point.
Larger quilters square rulers earn their space when you trim assembled blocks. They let you compare more edges in one placement. They are not automatically faster. If you stretch your hand, lean over the mat, or keep shifting pressure, the extra coverage costs control.
Pro tip: Keep a small square beside your large ruler for half-square triangles. Repeatedly wrestling a large ruler onto tiny units creates more chances to shift the fabric or choose the wrong reference line.
What should you check before buying?
Match the ruler to block scale, hand span, mat space, line visibility, fabric waste, and storage. A ruler that fits the block but hangs over your cutting table is not a practical match.
- Measure the component: Use the largest unfinished piece you expect to trim, not only the finished block size.
- Confirm the true dimensions: Check whether the product name describes the physical ruler or the units it produces.
- Assess grip: The ruler should stay put under normal hand pressure without requiring you to bear down.
- Check visibility: Look for markings you can distinguish on both light and dark fabrics under your sewing-room lighting.
- Review angle guides: Make sure the ruler supports the shapes you sew.
- Plan storage: Protect the edges instead of wedging the ruler between heavy supplies.
When browsing square rulers in Linda's notions selection, start with the smallest tool that comfortably covers your regular work. Add coverage when a project demands it, rather than buying an oversized ruler for every task.
What a Square Ruler Does That a Straight Ruler Cannot
A carpenter uses a square to check whether adjoining surfaces meet correctly. A quilter uses a square ruler for a similar reason: a straight ruler measures along a line, while a square ruler lets you compare width, height, and right-angle alignment together.
The quilting-ruler patent describes a square or rectangular tool with four edges and perpendicular sets of equally spaced rulings. It also identifies conventional 1-inch spacing, equal to 2.54 centimeters, as a clear, practical scale for measuring and cutting fabric.
The transparent surface matters as much as the outline. You can see a seam, fabric edge, or printed motif underneath the grid rather than measuring it, removing the tool, and trying to preserve the position.
Why does the grid improve repeatability?
Suppose you're preparing a stack of matching patchwork squares. With a tape measure, you can check their dimensions, but you still need another way to confirm that their corners and opposing edges agree.
With quilters square rulers, you place each piece against the same references. You can spot a sloping edge before cutting and keep the intended seam allowance positioned consistently around the piecing.
A block can have the correct width and still be skewed. Matching dimensions alone doesn't prove that its corners are square.
The ruler also helps you decide whether to cut at all. If straightening an edge would remove a point's seam allowance, the better fix may be to unpick and resew the adjoining seam. Trimming can remove excess fabric; it can't restore missing fabric.
For long strips cut from yardage, a long rectangular ruler remains easier to position along the cut. For compact piecing and final block correction, a square gives you a more convenient footprint. Choose square rulers from the notions selection for those jobs rather than expecting one ruler shape to handle the entire quilt.
Reading Markings, Zero Lines and Angle Guides
Read a new ruler on scrap fabric before putting it over a carefully pieced block. Busy markings aren't useful until you know which ones establish the measurement and which ones are only visual aids.
The SewingTrip guide to quilting ruler shapes describes common 1/8-inch increments, heavier 1/4-inch lines, and 30-, 45-, and 60-degree guides. Those divisions help you preserve seam allowances and cut angled components without a separate template.
Where does the measurement actually start?
Find the zero reference before counting across the grid. Align that reference with the fabric edge you're measuring from, rather than assuming every outside plastic edge represents zero. Ruler designs differ, so identify the intended cutting line and its relationship to the printed scale.
Read the same way each time. If the ruler has numbers running in both directions, choose the set that reads naturally from your reference edge. Don't switch numbering directions halfway through positioning a cut.
Accuracy check: Before the first cut, compare the ruler with a trusted straight reference and a known square. Confirm its stated dimensions and inspect the corners instead of assuming a new tool must be correct.
Which angle line should you use?
- Diagonal piecing: Use the diagonal guide to register half-square-triangle seams and inspect diamond geometry.
- Bias cutting: Align the relevant angle guide with a reliable fabric reference before cutting.
- Triangle and hexagon designs: Use the angle specified by the pattern, not whichever diagonal looks closest.
- Right-angle checks: Compare adjoining edges with the square grid when you're checking rectangular units.
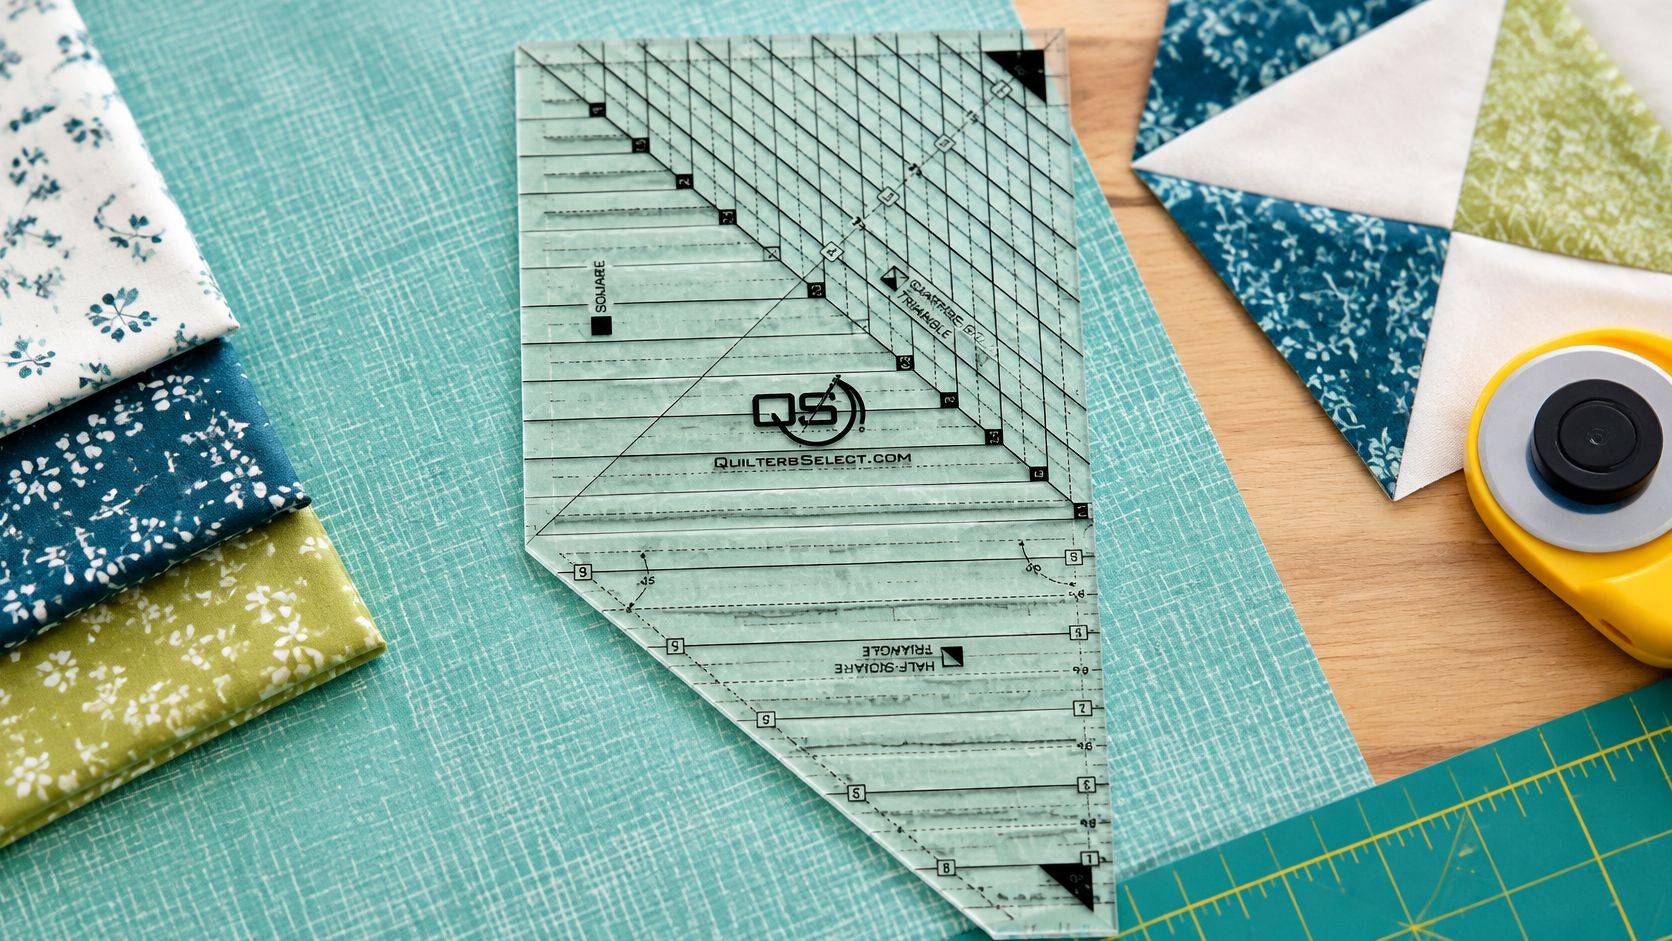
The combo ruler pictured earlier includes clearly marked diagonal and right-angle references, along with perimeter numbering that reads in either direction. That combination is useful when you alternate between marking, measuring, and trimming triangle units.
For projects dominated by half-square and quarter-square units, consider a combo ruler built for that workflow. Choose markings you can follow without pausing to decode them on every piece.
How to Square and Trim a Block with a Square Ruler
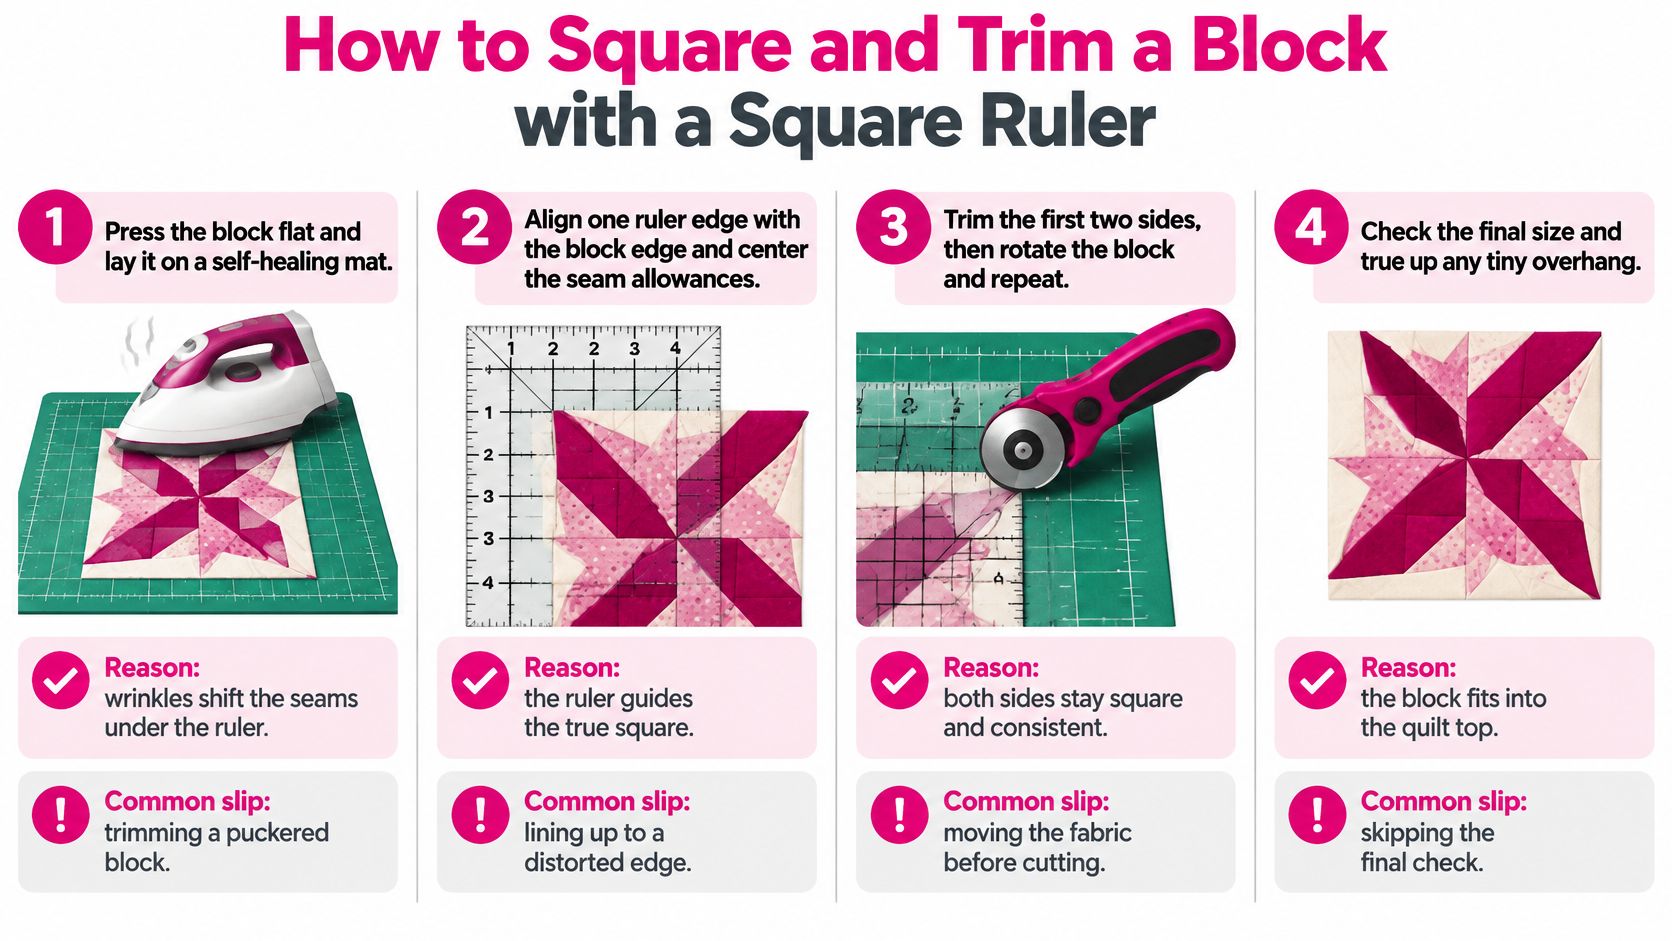
Skew compounds at assembly. Square single blocks now, when one trimmed edge can still fix the unit, instead of fighting wavering seams across a full quilt top. A longarm frame will hold distortion in place. It will not press it out.
Press the block flat, then set it on a self-healing mat with seams lying smooth. Heat and steam can stretch bias, so let a puckered block cool before you judge its size. A ruler seated on lifted seams rocks and reads large.
Register internal piecing to the grid, not the raw outer edge. Match one clear horizontal seam to a horizontal line and one vertical seam to a vertical line. The SewingTrip guide to reading quilting-ruler markings pairs that grid registration with the diagonal line, and calls for a ruler at least as large as the component so the whole block sits under the scale at once.
Run the sequence in the same order on every block:
- Set the ruler and check the diagonal. On a half-square triangle, lay the diagonal guide on the seam and see how the corners fall. Leave designs without a corner-to-corner seam alone. Judge them by their own seam structure.
- Trim only the sides that exceed the target. Anchor the ruler with firm, even pressure, keep fingers behind the blade path, and push the cutter straight along the edge. Utah State University Extension guidance on basic sewing supplies recommends a rotary-cutter safety glove for the ruler hand and warns that a cutter held at an angle can permanently damage a self-healing mat.
- Rotate, then re-register. Turn the block, align the fresh cuts with the markings for the required unfinished size, and trim the remaining sides. Measuring again from a ragged edge reintroduces the error you just removed.
- Confirm unfinished size and allowances. Read the pattern for the assembly measurement. Keep full seam allowance around the outside. Cutting to finished size here leaves the sewn block undersized by the seam taken on all four sides.
The graphic provides a compact reminder to keep beside your cutting station.
When does a combo ruler make sense?
The Quilters Select 3N1 - TRIANGLE/SQUARE COMBO RULER is designed for half-square and quarter-square units. Clear acrylic, a non-slip coating, and perimeter numbering that reads in both directions keep the diagonal registration visible while you rotate the piece through the trimming sequence.
I recommend a short rehearsal run before a full stack. Trim one spare unit, check the unfinished measurement, then sew it to confirm the points land. Use Linda's educational videos to review hand placement and rotation, then keep that same grip and order for the rest of the batch.
Rotary Cutting Rulers Versus Machine and Longarm Rulers
Nonslip doesn't mean safe under a sewing foot. A coating can help a cutting ruler stay on fabric, but it doesn't establish compatibility with a ruler foot, needle clearance, or longarm ruler base.
The Cozy Stitchery quilting-ruler guide distinguishes blade-guiding rulers from stitching templates and warns that a thin ruler can slip into the needle path. Machine ruler work requires a purpose-built template, a compatible ruler foot, and, on a longarm, a suitable ruler base.
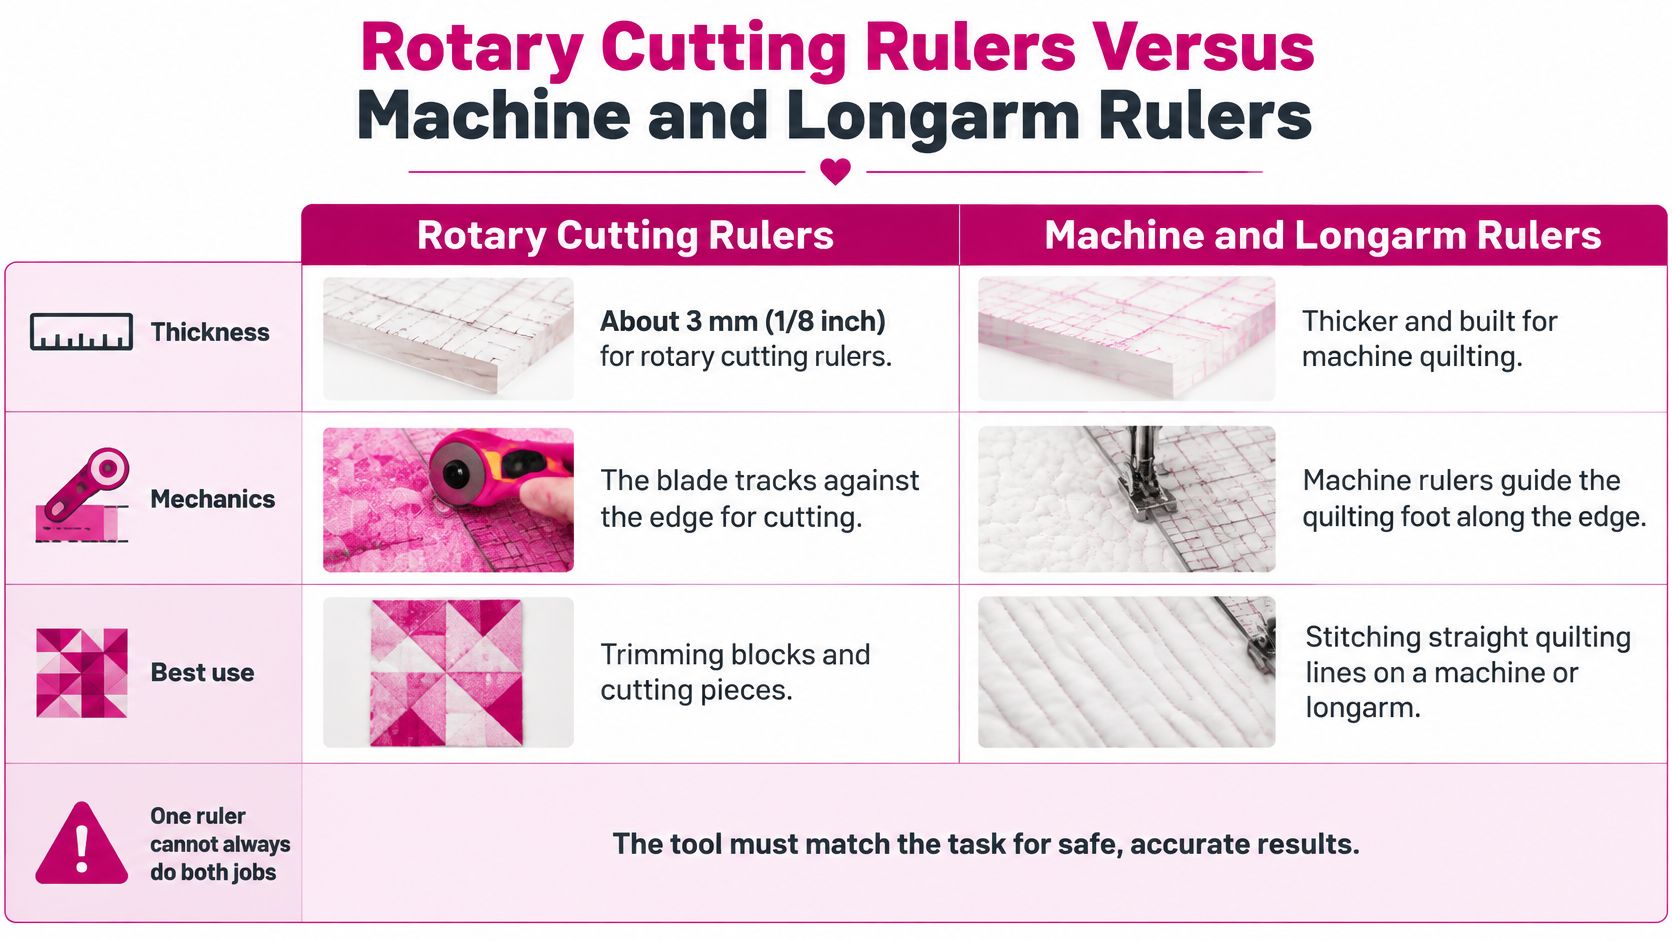
Cutting rulers compared with machine and longarm rulers
| Feature | Rotary cutting ruler | Machine or longarm ruler |
|---|---|---|
| Thickness | About 3 mm (1/8 inch) so the blade tracks the edge | Thicker template matched to the ruler foot and machine |
| Main job | Guiding a rotary blade on a self-healing mat | Guiding stitching alongside a compatible ruler foot |
| Safe beneath a sewing foot | No, a thin cutting ruler can slip into the needle path | Yes, when designed for stitching and compatible with the setup |
| Nonslip backing | Helps cutting stability | Doesn't make a cutting ruler suitable for stitching |
For rotary cutting, Thomas Acres' ruler guide describes approximately 3 mm, or 1/8 inch, as a practical edge thickness. An overly thin edge can flex under pressure or give the blade insufficient guidance. That cutting specification is not a machine-quilting approval.
The comparison graphic makes the different operating conditions clear.
What should you check before stitching?
- Thickness: Match the template to the machine and ruler-foot requirements.
- Edge profile: Confirm the foot can track the edge without riding over or under it.
- Visibility: Keep the stitch path and needle area visible.
- Grip: Stabilize the template without forcing it toward the needle.
- Machine clearance: Check the intended travel and install the appropriate longarm ruler base.
- Hand position: Keep fingers clear of both the needle and the moving foot.
A poor match risks broken needles, damaged equipment, inaccurate quilting, or injury. Check the listed use before any square ruler goes under a foot, and evaluate non-slip cutting rulers in the notions selection as cutting tools, not universal templates.
Frequently Asked Questions About Quilters Square Rulers
How should I clean and store my ruler?
Wash with mild soap and lukewarm water, then dry completely before storage. Heat warps acrylic fast, so store the square flat in a cool spot away from windows and pressing stations. Skip abrasive pads and solvents. They dull printed grids and strip non-slip texture. Keep lotions and spray starch off the back, since residue reduces grip and attracts lint that shifts the ruler on the next cut.
Why is my cut slightly off even with a good ruler?
Most small errors come from setup, not the square itself. Confirm the zero line sits on the fabric edge, not beside it, and use one measurement system for the whole block. Check for creep mid-cut, a mat that is bowed or sliding on the table, and a blade held at an angle. When ruler lines and mat lines disagree, trust one and verify it against a finished unit.
How do I know if my ruler is still accurate after years of use?
Give each square a quick maintenance check once a season, plus an extra check after a drop or a nick from the blade. Lay the edge of the ruler along a trusted straight reference and look for rocking or daylight underneath. Then look closely at wear. Faded numbers, polished slick spots where grip used to be, and small chips that catch a fingernail all signal replacement time for rotary work. A damaged square stays out of machine quilting too, since a rough edge changes how a ruler foot tracks.
Pick Your Starting Square Ruler Today
Start with a manageable small square for half-square triangles and compact blocks. Add a larger square when your projects routinely require more coverage, and choose a dedicated combo ruler when triangle-unit production becomes your main task. Build around the work you repeat, not the occasional block you might make someday.
A comfortable setup leaves room for your ruler hand, cutter, and fabric without crowding the edge of the mat.
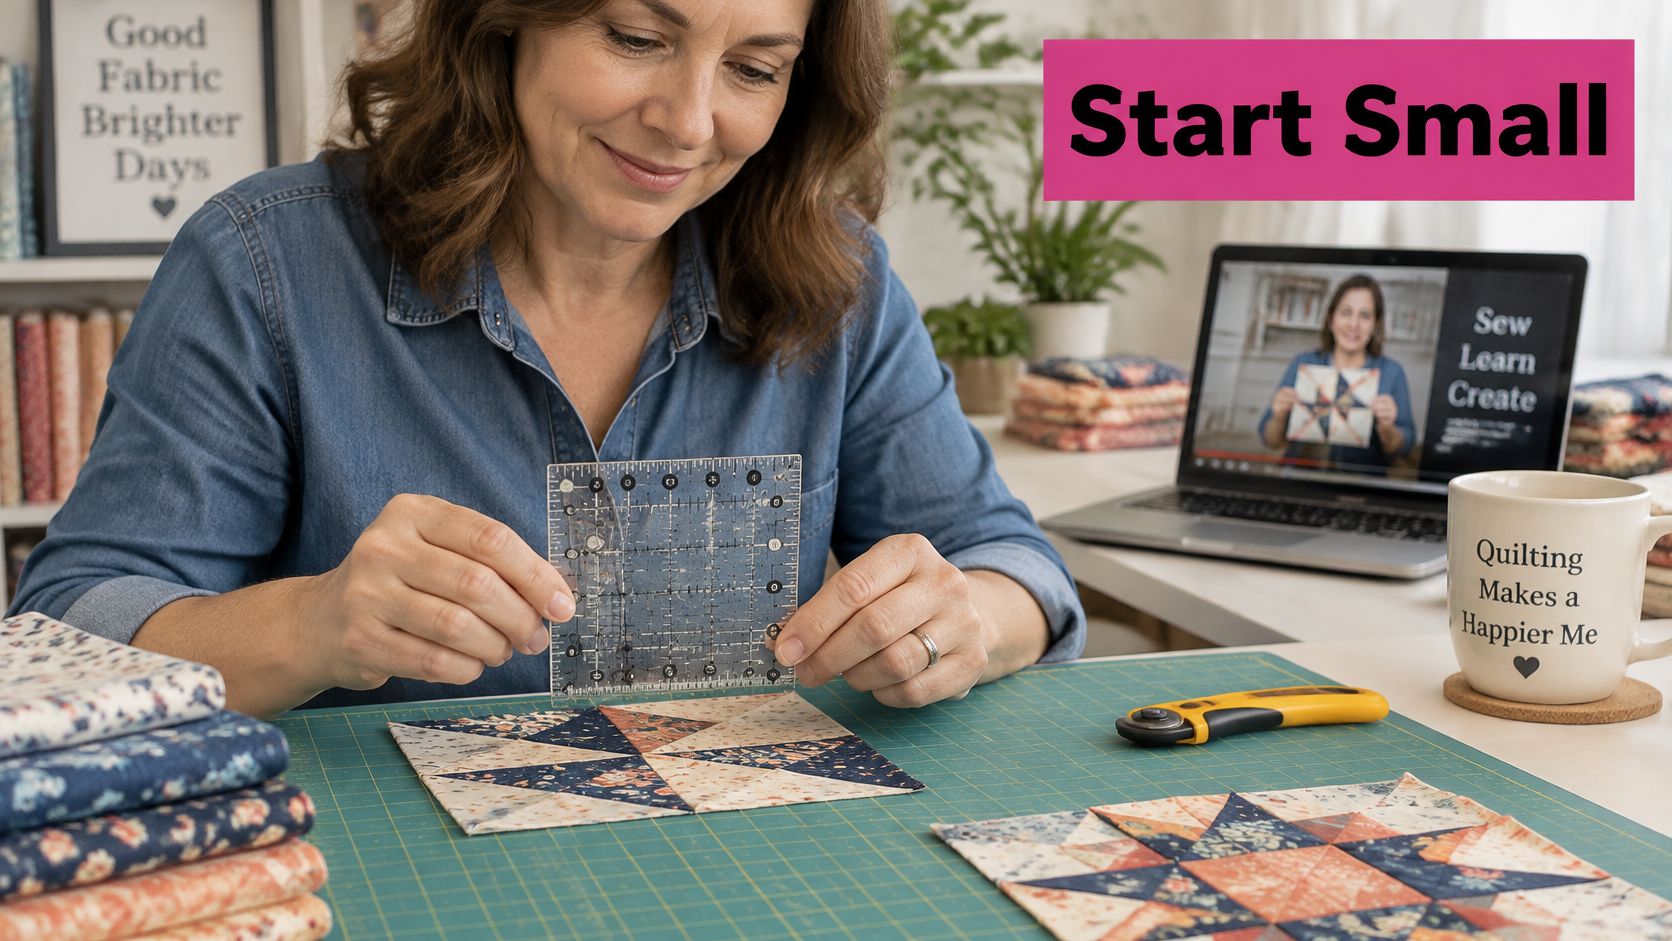
Make a practice block your first cut
Use a scrap block to test your setup before trimming the project stack. Check whether you can read the grid, hold the ruler without stretching, and rotate the fabric without disturbing the seams. If you can't, adjust the lighting or tool size before cutting valuable piecing.
Linda's Electric Quilters has served quilters since 1995 and offers more than 700 YouTube educational videos. Watch the educational walkthrough below before practicing your ruler positioning and cutting sequence.
A good starting ruler should make the measurement obvious and the hold comfortable. Extra size, extra markings, and extra grip only help when they suit your hands and your project.
Linda's Electric Quilters ships fabric, batting, thread, and notions to quilters everywhere, so you can prepare the blocks and find the materials to finish the quilt. Visit Linda's Electric Quilters and shop the Quilters Select 5.5" x 5.5" Non-Slip Ruler to start a practical square-ruler collection for small blocks and precision trimming.


