
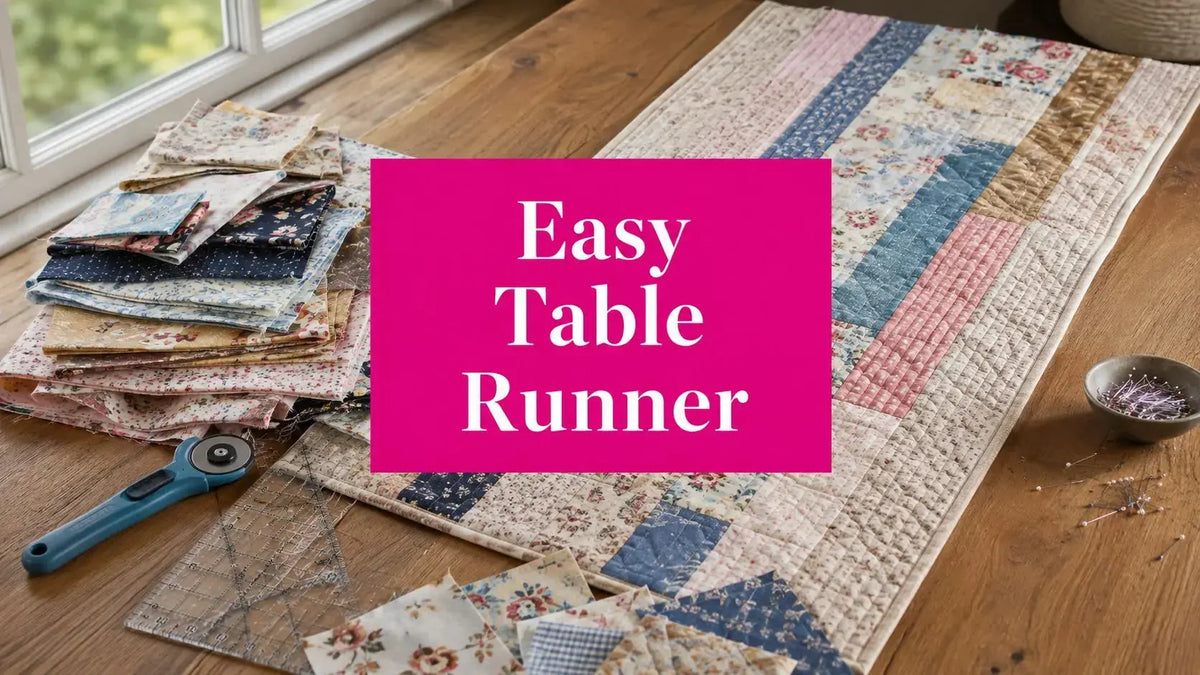
You want a handmade centerpiece for the dining table, but a full quilt feels like too much for a first project. An easy table runner pattern gives you a manageable way to practice cutting, seam allowance, basting, quilting, and binding while creating something useful for your home. By measuring the table first, working with modular sections, and finishing one small area at a time, you can build confidence without wrestling with a large quilt.
Why Table Runners Are the Perfect Beginner Quilting Project
A table runner is small enough to keep under control, yet it has enough surface area to show off fabric, piecing, and quilting. You won't need the yardage required for a bed quilt, and the narrow shape is easier to handle on a domestic sewing machine or longarm. It also gives you a finished item that can immediately refresh a dining room, console, or kitchen table.
Table runners have a long practical history. In medieval Europe, they helped protect tablecloths from spills and reduced the need for frequent laundering. By the 15th century, runners and tablecloths were established household linens, later appearing in handmade, machine-made, embroidered, quilted, and beaded forms. This evolution from utility textile to decoration helps explain why the format remains so useful for quilters today. The history of table runners provides helpful background on that development.

Start with a useful finished object
The narrow format lets you experiment with color, seasonal fabrics, and simple blocks without committing to a large layout. You can make the runner for everyday use, a holiday table, or a thoughtful handmade gift. If you're combining several prints, these pattern mixing tips for interiors can help you balance scale, color, and visual movement.
The modular quilt-as-you-go approach makes the project even less intimidating. Instead of managing one large quilt top, you complete smaller sections individually and join them into a finished runner. That method echoes 19th-century potholder quilt traditions, when small blocks were completed separately and later combined into quilts, table runners, and pot holders. Historical records identify potholder quilts mainly from the 1840s through the 1860s, with the earliest surviving example dated to 1837. Quilts.com's history of potholder quilts documents this modular tradition.
Practical rule: Choose a project that lets you practice one skill at a time. A table runner gives you a clear beginning, middle, and end.
Gathering Your Materials and Supplies
Quality supplies make an easy table runner pattern easier to sew accurately. Poorly cut fabric, unstable batting, or thread that doesn't suit your machine can create tensioning problems, puckering, and uneven seams before you've had a chance to enjoy the process.

Shopping checklist
- Fabric for the top: Use quilting cotton with a stable hand. Choose a focus print, coordinating solids, or several contrasting strips for modular blocks.
- Backing fabric: Select a fabric that complements the top and doesn't have a strongly directional design unless you're comfortable planning its orientation.
- Binding fabric: A separate binding color can frame the quilting, while leftover top fabric creates a quieter edge.
- Batting: Choose cotton for a flatter, traditional table setting, polyester for more loft, or a cotton-poly blend for a balance of characteristics. Cut it with extra margin so the layers remain covered during quilting.
- Thread: A 50-weight cotton thread is a dependable choice for piecing. A 40-weight thread creates more visible quilting lines when you want the stitching to become part of the design.
- Rotary cutter and mat: A sharp rotary cutter paired with a self-healing mat produces cleaner, straighter cuts than scissors for long strips.
- Quilting ruler: A long ruler helps you square fabric and check strip width before sewing.
- Walking foot: This foot helps feed the top, batting, and backing together, reducing layer movement during quilting.
- Binding clips: Clips hold the folded binding securely without compressing or distorting the edge.
Our team in McKinney, Texas, tests the types of supplies we recommend on projects intended for beginners and experienced quilters. You can browse the batting collection, compare options in the thread selection, and find rotary-cutting and binding tools in quilting notions. These categories give you a practical starting point rather than forcing you to assemble supplies at random.
Press your fabric before cutting. Fabric that looks flat on the bolt can contain folds or slight distortions, and those irregularities become more troublesome as you join modular sections.
Measuring Your Table and Cutting Fabric Accurately
Measure the table before choosing a finished runner size. A practical rule is to add 12 to 24 inches to the table's total length, creating an overhang of about 6 to 12 inches at each end. For example, a 60-inch table suits a 72-inch runner, while a 72-inch table can use an 84-to-96-inch runner. Missouri Star Quilt Co.’s table-runner sizing guidance explains this length calculation.
A separate sizing reference places standard runners between 13″ × 60″ and 16″ × 80″, with a width of 13 to 16 inches leaving a comfortable border of visible table. It also identifies 8 to 10 inches of end overhang as typical for dining tables. Use your furniture, place settings, and preferred drape to make the final decision. Quilt Keeper Studio's quilt-size reference offers these additional proportions.

Cut in a controlled sequence
- Measure the table surface. Record the length and width, then decide how much overhang you want.
- Calculate the finished runner. Add the chosen overhang to both ends. A runner can be centered across the table or placed lengthwise, depending on how you serve meals.
- Press and mark the top fabric. Use a quilting ruler and rotary cutter to establish a clean rectangle. If your design uses strips, cut every strip to the same width.
- Prepare the batting and backing. Cut the batting 1 to 2 inches larger than the top on all sides. Cut the backing 3 inches larger in both directions than the top, then trim after quilting. Crafty Staci's quilt-as-you-go table-runner method explains the overage approach and the importance of a flat setup.
The extra batting and backing aren't wasteful. They give you room to accommodate slight movement during basting and quilting. You'll square the quilted unit later, so the top should be the reference shape rather than the initial edge of the batting.
Pro tip: Always press fabric before cutting. A wrinkle under your ruler can change a strip's width and create matching problems several seams later.
Assembling and Quilting Your Table Runner
Quilt-as-you-go construction works because you handle a small section at a time. For each module, place the backing wrong side up, position the batting above it, and add the quilt top right side up. Baste the layers with safety pins or spray baste, keeping the surface smooth but not stretched.

Quilt from the center outward
Attach the walking foot and begin quilting near the center of the section. Straight lines are the easiest starting point, but gentle curves can add movement without requiring complicated free-motion work. Quilting from the center outward gives excess fabric a place to move and helps limit puckers.
Keep your seam allowance consistent at 1/4 inch when joining strips or blocks. Press after each seam, choosing the pressing direction that reduces bulk and keeps adjacent seams aligned. Consistent pressing matters because modular sections must meet cleanly when you join them.
A traditional quilt-as-you-go workflow can also use completed block units. Historical potholder quilt methods used 8 1/2-inch square blocks in group projects that were later combined into quilts, table runners, and pot holders. The principle remains useful: complete a small unit, inspect it, then continue rather than allowing a mistake to spread across a full project.
Solve movement before it becomes distortion
If the fabric shifts, stop and check the basting. Smooth the layers from the center toward the edges, add another safety pin where needed, and confirm that the walking foot is feeding evenly. Wavy quilting lines often come from a top that wasn't taped or smoothed flat, or from using a seam guide that doesn't follow the previous line of stitching.
For a turned construction, one contemporary tutorial recommends trimming the front and backing to the same size, sewing a 1/2-inch perimeter seam, turning the piece like a sock, and finishing with an 1/8-inch topstitch. Suzy Quilts' quilted table-runner tutorial shows how that fast workflow connects careful measuring with a simple finish.
Finishing Techniques for Professional Results
A polished runner depends on square edges. Once quilting is complete, place the unit on your cutting mat and trim excess batting and backing flush with the quilt top. Use a long quilting ruler and make controlled cuts rather than trying to correct the entire edge in one pass.
Binding creates a defined frame
For traditional binding, cut strips 2.5 inches wide. Join the strips with diagonal seams at 45-degree angles, press the resulting length in half with wrong sides together, and attach it to the runner with a 1/4-inch seam allowance.
Begin on a long edge and leave a tail before stitching. At each corner, stop the required distance from the edge, backstitch, fold the binding to form a miter, and continue along the next side. After sewing the binding to the front, fold it over the raw edge to the back and hand-stitch or machine-stitch it in place.

Binding clips are especially helpful at corners. They hold the folded fabric without piercing layers or pulling the binding out of alignment. Pressing the seams before attaching binding also reduces bulk and makes the miter easier to shape.
The pillowcase alternative
If you prefer a clean, binding-free edge, use the pillowcase method. Place the top and backing right sides together, sew around the perimeter, and leave an opening for turning. Turn the runner right side out, push the corners gently into shape, press the edges, and close the opening with a neat topstitch.
Don't skip the opening. Sewing the perimeter completely closed leaves no way to turn the runner, and unpicking a long seam is frustrating. The turned method is also a good match for a narrow project because it creates a simple edge while allowing you to practice accurate perimeter sewing.
Choosing the Right Batting and Thread for Your Project
Batting changes the runner's loft, drape, warmth, and quilting feel. Cotton usually gives a flatter, traditional appearance. Polyester generally creates more loft and warmth, while a cotton-poly blend balances the behavior of both fibers. Your table runner doesn't need the same insulation choices as a bed quilt, so prioritize a stable surface and an easy quilting experience.
| Batting Type | Loft | Drape | Shrinkage | Best For |
|---|---|---|---|---|
| Cotton | Low to moderate | Natural, structured | Natural fiber behavior | Flat traditional runners |
| Polyester | Higher | Fuller, less flat | Minimal fiber shrinkage | More loft and warmth |
| Cotton-poly blend | Moderate | Balanced | Between the two fiber types | Versatile everyday projects |
For piecing, use 50-weight cotton thread with a neutral color that recedes into the seams. For quilting, 40-weight thread makes the design more visible. Match the thread to the dominant fabric when you want quiet stitching, or contrast it when straight lines and curves are part of the visual design.
You can compare batting and thread options through Linda's Electric Quilters' relevant collections. The #1 Fan pattern is a separate example of modular-looking star and square design, with instructions for 56" x 56", 77" x 77", and 118" x 118" versions and options for team colors through strip piecing or appliqué. Its bold red, black, and white palette also demonstrates how contrast can make pieced geometry stand out.

Common Mistakes and How to Avoid Them
Beginners usually run into trouble during preparation, not because the sewing is too advanced.
- Under-cutting batting: Add the recommended 1 to 2 inches around the top so the batting still covers the project after basting and quilting.
- Skipping squaring: Square the quilted unit before binding. If you bind an uneven edge, the finished runner can have inconsistent corners.
- Forgetting the turning opening: Leave an opening when using the pillowcase method, then close it with a topstitch after turning.
- Not pressing seams: Press after each seam to prevent bulk, twisting, and mismatched modular sections.
- Quilting without enough basting: Add pins or spray baste where layers shift. Wavy lines and puckers are often easier to prevent than repair.
Every quilter makes mistakes. A table runner gives you a contained place to learn how tensioning, seam matching, batting loft, bobbin casing setup, and walking-foot feeding affect the final result. If a section isn't perfect, study what changed, correct the process, and keep sewing.
Linda's Electric Quilters offers fabric, batting, thread, rotary-cutting tools, binding clips, and other quilting notions for an easy table runner pattern. Visit Linda's Electric Quilters to choose quality supplies for your runner and get started on a project you can finish with confidence.


