
You're halfway through cutting a quilt top when your wrist starts to ache, the batting shifts, and every repeated pass feels less accurate than the one before it. Electric rotary fabric cutters can remove much of that cutting-table bottleneck, especially for long straight cuts, dense stacks, and high-volume quilting. The right model can improve consistency and reduce hand pressure, but it won't automatically solve fatigue, poor table height, blade wear, or battery interruptions.
For quilters, the best choice depends on blade diameter, motor speed, cutting height, grip design, power source, and the materials in your workflow. A manual rotary cutter still earns its place for tight curves and template work. A powered cutter earns its place when repetition, stack thickness, and physical effort become the limiting factors.
Upgrading Your Cutting Table Workflow
A large stack of pre-washed quilting cotton looks manageable until you've marked every line, aligned the ruler, and repeated the same cut across the table. Add batting, fleece, upholstery fabric, or several quilt layers, and the problem changes from simple accuracy to hand endurance and body mechanics.
Electric rotary fabric cutters help most when the job involves long, repetitive cuts. The motor supplies the blade movement, so your hand guides the tool rather than providing all the cutting force. That distinction matters during block preparation, backing adjustments, home décor projects, and small-batch production. Powered cutting equipment has roots in the late nineteenth century. George Eastman developed an early electric fabric-cutting machine in 1888, and manufacturer history later described that first cutter as the start of a product line that expanded to more than 100 machines sold worldwide (Eastman's manual cutting brochure).
The practical gain isn't speed alone. A powered cutter can give you a more repeatable feed path and reduce the temptation to force a dull blade through the fabric. Still, the tool only works as well as the table beneath it. A stable cutting mat, clear fabric surface, and a table positioned for neutral wrist posture matter as much as the motor.
If you're replacing a worn cutting surface, consider shop eco-friendly cutting boards as one way to create a firm, organized preparation area. Keep the cutting board or mat separate from the blade's intended surface, and make sure the cutter manufacturer approves the setup.
Practical rule: Buy the cutter for the material you cut repeatedly, not the material you cut once.
A small high-speed unit may suit a quilter working mainly with cotton and light stacks. A larger variable-speed platform makes more sense when batting, upholstery, or multilayer work regularly slows the table down. The goal is a smoother workflow, not just a more powerful tool.
Motor Specs and Blade Mechanics Explained
Marketing language can make every motorized cutter sound alike. The useful information sits in the blade diameter, RPM range, cutting height, speed control, and intended material class.
Heavy-duty electric rotary fabric cutters in major-market industrial segments commonly pair 65 mm to 125 mm blades with adjustable motor speeds around 600 to 2400 RPM. Published specifications show cutting heights from 22 mm to 39 mm, depending on blade size and motor class (published cutter specifications).
A 65 mm cutter advertised at 2400 RPM and 22 mm cutting thickness is built around quick, controlled work on lighter stacks. A 125 mm adjustable-speed model rated to 39 mm cutting height uses five speed levels, 600, 800, 1000, 1200, and 1400 RPM, to give the operator more control over thick or varied materials. Those figures don't mean the larger blade is automatically better. They show how blade diameter and speed control shape the job.
Electric cutter specs by use case
| Application | Blade Size | Motor Speed (RPM) | Max Cutting Height |
|---|---|---|---|
| Precision quilting and lighter stacks | 65 mm | 2400 | 22 mm |
| Thick multilayer textile work | 125 mm | 600 to 1400 | 39 mm |
| General industrial rotary cutting | Varies by machine | Adjustable where specified | Depends on blade and motor class |
The smaller cutter's advantage is control. A fast blade can move cleanly through lighter material, and its compact body may feel less cumbersome during detailed table work. Its limitation appears when the stack approaches its rated capacity or when the fabric compresses unevenly.
The larger variable-speed machine offers more headroom, but size brings trade-offs. A heavier body can increase shoulder fatigue if you're holding it away from your centerline, and a large blade may feel unnecessarily aggressive on delicate cotton. Match the tool to the cut. High speed and a smaller blade suit precision and lighter stacks. Larger blades and adjustable speeds suit thick, mixed-material work.
Flat-material rotary systems create a different benchmark. One industrial rotary cutter is specified for flexible sheet materials up to 4 mm thick, with a travel speed of 1.0 m/sec and a 61-inch cutting length (Foster Keencut Rotatrim PowerTech specifications). That type of machine is designed around rail stability and consistent travel, not the thick-stack capacity expected from a handheld textile cutter.
The distinction helps when reading spec sheets. RPM alone doesn't tell you throughput. Blade diameter, feed stability, motor class, cutting height, and the operator's ability to guide the cutter without forcing it all work together.
Electric vs Manual Rotary Cutters for Quilting
Manual and electric rotary cutters solve different problems. A manual 45 mm cutter remains a strong choice for everyday quilt blocks, ruler work, and controlled detail. Your hand can slow the blade instantly, pivot around a template, and adjust pressure as the fabric shifts.
Electric rotary fabric cutters become more useful when the cut is repetitive and straight. They can reduce the hand pressure needed across a broad stack, which helps when you're preparing repeated strips, trimming batting, or cutting fabric for several related projects. The powered tool doesn't replace careful alignment. It changes where the effort goes, from pushing the blade through the fabric to guiding the cutter along the marked path.
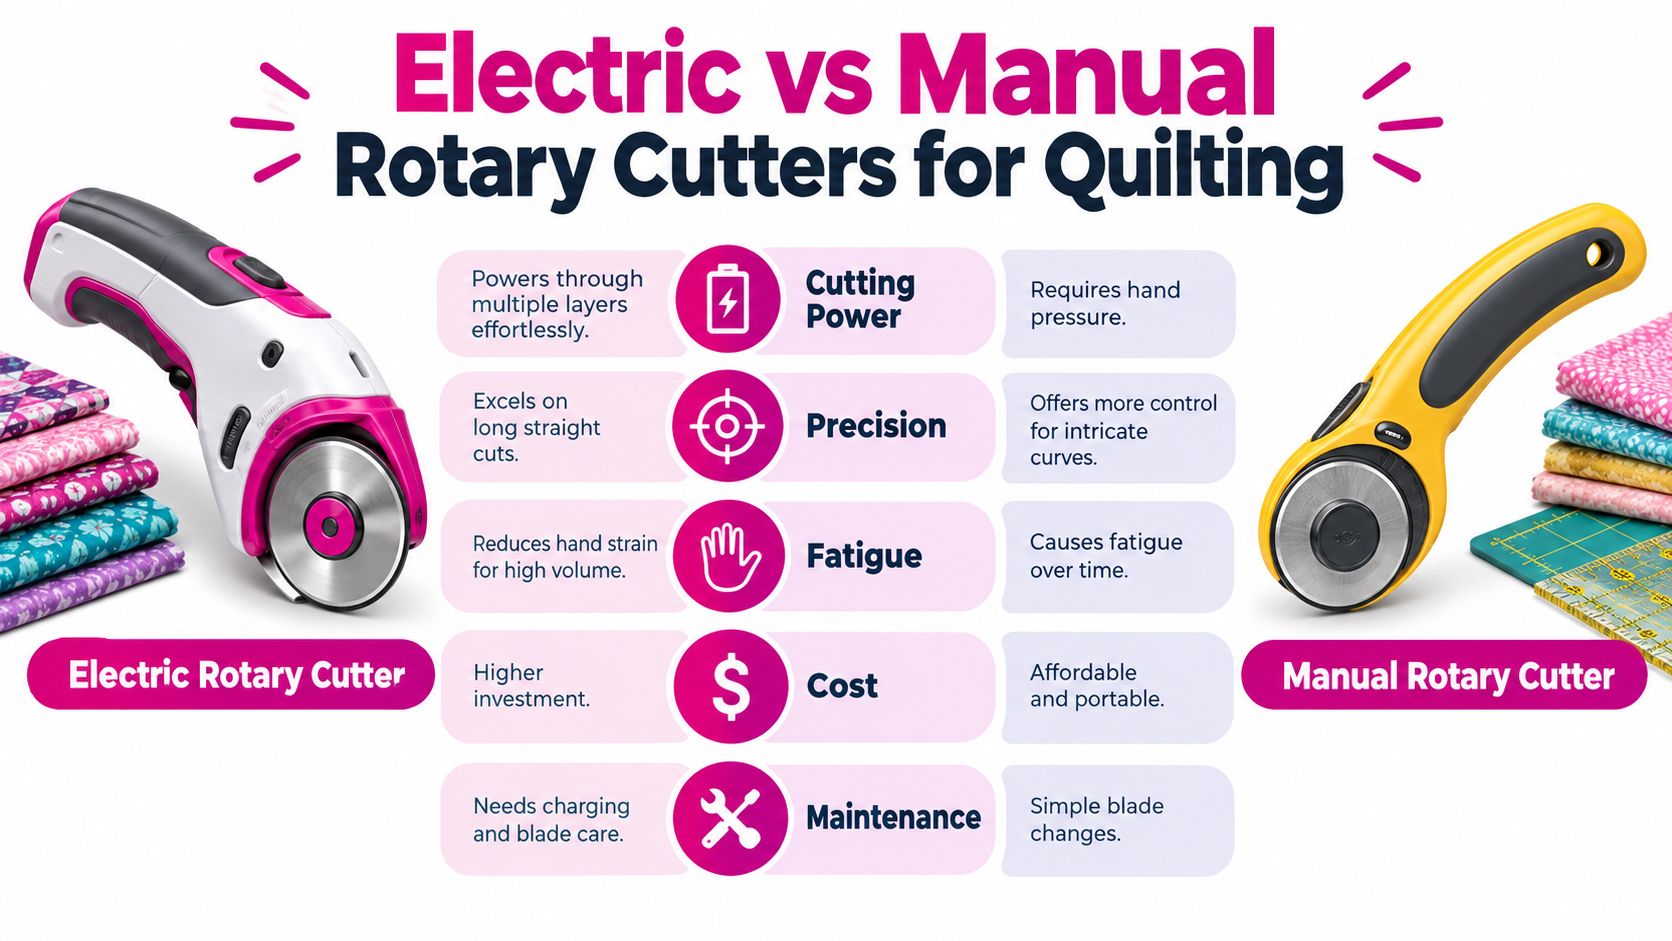
Where each cutter earns its place
| Quilting task | Manual rotary cutter | Electric rotary fabric cutter |
|---|---|---|
| Tight curves and small pieces | Excellent control | Often harder to maneuver |
| Long straight strips | Requires repeated hand pressure | Strong fit for repetitive work |
| Light single-layer cotton | Precise and simple | May be more tool than needed |
| Thick batting or dense stacks | Can increase hand strain | Better suited to powered cutting |
| Portable retreat setup | Easy to pack and use | Depends on cord or battery |
| Fine template adjustments | Easy to slow and pivot | Requires more practice and clearance |
Manual cutting also gives you direct feedback. You feel resistance when the blade meets a seam, folded edge, or uneven stack. Electric cutting can move through the same area quickly, so you need to keep both hands and the fabric position disciplined.
Batting deserves special attention. Cotton batting may have a different loft, drape, and compression from a polyester blend, while wool batting can respond differently again. A cutter that handles a firm multilayer cotton stack may not produce the same edge on lofty batting. Keep the stack flat, avoid pulling the material toward the blade, and test an offcut before committing to a full panel.
Cutting-table insight: Use the manual cutter for decisions and the electric cutter for repetition.
That combination is more practical than trying to make one tool do everything. Use the manual blade for curves, notches, small templates, and final corrections. Use the powered cutter for long runs where repeated hand pressure is the main source of fatigue.
Ergonomics and Safety for Long Sessions
Blade guards matter, but they're only one part of a safe cutting station. Long sessions place stress on the wrist, forearm, shoulder, neck, and lower back, especially when the operator reaches across a deep table or grips a heavy tool with a bent wrist.
Start with the table. Safety guidance for cutting work emphasizes standing cuts, straight wrists, a table near waist or hip height, protective gloves, and keeping guards and latches engaged when appropriate (rotary cutter safety guidance). The UK HSE also highlights guard coverage, warning signals, safe blade disposal, and removing fluff and off-cuts from cutting machinery in its fabric-cutting guidance. Clear the table before you start, and don't let scraps build up around the blade path.
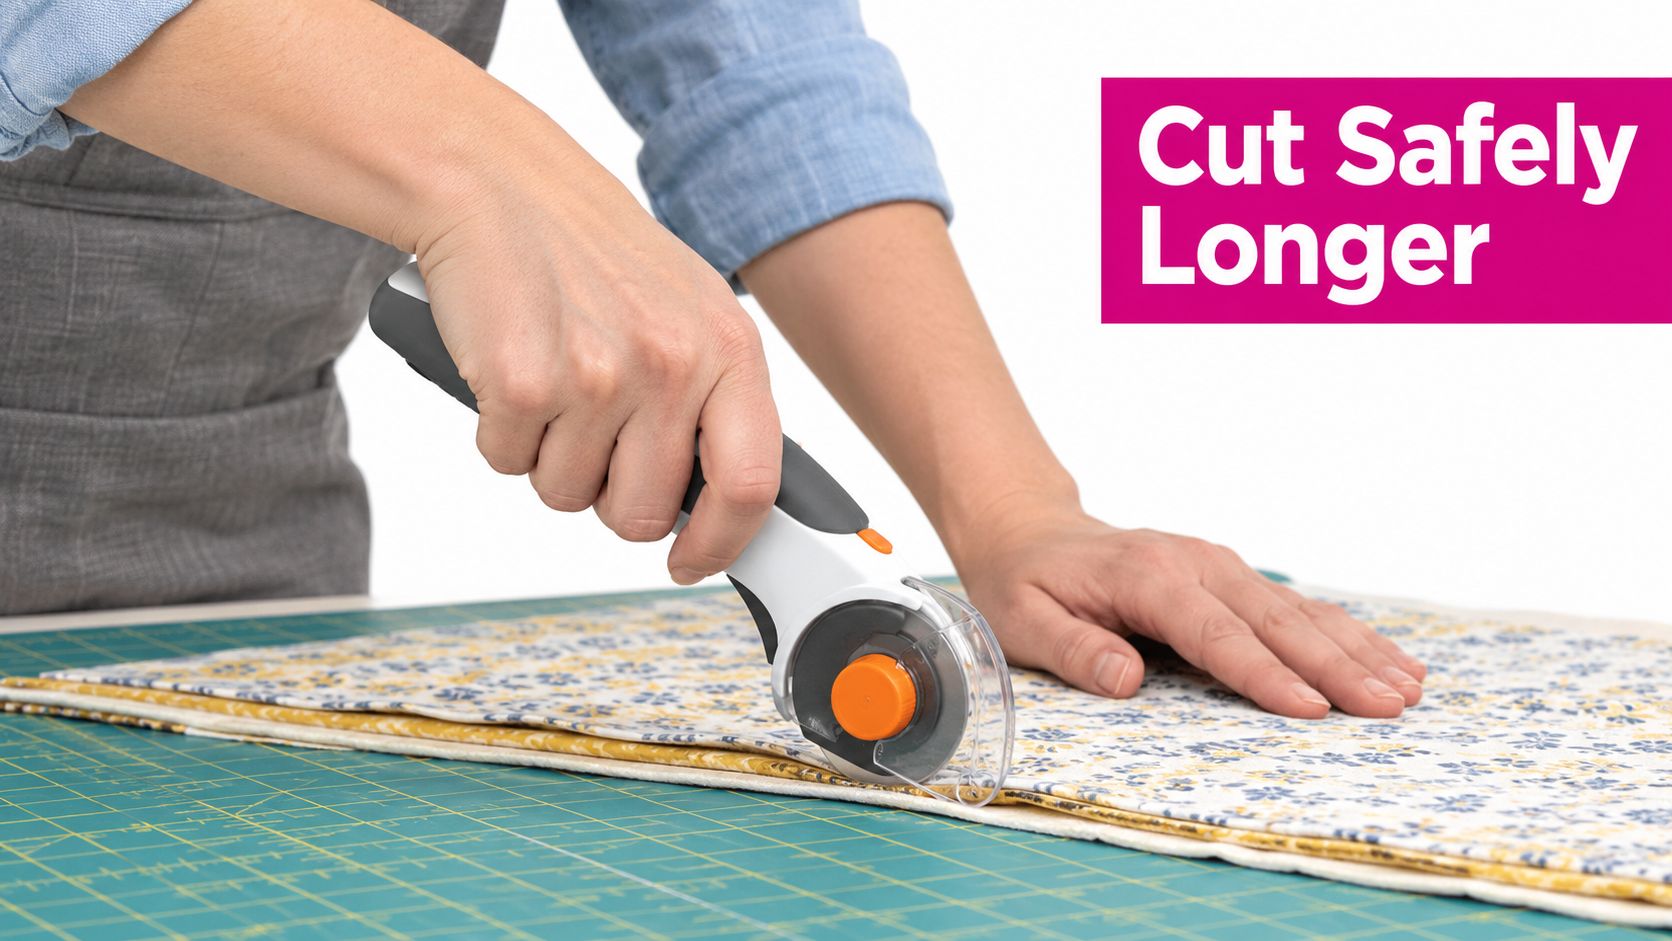
Set your body before starting the motor
- Keep the wrist straight: Let the forearm and hand form one line. A bent wrist often appears when the handle is too low, the grip is too small, or the operator reaches too far.
- Keep the work close: Rotate the fabric or walk around the table instead of stretching across it. Reaching changes shoulder load and makes the blade harder to control.
- Use your legs and torso: Stand square to the cut and move your body with the tool. Don't twist your lower back while holding the cutter at arm's length.
- Take short resets: Stop the motor, release your grip, lower your shoulders, and check the fabric position before continuing.
Dull blades create a separate problem. AccuQuilt's cutting guidance notes that dull blades can require more force and repeated passes, increasing strain and injury risk. If the tool stalls, skips, or leaves uncut fibers, don't compensate by pressing harder. Inspect the blade, clean the path, and replace the blade when the manufacturer's procedure calls for it.
A slide-lock or blade safety lock should keep the cutting edge covered while the tool is stored or carried. Some designs use a pushbutton blade withdrawal system and a cover that exposes only the lower cutting edge, showing that safety hardware is part of the cutter's mechanical design, not decoration (rotary fabric cutting tool guidance).
Watch the embedded demonstration before using a new grip or guard system. A visual walkthrough can reveal hand placement errors that are easy to miss in a written manual.
A lighter cordless body may reduce wrist load for some quilters, but lighter doesn't automatically mean safer. A small grip can encourage excessive finger pressure, and a weak battery can cause the operator to push harder as the motor loses consistency. Choose the body shape that lets you guide the blade with relaxed fingers and a neutral wrist.
Corded vs Cordless Power Tradeoffs
Cordless electric rotary fabric cutters appeal to quilters who work in multiple rooms, travel to retreats, or share a cutting table. Current buyer-guide coverage discusses rechargeable cutters in the 4V to 20V range, with portability and battery runtime treated as important buying factors (cordless rotary cutter buying coverage).
The convenience is real. You can change cutting positions without managing a cable, and a rechargeable unit can suit a small studio where the table moves or the outlet sits inconveniently. Cordless tools also make sense for occasional jobs where setup speed matters more than continuous production.
The weakness appears during sustained cutting. Battery runtime depends on the material, blade condition, motor load, and how often you stop and start. Dense stacks, batting, and slippery fabrics can place more demand on the motor. If the battery falls off its strongest output, the cutter may feel less decisive, and the operator may unconsciously add pressure.
Choose power based on interruptions
A corded cutter offers consistent electrical delivery during a long cutting session. That consistency helps when you're cutting repeated strips or preparing material for a shop order. The trade-off is cable management. Keep the cord behind the cutting path, away from the blade, and positioned so you won't catch it with your elbow or feet.
A cordless cutter offers movement, but you need a charging plan. Consider:
- Session length: Occasional block cutting favors portability. Continuous stack cutting favors uninterrupted power.
- Material density: Quilting cotton is a different load from thick batting, denim, or upholstery material.
- Battery replacement: Check whether replacement batteries and chargers are available through the manufacturer.
- Downtime: Charging pauses can interrupt pressing, cutting, and piecing schedules.
- Torque expectations: Don't assume a cordless motor will maintain the same cutting feel through every stack.
The best cordless model is the one that fits your actual work pattern, not the one with the most convenient advertisement. For a retreat bag, mobility may outweigh runtime. For a busy studio, corded reliability may be worth the cable.
Buying Considerations for Quilt Shops
A quilt shop needs a cutter that matches its volume, fabric mix, staff strength, table layout, and maintenance habits. Start by writing down the cuts that consume the most time. If the answer is long strips through quilting cotton, prioritize control and comfortable handling. If the answer is thick batting or layered décor fabric, prioritize cutting height and motor capacity.
Blade size should match the cutter's design. Many models are built for a specific blade diameter and thickness, and using the wrong size can prevent the guard from closing correctly, creating a serious safety hazard (blade sizing and compatibility guidance).
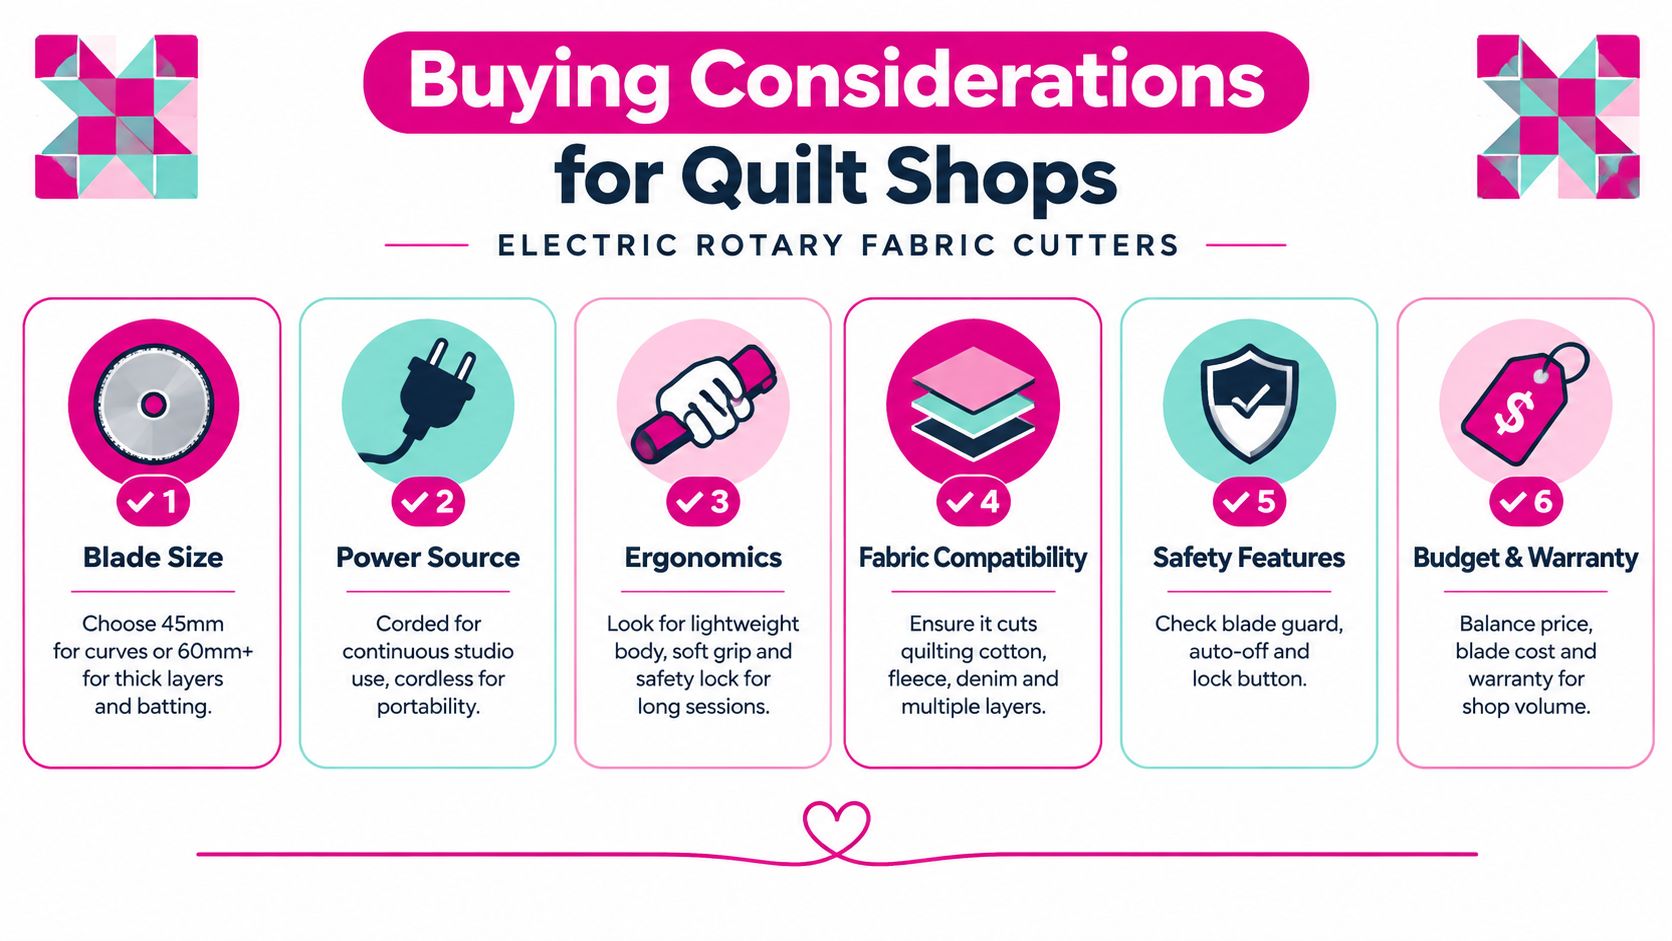
Match blade size to the cut
Industry guidance commonly places 28 mm blades with fine detail, tight curves, and small pieces. 45 mm blades are widely used for general-purpose cutting, while 60 mm blades suit thicker fabrics and larger projects (rotary cutter size guidance).
That sizing logic carries into electric tools, although industrial models use their own blade systems and manufacturer specifications. Don't substitute a handheld quilting blade into a heavy-duty machine unless the manufacturer explicitly supports it.
A shop should also compare the following:
- Material range: List the actual fabrics you sell or use, including cotton, batting, fleece, denim, and upholstery materials.
- Operator fit: Let the person who cuts most often hold the tool. A technically capable cutter that causes wrist or shoulder fatigue won't improve the workflow.
- Guard design: Check the lock, blade cover, withdrawal mechanism, and storage procedure.
- Table clearance: Confirm that the tool can travel without striking rulers, clamps, cords, or nearby equipment.
- Service access: Review blade replacement, fluff removal, and motor maintenance before purchase.
For a professional longarm studio, the cutter should support the whole production path. Cutting affects piecing, pressing, loading, and eventually the quilt's tensioning and finish. A hobbyist may value portability and low setup effort more than maximum stack capacity, while a clearance-focused buyer should inspect replacement blade costs and warranty terms rather than choosing solely by sticker price.
Linda's Electric Quilters carries quilting materials, notions, and educational resources for sewing and longarm workflows. If you're comparing a cutter with the rest of your setup, consider how the tool will interact with your batting, rulers, mats, and storage space before ordering.
Maintenance and Blade Replacement
A powered cutter stays reliable when you treat it as a precision machine rather than a disposable notion. Before maintenance, disconnect the power or remove the battery, engage the blade lock, and place the tool on a stable surface.
Start with the blade path. Remove fabric fibers and fluff with the method approved by the manufacturer. Keep loose off-cuts away from vents and moving parts. Never reach toward a blade that may still rotate, even if the motor has stopped.
A safe replacement routine
- Disconnect the tool: Unplug the cord or remove the battery according to the manufacturer's procedure.
- Secure the blade: Engage the safety lock or blade withdrawal system.
- Remove the guard and blade: Follow the tool's manual, keeping washers, spacers, and fasteners in order.
- Install the specified replacement: Match diameter and thickness exactly. The wrong blade can interfere with guard closure.
- Check movement by hand: With power disconnected, confirm that the blade turns freely and the guard returns to its safe position.
- Test on scrap: Make a short cut through the material you normally use before returning to the quilt project.
Uneven cutting can come from a dull or incorrectly installed blade, a shifting stack, or a table that doesn't support the material. Motor stalling can indicate excessive thickness, fabric caught in the mechanism, debris near the housing, or a blade that needs replacement. Don't keep forcing the tool through resistance.
For chain-pieced quilt work, the "Quick Cut" Thread Cutter separates quilt chain pieces, uses Clover's 45mm Rotary Cutter blade, and includes a dial that moves the blade 12 points to refresh the cutting edge as needed. Store any cutter with its blade covered, cord managed, and battery handled according to the manufacturer's instructions.
A clean storage area protects more than the blade. It also prevents rulers, pins, and scraps from contacting the guard or trigger while the cutter is being moved.
Linda's Electric Quilters offers fabrics, batting, threads, notions, live shopping events, instructional videos, and quilting resources for projects that depend on dependable cutting and finishing. Visit Linda's Electric Quilters to choose the materials and tools that fit your electric rotary cutting workflow, then finish your next quilt with less strain and better preparation.


