
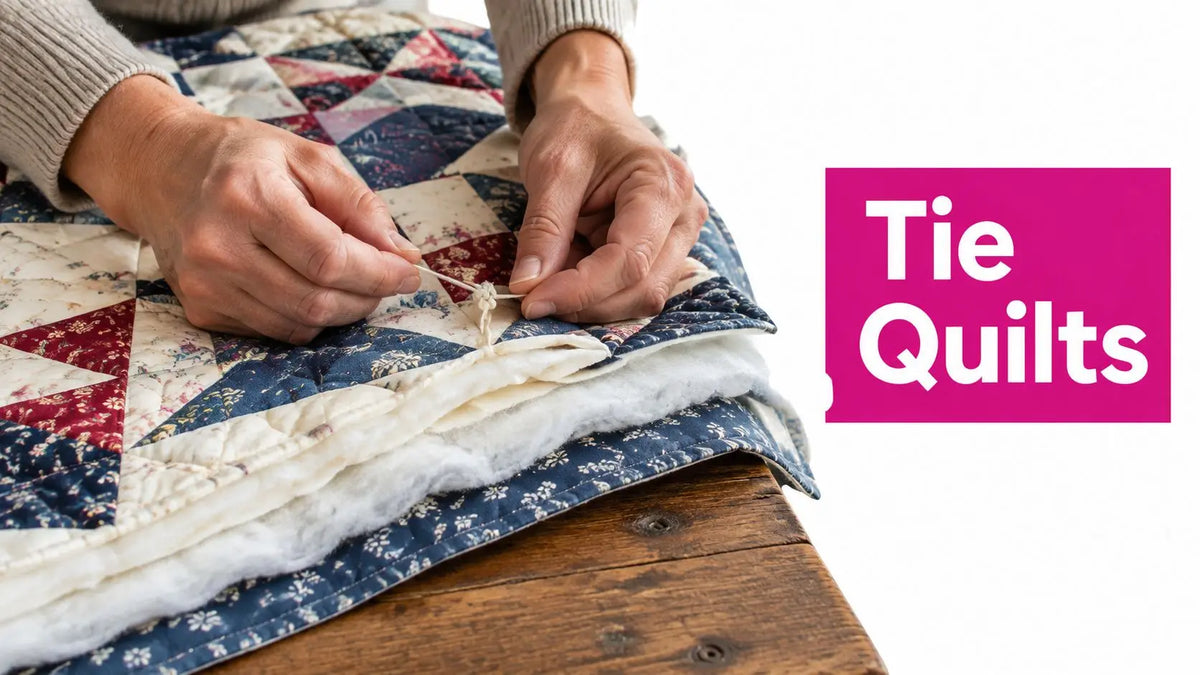
You've finished a quilt top, and now you're deciding whether to wrestle the layers through a machine or finish them by hand. Hand-tying is more than a beginner shortcut. It's a practical construction method that can preserve batting loft, soft drape, and warmth while giving a modern quilt a deliberate visual rhythm. For a durable result, use a suitable needle and thread, secure all three layers, keep ties evenly spaced, and control tension so the fabric stays smooth.
Why Tying Elevates Modern Quilt Design
A tied quilt has a different personality from a densely machine-quilted one. Machine quilting adds a strong network of stitches, but those stitches can compress the batting and create a firmer hand. Tying uses spaced threads through the quilt sandwich, leaving more room for the batting to expand. That makes it a strong choice when warmth, loft, and relaxed drape matter more than a highly structured surface.
The method also has deep historical roots. Tied quilts were valued because they offered a fast, practical way to finish bedcovers before machine quilting became common. In North Country and other utilitarian traditions, makers passed thread through the layers and secured it with knots. The process was quicker than quilting and allowed thicker batting for a warmer cover, as described in the history of the tied quilt tradition.
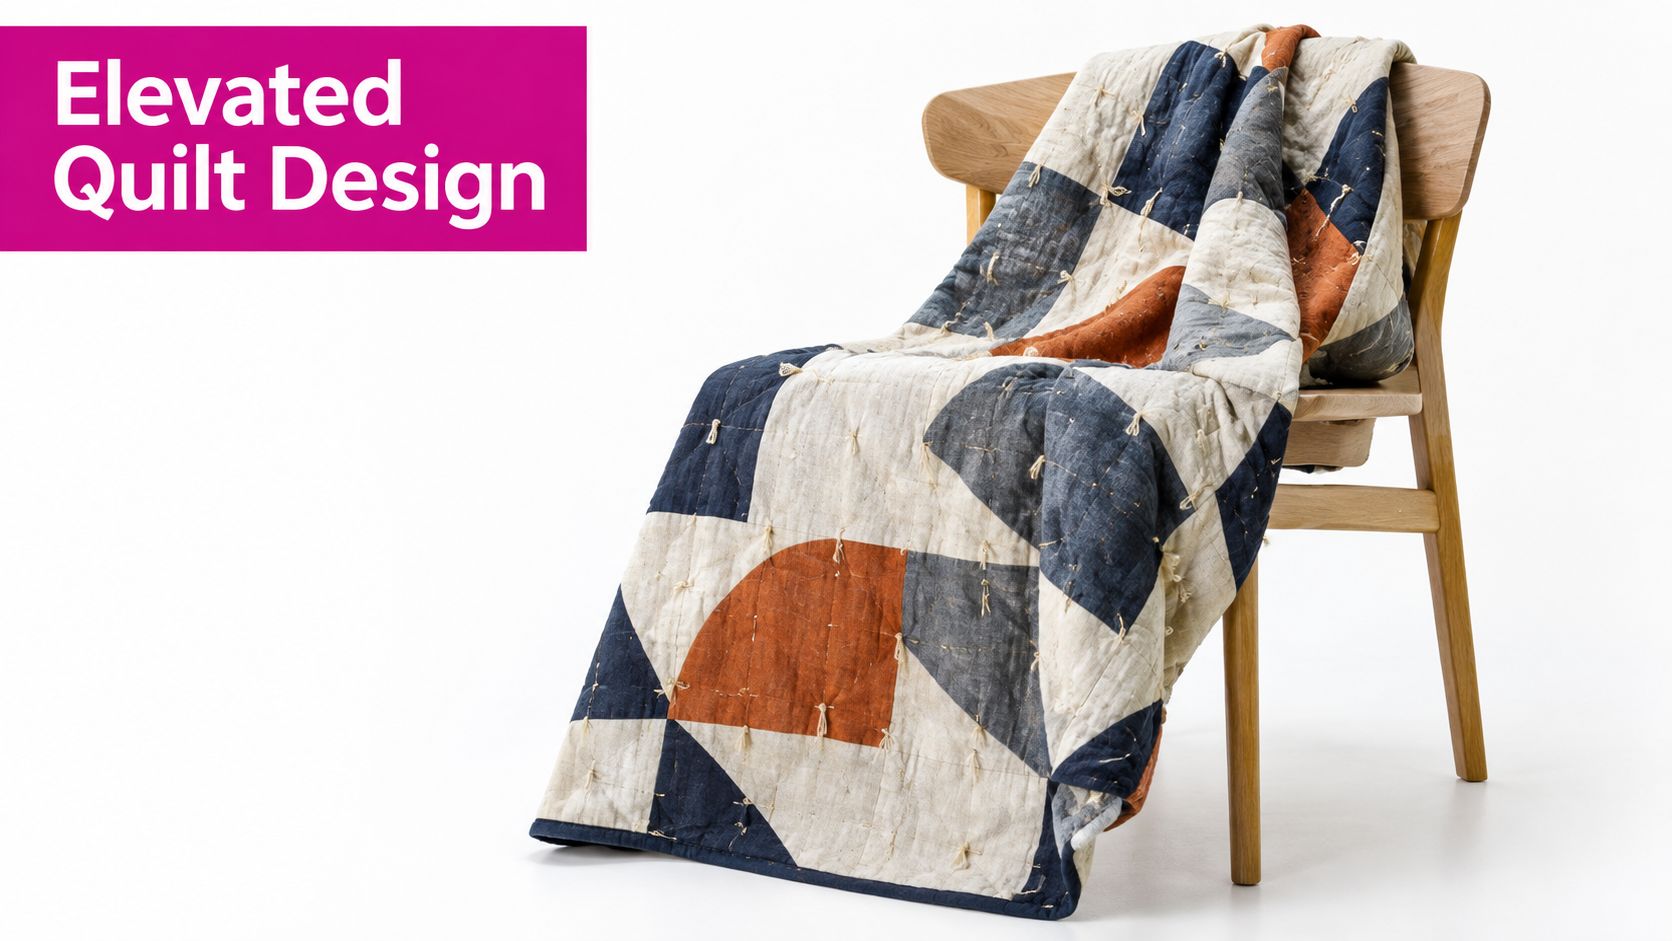
A finish with design purpose
Visible ties can echo block intersections, seam lines, or a color in the backing. A contrasting pearl cotton knot becomes a small graphic mark. A matching thread creates a quieter finish that lets the piecing lead.
The technique belongs to a much older global textile family. Quilted garments are often dated to around the 35th century BCE in Egypt, while quilted objects from Asia are documented around the start of the Common Era. Quilting spread in Europe after the Crusades in the 12th century, and the word “quilt” appears in English by the 13th century, according to the same historical overview.
For a modern project, start with the result you want:
- For maximum puff: Choose tying when you're using loftier batting and want to avoid dense compression.
- For soft drape: Leave enough open space for the quilt to fold naturally, while following the batting maker's spacing requirements.
- For visible style: Place ties intentionally at block intersections or along seam lines.
- For everyday warmth: Use a stable batting and knots that hold without dimpling the top.
If your batting is the heart of the project, review the batting collection at Linda's Electric Quilters before cutting your backing. The fiber, loft, and structure will influence every later decision.
Choosing Between Tying and Machine Quilting
The right finish depends on how the quilt will be used. A tied finish suits bulky, soft, or high-loft projects where you want to preserve a generous hand. Machine quilting creates more continuous structural support and can be preferable when the quilt will receive heavy handling or when the design depends on stitched texture.
Tying also has a practical history in American quiltmaking. Colonial quilts were often “either tied or loosely quilted” for warmth, and tied construction was especially associated with Log Cabin and Crazy quilts. The technique remained useful for household quilts, lumber camps, and charitable bedcovers because it reduced the labor required for a finished cover, as explained in this American quilt history resource.
Tying vs Machine Quilting Comparison
| Feature | Hand-Tied Quilts | Machine Quilted |
|---|---|---|
| Batting loft | Preserves more open loft because the surface has fewer dense stitches | Can compress loft along stitched lines |
| Drape | Usually softer and more relaxed, especially with lofty batting | Often firmer and more sculpted |
| Warmth | Well suited to thick batting when the ties adequately control shifting | Depends on quilting density and batting choice |
| Structural control | Relies on tie placement and secure knots | Continuous stitching offers broad layer control |
| Bulky projects | Practical for denim, thick seams, or heavy sandwiches | May be difficult to feed through a domestic machine |
| Visual finish | Knots can be hidden or used as decorative accents | Stitch pattern becomes the primary surface detail |
| Labor and equipment | Requires hand work but no longarm frame | Requires machine access, setup, and confident tensioning |
| Shrinkage behavior | Open construction can retain a softer washed character | Stitch density can influence surface texture after washing |
Choose tying when loft and drape are the design objective. Choose machine quilting when you need a more integrated stitched surface, extensive texture, or stronger continuous restraint across the quilt.
A polyester blend may offer durability and washability, while cotton generally provides a breathable, natural hand. Neither fiber makes the decision alone. Scrim structure, loft, quilt size, and the manufacturer's spacing requirements matter just as much.
Before committing, lay the basted sandwich on a flat surface and fold a corner. If the batting feels compressed by the planned stitch pattern, tying may better preserve the character you selected. If the layers slide freely and the batting label calls for close restraint, machine quilting or closer ties may be safer.
Selecting the Right Batting and Thread Materials
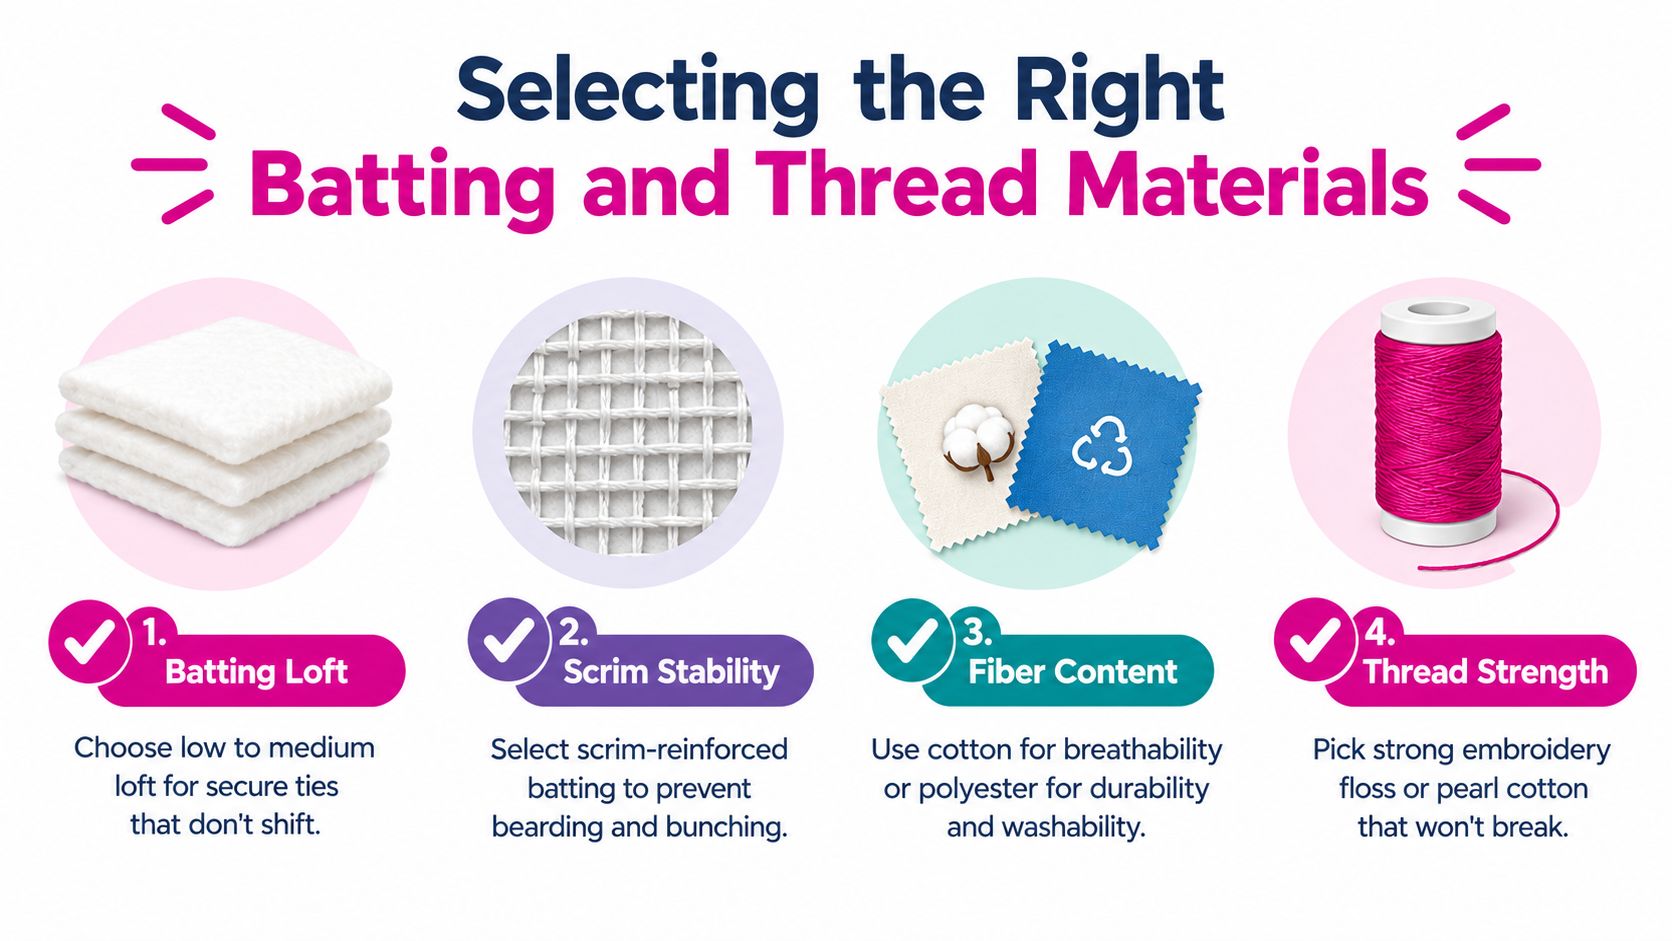
A tied quilt should feel intentionally soft, not merely easier to finish. Start with the batting, because its loft, drape, and structure determine how far apart the ties can sit and how the finished quilt handles. High-loft batting offers substantial warmth and a fuller drape, but widely spaced ties may let it shift. Lower-loft batting creates a flatter, more manageable sandwich and may suit a quilt that needs a neater fold.
Choose batting with enough internal stability for the planned tie spacing. Scrim-reinforced batting can limit shifting and reduce fibers working through the fabric. Read the package instructions before marking the quilt. Some products specify a maximum distance between ties, and that requirement should set your layout rather than the other way around.
Match the thread to the hand
Cotton pearl thread forms a defined, tidy knot and works well when each tie should read as a small design mark. Embroidery floss gives broad color flexibility and can create either a softer or more visible finish, depending on how many strands you use. Yarn produces a fuller tuft that suits denim, flannel, or a casual utility quilt, but its bulk can overwhelm a delicate top.
For modern tying styles, embroidery floss or yarn is often cut to 18 to 24 inches. Ties placed at block intersections or along seam lines can create even spacing while making the placement part of the design. Review this modern quilt tying techniques guide before choosing a decorative arrangement.
Select a needle with a sharp point and an eye sized for the thread. A blunt point can push the layers instead of piercing them, while an oversized eye may leave a visible puncture in tightly woven or delicate fabric. Thick seams are easier to cross with a thimble, needle gripper, or sturdy darning needle.
Linda's Electric Quilters carries threads and notions suited to hand-finishing. Shop by fiber and weight before color, since thread thickness changes the knot's scale, visual weight, and the quilt's final drape. Satin-finish thread can draw attention to a tie, while a matte fiber keeps the knot quieter. Keep thread tension firm enough to hold the layers together, but loose enough that the tie does not compress the batting and flatten its loft.
Prepping Layers and Executing the Perfect Knot
Smooth preparation prevents most problems later. Place the backing wrong side up, add the batting, and position the quilt top right side up. Align the layers as accurately as possible, then baste from the center outward with safety pins or spray baste. The sandwich should be secure enough that the top doesn't ripple when you move your hand across it.
For a large quilt, work on a clean flat surface and roll the unused portion as you progress. Keep the roll loose enough to avoid compressing the batting. Check the underside regularly, because a fold or wrinkle hidden beneath the top can become permanent once a tie holds it in place.
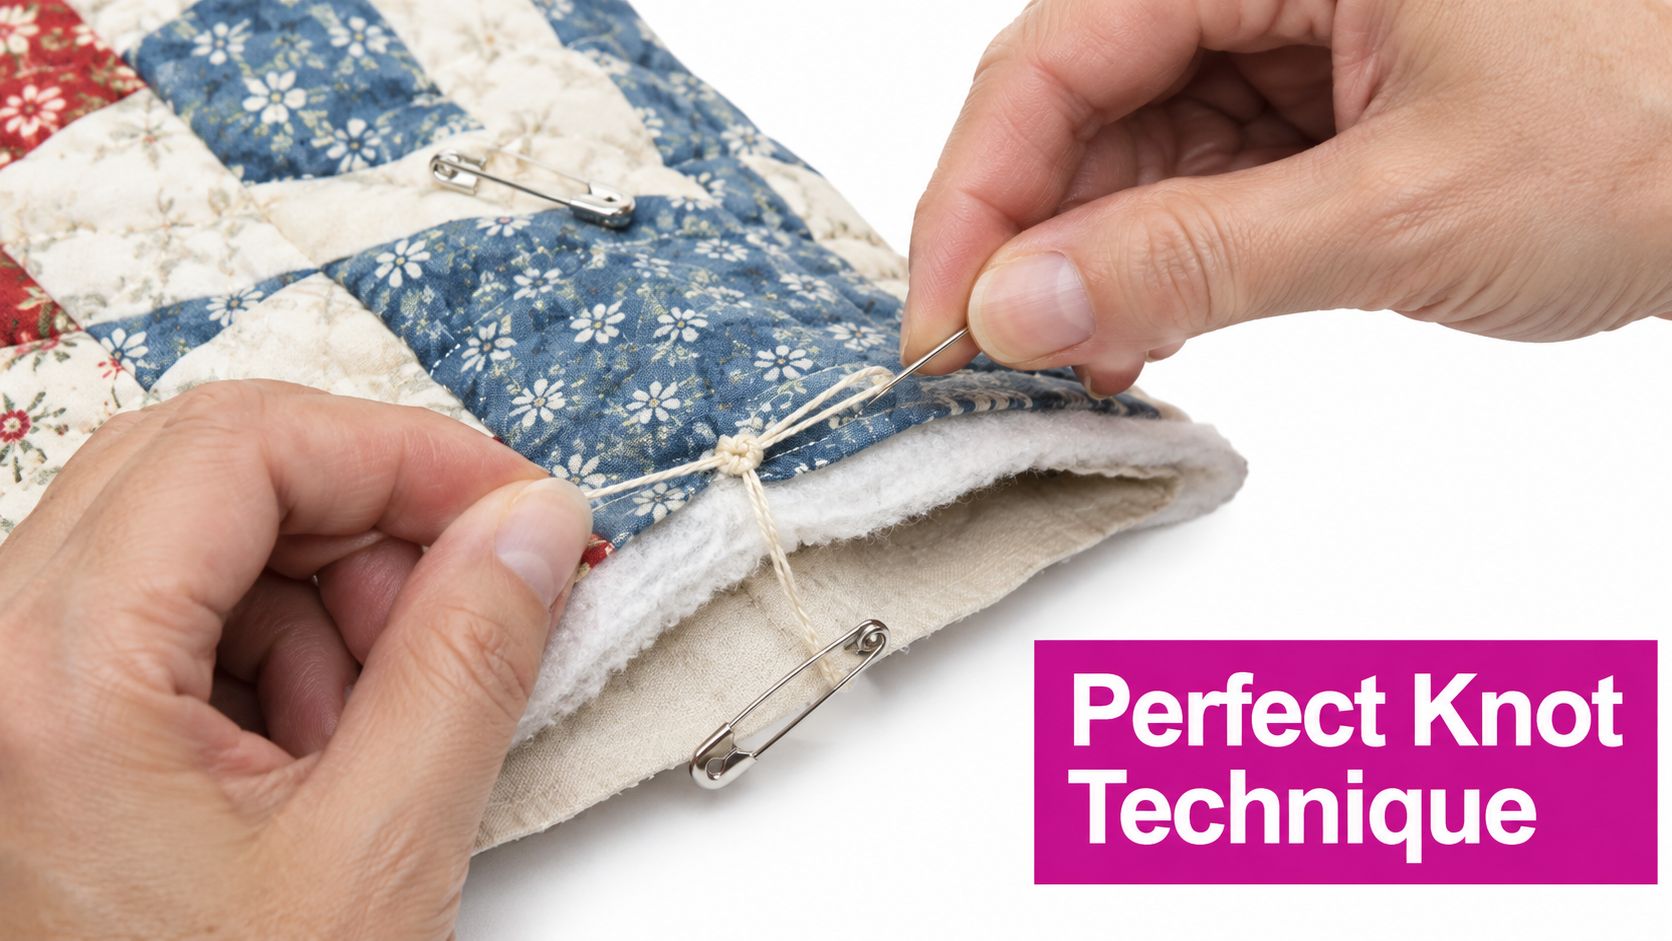
Build a secure hand-tied stitch
A durable hand-tied quilt starts with a single strand. Thread the needle without making a bulky knot at the end, then:
- Pierce all three layers. Insert the needle from the quilt top through the batting and backing.
- Return close to the entry point. Bring the needle back up about 1/4 inch away, creating a small repeat stitch or X, as shown in this hand-tying tutorial.
- Leave a working tail. Keep a 2 to 3-inch tail before securing the knot.
- Set the tension. Pull until the thread holds the sandwich, but stop before the top dimples.
- Secure the tie. A square knot is a reliable option. Make two short passes through the layers, then tie the tails with the first crossing in one direction and the second crossing in the opposite direction.
- Trim with intention. For a neat finish, trim the ends to about 1/4 to 1/2 inch. For a more visible tuft, leave them longer.
A knot that's pulled too tightly creates a crater around the stitch. A knot that's left loose allows the batting to move. Tensioning should feel firm, not aggressive.
Pro-Tip: Our McKinney team treats visible ties as punctuation. Use a coordinated thread at block intersections, keep every knot the same size, and trim consistently. If you want the knots hidden, work from the backing side and use a thread color that blends with the fabric.
Here's a visual demonstration to keep beside your workspace:
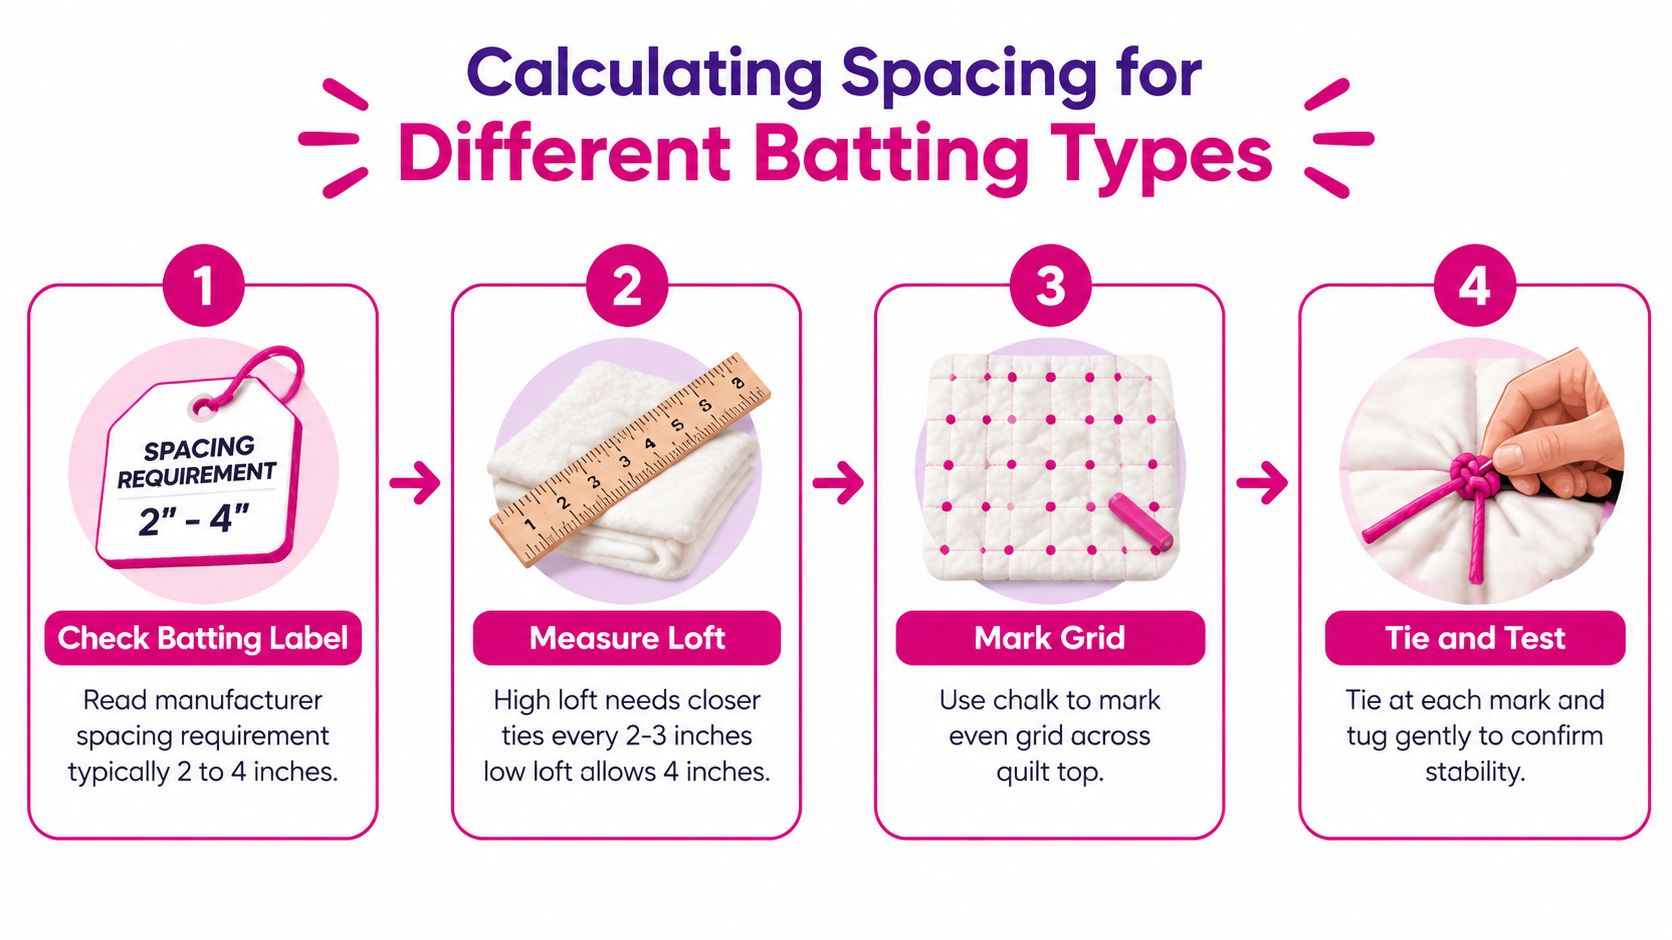
Calculating Spacing for Different Batting Types
Spacing is where comfort and stability meet. A common quilting benchmark is 4 to 6 inches between ties, while some batting packages require ties at least every 4 inches in any direction. Use the tighter requirement when the batting label and your preferred visual spacing disagree, as described in this guide to quilt tie spacing.
High-loft batting usually needs more restraint than a thin batting because there's more internal volume available to shift. A scrim-reinforced product may hold together more confidently between ties, but it still must be used within its stated limits. Quilt size matters too. A large bed quilt experiences more movement across its surface than a small wall or lap quilt.
Use a decision rule, not a guess
Start by reading the batting package. Then consider the intended hand:
- High loft: Use closer spacing within the product's permitted range to control the puff without flattening it.
- Low loft: Wider spacing may preserve a clean modern grid, provided the batting label allows it.
- Loose or unstable structure: Favor closer ties and more careful basting.
- Minimalist design: Mark ties at consistent visual anchors, such as block intersections, while keeping the structural spacing safe.
- Heavy-use quilt: Choose stability over a sparse decorative layout.
Mark the grid with removable chalk or a fabric-safe marking tool. A ruler or cardboard spacing guide keeps the pattern consistent. Start near the center and move outward, smoothing the quilt before each tie.
Do not make the stitch itself oversized. Large stitches create larger punctures and may weaken the hold. Failing to pass through all three layers leaves the tie attached to only part of the sandwich, which can lead to a loose knot, puckered top, or shifting batting over time.
After tying a small area, lift the quilt gently and inspect both sides. If the backing forms waves or the top dimples around every knot, adjust your tension before continuing. This small test can save hours of unpicking.
Common Tying Questions and Finishing Techniques
How far apart should quilt ties be?
Use the batting manufacturer's spacing requirement first. A broadly used benchmark is 4 to 6 inches, but the best placement depends on loft, structure, quilt size, and the look you want. A modern quilt can have visible, widely readable ties, but the decorative grid must still keep the batting stable.
Should I trim the tails short or leave them long?
Trim to about 1/4 to 1/2 inch for a restrained finish. Longer tails create a tufted, casual effect. If you use yarn or a thick thread, check the scale against the quilt top before repeating the finish across the entire project.
Can I repair a loose tie?
Yes. Remove the failed tie carefully, smooth the surrounding layers, and pass a fresh needle through all three layers at the original point or a nearby stable location. Retie with consistent tension, then inspect the backing for hidden folds.
Will a tied quilt hold up to washing?
It can, when the batting is suitable, the spacing follows the label, and every tie passes through the full sandwich. Wash gently according to the fabric and batting requirements, and inspect the quilt after washing for loose knots or shifting.
Tying belongs to a long tradition of practical textile construction. Its value isn't limited to convenience. The method lets you choose warmth, loft, and a relaxed hand while making the knots part of the design. Finish the edge carefully with an appropriate binding, and use a quilt binding tutorial to plan the final materials.
Linda's Electric Quilters offers batting, pearl cotton, embroidery supplies, needles, binding tools, and backing fabrics for finishing tied quilts. Visit Linda's Electric Quilters to choose materials that match your quilt's loft, drape, and intended use, then bring your finished sandwich to the knotting stage with a clear plan.


