
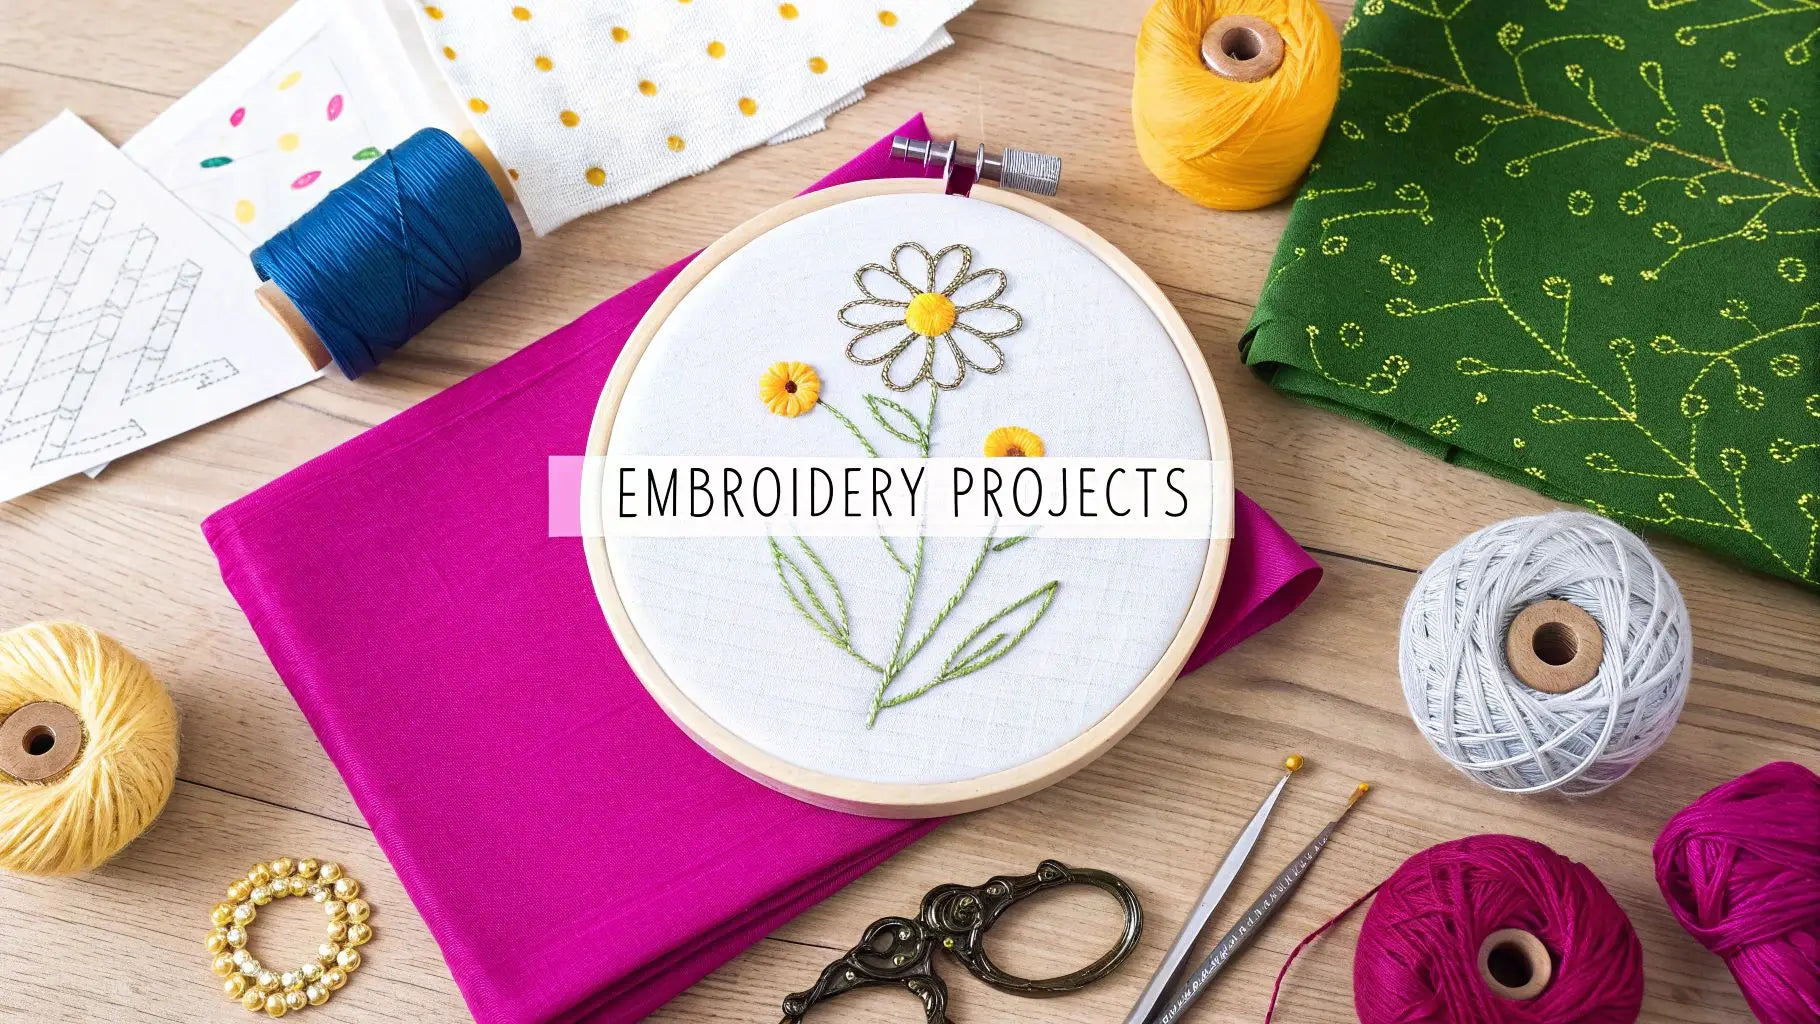
Embroidery is a timeless craft that combines artistry with textile skill, allowing you to transform a simple piece of fabric into a personalized work of art. If you've ever admired a beautifully stitched piece and thought, "I wish I could do that," this guide is your perfect starting point. We've curated a collection of accessible yet impressive embroidery projects for beginners designed to build your confidence and teach you fundamental techniques without overwhelming you. From creating your first piece of hoop art to customizing a tote bag, each project serves as a practical lesson in the most essential stitches.
This listicle breaks down each idea into manageable parts, outlining the specific materials you'll need, the key stitches to master, and a clear overview of the steps involved. Our goal is to demystify the process and show you that with the right guidance and supplies from Linda's, anyone can create stunning embroidered items. You'll quickly move from practicing basic lines to completing projects you'll be proud to display or give as gifts. As you develop your skills, you may even want to explore more complex applications or professional options, such as finding local embroidery services for larger, more intricate designs. Let's get started on your creative journey.
1. Hand Embroidered Bookmarks
A hand-embroidered bookmark is an ideal entry point into the world of needlework, making it one of the best embroidery projects for beginners. These small, functional pieces offer a low-pressure way to practice fundamental stitches without the commitment of a large-scale design. Because of their small size, typically around 2x6 inches, you can complete one in a single afternoon and immediately have a beautiful, usable item.
Bookmarks are excellent for building foundational skills. They provide a perfect canvas for mastering the essentials, such as threading a needle, securing your thread, and maintaining even tension. The limited space encourages simple, elegant designs, preventing the overwhelm that a more complex pattern can cause.
Project Breakdown
- Key Stitches to Learn: Backstitch (for lettering and outlines), Stem Stitch (for elegant lines and florals), and Running Stitch (for simple borders).
- Estimated Time: 1-3 hours.
- Difficulty: 1/5 (Very Beginner-Friendly).
Essential Materials
Before you begin, gather a few key supplies. A high-quality kit from Linda's ensures a smooth and enjoyable process from start to finish.
- Fabric: A piece of 14-count Aida cloth or tightly woven linen, cut to approximately 3x7 inches to allow for a border.
- Embroidery Floss: Choose 2-3 colors from our vibrant DMC Cotton Embroidery Floss collection to start.
- Needle: A size 24 tapestry needle or an embroidery needle.
- Hoop: A 4-inch embroidery hoop is perfect for keeping your small fabric taut.
- Finishing: Felt or cardstock for backing, and fabric glue or a sewing machine.
Starter Tip
Always iron your fabric before placing it in the hoop. A smooth, wrinkle-free surface is crucial for creating neat, even stitches and prevents puckering in your final design. For added durability, consider laminating the finished bookmark or backing it with a stiff felt.
You can start with a simple monogram using a backstitch, a delicate floral vine using the stem stitch, or even stitch a favorite short quote. These quick-to-finish projects provide instant gratification and make wonderful, personalized gifts for the book lovers in your life.
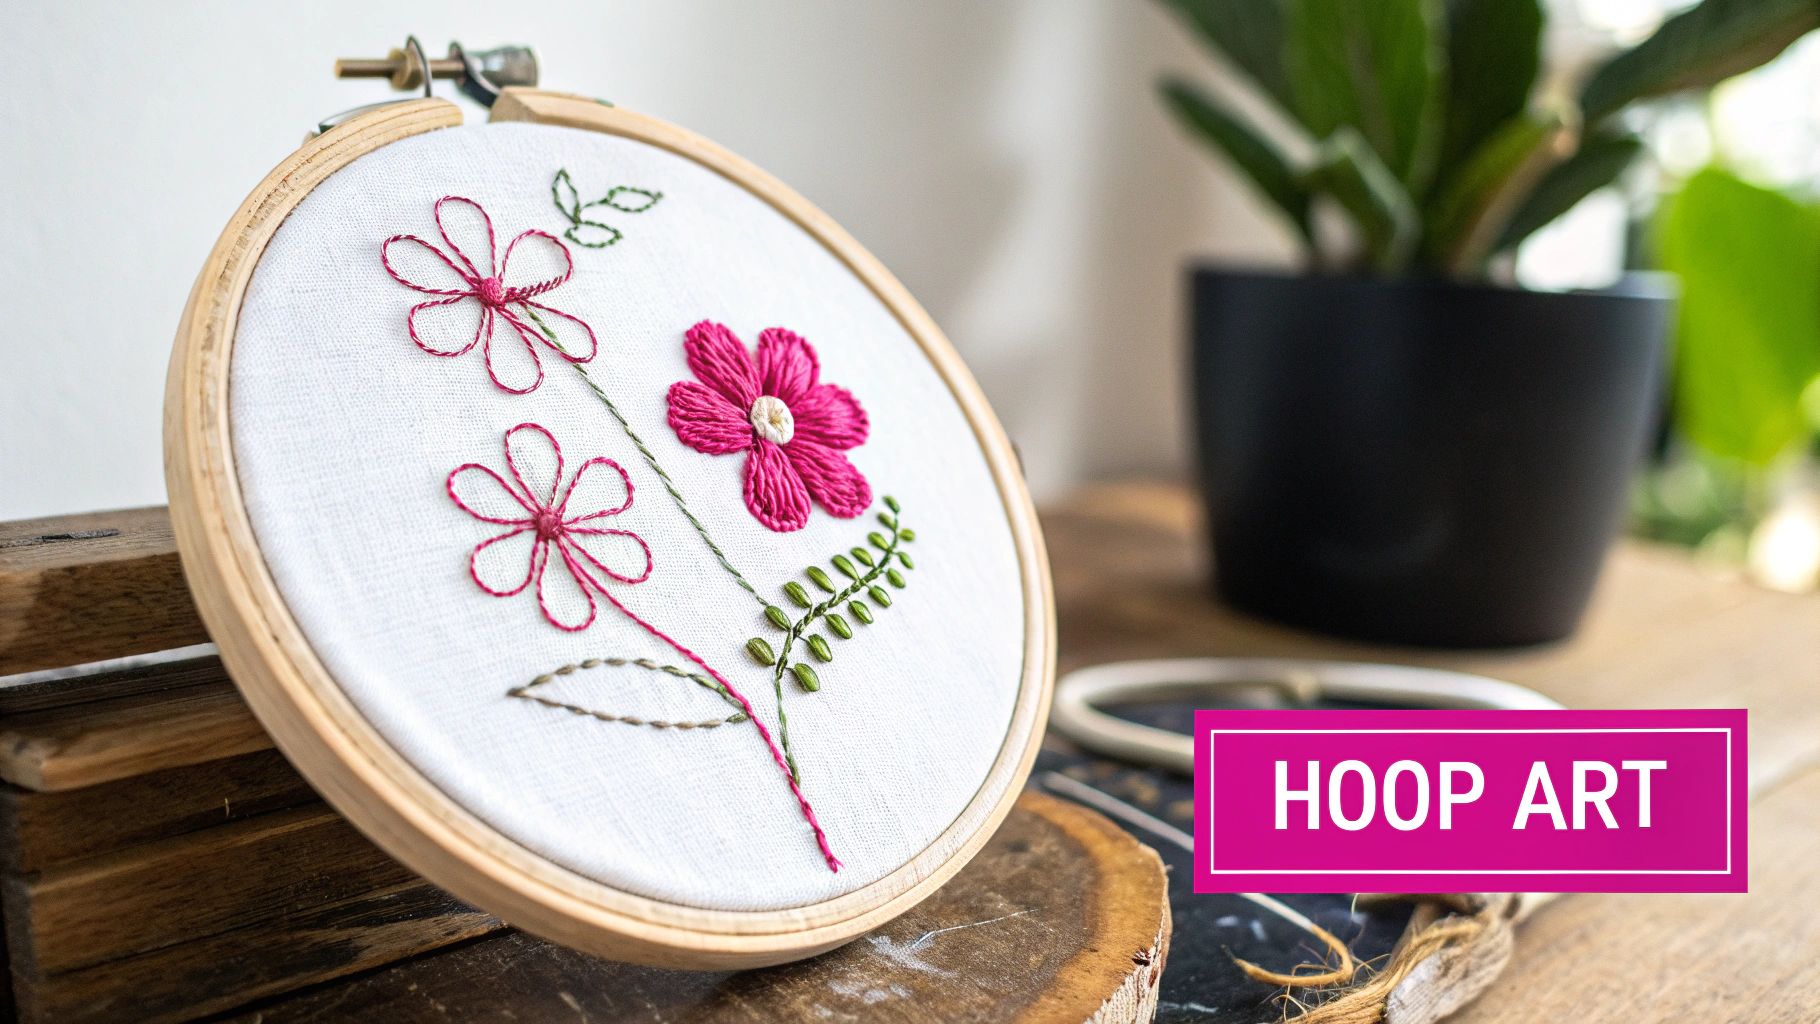
2. Simple Embroidered Hoop Art
Embroidered hoop art is one of the most popular embroidery projects for beginners because it cleverly combines the tool with the display. The embroidery hoop, used to keep your fabric taut while stitching, doubles as a ready-made frame for your finished piece. This eliminates any complex finishing steps and allows you to create beautiful, ready-to-hang wall décor in just a few hours.
Hoop art is incredibly versatile, providing a perfect circular canvas for countless designs. From minimalist geometric patterns to lush floral compositions or charming animal faces, the possibilities are endless. This project allows you to practice a variety of stitches and see your work come to life as a decorative object you can proudly display or gift.
Project Breakdown
- Key Stitches to Learn: Satin Stitch (for filling shapes), French Knots (for texture and detail), and Lazy Daisy Stitch (for simple petals and leaves).
- Estimated Time: 2-5 hours.
- Difficulty: 2/5 (Beginner-Friendly).
Essential Materials
A well-stocked kit is the first step to creating stunning hoop art. Gathering your supplies from Linda's beforehand makes the process seamless and fun.
- Fabric: A square of even-weave linen or cotton, at least 2 inches larger than your hoop on all sides.
- Embroidery Floss: Start with a curated set of 4-6 colors from our Sulky Cotton Petites collection, which is perfect for fine details.
- Needle: An embroidery needle pack with various sizes will be useful.
- Hoop: A 6-inch wooden embroidery hoop provides ample space for most beginner designs.
- Finishing: A sharp pair of scissors and felt for backing the finished piece.
Starter Tip
To ensure your design is perfectly centered, lightly mark the center of your fabric with a water-soluble pen before placing it in the hoop. Keep the fabric tension consistent as you stitch, tightening the hoop's screw periodically. This prevents the fabric from sagging and ensures your stitches lay flat and look professional.
Hoop art is a fantastic way to build confidence and has a vibrant online community for inspiration. If you're looking for guidance, explore how others are finding your local crafting community on lindas.com to share tips and ideas. Popular beginner designs include favorite quotes, zodiac constellations, and simple wildflower bouquets.
3. Embroidered Pillowcases
Transforming a simple pillowcase into a personalized work of art is a deeply rewarding experience, making embroidered pillowcases one of the most satisfying embroidery projects for beginners. This project beautifully merges function with creativity, allowing you to add a handmade touch to your home decor. Whether you stitch onto a pre-made case or sew your own, it offers a larger canvas than smaller projects, perfect for practicing stitches and creating impactful designs.
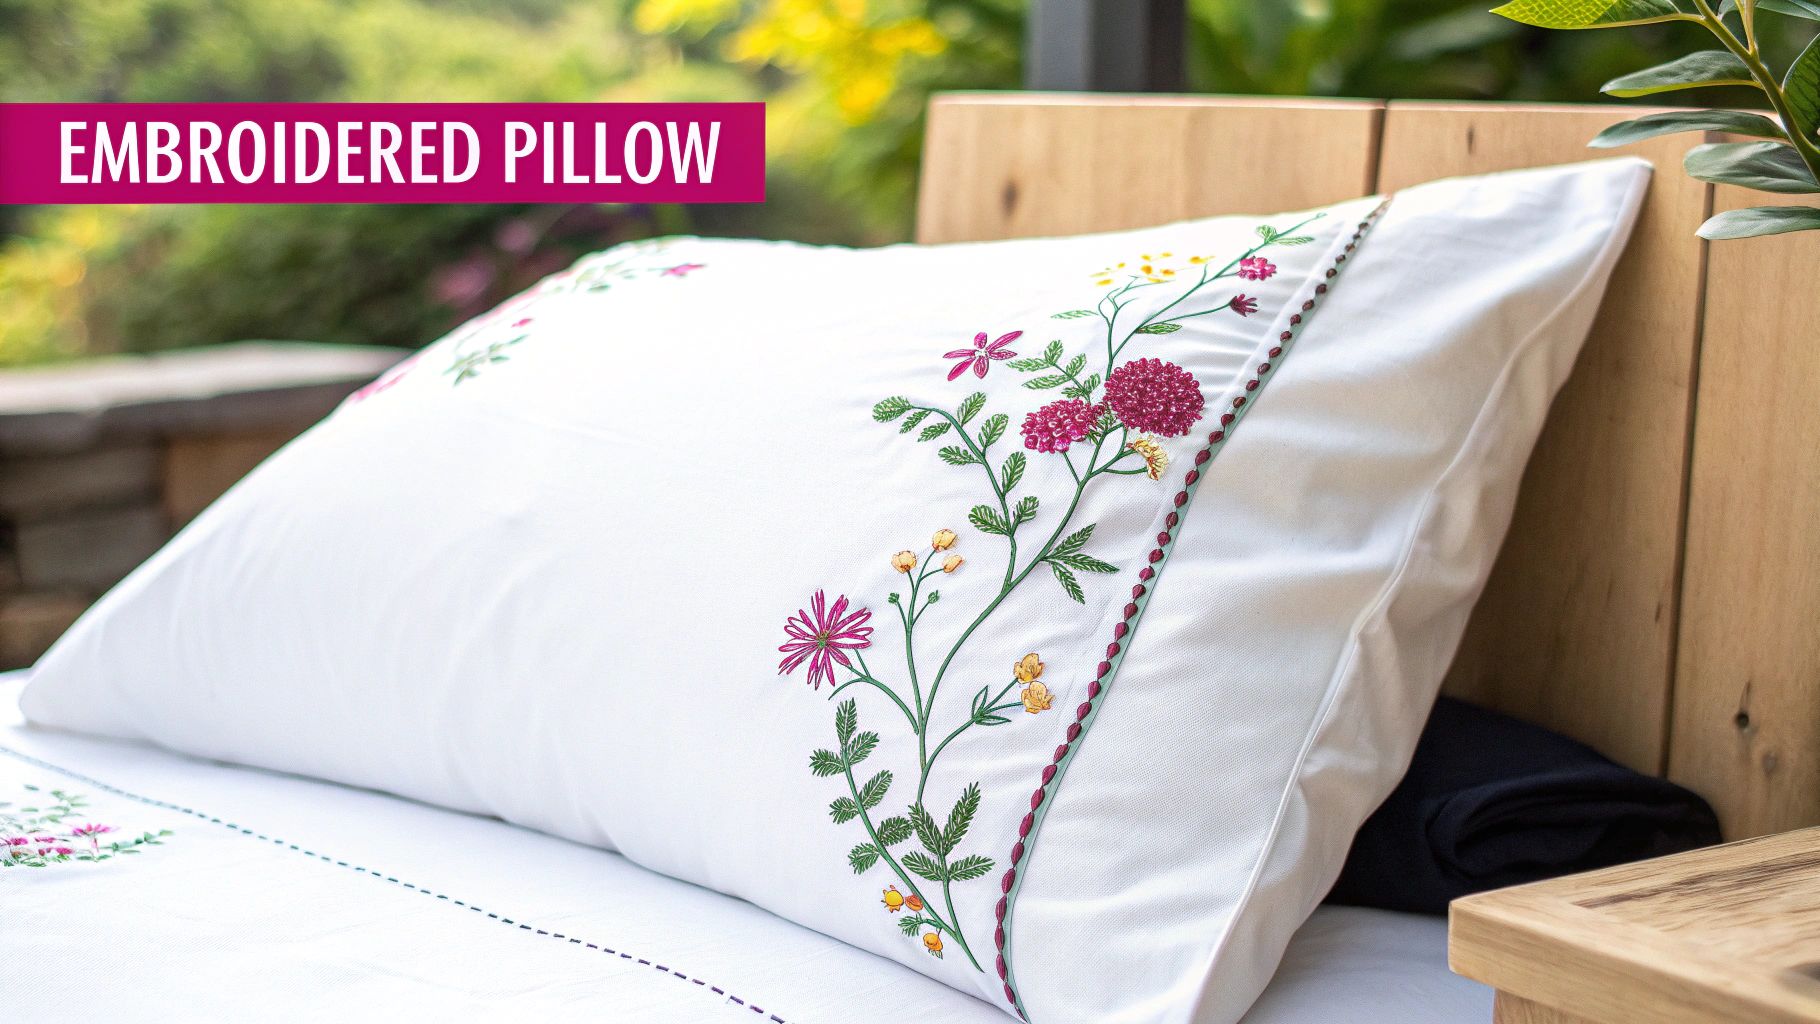
Embroidered pillowcases are ideal for beginners who are ready to move beyond small-scale items. They teach you how to handle larger pieces of fabric and consider design placement on a functional object. From elegant monograms to sprawling botanical patterns, a custom pillowcase becomes a cherished keepsake or a thoughtful, high-quality gift.
Project Breakdown
- Key Stitches to Learn: Satin Stitch (for filling in shapes like petals and leaves), French Knot (for adding texture and detail), and Chain Stitch (for bold outlines and lettering).
- Estimated Time: 4-8 hours.
- Difficulty: 2/5 (Slightly more involved but very manageable).
Essential Materials
A few quality supplies from Linda's will ensure your decorative pillowcase is both beautiful and durable enough for daily use.
- Fabric: A pre-made 100% Cotton Pillowcase or high-quality linen fabric.
- Embroidery Floss: Use colorfast, washable floss like our Sulky Cotton Petites Thread, which is less prone to tangling.
- Needle: A size 7 or 8 embroidery needle.
- Hoop: A 6-inch or 8-inch embroidery hoop to secure a larger design area.
- Extras: A water-soluble transfer pen and a lightweight stabilizer to prevent puckering.
Starter Tip
Always pre-wash and iron your fabric or pillowcase before you begin stitching. This crucial step prevents your design from puckering or distorting after the first wash, ensuring your hard work remains beautiful for years to come. Use a stabilizer on the back of your design area for extra support.
4. Cross-Stitch Pattern Projects
Cross-stitch is a popular form of counted-thread embroidery and an excellent starting point for anyone new to needlework. This technique uses a simple X-shaped stitch repeated on a gridded fabric like Aida, making it one of the most structured and easy-to-learn embroidery projects for beginners. The pattern acts as a clear, color-coded map, removing guesswork and allowing you to focus on the meditative process of stitching.
This method is perfect for those who appreciate precision and a clear path to a finished product. Because the design is broken down into a simple grid, you can easily create complex-looking images, from small holiday ornaments to pop-culture character art. The guided nature of a cross-stitch pattern builds confidence and provides a strong foundation in stitch consistency and floss management.
Project Breakdown
- Key Stitches to Learn: Cross Stitch (the fundamental X-shape) and Half Stitch (for shading and detail).
- Estimated Time: 2-5 hours for a small 3x3 inch design.
- Difficulty: 1/5 (Very Beginner-Friendly).
Essential Materials
A pre-made kit is a fantastic way to begin, but you can easily assemble your own supplies. We have everything at Linda's to bring your first pattern to life.
- Fabric: A piece of 14-count Aida cloth is highly recommended for beginners, as its open weave makes counting stitches easy.
- Embroidery Floss: Start with a curated bundle from our DMC Cotton Embroidery Floss collection that matches your chosen pattern.
- Needle: A size 24 tapestry needle, which has a blunt tip perfect for navigating Aida fabric.
- Hoop: A 5-inch or 6-inch embroidery hoop will comfortably hold most beginner patterns.
- Pattern: A printed or digital cross-stitch chart.
Starter Tip
For a neat and professional finish, make sure all your top stitches face the same direction. For example, consistently complete the bottom leg of the "X" from bottom-left to top-right (/) and the top leg from bottom-right to top-left (\). This simple habit creates a uniform, even texture across your entire piece.
With its easy-to-follow format, cross-stitch allows you to create beautifully detailed pieces right from the start. It’s an incredibly satisfying craft that turns simple thread and fabric into a pixel-perfect work of art, making it an ideal gateway to the wider world of embroidery.
5. Embroidered Handkerchiefs and Napkins
Embroidering handkerchiefs and napkins is a classic project that transforms everyday items into personalized keepsakes. This is one of the most rewarding embroidery projects for beginners because it combines practicality with artistic expression. The flat, stable surface of a quality cotton napkin is an ideal canvas for learning to control your stitches and create delicate, precise designs.
These small-scale projects allow you to focus on detail without feeling overwhelmed. Adding a simple monogram, a delicate floral sprig, or a decorative border can elevate a plain piece of fabric into a sophisticated and cherished item. They make wonderful, heartfelt gifts for weddings, birthdays, or holidays, and serve as a beautiful way to practice and showcase your growing skills.
Project Breakdown
- Key Stitches to Learn: Satin Stitch (for filling small shapes like leaves and petals), French Knot (for decorative dots and flower centers), and Backstitch (for lettering and fine outlines).
- Estimated Time: 2-4 hours per item.
- Difficulty: 2/5 (Beginner-Friendly).
Essential Materials
A few carefully chosen supplies from Linda's will ensure your finished piece is both beautiful and durable.
- Fabric: High-quality, 100% cotton or linen handkerchiefs or napkins.
- Embroidery Floss: Use 2-3 strands of DMC Cotton Embroidery Floss for a refined, elegant appearance.
- Needle: A size 7 or 8 embroidery needle is perfect for working on finer fabrics.
- Hoop: A 3-inch or 4-inch embroidery hoop will help keep the corner of your fabric taut while you work.
- Marking Tool: A water-soluble marking pen is essential for transferring your design accurately.
Starter Tip
To achieve a delicate and professional look, use only two strands of embroidery floss. This prevents the design from becoming bulky and overpowering the fine fabric of the handkerchief. Always pre-wash and iron your fabric to prevent puckering after the embroidery is complete and washed.
Embroidering napkins is also a wonderful way to practice sustainable crafting. By embellishing reusable cloth items, you reduce waste while creating something beautiful. To explore more about this, you can learn more about embracing eco-friendly hobbies.
6. Simple Embroidered T-Shirts and Clothing
Adding custom embroidery to a plain t-shirt or clothing item is a fantastic way to transform your wardrobe, making it a uniquely practical choice for embroidery projects for beginners. Embellishing wearables allows you to express your personal style while learning new skills. This project bridges the gap between craft and fashion, giving you a tangible, wearable result that you can proudly show off.
Upcycling a simple garment is a rewarding experience. You can start with a small, subtle design on a pocket, collar, or cuff, which minimizes pressure and builds confidence. Working on clothing introduces you to stitching on different fabric types, like stretchy knits, and teaches you how to ensure your creations are durable enough to wear and wash.
Project Breakdown
- Key Stitches to Learn: Satin Stitch (for filling in small shapes), Chain Stitch (for bold, textured outlines), and Lazy Daisy (for simple, quick flowers).
- Estimated Time: 2-4 hours.
- Difficulty: 2/5 (Beginner-Friendly with a slight challenge).
Essential Materials
Gathering the right supplies from Linda's is key to a successful clothing project. Using a stabilizer, in particular, will prevent the fabric from stretching and puckering as you stitch.
- Garment: A pre-washed plain t-shirt, denim jacket, or canvas bag.
- Embroidery Floss: Our collection of Sulky Cotton Petites Thread is an excellent choice as it's colorfast and durable for washing.
- Needle: An embroidery needle, size 7 or 8.
- Hoop: A 5-inch or 6-inch embroidery hoop to isolate your design area.
- Stabilizer: Water-soluble or tear-away stabilizer is essential for stretchy fabrics.
- Transfer Tool: A water-soluble fabric pen or heat-erasable pen for drawing your design.
Starter Tip
Always use a stabilizer on the back of your fabric when embroidering on clothing, especially knits like t-shirts. It provides support, prevents the fabric from stretching out of shape while in the hoop, and results in much neater, professional-looking stitches. Pre-washing your garment is also a non-negotiable step to prevent shrinkage from distorting your finished embroidery.
From a single flower on a collar to a favorite quote on a sweatshirt, personalizing clothes is both fun and functional. For more information on thread durability, explore our guide on the best thread for quilting and apparel projects to ensure your wearable art lasts.
7. Beginner Embroidered Wall Hangings with Fabric Backing
An embroidered wall hanging is a fantastic project that bridges the gap between simple hoop art and more complex textile creations. This project allows beginners to create a polished piece of decor by combining an embroidered panel with a decorative backing fabric. It’s a wonderful way to learn both embroidery and basic finishing techniques, resulting in a professional-looking piece of art ready to hang.
This project is one of the best embroidery projects for beginners because it introduces fundamental sewing and assembly skills alongside embroidery. You can start with a simple geometric pattern or a nature-inspired botanical design and learn how to transform it from a piece of stitched fabric into a complete textile hanging. The process of adding a backing and a hanging sleeve elevates your work significantly.
Project Breakdown
- Key Stitches to Learn: Satin Stitch (for filling shapes), Chain Stitch (for bold outlines and texture), and French Knots (for adding detail).
- Estimated Time: 4-6 hours.
- Difficulty: 2/5 (Slightly more involved but very manageable).
Essential Materials
Gather these supplies at Linda's to create a beautiful and durable wall hanging. Using high-quality materials will give your finished piece a more professional look.
- Fabric: A 10x12 inch piece of high-quality Robert Kaufman Kona Cotton for your embroidery and a matching piece of quilting cotton for the backing.
- Embroidery Floss: Select a curated Sulky Cotton Petites 6-pack for a harmonious color palette.
- Needle: A set of embroidery needles in various sizes.
- Hoop: A 6-inch or 8-inch embroidery hoop to accommodate your design.
- Finishing: A wooden dowel for hanging, coordinating thread, and a sewing machine for assembly.
Starter Tip
Always press your embroidered piece and backing fabric with an iron before sewing them together. To properly square up your art, use a rotary cutter and mat to trim the edges precisely. This ensures your final wall hanging is perfectly rectangular with clean, sharp corners.
This project is incredibly versatile; you can create seasonal hangings, inspirational quote art, or abstract color field pieces. The final assembly can be done with a sewing machine, which makes the finishing process quick and neat. If you're considering which machine is right for projects like this, explore our recommendations for choosing the perfect sewing machine to help you get started.
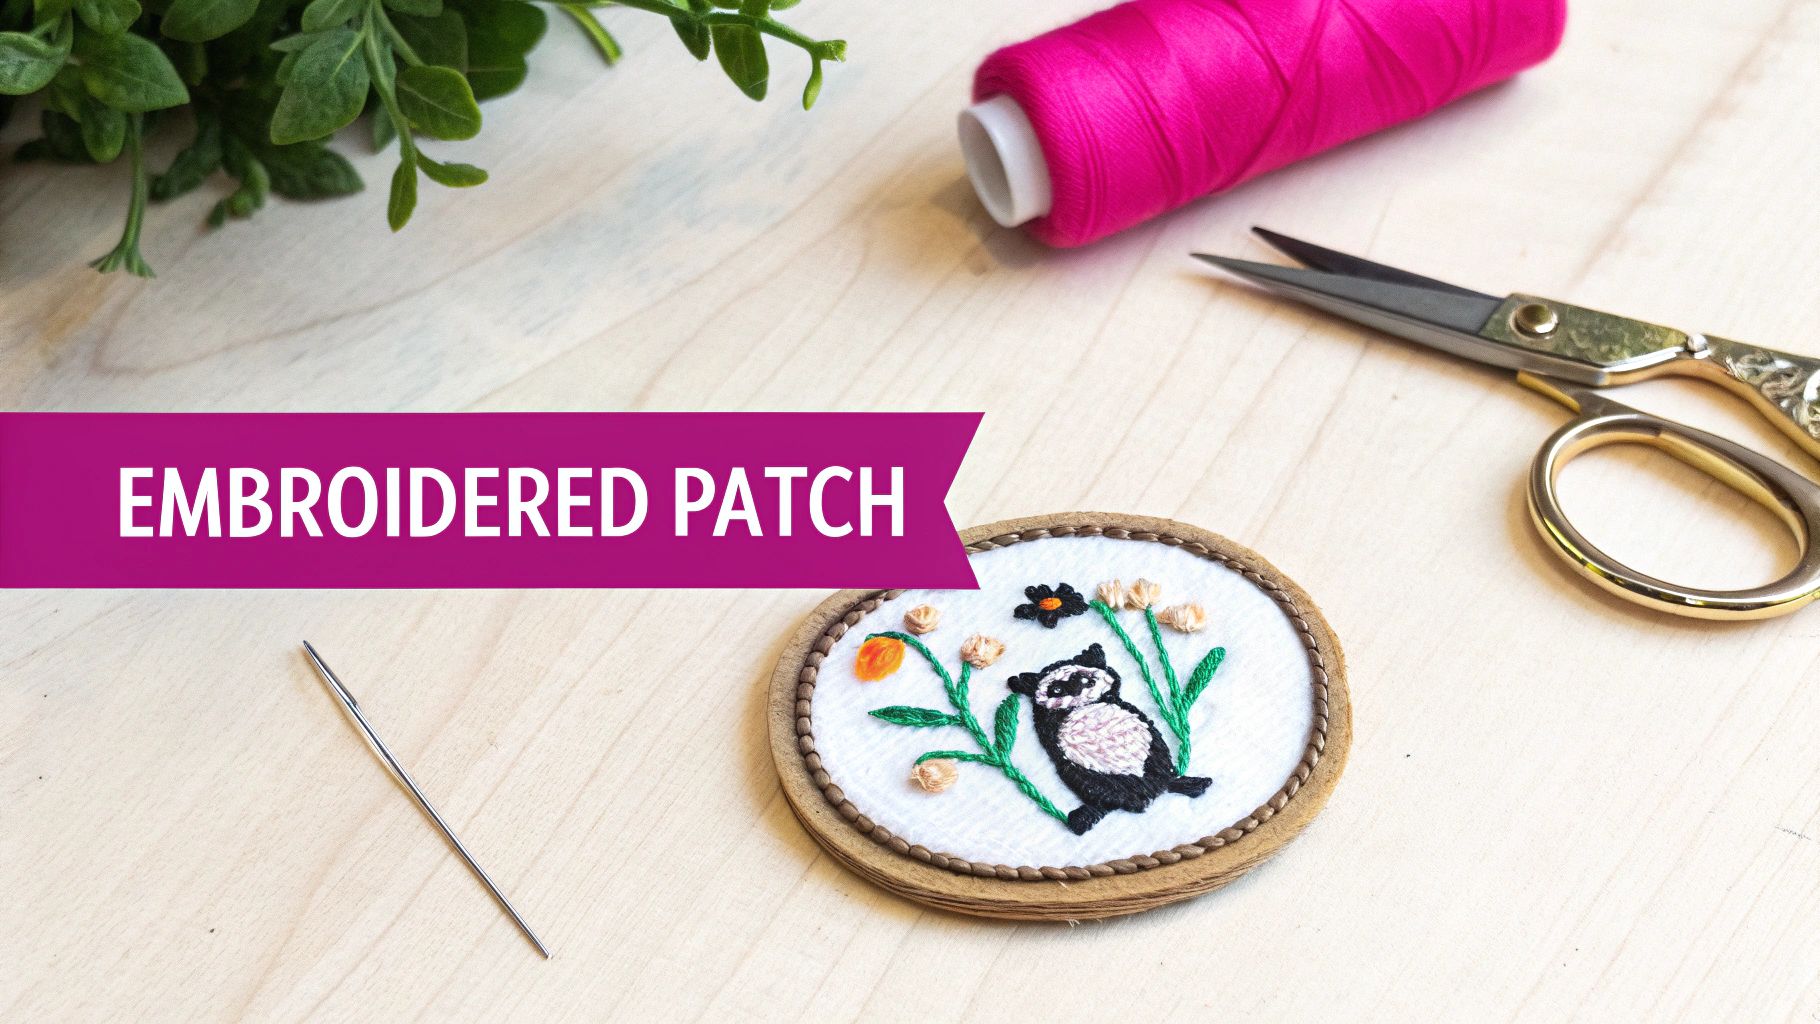
8. Embroidered Patches and Badges
Creating your own embroidered patches and badges is a fun, expressive way to dip your toes into stitching. These small, wearable works of art are fantastic embroidery projects for beginners because they offer a contained canvas to practice new techniques without the pressure of a large garment. You can create a unique patch in just one evening and instantly personalize a jacket, backpack, or pair of jeans.
Patches allow you to master working within defined shapes and finishing edges for a professional look. Their small size, typically 2-3 inches, makes them highly manageable and encourages you to focus on stitch quality and color choice. From cute animal faces to bold geometric shapes, the design possibilities are endless, providing a rewarding sense of accomplishment.
Project Breakdown
- Key Stitches to Learn: Satin Stitch (for filling in shapes), Backstitch (for clean outlines), and Blanket Stitch (for securing the patch edges).
- Estimated Time: 2-4 hours.
- Difficulty: 2/5 (Beginner-Friendly).
Essential Materials
Gathering the right supplies from Linda's will help you create durable, high-quality patches that last. A well-stocked kit is your first step toward success.
- Fabric: A sturdy piece of 16-count Aida cloth or non-stretch felt provides an excellent base.
- Embroidery Floss: Start with a curated set of 4-5 shades from our DMC Cotton Embroidery Floss collection to bring your design to life.
- Needle: An embroidery needle is essential for piercing the fabric cleanly.
- Hoop: A 3-inch or 4-inch embroidery hoop will keep your small fabric piece perfectly taut for even stitching.
- Finishing: Stiff felt for backing and a sheet of iron-on adhesive backing for easy application.
Starter Tip
For a clean, professional finish, use the blanket stitch around the edge of your patch after cutting it out. This not only prevents the fabric from fraying but also creates a classic, polished border. Cut your design out leaving a small margin (about 1/4 inch) before you begin stitching the edge.
Embroidered patches are a perfect way to showcase your personality and build confidence in your skills. You can start with a simple monogram, a small floral motif, or a favorite symbol. These small but mighty projects offer a satisfying way to practice, create, and wear your art.
8-Project Comparison: Beginner Embroidery
| Project | Implementation Complexity 🔄 | Resource & Time ⚡ | Quality & Impact ⭐📊 | Ideal Use Cases & Tip 💡 |
|---|---|---|---|---|
| Hand Embroidered Bookmarks | 🔄 Low | ⚡ Minimal materials · ~hours | ⭐⭐⭐ · 📊 Functional, giftable | Practice pieces, gift tags · 💡 Use 14‑count Aida; laminate for durability |
| Simple Embroidered Hoop Art | 🔄 Medium | ⚡ Low materials · moderate time | ⭐⭐⭐⭐ · 📊 Ready-to-hang décor | Wall décor, gifting · 💡 Keep fabric tension consistent |
| Embroidered Pillowcases | 🔄 Medium | ⚡ Moderate materials · longer time | ⭐⭐⭐⭐ · 📊 Usable home décor | Personalized linens, gifts · 💡 Pre-wash fabric; use stabilizer |
| Cross-Stitch Pattern Projects | 🔄 Low | ⚡ Requires Aida · time varies by size | ⭐⭐⭐⭐ · 📊 Predictable, repeatable results | Detailed samplers, themed pieces · 💡 Start with 14‑count Aida |
| Embroidered Handkerchiefs & Napkins | 🔄 Low | ⚡ Minimal materials · short sessions | ⭐⭐⭐ · 📊 Elegant keepsakes | Practice corners, wedding gifts · 💡 Use quality cotton; backstitch lettering |
| Simple Embroidered T-Shirts & Clothing | 🔄 Medium | ⚡ Low material cost · moderate time; needs stabilizer | ⭐⭐⭐⭐ · 📊 Wearable personalization | Pocket/neck embellishments · 💡 Use tear‑away stabilizer; pre-wash garment |
| Beginner Wall Hangings with Backing | 🔄 Medium–High | ⚡ More materials & assembly · longer time | ⭐⭐⭐⭐ · 📊 Gallery-quality textile art | Home décor, showcase pieces · 💡 Plan scale; use high-quality fabric |
| Embroidered Patches & Badges | 🔄 Low | ⚡ Minimal materials · quick | ⭐⭐⭐ · 📊 Portable, collectible | Small badges for bags/jackets · 💡 Limit to 2–3" and add iron-on backing |
Your Next Stitch Awaits at Linda's
You've just explored a diverse world of beginner-friendly embroidery projects, from the charming simplicity of hand-stitched bookmarks to the bold statement of a custom-embroidered t-shirt. We've seen how a few basic stitches like the backstitch, satin stitch, and French knot are the foundational building blocks for creating beautiful, personalized items. Each project, whether it's functional like an embroidered pillowcase or purely decorative like hoop art, serves as a practical lesson in tension, color theory, and fabric handling.
The journey from a novice stitcher to a confident creator is built one project at a time. The most important takeaway from this guide is that every single one of these embroidery projects for beginners is achievable. By starting small and focusing on mastering one or two stitches per project, you build a strong skill set and, just as importantly, the confidence to tackle more complex designs in the future. Remember, the goal isn't immediate perfection; it's the joy of learning and the satisfaction of making something with your own hands.
From First Stitch to Finished Masterpiece
The true value of mastering these introductory projects extends far beyond the items themselves. You are learning a timeless skill that allows you to personalize your world, mend and upcycle clothing, create heartfelt gifts, and engage in a mindful, relaxing hobby. Each completed handkerchief or wall hanging is a testament to your growing abilities.
Your path forward is clear. Choose the project that excites you the most, gather your materials, and take that first deliberate stitch.
- Revisit the Project List: Select the one project that sparked your imagination, whether it was the instant gratification of a patch or the classic appeal of a cross-stitch pattern.
- Gather Your Supplies: Use the material lists provided as your shopping guide. A quality hoop, sharp needle, and vibrant floss from Linda's are your best partners in this creative endeavor.
- Practice, Practice, Practice: Don't be afraid to use a scrap piece of fabric to practice your stitches before starting on your final piece. This small step can make a huge difference in the final quality of your work.
Embroidery is a conversation between you, the thread, and the fabric. It’s a slow, deliberate art form in a fast-paced world. Embrace the process, celebrate your progress, and watch as simple threads transform into intricate works of art. Your next beautiful creation is just waiting for you to begin.
As you grow from hand embroidery to more ambitious textile arts, explore the incredible creative potential of machine quilting and embroidery. The precision and power of a longarm machine can bring your largest, most imaginative designs to life with professional results. Discover the perfect machine to elevate your craft at Linda's Electric Quilters, your trusted partner for every step of your creative journey. Linda's Electric Quilters


