
Embarking on your quilting journey is an exciting adventure filled with creativity, color, and the promise of a beautiful finished project. The process of turning simple fabric pieces into a cherished heirloom can be incredibly rewarding. However, for a newcomer, the world of rotary cutters, seam allowances, and block patterns can feel overwhelming. This guide is designed to demystify the process and provide actionable quilting tips for beginners that will set you up for a successful first project.
We will cover the foundational skills essential for any quilter, from selecting the right supplies to mastering precise techniques, ensuring your first project is a source of pride, not frustration. This listicle breaks down the most critical concepts into easy-to-digest advice. You'll learn how to achieve accurate seams, why pressing matters, and how to choose patterns that build your skills without causing burnout.
At Linda's Electric Quilters, we believe everyone can create something beautiful. With our vast selection of high-quality fabrics, essential notions, and longarm quilting machines, you'll find everything you need to finish your project. Let's start building your confidence and crafting stunning quilts together from day one.
1. Invest in Quality Fabric and Tools
One of the most impactful quilting tips for beginners is to start with high-quality materials. While it can be tempting to choose budget-friendly options, investing in quality quilting cotton and reliable tools from the outset will save you countless hours of frustration and dramatically improve your results. Your initial investment pays dividends in precision, durability, and most importantly, your enjoyment of the quilting process.
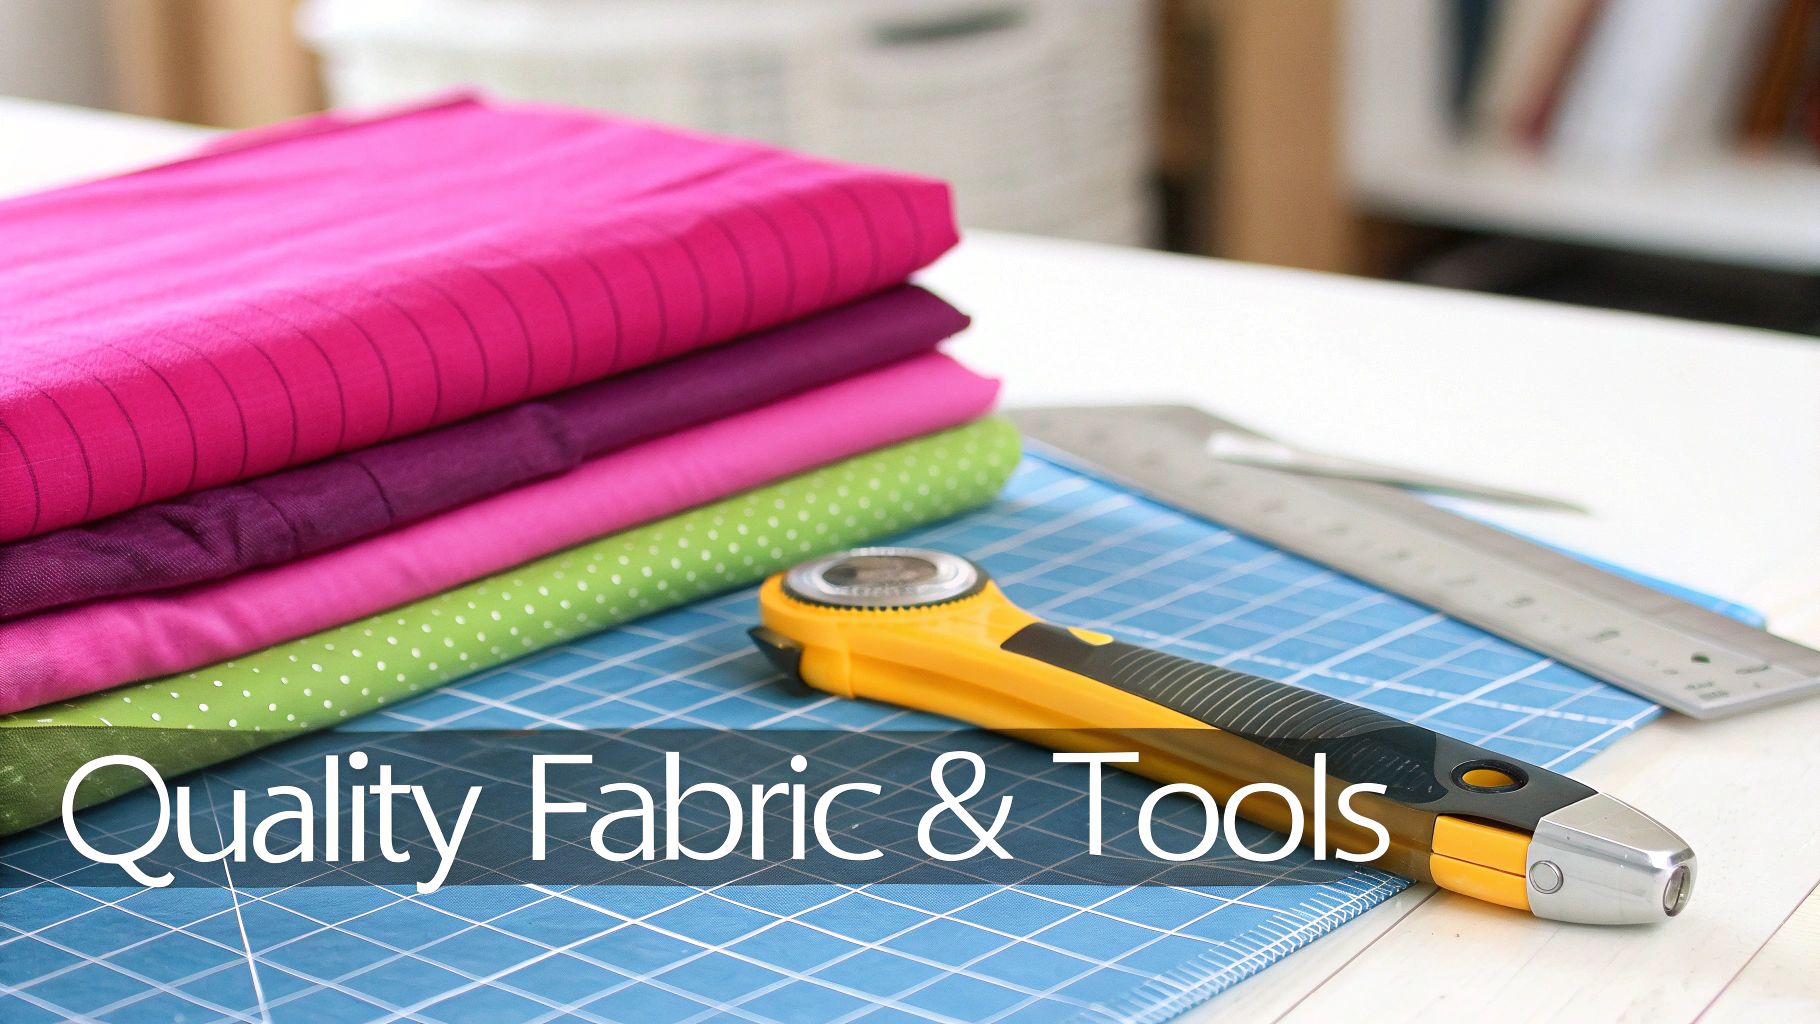
Cheap craft store fabric often frays excessively, shrinks unpredictably, and its colors can bleed, ruining a project you've poured your heart into. Similarly, a dull rotary cutter or a flimsy ruler makes achieving the precise cuts necessary for accurate piecing nearly impossible. When your blocks don't align, it's often the tools, not your skills, that are the problem.
Why Quality Matters
Starting with the right supplies sets a strong foundation for success. Quality tools and fabrics work with you, not against you, allowing you to focus on learning techniques rather than fighting with your materials.
- Fabric: Look for 100% quilting cotton from reputable brands. This fabric has a higher thread count and is designed to withstand the rigors of cutting, sewing, and washing.
- Rotary Cutter & Mat: A sharp, ergonomic rotary cutter from a trusted brand like Olfa or Fiskars, paired with a self-healing cutting mat, is non-negotiable for straight, accurate cuts.
- Rulers: Clear, acrylic quilting rulers (such as those from Omnigrid or Westalee Design) with precise markings are essential for measuring and cutting fabric accurately.
- Thread: Don't forget the thread! Poor-quality thread can break, lint up your machine, and create weak seams. Get a deeper understanding by exploring our guide to the best thread for quilting at Lindas.com.
To finish your project successfully, start with the best. At Linda's Electric Quilters, we stock a curated selection of premium fabrics and essential tools to help you start your quilting journey with confidence.
2. Master the Accurate 1/4-Inch Seam Allowance
Of all the quilting tips for beginners, mastering the precise 1/4-inch seam allowance is arguably the most critical. This is the bedrock of accurate piecing. In quilting, even tiny deviations can compound across multiple seams, causing blocks to become distorted and patterns to misalign. Taking the time to perfect this one skill will prevent immense frustration and is the key to creating professional-looking quilts.
An inaccurate seam allowance is a common pitfall for new quilters who wonder why their blocks don't match the pattern's dimensions. It's rarely a cutting issue; it's almost always the seam. Achieving this consistency isn't about sewing faster, but sewing smarter, using tools that guarantee precision from the first stitch to the last. This foundational skill ensures that every piece of your quilt puzzle fits together perfectly.
Why Precision Matters
A consistent 1/4-inch seam is non-negotiable for successful quilt piecing. It ensures every block is the correct size, allowing patterns to emerge exactly as the designer intended.
- 1/4-Inch Presser Foot: The most reliable tool is a presser foot specifically designed for a 1/4-inch seam. This foot has a built-in guide that your fabric edge runs along, making consistency nearly effortless.
- Create a Guide: If you don't have a specialty foot, create your own guide. Place a piece of painter's tape or a stack of sticky notes on your machine's throat plate exactly 1/4 inch from the needle.
- Test and Measure: Before starting your project, sew two scrap pieces of fabric together. Press the seam and measure it with an acrylic ruler to confirm it is exactly 1/4 inch. Adjust your guide as needed.
- Slow and Steady: Avoid the temptation to race through your seams. A slower, more controlled speed allows you to keep the fabric edge perfectly aligned with your guide.
Investing in a quality presser foot, like a walking foot, can also dramatically improve your accuracy. Discover more by reading our guide on how to use a walking foot at Lindas.com. Linda's has the amazing products you need, like a range of presser feet and sewing notions, to help you achieve perfect seams and finish your project.
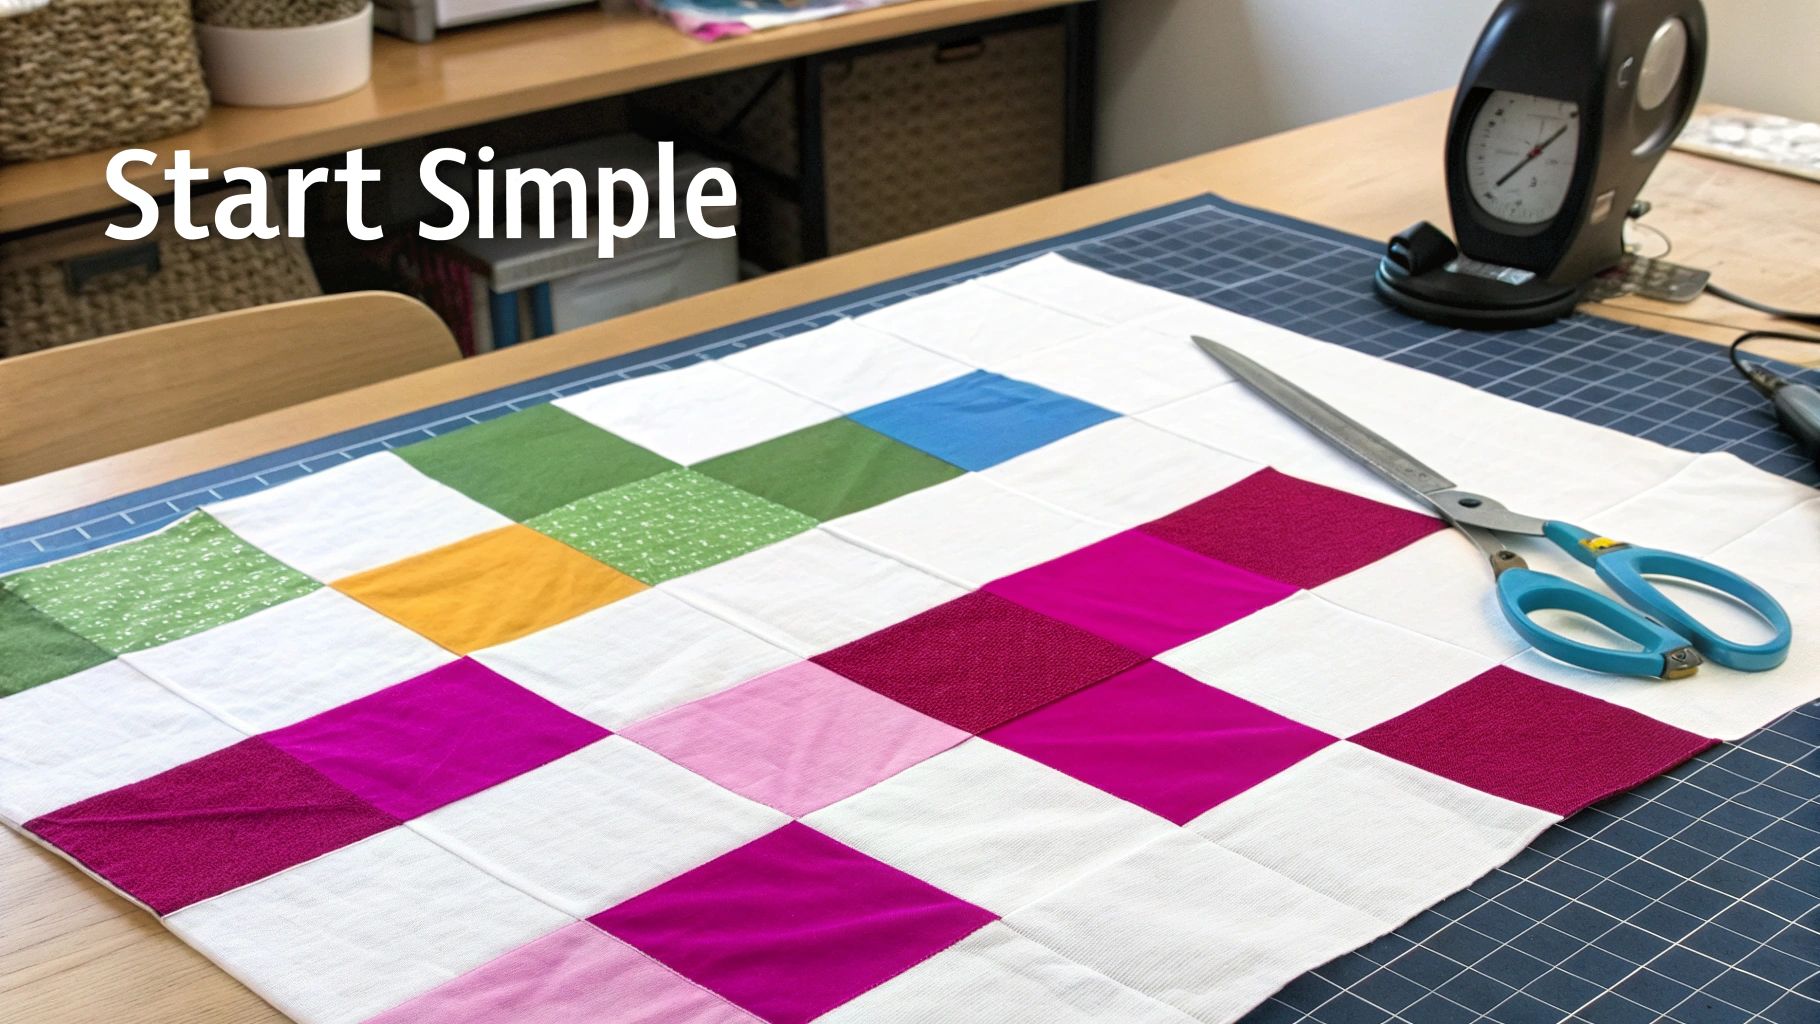
3. Choose Simple Patterns for Your First Project
After gathering your materials, one of the most crucial quilting tips for beginners is to select a simple pattern. It's easy to get captivated by intricate, complex designs, but starting with a straightforward project builds foundational skills without overwhelming you. Choosing a pattern with large, simple pieces like squares or rectangles allows you to master the basics of cutting, piecing, and pressing.
Starting simple increases your chances of a successful and enjoyable first quilting experience. A project that is too complex can lead to frustration with misaligned seams and confusing instructions. By focusing on patterns designed for beginners, you can build confidence and create a beautiful finished product you’ll be proud of, motivating you to continue your quilting journey.
Why Simplicity Is Key
Simple patterns are designed to teach you the core skills of quilting efficiently. They help you practice achieving a consistent quarter-inch seam allowance and pressing your seams correctly, which are fundamental to making your quilt blocks fit together perfectly.
- Charm Square Quilts: These use pre-cut 5-inch squares, which eliminates a significant amount of cutting and lets you focus on sewing straight seams.
- Strip Quilts: Also known as rail fence quilts, these patterns involve sewing long strips of fabric together and then cutting them into blocks. This is a great way to practice long, straight seams.
- Large Block Quilts: Patterns that use large squares (like 10-inch squares) minimize the number of seams you need to sew, making the project come together quickly and impressively.
- What to Avoid: Steer clear of patterns with Y-seams, curves, or intricate paper piecing for your first few projects, as these require more advanced techniques.
When you're ready to start, we offer a great selection of beginner-friendly patterns and pre-cut fabric bundles at Linda's Electric Quilters. Find inspiration in our guide to easy quilt patterns for beginners at Lindas.com and get everything you need to finish your project with us.
4. Understand Pressing and Ironing Differences
One of the most transformative quilting tips for beginners involves a subtle but critical distinction: you must press, not iron, your quilt pieces. While ironing involves sliding a hot iron back and forth, pressing is the deliberate act of lifting the iron and placing it down firmly on a seam. This technique prevents the fabric's grain from stretching or distorting, which is crucial for creating sharp, accurate quilt blocks.
Sliding an iron across your fabric, especially on the bias, can easily pull your carefully cut pieces out of shape. This seemingly small error can cause significant issues, leading to blocks that don't fit together, seams that don't align, and a finished quilt top that won't lie flat. Mastering the art of pressing ensures your piecing remains precise from the first seam to the last.
Why Pressing Matters
Proper pressing sets your seams, reduces bulk where points meet, and is the key to achieving that flat, professional finish. It's a foundational skill that directly impacts the accuracy and quality of your entire project, making it easier to quilt and bind later.
- Set the Seam: Before pressing a seam open or to the side, first press it flat as it was sewn. This simple step helps meld the threads into the fabric, creating a stronger, more stable seam.
- Reduce Bulk: A common technique is to press seams for alternating rows in opposite directions. When you join these rows, the seams will "nest" or lock together perfectly, creating flawless intersections.
- Maintain Accuracy: Pressing ensures your fabric pieces retain their original size and shape. This precision is non-negotiable and guarantees your final quilt block matches the pattern dimensions.
- Choose Your Iron: A quality steam iron is a quilter's best friend. For optimal results, consider an iron with consistent heat and a good steam function.
By adopting a "press, don't iron" mindset, you are building precision into every step of your work. We have all the amazing products you need, from high-quality irons to wool pressing mats, to help you perfect this essential technique and finish your project with beautiful, flat quilt tops.
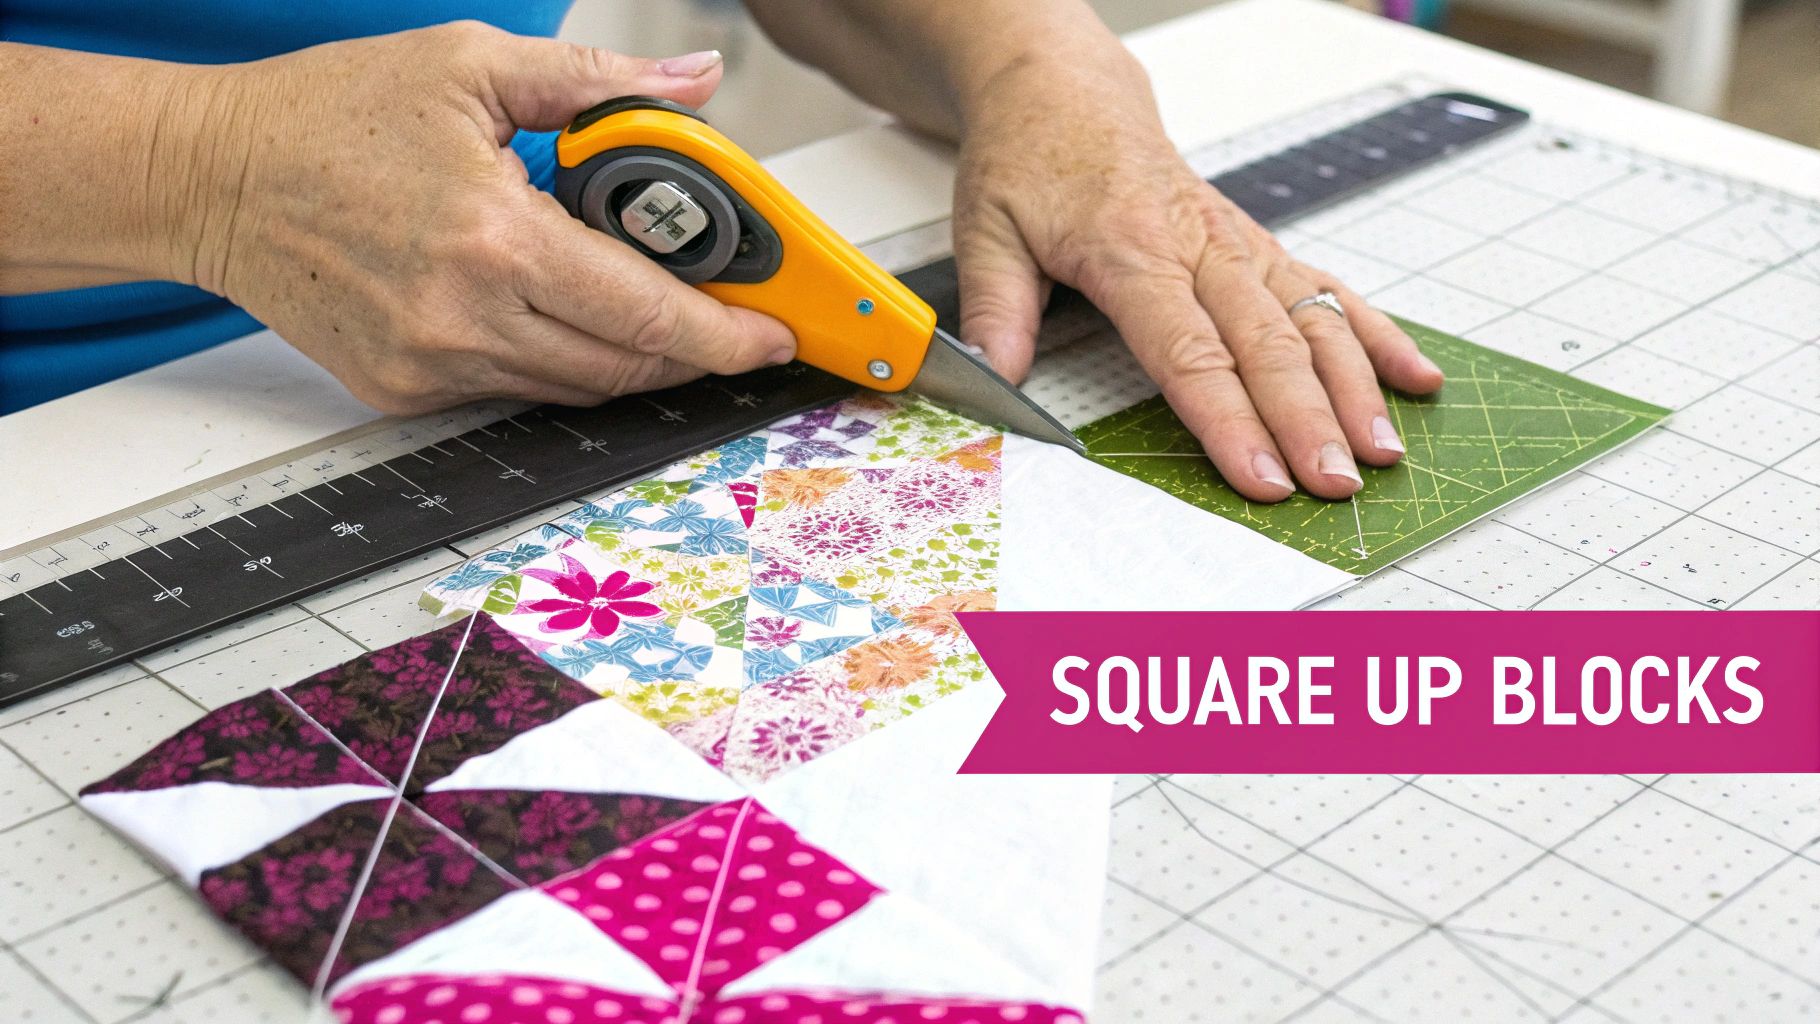
5. Practice Squaring Up Blocks Before Assembly
One of the most crucial quilting tips for beginners is learning to "square up" your blocks. This simple yet powerful step involves trimming each pieced block to a precise, uniform size before you sew them together. Even with careful cutting and sewing, tiny variations can cause blocks to be slightly misshapen. Squaring them up corrects these inconsistencies, ensuring every block is a perfect square with 90-degree corners.
When you skip this step, those small errors multiply across the quilt top. Your points won't match, seams will be wavy, and the entire quilt can become distorted and difficult to quilt. Taking a few moments to square up each block is a professional habit that prevents frustrating alignment issues and guarantees a flat, professional-looking quilt top that is a joy to finish.
Why Squaring Up Matters
This step is the difference between a quilt that looks homemade and one that looks polished and precise. It's a non-negotiable part of accurate piecing that sets you up for success in the final quilting and binding stages.
- Precision and Alignment: Squaring up ensures all blocks are identical in size, so your rows sew together perfectly and your seam intersections align flawlessly. For example, every nine-patch block should be trimmed to the exact same dimension, like 9.5 inches square.
- A Flat Quilt Top: Trimming blocks prevents the waviness and puckering that can occur when you try to force slightly different-sized blocks to fit together.
- Essential Rulers: A square acrylic ruler is the best tool for this job. For a 12-inch finished block, a 12.5-inch square ruler is ideal. Using the right ruler makes the process fast and accurate.
- Technique: Align the diagonal line on your ruler with a diagonal seam in your block, and use the grid lines to ensure your seams are straight. Trim two sides, rotate the block, and then trim the remaining two sides.
A square quilt top is much easier for a longarmer to handle and results in a better finished product. For a deeper dive into this topic, explore our guide to understanding why a square quilt top is so important at Lindas.com. At Linda's Electric Quilters, we offer a wide variety of square rulers and other amazing products to help you achieve perfect blocks every time.
6. Use a Design Wall or Layout Space
One of the most valuable quilting tips for beginners is to audition your quilt before you sew. A design wall or a dedicated layout space allows you to arrange your fabric pieces and blocks, giving you a complete picture of your project. This crucial step helps you visualize the final design, catch color imbalances, and correct any placement errors before committing with permanent stitches.
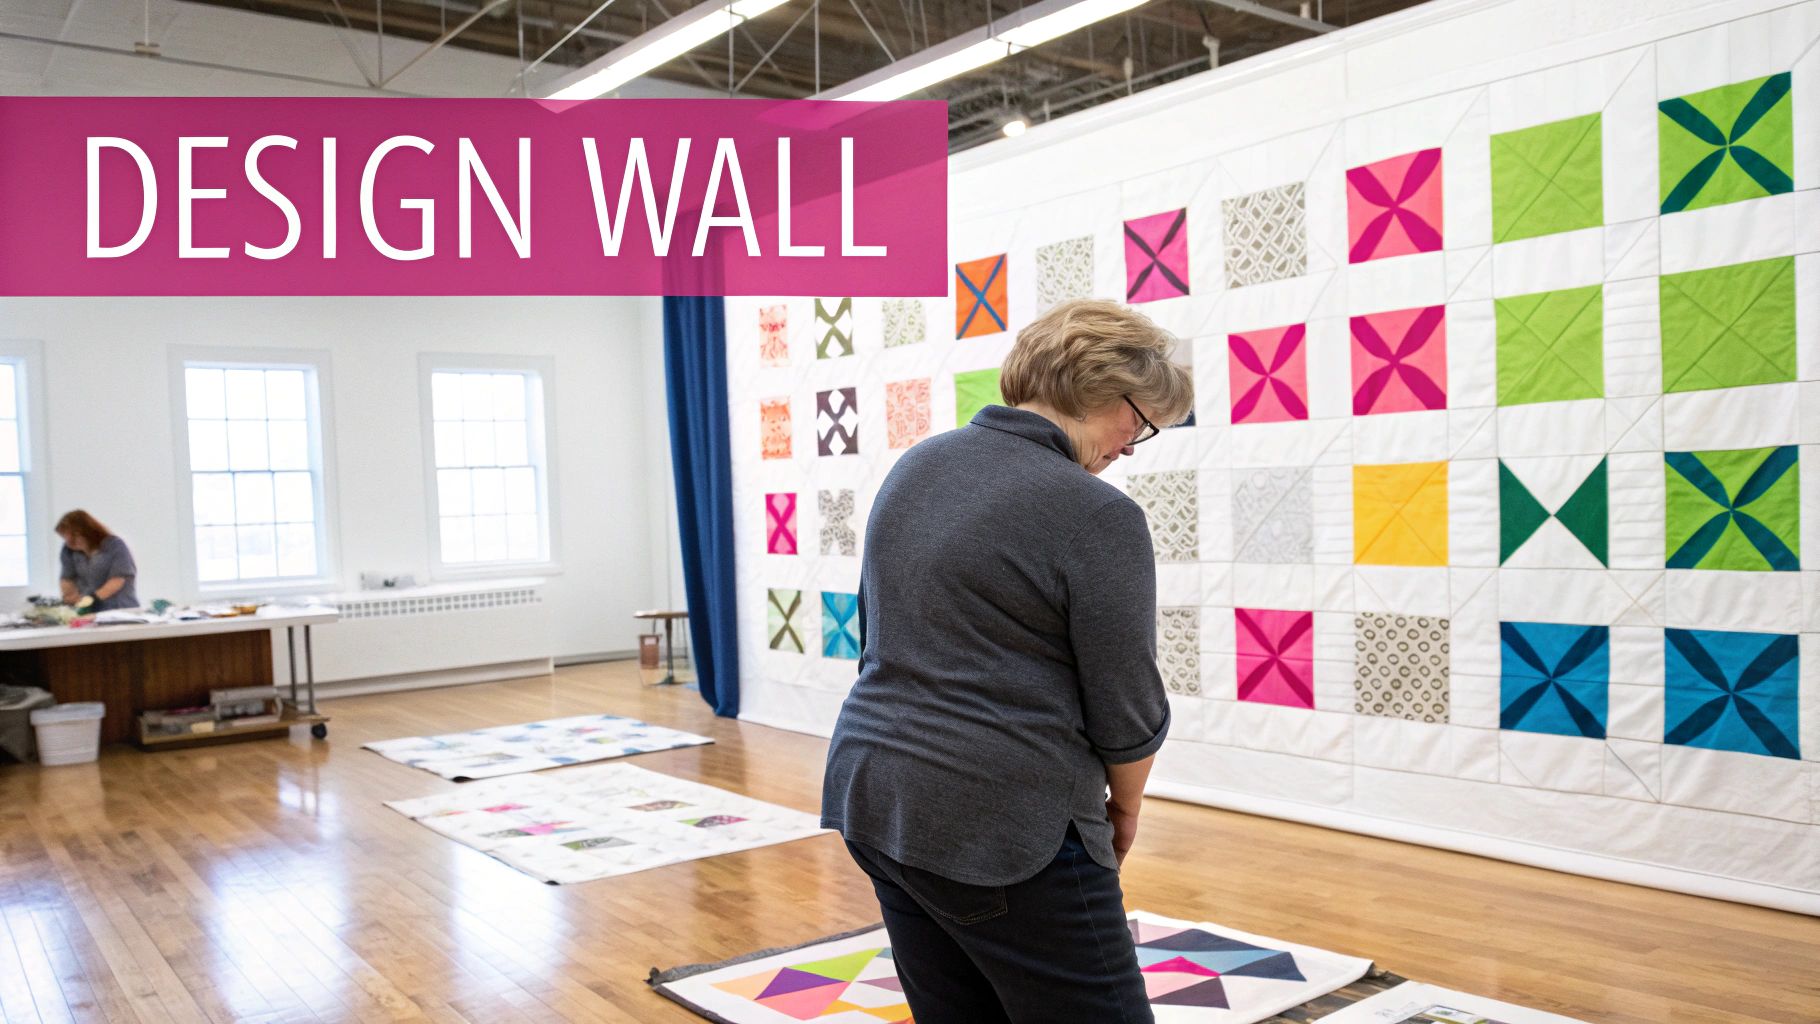
Without this "preview," it's easy to accidentally place two similar fabrics next to each other or create an unbalanced composition. A design wall lets you step back, assess your layout from a distance, and make confident decisions. This simple tool empowers you to move beyond just following a pattern and truly become the designer of your quilt, ensuring the final product is exactly what you envisioned.
Why a Layout Space Matters
Having a dedicated space to arrange your quilt blocks is transformative. It moves the design process from an abstract concept in your head to a tangible, editable reality. This visual feedback loop is key to creating a cohesive and beautiful quilt top.
- DIY Design Wall: A large piece of batting or a simple flannel sheet hung on a wall works perfectly. The slight texture of the fabric gently grips your cotton quilt blocks, holding them in place without pins.
- Floor Space: If wall space is limited, a clean floor can serve the same purpose. This is ideal for arranging blocks and rows before sewing them together. Just be mindful of pets and foot traffic!
- Purchased Options: For a more permanent solution, you can find pre-made, gridded design walls or create one by covering a large foam insulation board with batting.
- Visualize & Edit: Use your wall to check the "flow" of your colors and patterns. Take photos with your phone to see the design in a different format, which often highlights areas that need adjustment.
By taking the time to lay out your quilt, you gain control over the final look and feel of your project. At Linda's Electric Quilters, we encourage every new quilter to adopt this habit; it's a professional practice that makes a world of difference when you're ready to finish your project.
7. Join a Quilting Community for Support and Learning
One of the most encouraging quilting tips for beginners is that you don't have to learn in isolation. Quilting has a vibrant and welcoming global community, and connecting with it provides invaluable support, motivation, and endless learning opportunities. Tapping into this collective knowledge base can accelerate your progress and deepen your enjoyment of the craft.
Engaging with fellow quilters, whether in person or online, offers a lifeline when you encounter challenges. A tricky pattern, a machine malfunction, or a creative block can feel less daunting when you have experienced friends to turn to for advice. This shared passion creates a powerful sense of camaraderie that can keep you inspired through even the most complex projects.
Why Community Matters
Joining a community transforms quilting from a solitary hobby into a shared experience. It's a space to celebrate successes, troubleshoot problems, and discover new techniques you might never have found on your own.
- Motivation and Inspiration: Seeing what others are creating can spark new ideas and motivate you to start your next project. Sharing your own work provides encouragement and constructive feedback.
- Problem-Solving: Stuck on a specific step? A quick post in an online forum or a question at a guild meeting can yield multiple solutions from quilters who have been there before.
- Access to Resources: Communities are treasure troves of information, from pattern recommendations and tool reviews to workshops and local fabric store sales.
- Skill Development: Learn directly from seasoned quilters. Many guilds offer workshops, and online groups often host sew-alongs or block-of-the-month clubs that introduce new skills in a structured way. Get started by exploring our guide on finding your local crafting community at Lindas.com.
At Linda's Electric Quilters, we believe in the power of community. Whether you're joining a local guild, participating in an online forum like Reddit's r/quilting, or taking a class at your local shop, connecting with others is a fundamental step in your quilting journey.
7-Point Comparison: Beginner Quilting Tips
| Item | Complexity 🔄 | Resources ⚡ | Expected Outcomes 📊⭐ | Ideal Use Cases 💡 | Key Advantages ⭐ |
|---|---|---|---|---|---|
| Invest in Quality Fabric and Tools | Low 🔄 | Medium ⚡⚡ | More precise cutting and piecing; durable finished quilts 📊 ⭐⭐⭐⭐⭐ | All projects; especially heirloom or precision-focused quilts | Higher accuracy, longer-lasting materials, less frustration |
| Master Accurate 1/4-Inch Seam Allowance | Medium 🔄🔄 | Low ⚡ | Consistent block sizes; improved alignment across a quilt 📊 ⭐⭐⭐⭐⭐ | Fundamental for all pieced quilts; essential early skill | Universal technique that prevents fit issues and improves finish |
| Choose Simple Patterns for Your First Project | Low 🔄 | Low ⚡ | Faster completion; builds confidence and core skills 📊 ⭐⭐⭐⭐ | Beginners, practice quilts, rapid skill-building | Lower error risk, quicker motivation, easier learning curve |
| Understand Pressing and Ironing Differences | Medium 🔄🔄 | Low–Medium ⚡⚡ | Flatter seams, reduced distortion and bulk at intersections 📊 ⭐⭐⭐⭐ | Projects requiring precise blocks or low bulk finishing | Improves block accuracy and professional appearance |
| Practice Squaring Up Blocks Before Assembly | Low–Medium 🔄🔄 | Low ⚡ | Uniform block sizes; smoother final assembly; fewer wonky seams 📊 ⭐⭐⭐⭐ | Pieced quilts with multiple blocks or complex repeats | Prevents cumulative errors; simplifies sewing together |
| Use a Design Wall or Layout Space | Low 🔄 | Medium ⚡⚡ | Better color balance and layout decisions; fewer design mistakes 📊 ⭐⭐⭐ | Large quilts, color/pattern planning, visual composition checks | Early problem detection, design experimentation, faster assembly |
| Join a Quilting Community for Support and Learning | Low 🔄 | Low–Medium ⚡⚡ | Faster learning curve, ongoing motivation, troubleshooting help 📊 ⭐⭐⭐⭐ | Beginners seeking mentorship and ongoing quilters needing support | Access to experience, feedback, resources, and social motivation |
Start Your Quilting Journey with Confidence
You have now navigated the essential landscape of beginner quilting, from selecting your first tools to understanding the importance of community. The journey from a stack of fabric to a finished quilt can seem daunting, but by breaking it down into manageable steps and focusing on the fundamentals, you've already set yourself up for success. These quilting tips for beginners are not just a checklist; they are the foundational pillars upon which all your future, more complex projects will be built.
Think of each tip as a single, perfect stitch. On its own, it’s a small detail. But when combined with others, it creates a strong, beautiful, and durable whole. Mastering the accurate 1/4-inch seam is the bedrock of precise piecing. Learning the difference between pressing and ironing will elevate the finish of your quilt top from homemade to professional. These aren't just rules to follow, they are techniques that, once mastered, become second nature, freeing you up to focus on the creative aspects of quilting.
Weaving the Threads of Knowledge Together
Let’s revisit the core takeaways that will have the most significant impact on your first quilting projects:
- Quality In, Quality Out: Starting with high-quality fabric and reliable tools isn't an indulgence, it's an investment in your success. Good materials are more forgiving, easier to work with, and yield results you can be proud of, which is crucial for building motivation.
- Precision is Your Best Friend: From cutting your fabric to squaring up your blocks, accuracy is paramount. Taking a few extra moments to ensure your measurements are correct will save you hours of frustration and "un-sewing" later on.
- Patience and Process: Quilting is a marathon, not a sprint. Embrace the process, from planning on your design wall to the final binding stitch. Each step has its own rhythm and reward. Don’t rush the fundamentals; a well-pressed seam or a perfectly squared block is a victory in itself.
Your Path Forward in Quilting
The beauty of quilting lies in its blend of tradition and personal expression. As you move forward, remember that every quilter, no matter how experienced, was once a beginner. They learned by making mistakes, asking questions, and, most importantly, by simply continuing to sew. Let your first project be a simple one, chosen not for its complexity but for the joy of completion. This will build the confidence you need to tackle that intricate pattern you’ve been admiring.
The most valuable advice is to simply begin. Lay out your fabric, thread your machine, and make that first cut. These quilting tips for beginners will serve as your trusted guide, but your own hands-on experience will be your greatest teacher. Welcome to a craft that offers a lifetime of learning, creativity, and connection. You are now a quilter.
Ready to turn these tips into a tangible work of art? Linda's Electric Quilters has everything you need to start and finish your quilting project, from beginner-friendly fabric bundles to the precision tools that make all the difference. Explore our curated selection of amazing products and find the perfect supplies for your first project at Linda's Electric Quilters.


