
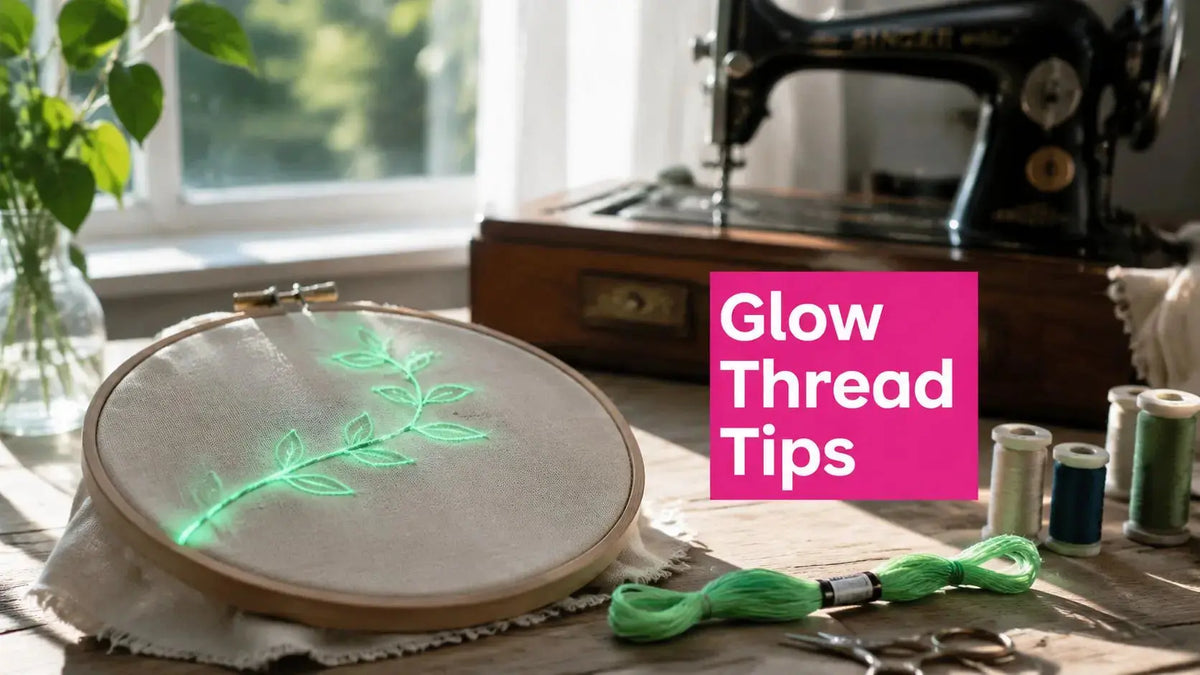
You've just opened a spool of glow in the dark embroidery thread at the cutting table. Under the shop lights, it may look like an ordinary specialty thread, or it may give off a faint greenish cast. Then the room goes dark, and the stitched stars on a quilt or tote begin to show. The important detail is that the result depends less on the marketing promise than on how strongly the thread was charged, how it was stitched, and how the finished piece is cared for.
Glow thread is usually a phosphorescent polyester or PBT/PP-based filament containing pigments such as strontium aluminate or zinc sulfide. Manufacturer literature reports usable glow periods from roughly 3 to 12 hours after charging, while actual performance varies with the light source, exposure time, thread construction, fabric color, and stitch coverage. Common formats include a 40-weight thread with recommended needles from 65/9 to 75/11 and wash performance that can remain strong through dozens of wash cycles. That's specialty thread you can use on a real project, but it still needs a gentler setup than ordinary rayon or polyester.
What Glow in the Dark Embroidery Thread Actually Is
At the cutting table, the first surprise is usually the daylight color. A spool can appear white, pale blue, pink, or off-white, yet emit a soft green or aqua glow after the lights go out. That color shift is normal. The material stores light and releases a greenish glow, with luminous intensity determined by the strength of the charging light — it isn't a powered light source.
Phosphorescence is the key distinction. The pigment absorbs available light and releases it gradually in darkness. Fluorescent materials appear bright while a light or ultraviolet source is present, but phosphorescent thread continues emitting after the source is removed. That's why a blacklight can make a design look dramatic immediately, while a weakly lit closet may produce only a short, dim afterglow.
The thread also behaves differently from standard rayon and smooth polyester. Pigment-filled filaments can feel stiffer, create more drag through guides, and abrade when upper tension is too tight. A continuous filament construction often runs cleanly, but its surface can still suffer from friction at the needle eye, thread guides, or automatic trimmer. Many breakages begin there. The pigment usually isn't the problem by itself. Excessive tension, abrasion, and incomplete charging cause more disappointing results than the luminous material.
Bench rule: Treat glow thread as a durable specialty consumable, not as ordinary 40-weight polyester. Give it a smoother path, a suitable needle, and time under strong light before judging the finished design.
Modern products are available in machine-embroidery-ready weights and are marketed for uses that include denim and other frequently handled projects. Under optimal conditions and several hours of very bright light, some products can glow for approximately 8 to 12 hours in complete darkness. Other products describe charging in about 15 minutes under bright light for several hours of visible glow, so the label on your specific spool matters — the strongest claims are conditional on the charging environment.
Comparing the Main Types of Glow Thread
Most machine embroiderers encounter three practical formats: continuous-filament polyester, spun or braided glow thread, and reflective-phosphorescent hybrids. They don't behave the same way in a hoop. Filament polyester generally feeds most cleanly, spun versions feel more textile-like, and hybrid constructions may add visibility when struck by headlights but demand careful needle selection.
| Filament Type | Daylight Color | Glow Color | Recommended Needle | Best For |
|---|---|---|---|---|
| Continuous-filament polyester | White, off-white, or tinted shades | Often green or aqua | 65/9 to 75/11, depending on product | Machine embroidery, outlines, lettering, and durable accents |
| Spun or braided glow thread | More fabric-like, with a softer visual surface | Usually softer and less intense | Product-specific needle, tested on scrap | Decorative quilting, hand-feel projects, and textured details |
| Reflective plus phosphorescent hybrid | Daylight shade varies by construction | Phosphorescent glow plus reflective response | Topstitch needle size 90 may be required | Safety-inspired accents, outdoor items, and high-visibility details |
The table is a decision guide, not a substitute for the manufacturer's specifications. Some specialty glow products recommend a #14 (90/14) needle, while others list 65/9 to 75/11. Always test the actual spool you plan to use.
A continuous filament may run smoothly but can shed or wear at flex points if the thread path is rough. Spun or braided versions can feel closer to ordinary embroidery thread and may accept decorative overlays, but their glow can look less forceful. Hybrid products add another visual effect, which can be useful for outdoor items, but they're usually less forgiving at the needle.
Glow-in-the-dark heat transfers use a different application method from stitched embroidery. That distinction matters. A transfer can cover a broad surface evenly, while machine embroidery concentrates the luminous material into specific stitch paths, so density and design geometry affect the apparent brightness.
If you're pairing glow accents with conventional embroidery, 005 NEON ORANGE - Floriani Thread 40 weight 5000M is a conventional high-sheen, lubricated 40-weight embroidery thread, not a glow product. Its role is useful for daylight contrast, borders, or lettering beside luminous stitching.
Prepping Your Machine and Choosing the Right Needle
The thread stand is the first place to prevent damage. A vertical spool holder or a thread mast with a smooth ceramic eyelet lets a stiff specialty filament unwind without scraping against a sharp edge. If the spool rocks, catches, or feeds sideways, the machine will pull harder at every cycle, and that extra drag shows up as fraying, skipped stitches, or a snapped upper thread.
Needle choice depends on the thread's actual thickness and surface. Product guidance commonly places glow thread in the machine-embroidery range, with recommendations including 75/11, 80/12, #14 (90/14), and 65/9, depending on the product and application. A 75/11 or 80/12 ballpoint or lightweight topstitch needle from Linda's machine needle collection can provide a wider, smoother channel for many projects. For a longarm-specific setup, some quilters use a #18 MR 4.0 needle and a less restrictive thread path. That recommendation shouldn't be transferred blindly to every domestic embroidery machine.
Tensioning without shredding the filament
Start with the upper tension lower than your rayon baseline, then adjust gradually. A common recommendation is reducing machine speed to 50 to 60 percent of maximum. The goal isn't a particular dial number. It's a balanced stitch path with no visible looping, pulling, or abrasion.
Run a bobbin casing test before committing to the project. Stitch a small swatch, inspect both sides, and perform a gentle pull test on a 2-inch swatch. If the upper thread cuts into the fabric, the bobbin thread shows too prominently, or the glow filament looks fuzzy at the needle entry point, stop and correct the path before continuing.
Slowing the machine
Reduce speed until the thread makes a clean turn at corners and dense areas. If the automatic thread trimmer nicks the coating or leaves a damaged tail, disable it and trim manually with sharp scissors. Shorter thread lengths can also reduce wear, especially on longarm and high-speed workflows.
Pro tip: Run a 4-inch leader scrap through the entire thread path before hooping the final piece. If the leader comes out fuzzy, don't start the design. Find the rough guide, sharp eyelet, or overly tight tension first.
Stabilization, Hooping, and Design Placement
Glow thread needs a stable foundation because its stiffer filament can reveal every movement in the fabric. Add one extra stabilizer layer compared with a standard 40-weight design. On knits or loosely woven quilting cotton, a medium cutaway from Linda's stabilizer collection is usually a safer choice than tearaway because it continues supporting the stitches after the fabric leaves the hoop.
Hoop all layers together and tighten the fabric until it's firm, not drum-tight. Over-tightening can flatten the embroidered surface and reduce how much of the phosphorescent material faces the light. It can also distort registration when the fabric relaxes after stitching.
For dense fills, shorter stitch lengths can control loops and improve coverage — validate the exact setting on the fabric and design. Rotate the hoop so the longest stitch direction follows the fabric grain where possible. That alignment helps the design settle consistently and reduces stress across loosely woven surfaces.

The finished color also depends on the base cloth. White muslin can make a pale daylight thread look subtle, while a dark towel can make the same glow appear much stronger. A dense black fabric may hide daylight stitches but create excellent nighttime contrast.
Test the exact fabric, stabilizer stack, needle, and design density together. A scrap from a different material won't tell you enough about registration, tension, or perceived brightness.
Here's a visual setup reference for stabilizer handling and hoop preparation:
Charging, Activation, and Realistic Glow Expectations
Glow thread doesn't produce one fixed duration. Its performance depends on light intensity and exposure time, which explains why product descriptions can appear far apart. Manufacturers describe anything from a brief glow after limited exposure to several hours under strong, sustained light — approximately 8 to 12 hours under optimal conditions after several hours of very bright light, or about 15 minutes of bright-light charging for several hours of visibility. There is a real practical gap between ideal claims and everyday lighting.
| Light Source | Charge Time | Visible Afterglow | Best Use |
|---|---|---|---|
| Very bright light | Several hours under optimal conditions | Approximately 8 to 12 hours in complete darkness | Long evening display or finished wall art |
| Bright artificial light | About 15 minutes for some products | Several hours, depending on the spool | Quick project checks and short demonstrations |
| Ordinary indoor lighting | Variable and often weak | Dimmer or shorter than the product's maximum claim | Casual charging, not reliable benchmarking |
Don't judge an unopened spool by a quick glance under room lights. The thread may not have received enough energy to show much afterglow, and some colors appear nearly ordinary until they're fully charged. A weak indoor LED can produce a faint result that surprises a new user, but that doesn't automatically indicate a defective product.
The most useful benchmark is your own project. Charge a stitched swatch with the same light source you'll use at home, place it in darkness, and check the design at intervals. Record the point at which the glow becomes too faint for your intended use. That test tells you more than a maximum duration printed for optimal conditions.
The purchase question isn't simply whether the thread glows. It's how bright it looks on your fabric, how long it remains visible, and what charging routine you can repeat.
Thread makers also recommend recharging the stitched piece with bright light after sewing. This is especially important before photographing, demonstrating, or giving away the project. Keep expectations realistic. Glow thread is a light-storing surface effect, not a replacement for an LED or a constant light source.
Washing, Care, and Long Term Storage
Heat and chemicals can shorten the useful life of luminous thread. Common care guidance recommends washing at no more than 104°F/40°C, avoiding bleach and chlorine cleaners, and keeping machine-drying temperature below 140°F/60°C.
A gentle, cool wash with mild detergent is the safer default. Avoid chlorine bleach and brightening products because harsh chemistry can affect the thread surface and dull the visual result, especially when the item combines embroidery with delicate fabric, layered construction, or hand-finished details.
Drying and storage habits
Air-drying flat or hanging the piece reduces abrasion from a hot dryer drum. If you use a dryer, stay below the temperature recommended for the specific thread, and remember that repeated tumbling can still rub exposed stitches even when the heat is controlled.
Opened spools should stay protected from dust, humidity, and rough contact. Reseal the spool in its original foil bag or a zip pouch with a desiccant packet. For completed quilts, totes, or wall hangings, fold the item loosely and store it in a breathable cotton tote rather than compressing it in a plastic bin.
A washable project should be tested before it becomes a gift or a frequently used item. Stitch a small sample, launder it using the planned care routine, recharge it, and compare the appearance with the unwashed sample. That simple check catches problems before they reach the finished piece.
Creative Project Ideas and Where to Shop
Glow thread works best when the design has a reason to appear in darkness. A baby quilt can hide small constellations that become visible at bedtime. A trick-or-treat tote can use luminous outlines around stars, moons, or playful lettering. Constellation wall hangings, holiday stockings, blackout curtains with skyline accents, and zipper pouches for nightstand storage all give the glow a practical setting.
Match the construction to the visual goal:
- For apparel accents: Try 40-weight polyester glow thread with a 75/11 ballpoint needle and a medium stabilizer selected for the garment fabric.
- For fine detail: A 60-weight thread with a 65/9 microtex needle can suit small motifs, but test the eye and tension carefully before stitching the final piece.
- For tidy undersides: Use a matching white-on-white bobbin approach when the top thread is pale in daylight. It keeps the back less distracting without competing with the luminous top design.
- For contour designs: Cobwebs, stars, constellations, and skyline outlines usually give the glow room to read. Dense fills may look bright but can create more friction and require more stabilization.
- For longarm work: Route specialty thread through the smoothest available guide path, reduce top tension, and validate the needle choice on the actual quilt sandwich.
A first-timer can build a sensible weekend test kit around one glow spool, a compatible needle, an extra stabilizer layer, ordinary bobbin thread, and fabric scraps from the planned project. Add a simple outline design rather than a dense fill, then compare the charged swatch against the finished placement. This workflow exposes tensioning and registration problems while the project is still small.
Linda's Electric Quilters is a McKinney, Texas source for quilting and sewing supplies, including threads, stabilizers, needles, fabrics, batting, notions, instructional videos, and live shopping resources. Keep a compatible standard thread available as well, such as 009 Baguette Signature Cotton Thread, for conventional quilting or bobbin work where glow isn't needed.
Frequently asked questions
How long does glow in the dark embroidery thread stay visible?
The answer depends on the brand, pigment, light source, and exposure time. Product guidance ranges from about 3 to 12 hours after charging, with some manufacturers describing approximately 8 to 12 hours under optimal conditions. Test a stitched swatch on your fabric for the most useful household benchmark.
Which needle should I use with glow thread?
Follow the thread maker's specification first. Common guidance includes 65/9 to 75/11, while some products call for 75/11 to 80/12, #14 (90/14), or a longarm-specific #18 MR 4.0 needle. A larger eye can reduce abrasion, but the needle must still suit the fabric and machine.
Why is my glow thread breaking?
The usual causes are rough thread guides, excessive upper tension, a poorly matched needle, high machine speed, or a short thread path that creates heat and friction. Stitch a scrap sample, lower top tension gradually, and inspect the filament for fuzzing before continuing.
Can I wash embroidered projects made with glow thread?
Use the care limits supplied for your product. Common guidance recommends no more than 104°F/40°C for washing, avoiding bleach and chlorine cleaners, and keeping machine drying below 140°F/60°C. Air-drying is a gentler choice for exposed specialty stitches.
Does ordinary indoor light charge glow thread?
It can, but the result may be faint and short-lived. Stronger light generally produces a brighter, longer afterglow, so judge the thread using the charging source you expect to use for the finished project.
Visit Linda's Electric Quilters to find the needles, stabilizers, batting, conventional threads, and embroidery supplies that support a clean glow-thread setup. Choose your project fabric, test the complete stitch path on a scrap, and let our McKinney, Texas team help you finish a luminous quilt, garment, tote, or home accent with confidence.


