
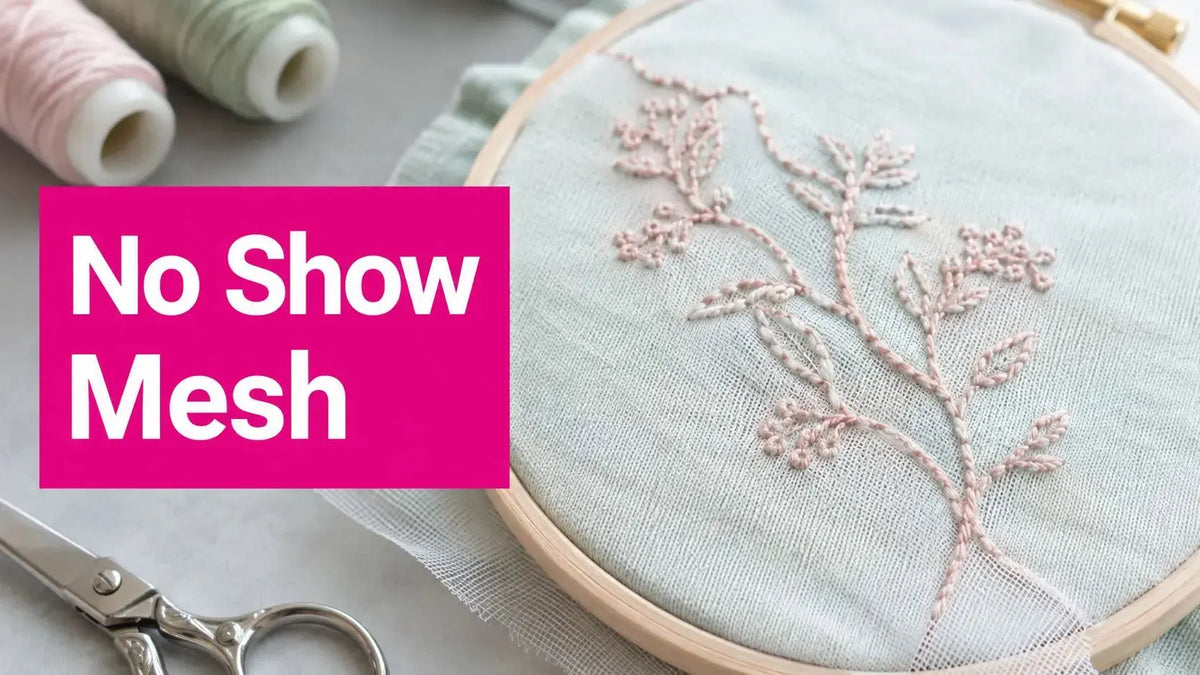
You've stitched a delicate baby onesie or a lightweight performance shirt, removed it from the hoop, and found the design surrounded by puckers or a stiff, visible backing. No-show mesh stabilizer is often the right correction when light color, stretch, transparency, and comfort matter more than maximum support. It's a soft, semi-transparent cutaway that stays in the garment permanently, reduces show-through, and supports light to medium embroidery without the bulk of a traditional cutaway. The important qualification is stitch density. Dense, satin-heavy designs can exceed what one layer handles well, so the fabric, design, and wear scenario must guide the choice.
What No Show Mesh Stabilizer Actually Does
A no-show mesh stabilizer supports embroidery from the back while remaining difficult to see through light, sheer, or delicate fabric. Unlike a tearaway, it stays attached after stitching and laundering. Unlike a heavy cutaway, it's designed to preserve the garment's drape and hand instead of leaving a noticeable, stiff halo.
The material is a lightweight, semi-transparent cutaway backing. Its open construction lets light pass through rather than presenting a solid patch behind a white, pastel, or skin-toned garment. It's softer than many traditional cutaways and especially useful on stretch fabrics, where inadequate support can lead to puckering and distortion during stitching. Compare options in Linda's interfacing and stabilizer collection.

Why the backing remains in the garment
Embroidery creates repeated needle penetrations and pulls thread in different directions. A stretchy knit can move under that force, even when the hooping looks flat at the start. No-show mesh gives the stitches a permanent foundation, helping the garment retain its shape through wear and washing.
The phrase “no-show” describes two related benefits:
- Visual transparency: The mesh reduces the chance of a backing shadow appearing behind the design.
- Soft drape: The stabilizer adds less bulk than many heavier cutaways, which matters on babywear, lingerie, jersey, rayon, satin, and other garments worn close to the skin.
Practical rule: Choose no-show mesh because the fabric needs permanent support without a visible or uncomfortable backing, not simply because the package says “invisible.”
A tearaway can be suitable for a low-density design on a stable woven, but it doesn't provide lasting support on a stretch garment. A heavier cutaway supports denser embroidery more confidently, but its outline may show through lightweight fabric. That trade-off is the entire reason no-show mesh exists.
If you're testing a new design, stitch a sample on the actual garment fabric, with the same needle, thread, hooping tension, and backing layers. The screen preview can't reveal how the mesh will affect the fabric's drape or whether the design is too dense for one layer.
The Technical Specs That Matter
No-show mesh is usually a translucent nylon or poly-mesh grid. Its open weave supports stitches in several directions while allowing the garment color and light to show through. Diagonal nylon mesh adds an embossed diagonal pattern that improves multidirectional stability, helps the piece hoop more evenly, and can reduce puckering and looping — a construction often chosen for performance wear because it combines low bulk, translucency, and permanent cutaway support.
The fabric and stitch plan determine whether that light construction is enough. A 1.5-ounce mesh suits sheer fabrics and light knits with modest stitch density. A 1.8- or 2.0-ounce product provides a little more body for designs that pull harder, though the label alone does not predict performance. Test the actual fabric before committing to production.
Finish also changes handling. Soft-finish mesh preserves a comfortable drape against the skin, while a crisper finish is easier to control when hooping slippery knits. Fusible mesh adds heat-activated adhesive, which can hold satin or other mobile fabrics in place, but test both heat and adhesive on the garment textile.
| Specification | Lightweight, 1.5 oz | Standard, 2.0 oz | Fusible Mesh |
|---|---|---|---|
| Best use | Sheer fabrics and light knits | More demanding medium-weight designs | Slippery or stretchy fabrics needing extra hold |
| Feel | Soft and low bulk | More support, potentially firmer | Depends on mesh and adhesive finish |
| Hooping | Easy to float or hoop | Stable under heavier stitching | Adhesive helps reduce shifting |
| Main limitation | Less suited to dense designs | May show more on lightweight garments | Heat or residue can be a concern |
One layer can handle light embroidery, but dense designs need more support. A practical limit for one layer on performance wear is around 10,000 to 12,000 stitches. Beyond that range, add another mesh layer rotated diagonally, or supplemental tearaway, then test whether the added stiffness affects drape.
When to Choose No Show Mesh Over Other Stabilizers
The best stabilizer depends on what happens after the embroidery leaves the machine. A stable woven shirt may tolerate tearaway because the fabric doesn't need permanent stretch recovery. A baby onesie or athletic knit keeps moving after stitching, so temporary support can leave the design vulnerable to distortion.
Match the backing to the garment
Choose no-show mesh when the fabric is light-colored, stretchy, or sheer, and the design has light to medium density. It's particularly well suited to performance knits, microfiber polos, baby garments, lingerie, jersey, silk, satin, rayon, and terry cloth.
Tearaway is useful on stable woven fabrics and modest designs, but it leaves no permanent backing. Standard cutaway offers stronger support for dense embroidery, yet its heavier body can create a visible or stiff outline on a lightweight garment. Fusible mesh is a close alternative for slippery charmeuse or satin because it helps prevent shifting, but heat-sensitive synthetics may react poorly to the pressing step.
| Project situation | First choice | Why |
|---|---|---|
| Light performance knit with a modest logo | No-show mesh | Permanent support with reduced show-through |
| Stable woven with a light design | Tearaway | Temporary support may be sufficient |
| Dense fill or satin-heavy design | Standard cutaway or layered mesh | More resistance to distortion |
| Slippery satin needing positioning help | Fusible mesh, after testing | Adhesive can reduce movement |
| Dark garment with a dense design | Colored mesh or standard cutaway | Visibility concerns change with fabric color |
The practical decision is simple. If the fabric is light, elastic, or transparent and the design remains within the stabilizer's support range, no-show mesh usually wins. If the stitch count is heavier, the design is poorly digitized, or the garment needs substantial structural support, layer the mesh or change stabilizers. No-show mesh isn't ideal for very heavy designs.

For dark garments, white show-through usually isn't the primary problem. A black or matching mesh can blend more effectively, but test the back and front because translucency, thread coverage, and garment thickness all affect what the wearer sees.
Application Techniques for Best Results
Good no-show mesh performance starts before the hoop closes. Wash performance knits when the garment allows it, so sizing and finishing residues don't interfere with temporary adhesive or distort the fabric during the first laundering cycle. Rayon jersey and bamboo blends deserve special care because they can shift easily and may need a light spray adhesive or a fusible backing.
A reliable shop workflow
- Prepare the fabric. Press it smooth and identify the grain, stretch direction, and design placement. Don't stretch the fabric into shape while preparing it.
- Secure the mesh. Hoop it firmly without crushing the grid. For fragile garments, hoop the mesh and float the fabric on top rather than forcing the garment into a tight hoop.
- Add support for density. One layer can suit a light design. A denser design may need a second mesh layer, rotated about 45 degrees or 90 degrees to improve multidirectional stability, or a supplemental tearaway underneath.
- Use the correct needle. A ballpoint needle from Linda's needle collection is the safer starting point for knits, while a sharp needle suits stable wovens. Replace a damaged needle before troubleshooting tension.
- Control thread tension. Excessive upper tension can draw the garment inward and exaggerate puckering. Test the bobbin casing, thread path, and upper tension on a fabric scrap before committing to the garment.
For designs under 8,000 stitches, one layer of 1.5-ounce mesh is commonly a reasonable starting point. Designs between 8,000 and 15,000 stitches may benefit from doubling the mesh or adding a water-soluble topper, particularly when the design has large satin columns or dense fills. These thresholds are workflow guidance, not a substitute for a test stitch-out.

After stitching, cut the mesh with curved embroidery scissors rather than tearing it. Trim close to the design while leaving approximately a 1/8-inch border to reduce fraying and keep the backing from rubbing against the skin. A clean trim preserves softness without removing the support the stitches still need.
Common Mistakes and How to Fix Them
Most no-show mesh failures come from a mismatch between color, tension, density, or trimming. The stabilizer may be appropriate, but the setup still allows the fabric to move or the backing to become visible.
Five problems worth catching before production
- Shadow-through on a white or pastel knit: Black mesh can create visible grid lines behind pale fabric. Switch to white or nude-toned mesh, then test under the lighting in which the garment will be worn.
- A pucker ring around the design: Hooping the stretch fabric and mesh too tightly can distort the fabric before the first stitch. Hoop the mesh firmly, then float the garment on top with temporary spray adhesive or another positioning method.
- Needle perforation in lightweight mesh: High-density fills above 12,000 stitches can place too much stress on a delicate backing. Try a heavier 2.0-ounce mesh or add a second layer rather than continuing to increase tension.
- Adhesive buildup: Fusible mesh can transfer adhesive to the needle plate or needle during a long run. Clean the affected machine surfaces according to the machine manufacturer's care guidance, and change to non-fusible mesh when residue keeps interfering.
- Stiff drape on baby garments: Excess backing left around the design turns a soft garment into an uncomfortable patch. Trim close with curved scissors, keep the border controlled, and inspect the reverse side for rough edges.
The design file itself can also be the problem. Poorly digitized embroidery may concentrate stitches in one area, create unnecessary push and pull, or use satin columns that need more support than a lightweight mesh can provide. No-show mesh can reduce the visible consequences, but it can't correct a design with unsuitable density or compensation.
Before-and-after test: Stitch a small sample, wash it using the garment's normal care method, and inspect both the front and the reverse. A flat front with an uncomfortable back is still a failed garment.
Buying the Right No Show Mesh for Your Projects
Buy by fabric behavior and stitch density, not by the word “no-show” alone. Weight, finish, color, adhesive, and format all affect how the backing handles in the hoop and against the skin.
A very light mesh can suit ultra-sheer fabrics and lingerie, while 1.5 ounces is a versatile choice for many knit garments. A 2.0-ounce option gives more support for medium-weight fabrics and demanding designs, though it may feel firmer and show more readily through delicate material. Fusible mesh saves positioning time on slippery fabrics, but adhesive can gum needles during long production runs. Sew-in mesh generally gives cleaner drape and avoids heat exposure.
Color matters as much as weight. White works naturally with pale garments, black can blend into dark garments, and nude or skin-tone mesh can be useful when white would create contrast. Keeping more than one color available prevents the common mistake of using dark backing behind a pale knit.
| Project Type | Recommended Weight | Fusible or Sew-In | Best Color |
|---|---|---|---|
| Sheer blouse or lingerie | Lightweight | Sew-in after testing | Nude or skin-tone |
| Everyday knit apparel | 1.5 oz | Sew-in | Match the garment |
| Performance polo | 1.5 oz, diagonal mesh preferred | Fusible if shifting is severe | White, nude, or matching |
| Medium-weight garment with denser embroidery | 2.0 oz or layered mesh | Sew-in | Match the garment |
| High-volume production | Consistent roll format | Based on fabric and adhesive tolerance | Keep working colors stocked |
Rolls reduce interruptions for a busy shop, while pre-cut sheets can limit waste for smaller projects. Premium options such as Floriani and Sulky are often considered when consistent weight and softness matter, while budget products need careful inspection for uneven weave density. Before ordering in quantity, compare a test swatch, not just the package description.
Linda's Electric Quilters provides embroidery and sewing supplies alongside fabrics, batting, threads, and notions, so it's a practical place to compare project materials in one workflow. Keep batting separate from embroidery backing decisions because loft and garment drape require different support criteria.
Frequently Asked Questions
Can no-show mesh support dense embroidery?
One layer may not be enough as density rises. Practical guidance places about 10,000 to 12,000 stitches as a point where one layer may still work on performance wear, while heavier designs need added support. Some shop workflows treat approximately 20,000 stitches as a point where a second layer is typically required, but design coverage, satin content, digitizing quality, and fabric stretch matter as much as the count.
Does it work on dark fabrics?
Yes, but select the mesh color deliberately. White mesh can contrast against dark fabric, so black or a compatible colored mesh may be less visible from the reverse and through the garment.
Is it suitable for baby garments and sensitive skin?
Its soft hand and low bulk make it a strong candidate for babywear and other skin-contact garments. Look for documented textile safety certifications such as OEKO-TEX, and trim the backing smoothly so no rough edge remains against the skin.
What's the difference between fusible and non-fusible mesh?
Fusible mesh has a heat-activated adhesive that helps control slippery or stretchy fabric. Non-fusible, sew-in mesh avoids heat and adhesive residue, and temporary spray adhesive can provide positioning help when the fabric needs to float.
Why can puckering happen with the correct stabilizer?
The fabric may have been stretched while hooping, the design may be too dense, or the thread tension may pull the fabric inward. Floating the garment, adding a topper for difficult surfaces, rotating layered mesh, and testing the design on the actual fabric can resolve problems that the stabilizer alone can't prevent.
For a reliable embroidery finish, choose no-show mesh stabilizer by fabric, density, color, and wear conditions, then test before stitching the final garment. Linda's Electric Quilters offers stabilizers, threads, needles, and related sewing supplies for projects ranging from delicate apparel to detailed machine embroidery. Visit Linda's Electric Quilters to select the backing and tools that fit your next project.


