
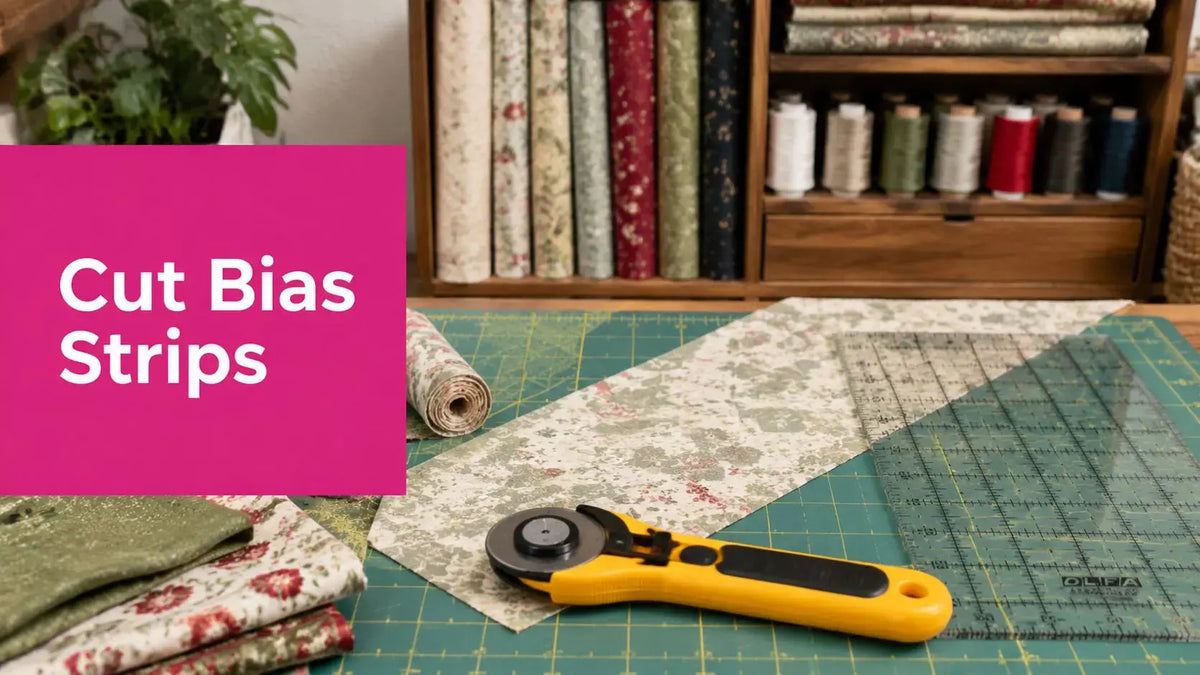
You've pieced the quilt top, pressed the seams, and admired every last block. Then you hit the finishing step that makes many quilters pause. If your quilt has curves, scallops, rounded corners, or any edge that refuses to behave, the answer isn't more pinning. It's learning how to cut bias strips correctly.
Bias strips are the difference between a binding that hugs the edge and one that fights it. For small projects, a single-strip approach is often the easiest path. For larger quilts, the continuous method saves time and gives you one long strip with fewer joins. If you're choosing fabric for that final edge, it's worth browsing quilting fabrics that will frame the quilt as beautifully as the piecing inside it.
Your Guide to Flawless Quilt Edges
A lovely quilt can lose its polish right at the edge. I see it often with curved appliqué, scalloped borders, and rounded baby quilts. The piecing is thoughtful, the quilting is clean, and then the binding ripples, pleats, or flattens the curve in all the wrong places.
That finish usually traces back to one decision. Was the binding cut on the bias, or was it cut on the straight grain and asked to do a job it wasn't built to do?

For curved edges, bias isn't optional if you want a smooth, professional result. The good news is that how to cut bias strips is a learnable skill, not a mysterious one. Once you understand the grainline and choose the right method for the project, the process becomes dependable.
Practical rule: If the quilt edge curves, the binding needs flexibility. Straight-grain strips don't give you the same control.
Some days, a simple strip-by-strip method is the right call. Other days, especially on a larger quilt, a continuous bias strip will save time and reduce seam bulk. Both belong in a working quilter's toolbox.
Understanding Fabric Grain and Essential Tools
Fabric grain decides how a binding behaves before you ever pick up the rotary cutter. Cut on the wrong direction, and the strip resists the edge. Cut on the true bias, and that same fabric bends around a curve with far less coaxing.
The lengthwise grain runs parallel to the selvage and stays the firmest. The crosswise grain runs from selvage to selvage and has a little more give. The true bias sits at a 45-degree angle to both, which is why it stretches and recovers differently from straight-grain strips.
That 45-degree line is not a random quilting rule. It places the strip between the stable and flexible directions of the weave, so the binding can turn a curve, settle into a scallop, and still lie flat once stitched. The grainline affects the finished edge as much as the width of the strip or the accuracy of the seam allowance.

This is also where method choice starts to matter. For a few short strips on a small project, the single-strip method gives you control and wastes less mental energy. For a larger quilt with a lot of binding to prepare, the continuous method usually gives you more yardage with fewer interruptions. Both methods depend on the same principle. The strip has to be accurately on the bias, or the finished binding will not perform the way you expect.
In our McKinney studio, we keep the tool list simple because accuracy matters more than quantity.
- Large self-healing cutting mat lets you read the angle markings clearly and protects the blade.
- Sharp rotary cutter slices the weave cleanly instead of pushing or fraying it.
- Long acrylic ruler helps keep repeated strip cuts parallel.
- Square ruler helps true up fabric before the first diagonal cut.
- Fresh blade belongs nearby, especially for dense quilting cottons or stacked layers.
A dependable long ruler does a lot of the heavy lifting. If you're building out your cutting setup, the Creative Grids 6.5in x 24.5in Rectangle Ruler is a practical choice because it handles both squaring and strip cutting well.
Preparation shows up in the cut. Press out wrinkles first. Square the fabric before marking the bias. Check that the 45-degree line on the ruler is aligned with the grain, not just the nearest corner of a slightly skewed piece.
Small errors travel fast here. If the first diagonal cut drifts off grain, every strip that follows carries the same problem, and the binding will tell on you at the quilt edge.
You need three things for clean bias strips: a squared starting piece, a readable ruler, and a blade sharp enough to cut cleanly in one pass.
The Single Strip Method for Smaller Projects
For placemats, mug rugs, small wall quilts, and baby quilts, the single strip method is straightforward and easy to control. It's also the method I recommend when someone is first learning how to cut bias strips, because you can see exactly what the fabric is doing at every step.

Start with a squared piece of fabric
Take your fat quarter or yardage and trim it into a manageable shape with a straight edge. You don't need a perfect square for this method, but you do need a clean edge and a true corner so your ruler can register correctly.
If the fabric is wrinkled, press it first. A wrinkle under the ruler changes the cut line, and that shows up later when the strips won't stack evenly.
Find the true bias line
Use the angle markings on your mat or ruler to locate the 45-degree line. Align that line carefully with the straight edge of the fabric.
Make the first diagonal cut slowly. That first cut establishes your bias edge, and every strip after that depends on it.
Cut strips at your chosen width
Once the bias edge is established, slide the ruler over and cut parallel strips. Keep the width consistent from strip to strip. The exact width you choose depends on the finished look and the thickness of the quilt, but consistency matters more than speed.
Here's the cutting rhythm I teach:
- Anchor the ruler with your non-cutting hand so it doesn't drift.
- Check both ends of the ruler before the blade touches fabric.
- Cut in one steady pass instead of chopping through the strip in short strokes.
- Move the strip away after each cut so the ruler sits flat for the next one.
Join the strips correctly
Single strips need to be joined end to end to make one long binding. Join them on the diagonal rather than sewing them straight across. A diagonal join spreads the bulk over a longer seam and gives the binding a smoother hand.
Trim the dog ears after sewing, then press carefully. I prefer to check the strip width after each join so I catch any seam that shifted before I attach the binding.
Pro-Tip from Linda's: When joining your bias strips, sew them with a straight stitch and press the seams open, not to one side. This distributes the bulk for a flatter, more professional-looking binding on your finished quilt.
Best uses for the single strip method
This method shines when:
- You're learning and want to see each step clearly.
- You need only a modest amount of binding.
- You're fussy cutting a print and want motif placement under your control.
- You're working with specialty fabric that shifts easily and benefits from smaller cuts.
It's also a smart choice when you'd rather spend a little more time cutting than risk confusion with tube construction.
Common mistakes in this method
A few problems show up again and again.
- Ruler creep throws off strip width.
- A dull blade leaves a fuzzy edge and can tug the fabric off grain.
- Pulling the strip after cutting stretches the bias before it ever reaches the quilt.
- Pressing too aggressively can distort the strip and make it look longer on one side.
If your blade has been skipping threads or requiring extra pressure, it's time to replace it. Fresh rotary blades are one of those quiet upgrades that improve accuracy immediately.
Mastering the Continuous Bias Strip Method
For bed quilts, large throws, and any project where you want fewer joins, the continuous method is the workhorse. It turns one prepared piece of fabric into a long bias strip through a sequence of cuts and seams that looks complicated until you do it once.

Our team in McKinney has used this workflow on finely finished quilts, including longarm-quilted projects where the binding had to sit cleanly against a carefully planned edge treatment. When it's done accurately, it saves time and reduces the stop-and-start of joining many short strips.
Prepare the fabric square carefully
This method begins with precision, not speed. For a reliable continuous bias strip workflow, the fabric must be squared first, then cut on a true 45-degree line. The diagonal pieces are sewn into a tube with a 1/4-inch seam allowance before the tube is realigned and cut again. If the fabric isn't a true square, the strip set won't align correctly, as explained in Make It and Love It's continuous bias binding tutorial.
That's the part many quilters rush. Don't. If the square is off, the later markings won't meet where they should.
Build the parallelogram
Cut the square diagonally into two triangles. Then rejoin them with a scant 1/4-inch seam to create a longer shape that can be marked into strips. This is the practical setup used in continuous-strip cutting and is one reason the method produces such an efficient run of binding.
Once sewn, press the seam so the unit lies flat. If the seam twists or tunnels, your ruler won't sit evenly for marking.
A lot of quilters like to mark strip lines at a fixed width such as 2 inches across the parallelogram before forming the tube. That gives you a visual roadmap for the final cut and helps keep the spiral cutting clean and predictable, as described in Create Whimsy's project guide.
Sew the tube with the offset
This is the stage that feels odd the first time. You bring the edges together, but not evenly. You offset them by one strip width so the marked lines will continue in a spiral after the seam is sewn.
Use a 1/4-inch seam allowance and pin enough to keep the marks aligned. If the lines don't meet where expected, stop and recheck before stitching all the way through.
To see the movement before you try it on your own fabric, this video is helpful:
Cut the spiral slowly
Once the tube is sewn, find your starting line and begin cutting around the tube in one continuous path. The method's value becomes apparent. Instead of handling many short strips, you end up with one long bias strip ready to press and apply.
What works here is patience. Keep the tube supported on the mat so the fabric doesn't hang and stretch while you cut. Rotate the tube as needed rather than forcing an awkward blade angle.
A continuous strip feels like magic only when the prep work is exact. Square fabric and accurate seam allowances do the heavy lifting.
When this method is the better choice
Choose continuous bias strips when:
- You need length for a larger quilt.
- You want fewer seam joins in the finished binding.
- You prefer batch efficiency over repeated strip cutting.
- You're binding a show quilt and want a clean, uninterrupted look around the edge.
If the project is small, the setup may not be worth it. If the project is large, this method often earns its place fast.
Advanced Techniques and Method Comparison
Bias cutting gets more interesting when the fabric itself becomes part of the design. A striped print can create a candy-cane effect on the edge. A floral can be fussy cut so one motif repeats around the quilt. That takes more planning, because the motif has to fall along the bias line rather than on a straight strip, but the payoff can be beautiful.
Tricky fabrics need extra handling. Cotton lawn can shift. Plush fabrics and other slippery textures can crawl under the ruler. In those cases, starch, patient pressing, and smaller cuts usually work better than trying to force speed. Once the strips are made, feeding the binding evenly at the machine often goes more smoothly with a walking foot.
Which Bias Cutting Method Is Right for You?
| Feature | Single Strip Method | Continuous Method |
|---|---|---|
| Ease of Learning | Easier to understand visually | Takes more setup and careful alignment |
| Speed and Efficiency | Slower for long bindings because you join more strips | Faster for larger projects once prepared |
| Fabric Waste | Good control over placement and trimming | Efficient use of fabric for long continuous lengths |
| Best For | Small projects, beginners, fussy cutting | Large quilts, long bindings, fewer joins |
The best method depends on the quilt in front of you. If you're binding a table runner with a special print, single strips may give you better control. If you're finishing a large quilt, continuous strips usually reduce interruption.
After the strips are cut, the next challenge is attaching them neatly. A related step-by-step tutorial on how to attach binding to your quilt is worth keeping open while you finish the edge.
Troubleshooting and Frequently Asked Questions
Some binding problems start at the cutting table, not at the sewing machine. If your strips are wavy, they were likely stretched during cutting, handling, or pressing. Let the fabric rest flat on the mat, and don't lift long bias strips more than necessary.
Bulky joins usually come from seam allowances pressed to one side or from joins stacked too close together. Pressing seams open helps distribute that thickness. If your final strip width is inconsistent, the ruler probably slipped, or the marking lines weren't accurate enough to begin with.
Quick fixes that save a project
- For wavy strips ease off the iron and press instead of sliding.
- For uneven width recut from a true line rather than trying to trim each strip freehand.
- For twisted binding fold and press the strip in sections so the raw edges stay matched.
- For bulky corners check seam placement before the binding reaches the corner turn.
If something looks wrong in the strip, stop there. Binding rarely improves after it's sewn to the quilt.
Frequently asked questions
If you're ready to finish your next quilt with cleaner edges and more confidence, shop Linda's Electric Quilters for fabric, rulers, bias tape makers, and the notions that make accurate binding easier from the first cut to the final stitch.


