

The popular advice to “pull the fabric drum-tight” is responsible for many puckered embroidery projects. The correct target is different: fabric should be taut, smooth, and supported, but not stretched beyond its natural dimensions. Stabilizer should carry much of the embroidery load, while the fabric stays in its natural shape. That distinction matters most on knits, lightweight textiles, finished garments, dense logos, and any design placed close to the hoop edge.
To hoop fabric for machine embroidery without puckering, press the fabric, select the smallest hoop that accommodates the machine's actual embroidery field, match the stabilizer to the fabric and design density, align the grain and design center, insert the inner ring evenly, and test on a matching scrap. If the fabric looks right only because you pulled it tight, it may relax after unhooping and leave waves, registration errors, or distortion.
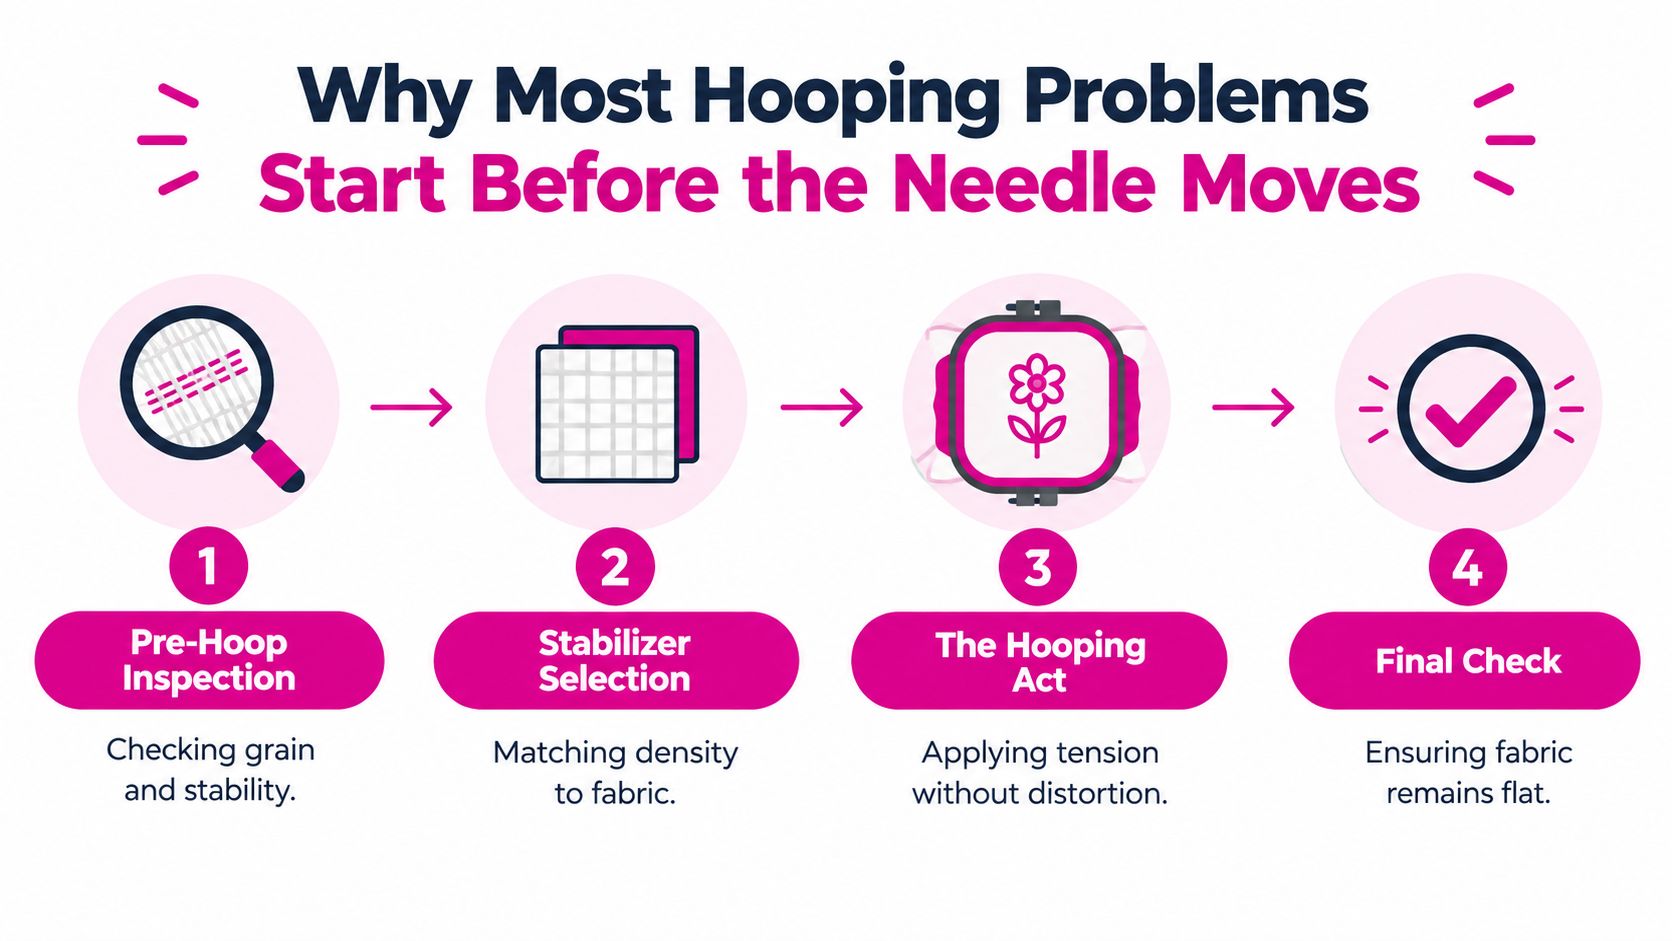
Why Most Embroidery Hooping Problems Start Before the Needle Moves
Hooping isn't a tightening contest. It's a distortion-control operation. The frame must hold the fabric and stabilizer in position while the needle creates push-pull forces across the embroidery field. If the material has already been stretched, twisted, or placed off-grain, accurate stitching can't fully correct the setup.
The history of machine embroidery shows why this became essential. In 1828, French inventor Josué Heilmann created a hand-powered embroidery machine that allowed one operator to move multiple needles simultaneously. By 1846, his machine was reported to perform work comparable to four hand embroiderers. Singer introduced a multi-head embroidery sewing machine in 1911, expanding embroidery beyond individual craft work into a more scalable manufacturing process. Tajima began manufacturing automatic embroidery machines in 1964, introduced a six-needle automatic color-change machine in 1973, and developed an automatic frame changer in 1982 for rolled-textile embroidery. Computerized embroidery machines reached the home market in 1980, making hooping a routine consumer skill as well as an industrial setup task. These milestones are documented in the history of machine embroidery.
As machines became faster and designs became denser, small positioning errors became more visible. A slight grain shift can affect registration. A loosely supported knit can ripple around satin columns. A design positioned too close to the inner ring can encounter movement, needle interference, or an edge-related registration problem.
Practical rule: Taut means firm and smooth. Stretched means the fabric has been pulled outside its natural dimensions. They aren't interchangeable.
The right setup should preserve the fabric's original shape. Lay the material smoothly, align the grain and design area, secure the inner ring without forcing the textile outward, and check the surface before attaching the hoop to the machine. When you learn how to hoop fabric for machine embroidery as a positioning task rather than a force task, puckering becomes easier to prevent.
Choosing the Right Hoop Type and Size for Your Project
The hoop must fit both the design and the machine's actual sew field. A hoop's advertised dimensions can describe the frame rather than the usable embroidery area, so check the design width and height against the machine's stated embroidery field before clamping fabric.
Common flat-hoop categories include 4 × 4 inches, approximately 100 × 100 mm, 5 × 7 inches, approximately 130 × 180 mm, and 6 × 10 inches, approximately 160 × 260 mm, according to the cited embroidery hoop size and field guide. The smallest compatible hoop usually limits unsupported fabric movement, but it still needs enough clearance for every stitch.
Flat, magnetic, and specialty hoops
A standard flat hoop works well for stable fabrics, accessible panels, and designs that fit comfortably within the machine's sew field. It gives you familiar screw tensioning and clear control over grain alignment. Its weakness appears when the item is thick, finished, tubular, or difficult to flatten without creating hoop marks.
A magnetic hoop can be useful for thick quilted layers, bulky materials, or finished items that are hard to insert into a conventional ring. It can reduce the need to force a garment through a narrow opening, but it still doesn't replace stabilizer, placement checks, or a test stitch. Magnets hold the layers, they don't solve a design that exceeds the embroidery field.
Specialty hoops suit caps, sleeves, cuffs, and tubular garments. They make difficult areas more accessible, yet they often demand more careful placement because seams, curves, and limited visibility reduce your margin for error.
| Hoop Size | Approx. Metric | Best For | Avoid When |
|---|---|---|---|
| 4 × 4 inches | 100 × 100 mm | Small monograms and compact motifs | The design exceeds the machine's usable field |
| 5 × 7 inches | 130 × 180 mm | Medium lettering and apparel designs | The project needs a larger continuous design |
| 6 × 10 inches | 160 × 260 mm | Larger motifs and elongated layouts | Excess fabric can move inside the frame |
Before you hoop, place the design template or use the machine's placement functions to check the outermost stitches. Keep those stitches away from the inner hoop edge. If the design barely fits, choose another hoop, resize or split the design where appropriate, or change placement. Don't rely on the marketing name of the hoop alone.
Matching Stabilizer to Fabric and Design Density
Stabilizer is the structural partner inside the hoop. It absorbs and controls the forces created as stitches build, allowing you to smooth the fabric into position instead of stretching it to compensate for weak support.
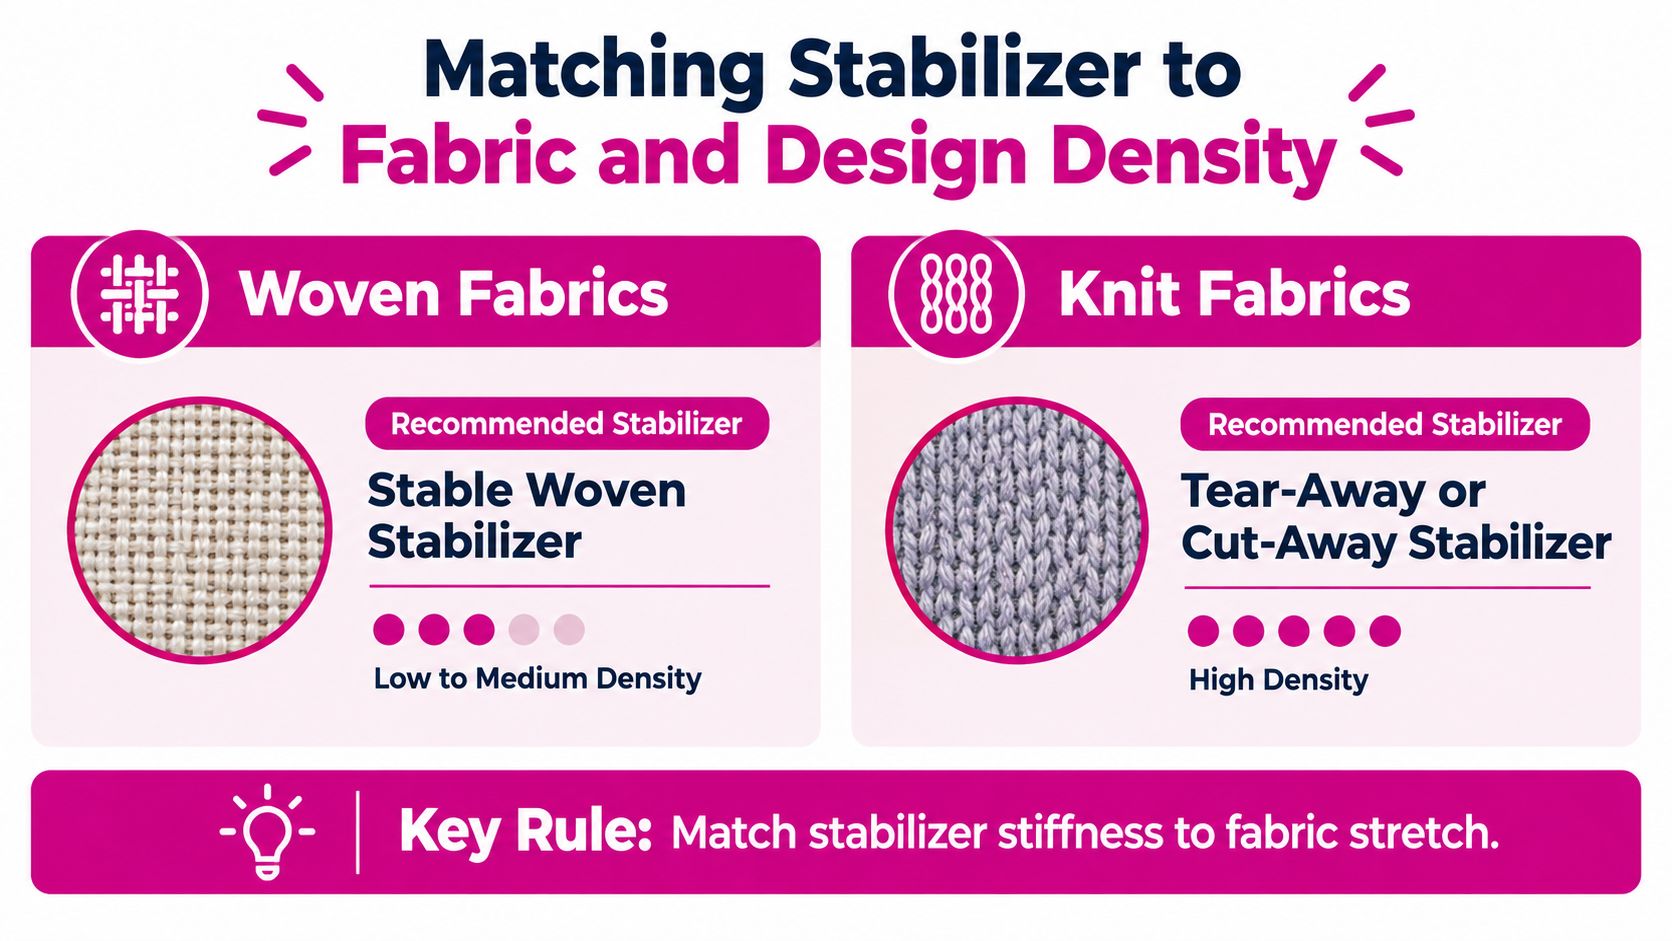
For stable woven cotton or linen, tear-away stabilizer is often a practical choice, especially with lighter designs. Stretch fabrics, knits, and garments that must retain their shape generally need cutaway support, because cutaway remains with the fabric after stitching and washing. A T-shirt may use lightweight cutaway or adhesive tear-away, while fine fabrics may need permanent cutaway support. The University of Geneva's computerized embroidery guidance also describes two standard methods, hooping fabric and stabilizer together, or hooping the stabilizer alone and attaching fabric with fixation glue or adhesive stabilizer.
Let the fabric and design determine the support
A lightweight fabric with a low stitch-count motif doesn't need the same backing approach as a dense logo on a polo. Heavier garments and stitch-heavy designs need stronger support, while delicate fabrics may need a stabilizer selected for both permanent control and a clean finish.
Useful options include:
- Tear-away backing: Suits many stable woven fabrics and projects where easy removal matters.
- Cutaway backing: Supports knits and stretch textiles through stitching and laundering.
- Adhesive stabilizer: Helps when hooping the garment could leave marks or when the item is difficult to clamp.
- Wash-away or heat-away stabilizer: Useful for selected specialty fabrics and designs where the excess support must disappear.
- Topping: Can help control stitches on textured surfaces, though it isn't a substitute for underside support.
Cut the stabilizer at least 5 cm, or 2 inches, beyond the hoop on every side, following the Brother hooping guidance. That extra margin gives you enough material to hold, baste, float, or reposition without the backing pulling away from the frame.
A test swatch should use the same fabric, stabilizer, needle, thread, and design density as the final project. Stitch it before committing to the garment. The sample can reveal shifting, puckering, poor support, or thread-tension trouble while the project is still easy to change.
The Actual Hooping Sequence Without Distorting the Fabric
Press the fabric first. Creases can hide grain distortion and prevent the layers from sitting evenly, especially near seams or garment panels. Mark the design center and, when alignment matters, mark the fabric grain before you place anything in the hoop.
Choose the smallest hoop that fully accommodates the design and the machine's usable embroidery field. Cut the stabilizer at least 2 inches beyond the hoop on every side, then place the outer ring on a flat surface. The flat work surface matters because it prevents the ring from rocking while you align the layers.
Set the fabric right side up over the outer ring. Place the stabilizer beneath the fabric unless the project calls for another arrangement. Align the fabric grain, design center, and hoop markings. Smooth the textile with your hands rather than pulling it outward.
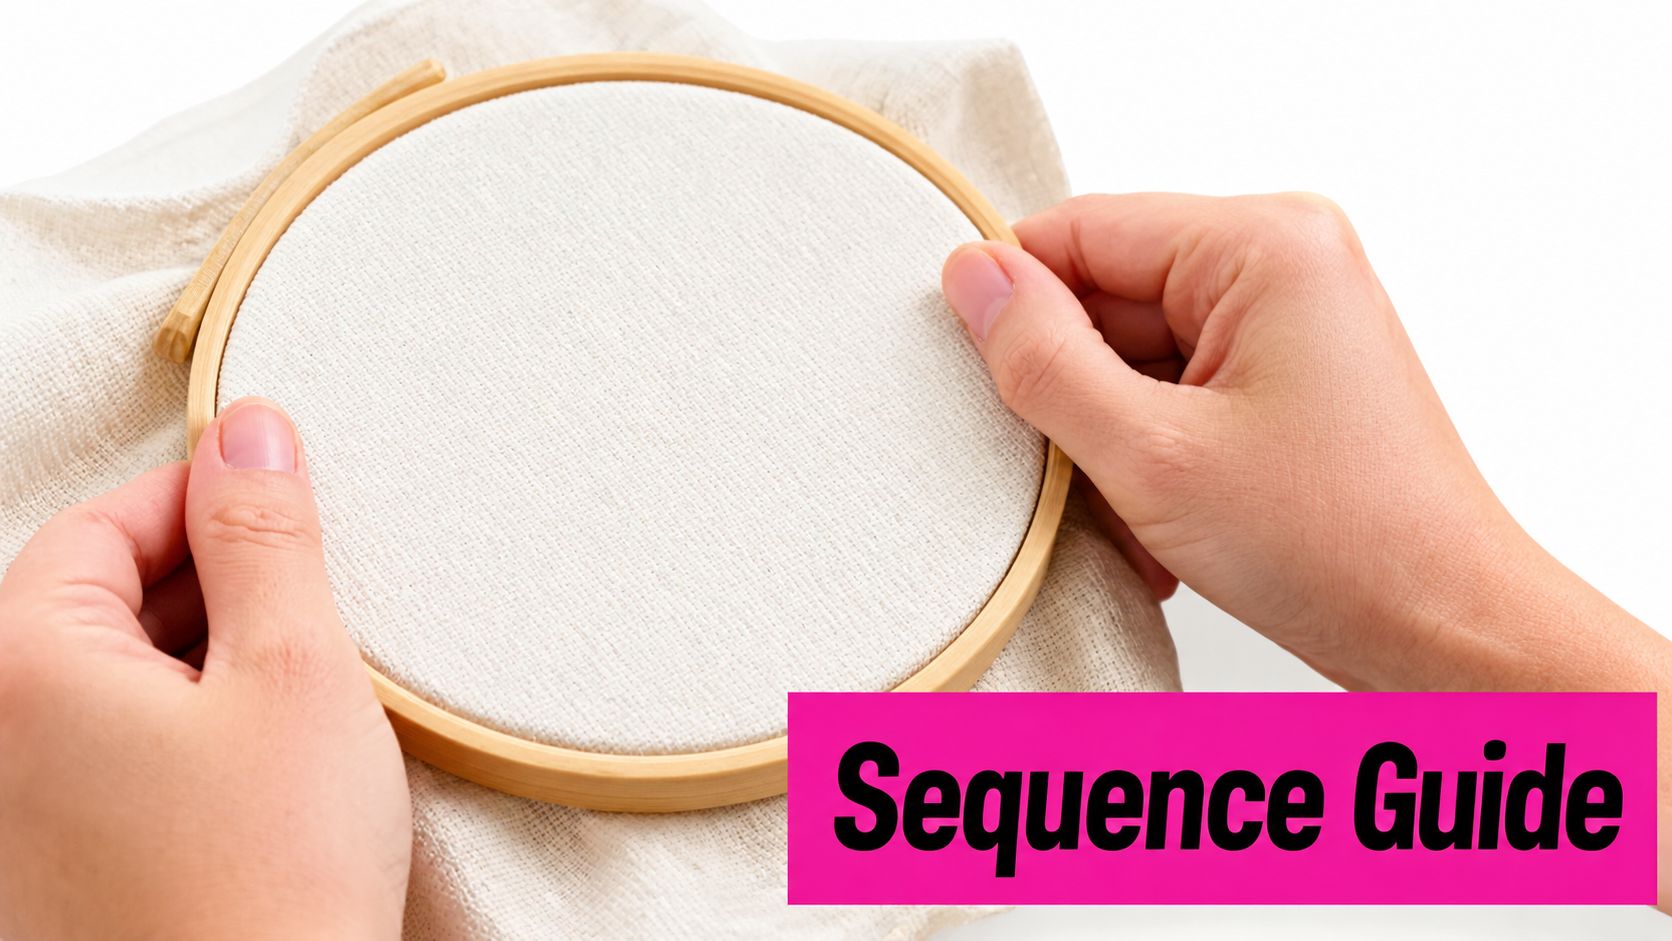
Press the inner ring down progressively. Start evenly rather than forcing one side all the way into place. If you drive one section down while the opposite side is loose, you can shift the center or create diagonal tension across the grain.
Once the inner ring is seated, tighten the screw only enough to secure the layers. The fabric should be firm, wrinkle-free, and undistorted. It shouldn't look pulled away from the ring. On a knit or loosely woven fabric, excessive tension can make the piece appear perfect in the hoop and then contract or warp after removal.
The surface test that catches bad hooping
Glide one finger across the fabric. The surface should feel even, without bubbles or loose pockets. Tap it lightly. A properly supported setup should feel firm and produce a drum-like sound, but don't interpret that sound as permission to stretch the textile harder.
Check the underside before attaching the hoop to the machine. The stabilizer should be smooth, fully supported, and evenly captured by the ring. If the fabric or backing has shifted, remove the inner ring and start again. Pulling the fabric while it remains clamped changes the grain and usually creates a second problem.
Pro tip: If the design is misaligned, stop and re-hoop. Never tug the fabric into position while the ring is clamped. That shortcut can leave the fabric stretched in one direction and the stabilizer shifted in another.
This hooping tutorial for machine embroidery reinforces the practical warning signs, including bubbles, diagonal grain distortion, edge slippage, puckering, and registration problems.
Watch the setup sequence before your next project, then compare the surface check with your own hooping routine.
Hooping Stretch Fabrics and Finished Garments Without Warping
Stretch fabrics expose bad hooping quickly. A T-shirt with a dense chest logo may look smooth in the frame, yet the logo can ripple after removal because the knit was stretched to create artificial tension. Cuffs resist the inner ring, curved hems slip into the sewing field, and extra layers can catch under the hoop.

The reliable approach is to stabilize the support first and smooth the garment second. Use the smallest hoop that fits the design. Keep seams, pockets, cuffs, and excess garment layers outside the sewing field so they can't create a ridge or interfere with the needle.
If the finished garment can't be clamped without marks, hoop the stabilizer alone and float the garment over it. Adhesive stabilizer or temporary fixation can hold the shirt in place while the machine stitches. This method requires careful alignment because the fabric isn't mechanically captured between the rings, but it can protect delicate or finished surfaces.
Neutral tension beats “drum tight”
The phrase “drum tight” works better for stable woven fabric than for elastic garments. On knits, aim for neutral tension. The fabric should lie flat and remain supported, but it shouldn't be stretched to increase resistance under the needle.
Mark the grain before hooping. After stitching a sample, remove the garment and compare the marked grain, design edges, and surrounding fabric. If the garment will be washed, inspect it after laundering as well. Distortion that appears only after washing points toward artificial hoop tension, insufficient cutaway support, fabric structure, or a dense design.
For additional garment preparation ideas, the guide to fabric prep for DTF prints offers useful context on handling stretch pique polo material before decoration. The same principle applies here: preparation should preserve the garment's shape rather than force it into a temporary one.
A polo with a dense logo may need lighter design density, stronger permanent backing, adhesive placement, or a different hooping method. Tightening the ring further isn't the automatic answer. If the fabric is already distorted before the first needle penetration, more pressure only hides the problem until the hoop comes off.
Diagnosing Puckering as a System Problem
Puckering is a symptom, not a diagnosis. The hoop may be involved, but so may the stabilizer, design density, thread tension, needle, or fabric structure. Treat the project like a controlled test: change one variable at a time using a swatch prepared exactly like the final item.
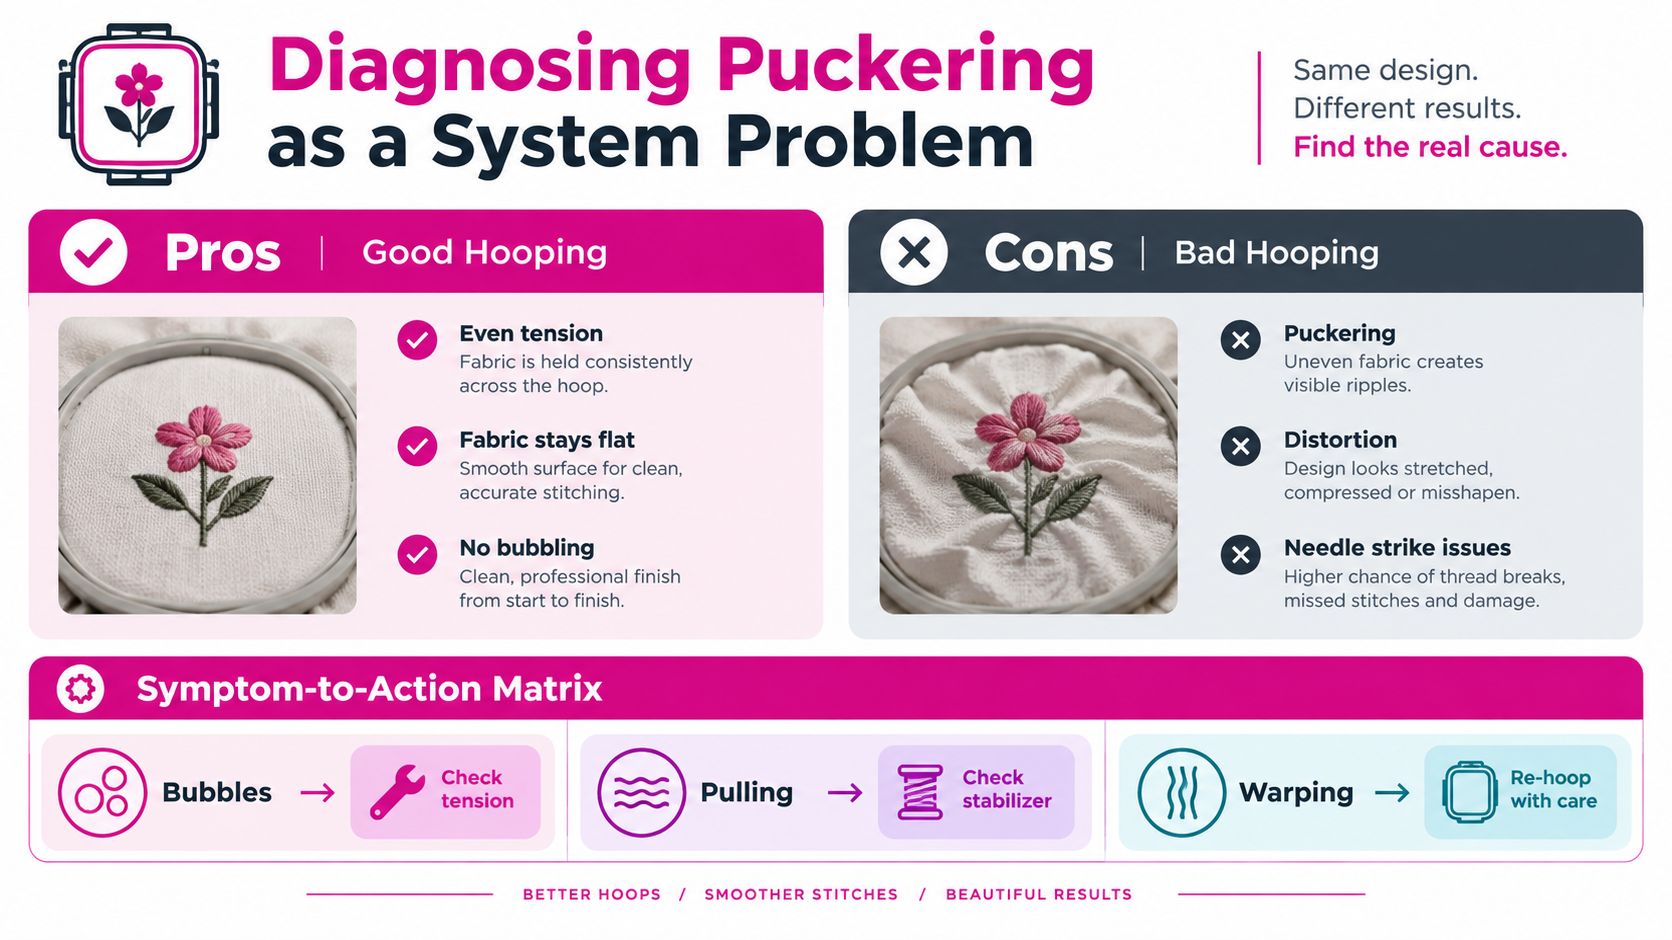
Start with the simplest physical inspection. Look for bubbles, diagonal grain movement, edge slippage, and an inner ring that isn't evenly seated. Then inspect the underside. If the stabilizer is wrinkled, too light for the design, or lifting from the fabric, changing upper-thread tension won't solve the underlying support problem.
Read the symptom before changing the screw
Dense satin columns can pucker even when hoop tension is acceptable. The design may be too dense for the fabric, the backing may be inadequate, or the fabric may need a different needle and thread combination. A knit generally needs cutaway support, while a stable woven fabric can often use tear-away.
Visible hoop burn points toward excessive pressure or unsuitable hooping for the material. Thread nests suggest a thread path, bobbin, needle, or tension issue rather than a fabric-positioning problem. Distortion that appears only after washing points toward the interaction between fabric stretch, artificial hoop tension, stabilizer choice, and laundering.
| Symptom | Likely Category | First Variable to Change |
|---|---|---|
| Bubbles before stitching | Hooping error | Remove and re-hoop the layers smoothly |
| Diagonal grain distortion | Hooping error | Realign the grain without pulling the fabric |
| Edge slippage during stitching | Stabilizer or hooping | Check backing size, ring seating, and hoop fit |
| Puckering around dense satin columns | Design density or stabilizer | Test stronger support or a less dense design |
| Waves after unhooping | Fabric structure or excess tension | Re-test with neutral tension and suitable backing |
| Visible hoop burn | Excessive hoop pressure | Reduce pressure or float the garment |
| Thread nests | Thread, bobbin, needle, or tension | Check threading and bobbin casing before re-hooping |
| Distortion after washing | Stabilizer, stretch, or design load | Test the same materials through laundering |
The most common bad reaction is to tighten the hoop again. That may temporarily flatten a loose area, but it can stretch the fabric, create hoop marks, and make the post-removal distortion worse. The common machine embroidery issue guide identifies insufficient stabilization, improper hooping, excessive upper tension, unsuitable fabric, and dense designs as overlapping causes.
Use a controlled test, not a collection of guesses
Prepare the swatch with the same grain direction, stabilizer, needle, thread, and design density. Change the stabilizer first if the underside lacks support. If the support looks correct, examine design density. Then check thread tension, bobbin handling, and needle suitability. Change hoop pressure last, because the hoop should secure the layers without being used to compensate for every other variable.
A clean test changes one thing. A messy test changes five and teaches you nothing.
Stop stitching when a failure appears. Remove the hoop, correct the alignment or backing, and re-hoop. Don't pull the fabric while it remains clamped. The objective is to restore the project's natural dimensions before continuing, not to force the surface flat long enough to finish the design.
Your Pre-Stitch Checklist and Where to Get the Right Supplies
Press the fabric. Remove creases so the grain and design area are visible before setup.
Match the stabilizer. Use the fabric's stretch, weight, texture, and design density to choose tear-away, cutaway, adhesive, wash-away, or another suitable support.
Confirm the hoop. Check the machine's actual embroidery field and choose the smallest compatible hoop.
Align the project. Mark the design center and fabric grain when placement or registration matters.
Smooth both layers. Keep the fabric and stabilizer flat before inserting the inner ring.
Apply neutral tension. Secure the layers without pulling the textile beyond its natural dimensions.
Perform the surface test. Glide a finger across the fabric and tap it. Look for a firm, smooth surface without bubbles or diagonal distortion.
Run a matching sample. Use the same fabric, stabilizer, needle, thread, and design density before stitching the finished item.
For stabilizer, hoops, and embroidery notions, Linda's Electric Quilters in McKinney, Texas, offers a broad craft-supply selection, including materials used to complete machine embroidery projects. You can also browse the store's educational content and live shopping resources when you want to compare supplies before starting a difficult garment or dense logo.
Frequently asked questions
Should fabric be stretched tight in an embroidery hoop?
No. Fabric should be taut, smooth, and supported, but not stretched beyond its natural dimensions. Stabilizer should provide much of the resistance against stitch movement.
Which stabilizer works best for knit fabric?
Knit and stretch fabrics generally need cutaway support because it remains with the garment after stitching. Adhesive methods can help when hooping the garment itself could leave marks.
What is the smallest hoop I can use?
Use the smallest hoop that fully accommodates the design within the machine's actual embroidery field. Check the design width, height, and clearance from the inner ring before hooping.
Why does embroidery pucker after the hoop is removed?
Artificial tension can disappear when the fabric leaves the hoop, revealing puckering or waves. Insufficient stabilization, dense designs, unsuitable fabric, thread tension, and needle choice can also contribute.
Should I tighten the hoop when puckering appears?
Not automatically. First inspect the stabilizer, design density, thread path, needle, and fabric structure. More hoop pressure can worsen distortion and create hoop marks.
Linda's Electric Quilters offers embroidery hoops, stabilizers, threads, and sewing notions for projects that need controlled fabric support rather than excessive tension. Visit Linda's Electric Quilters to choose the supplies for your next embroidery project and start with a setup that keeps the fabric smooth from hooping through laundering.


