
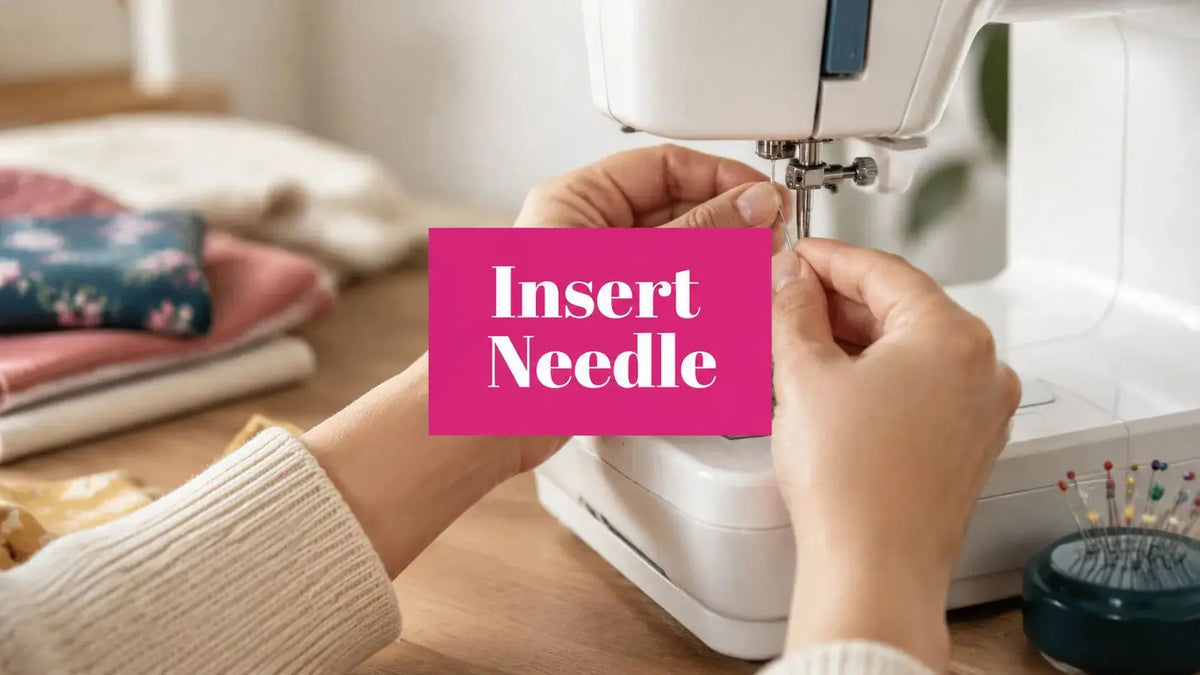
You're standing at the machine, the needle just snapped, and the quilt top is still under the foot. That's the moment when a simple how to insert sewing machine needle task turns into a repair bill if the machine was left powered on or the needle wasn't seated correctly. The fix is straightforward on most home machines, but the details matter, especially when you're working on a side-load, front-load, vintage, or longarm setup where the orientation can change.
Preparing Your Machine for a Safe Needle Change

The first problem I see in a studio is a needle change done in a hurry, with the machine still powered and the presser foot left down. A safer How to Insert Sewing Machine Needle routine starts with the machine switched off, then the presser foot raised so the upper-thread tension opens up and the machine is easier to reset when you rethread it. That order shows up in machine setup guidance for a reason, it keeps the needle area calmer and makes the swap less fiddly from the machine setup walkthrough.
What to do before your hand touches the needle clamp
Have the replacement needle, a small screwdriver, and something to steady the needle close by before you loosen anything. That sounds basic, but it keeps you from balancing a sharp part over the bobbin area, where dropped needles like to vanish. On many machines, the screwdriver that came with the machine fits the clamp screw better than fingers do, which matters when the screw is set tightly.
Practical rule: power off first, raise the presser foot second, and only then loosen the clamp.
I also clear lint from the needle area before I change a needle, because debris around the clamp makes it harder to see whether the shank is fully seated. If your machine needs routine cleaning, do it here, before the new needle goes in.
For a scrappy quilt project like a small parts-heavy studio job, that preparation pays off quickly because partial seams and repeated pivots are less forgiving when a needle is already stressed.
The Universal Needle Insertion Workflow

The core how to insert sewing machine needle workflow is straightforward, but each step matters. Loosen the clamp screw just enough to release the old needle, hold the new one by the shank, and slide it into the clamp with the flat side aligned for your machine. Push it all the way up until it stops, then tighten the screw with firm, controlled pressure as shown in a standard home-machine tutorial.
Why full seating matters more than force
A needle that sits even a little low can throw off timing. That is how you end up with skipped stitches, thread breakage, and a stitch line that looks rough before the quilt top ever leaves the machine. Once the needle is fully seated, give the clamp screw a final snug turn so the shaft stays put.
Some machine tutorials show the same process with a slightly different rhythm, first seating the needle as high as it will go, then finishing the clamp after a finger-tight start as demonstrated in one machine tutorial. The point is the same, seat the needle completely, then lock it in without overworking the hardware.
A steady hand keeps the swap clean
A needle insertion tool or a steady pinch on the shank helps keep the needle from dropping into the machine bed. That matters in a working studio, especially when you are changing needles between quilts and the small part disappears near the throat plate. Once the needle is secure, rethread from the top thread path down through the eye, then pull the thread tail behind the foot before you test stitch.
The screw should be tight enough to stop movement, with no extra strain on the clamp or needle shaft.
If you are setting up a sewing room and want a pattern for practice, the #22 scrappy fat-quarter quilt pattern gives you a useful machine-sewing project with steady repetition.
Machine-Specific Needle Orientation Exceptions

The blanket rule says flat side to the back, and on most home machines that's the right starting point. The problem is that not every machine follows the same housing and clamp logic, which is why so many people swear they inserted the needle correctly and still get skipped stitches. Certain machines, including some Singer models, are one of the better-known exceptions where the flat side faces left rather than back as noted in a machine-specific tutorial.
Read the machine, not the rumor
The machine category tells you more than a general sewing tip ever will. Side-loading, front-loading, vintage, longarm, and embroidery machines can all use different needle systems or insertion directions, and that's the decision point that matters before you tighten the clamp. Some longarm and industrial setups use a different needle style entirely, so you should always confirm the system in the manual or compare the old needle before replacing it.
| Needle Orientation by Machine Type | Flat Side Orientation | Common Needle System |
|---|---|---|
| Most home top-load machines | Back | Standard home sewing needle |
| Some front-load machines | Back, but confirm manual | Standard home sewing needle or case-specific system |
| Certain Singer models | Left | Machine-specific exception |
| Some side-load vintage machines | Varies by model | Vintage-specific system |
| Longarm and industrial setups | Varies by machine | Often a different system from home machines |
| Multi-needle embroidery machines | Varies by machine | Machine-specific embroidery system |
The manual beats the blanket rule every time
If the machine has a side-loading or front-loading clamp, don't assume the needle's flat side matches your last machine. Check the old needle, check the manual, and if the machine has a known exception, follow that instead of the general advice. That single check prevents a lot of wasted test seams and a lot of broken thread.
Studio habit: I treat every unfamiliar machine like a new system until I've verified the needle orientation myself.
This is the part beginners usually skip, and it's where the most frustrating error lives. The orientation might look minor, but the hook can't catch the loop cleanly if the groove and scarf aren't aligned the way that machine expects.
Choosing the Right Needle Size and Type for Your Project

A needle that is seated correctly can still give poor results if the point and size do not suit the fabric. Needle size and point shape need to match the cloth and thread, because a sharp needle behaves differently from a ballpoint or a wedge needle. Quilting cotton, batik, and flannel all respond differently, and the choice affects penetration and stitch quality just as much as the way the needle fits the clamp.
Match the point to the fabric, not your habit
Lightweight fabrics call for finer needles, medium-weight cottons usually need a more general size, and heavier fabrics need a stronger needle body. On longarm machines, quilters often want needles that handle multi-directional movement smoothly, because free-motion work and dense quilting do not travel in one tidy direction. Longarm-specific needles with a flexible design can help support smooth stitch formation during pivots and curves.
Here is the practical pairing I use at the bench:
- Lightweight fabric: a finer needle for chiffon-like cloth and fine thread.
- Quilting cotton: a middle-size needle for standard piecing and general quilting thread.
- Denim or canvas: a larger, tougher needle for resistance-heavy fabrics.
- Leather: a wedge needle made to cut through leather.
Longarm users need a different lens
If you run an Innova, Handi Quilter, or APQS frame system, the needle choice matters as much as the thread path and tensioning. A longarm setup is built for motion, and a poor needle choice can show up as rough stitch quality long before you think about the bobbin casing. That is why I keep Groz-Beckert MR needles in the conversation for longarm work, especially when the quilt is moving in more than one direction.
The comparison chart in this section is the quick-glance version, but the true test is the fabric under your hand. If the needle starts fighting the cloth, the machine will tell on you fast.
I also keep 001 White Signature Cotton Thread on the shelf for general sewing and longarm work because its Tex 40 weight and low-lint build fit a lot of studio use, especially when the stitch line needs to stay clean across long sessions.
Pro tip: if your needle choice feels uncertain, test on the same fabric stack you plan to quilt for the most accurate results.
You can also shop thread and needles alongside batting, notions, and project supplies in the batting category when you are setting up a full quilt workflow.
Troubleshooting Skipped Stitches and Broken Needles
A skipped stitch usually sends me straight to the needle, not the bobbin. In the studio, the problem is often a needle that was not fully seated, a shaft that has bent, or an orientation that does not match the machine's clamp. If you are learning how to insert sewing machine needle the right way, this is the point where careful setup pays off, because a fresh needle inserted correctly fixes a surprising number of problems before you ever open timing covers.
Diagnose the symptom before you chase the machine
Skips on thick seams often point to a needle that is too small or a point that does not suit the fabric stack. Thread shredding calls for a close look at the needle, because burrs on the eye or point will chew through thread fast, and replacing the needle early can keep that wear from spreading into the thread path. If needles are snapping in the middle of a quilt, check the needle size against the fabric, then look for a needle that already took a hit from a pin, seam, or plate edge.
Longarm machines add another layer to the check. Needles built for motion usually have a deeper scarf, and that helps the hook catch the loop more reliably during free-motion stitching. That matters when the quilt changes direction often and the needle is under repeated side stress.
When the new needle still doesn't solve it
A fresh needle that does not clear the problem usually means the issue sits elsewhere in the setup. Timing, bobbin tension, and thread quality move to the top of the list. Keep sewing on a mis-seated needle and you only add more wear around the clamp and needle bar, so a clean reset with the machine powered off and fully rethreaded gives a clearer read than three frustrated test seams.
A sewing machine that breaks a fresh needle is usually signaling a setup issue that needs inspection before you continue sewing.
Longarm owners also have to watch how the thread behaves under speed and direction changes. A low-lint cotton thread can make troubleshooting easier because you are not fighting fuzz in the tension path while you are still isolating the needle problem.
Essential Supplies and Pro Tips for Every Sewing Studio
Keep a few tools within arm's reach and needle changes stop feeling like interruptions. A magnetic pin cushion, a dedicated screwdriver, a needle insertion tool, and a labeled organizer for needle sizes make the whole job faster and less clumsy. I also like storing needles in their original labeled packages, because many sizes look nearly identical until they're already in the machine.
Pro Tip: if you mix needle sizes in one jar, you'll waste time guessing later. Original packaging keeps the size, type, and point family readable when your hands are busy.
For project support, thread, and notions, Linda's Electric Quilters in McKinney, Texas carries a broad mix of quilting and sewing supplies, plus live shopping events and instructional videos that help people see the tools in use before they buy. Their catalog also makes it easier to coordinate thread with project fabric instead of treating each purchase as a separate guess.
If you're getting ready for your next quilt, keep your needle box, thread, and pattern together before you sit down. A little organization at the start makes the actual sewing smoother, and it saves you from hunting for the one part that always goes missing right when you need it.
If you're ready to set up your machine with the right needle, thread, and project supplies, visit Linda's Electric Quilters for quilting notions, instructional resources, and the tools that make needle changes cleaner and more reliable. Their shop is a solid stop when you want to match the right consumables to the way you sew.


