
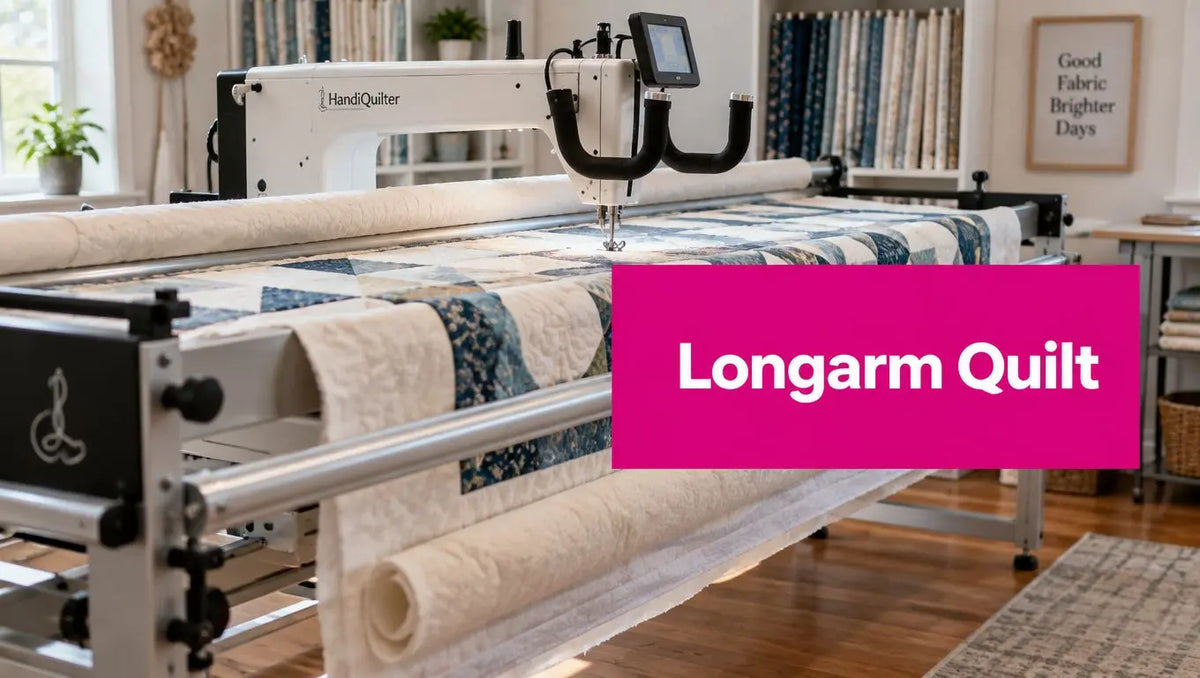
You've got a quilt top ready, a longarm threaded, and a frame that suddenly looks much larger than it did in the showroom. The temptation is to start stitching a beautiful motif immediately. Resist it. Learning how to longarm quilt successfully begins before the machine moves, with a square quilt sandwich, stable edges, controlled tension, and materials that match the design density.
The decorative pattern matters, but preparation determines whether that pattern stays smooth. A poorly loaded backing can shift. An unstable border can wave. Batting with unsuitable loft can change how the needle forms each stitch. This guide treats the frame as a mechanical system, because that's what it is.
Longarming Quilts: Setting Realistic Expectations
A first longarm project can look manageable until the quilt is loaded. The machine head is large, the frame takes up working space, and the quilt travels as a supported sandwich rather than beneath a domestic presser foot. Early problems usually begin with uneven loading, hurried carriage movement, or an attempt to correct poor preparation with a tension adjustment.
Longarm quilting developed from a machine-based method introduced in the nineteenth century. The first quilting machine patent was granted in 1871, and by 1877 the design had shifted toward the modern arrangement, with the machine moving over a quilt stretched on a frame instead of pulling the quilt through a domestic machine. That change still defines how to longarm quilt: the operator stitches from above while the layers stay supported and tensioned on the frame. Longarm quilting history from Innovative Longarm provides additional historical context.
Practical rule: A longarm will not straighten a crooked quilt sandwich. It will carry those defects across the quilting area.
Why preparation beats pattern choice
A wobbly meander, skipped stitch, or puckered border often gets blamed on the motif. The cause is frequently beneath the needle. A loose backing can let the quilt top drag even when the edges look secure. A pieced border with a bias edge may wave as soon as the carriage crosses it. Squareness, edge stability, and even layer tension determine whether the design can stitch cleanly.
Use this preparation sequence:
- Square the components: Check the quilt top, batting, and backing before loading.
- Stabilize vulnerable edges: Press seams flat and secure areas that may stretch or ripple.
- Maintain even tension: Smooth the backing without pulling so hard that it becomes distorted.
- Test the materials: Use a practice piece to check the thread path, bobbin tension, stitch formation, and hand speed.
Batting and thread are mechanical choices as well as visual ones. Loft affects how the needle forms stitches and how the layers feed beneath the foot. Thread weight and surface characteristics affect tension, lint, and the visibility of irregular stitches. A practice sandwich exposes these variables before they affect the finished quilt.
The technique became more professionalized and gained wider popularity among home quilters in the 1990s, after more than a century of gradual refinement. Modern features such as stitch regulation and computerized pantographs extend the original frame-based workflow, but they do not remove the need for a square, stable sandwich.
Build confidence without risking a treasured quilt
Use fabric you can unpick without regret for a first practice run. A plain panel or simple sandwich shows how the carriage responds, how quickly the needle cycles, and how thread behaves when direction or speed changes. Begin with open movement, then progress to dense fills or ruler work once stitch formation remains consistent.
For frame accessories, rulers, leaders, and other longarm tools, compare the options at Linda's Electric Quilters with your machine manual and local training resources. The right accessory supports repeatable setup. It cannot compensate for an unstable edge or poorly tensioned layers.
Loading Your Frame Correctly
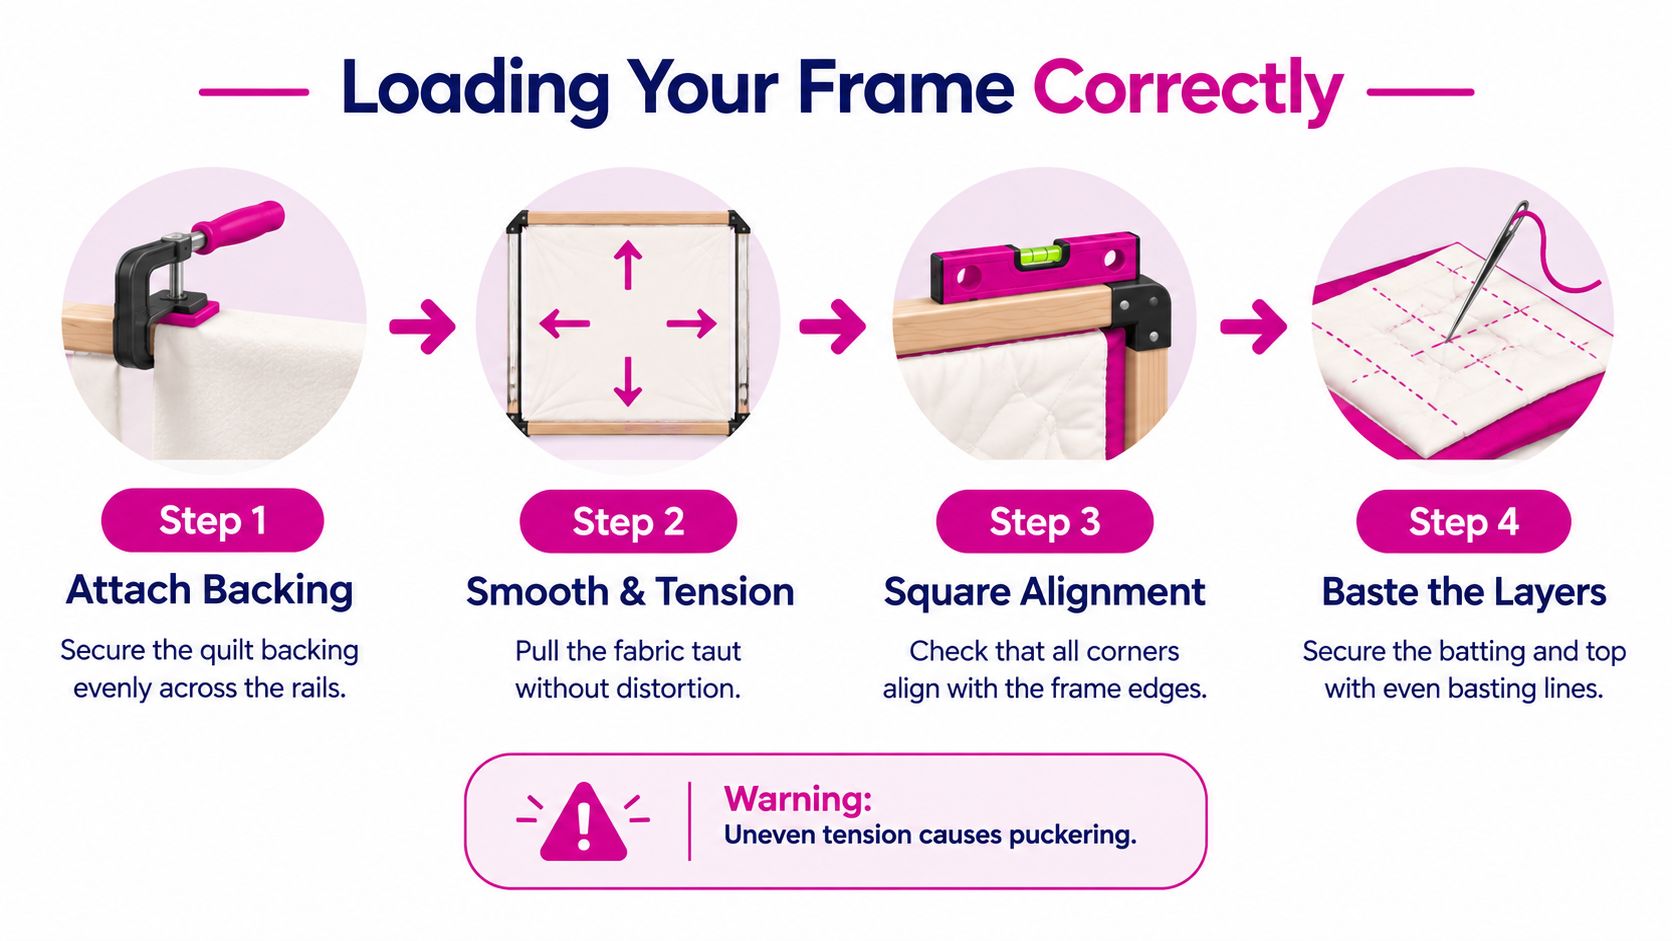
A quilt can look square on the floor and still load crooked on the frame. The problem usually appears later as waving borders, diagonal drag, or uneven quilting. Frame loading is the structural foundation of how to longarm quilt. Mount the backing first, batting second, and quilt top last. Check each layer before the next one covers it.
Press the quilt top and flatten its seams. Inspect the backing for folds, directional changes, and pieced seams that could form ridges beneath dense quilting. Before attaching fabric, compare the top and backing centers on a flat surface. A centered reference makes later adjustments easier.
Align the leaders before attaching fabric
Quilt leaders commonly use a 3/4-inch hem or casing for a rod. Mark the center of every leader before loading. Match the leader centers with the backing center and roller centers. WeAllSew's frame-loading guidance describes this alignment as a reference for keeping the quilt straight as it advances.
Attach the backing with the wrong side down, then center it across the rollers. Roll the take-up and quilt-back rollers evenly, smoothing from the center toward the sides. Keep the grain relaxed rather than pulling one corner into position. Longarm League's backing-loading guide explains how opposing roll directions support an even load and reduce distortion.
Leave at least 4 inches of extra backing on every side, following this longarm backing tutorial. The margin gives clamps room to grip, protects the leaders, and keeps the needle away from frame hardware.
Create a square, tensioned sandwich
Smooth the mounted backing from its center toward both edges. Remove wrinkles with your hands, but avoid diagonal stretching. A backing pulled too hard can look flat while its grain remains under uneven tension.
Place the batting, then align the quilt top with the backing and leader centers. APQS guidance, summarized in this preparation guide, recommends checking layer squareness, leaving side backing, and securing the first edge with basting and clamps before advancing.
Baste across the first edge or line. Advance only a manageable section, then check:
- Side tension: the backing is smooth without sagging.
- Crosswise alignment: borders remain perpendicular to the frame.
- Layer contact: batting fills the space without folds or compressed ridges.
- Edge behavior: pieced or bias edges lie flat instead of waving.
Build confidence with a controlled test
For a separate practice sandwich, cut 12×12 inches of backing, batting, and fabric. Clamp the side edges with small, even pressure rather than pulling the corners. Stitch a simple crosshatch grid first. It exposes carriage drag, edge movement, and tension changes at intersections without repeating the full loading process.
Frame accessories can support repeatable setup. Compare rulers, leaders, and other tools with the machine manual and training resources, including Linda's longarm quilting supplies. The equipment cannot correct a crooked center, unstable edge, or uneven roller tension.
Mastering Tension and Stitch Regulation
A quilt can leave the frame with uneven stitches even when the tension dial matches the manual. Consistency depends on needle cycling, carriage speed, thread tension, bobbin-case condition, and quilt-sandwich stability working together. Squareness and edge stability from loading still matter here, because a shifting layer changes the resistance under the needle.
A practical stitch target is around 10 or 11 stitches per inch, with 10 to 12 stitches per inch serving as a useful working range. The HCLibrary longarm tutorial explains how stitch regulation maintains more even stitch length as hand speed changes. Treat those settings as starting points, not universal corrections for every batting, thread, or design.
Match movement to the needle
A stitch regulator responds to carriage speed, but it cannot correct abrupt acceleration. Lurching into a corner lets the carriage travel farther than the needle cycle can support. You may see elongated stitches, a thread break, or a dense spot where the carriage briefly stops.
Keep the hand steady and let the machine travel through curves. Smooth movement matters more than speed in free-motion work. Ruler work and pantographs also require continuous carriage movement, especially before stopping with the needle in an awkward position.
Before changing tension repeatedly, inspect the needle, thread path, bobbin case, and presser-foot relationship. A bent needle, damaged case, or poorly seated bobbin can imitate a tension fault. Correct the mechanical cause first.
Thread weight changes the dial setting required for balanced formation. A heavier thread generally needs more room to pass through the tension path, while a finer thread may show imbalance if the setting is left unchanged. Read the bobbin side under good light. The top thread should enter the quilt without pulling the bobbin thread visibly to the surface, and the bobbin thread should not form loops or lie loosely beneath the backing. Check the first stitches after changing thread, bobbin, needle, or batting, because each variable alters resistance.
A stable hand is a tension tool. If the motor sounds rushed while the carriage movement turns jerky, slow the carriage before touching the tension dial.
Regulator settings also interact with computerized designs and ruler work. Follow the controls and stitch options for your specific machine instead of copying settings from another model. The The HCLibrary longarm tutorial can help explain general regulation principles, while machine-specific instruction should determine the exact operating procedure.
Choosing Batting and Thread for Performance
A quilt can look square on the table and still resist the frame once quilting begins. Batting and thread choices affect that behavior, along with the finished appearance. Loft, density, scrim, thread weight, and stitch spacing all affect how the needle enters and exits the quilt. A dense pantograph places different demands on the sandwich than an open free-motion design.
Longarm-compatible batting is often low-loft and needle-punched. Some technical guidance specifies batting free of scrim or scrim-like additives and measuring 1/8 inch or less when compressed under 1 psi. This technical preparation guide shows how loft and material weight can be assessed by measurement instead of appearance alone.
Longarm Batting and Thread Comparison
| Material Type | Loft/Weight | Best For |
|---|---|---|
| Low-loft, needle-punched batting | Controlled loft and consistent needle response, depending on construction | Dense quilting, pantographs, and designs requiring predictable penetration |
| Cotton batting | Generally flatter profile, with drape and shrinkage that vary by blend | Traditional quilts and visible texture where moderate density suits the fabric |
| Polyester or blended batting | Loft and resilience vary by construction | Added warmth, stronger definition, or a fuller stitched surface |
| Fine-weight quilting thread | Smaller thread profile and lower visual coverage | Detailed motifs and dense quilting where a quieter stitch line is preferred |
| Medium-weight quilting thread | Greater surface coverage and texture | Free-motion work and designs where thread contributes to the quilting pattern |
| Heavier decorative thread | More thread volume and stronger visual presence | Tested motifs only, with compatible needle, tension, speed, and machine clearance |
Use the table to narrow the choice, then test the actual quilt combination. Batting labels and thread construction vary. Stitch a practice sandwich with the same top, backing, batting, needle, and thread, then inspect the front and back after several changes in direction. This reveals drag, skipped stitches, thread breaks, and compression that a sample straight line may miss.
For a dense pantograph on a cotton top, choose low-loft needle-punched batting rated for 3–4 inch stitch spacing. For an open meander on a warmth-focused quilt, a 1/4-inch cotton blend is suitable. Treat those choices as starting points, then adjust for the backing, seam bulk, and the machine's response.
Treat thread weight as a speed variable
Recent quilting-industry guidance includes a 2024 speed-weight threshold chart connecting thread weight with safe stitching speeds. The Thread Bangers Ball material also emphasizes measuring tension scientifically instead of relying only on the dial. Heavier thread and dense motifs generally require more testing, closer attention to heat, a sound needle, and consistent stitch formation.
Choose batting according to the finished quilt's purpose. Low-loft batting usually makes dense work easier to control. Higher loft can create stronger texture, but tight corners and filled areas require more care. Evaluate shrinkage, drape, warmth, loft, and seam bulk together rather than choosing by color or price. A curated batting collection from Linda's Electric Quilters can help compare available constructions, but the manufacturer's handling guidance and a stitched test sandwich should determine the final selection.
Advanced Techniques and Modern Automation
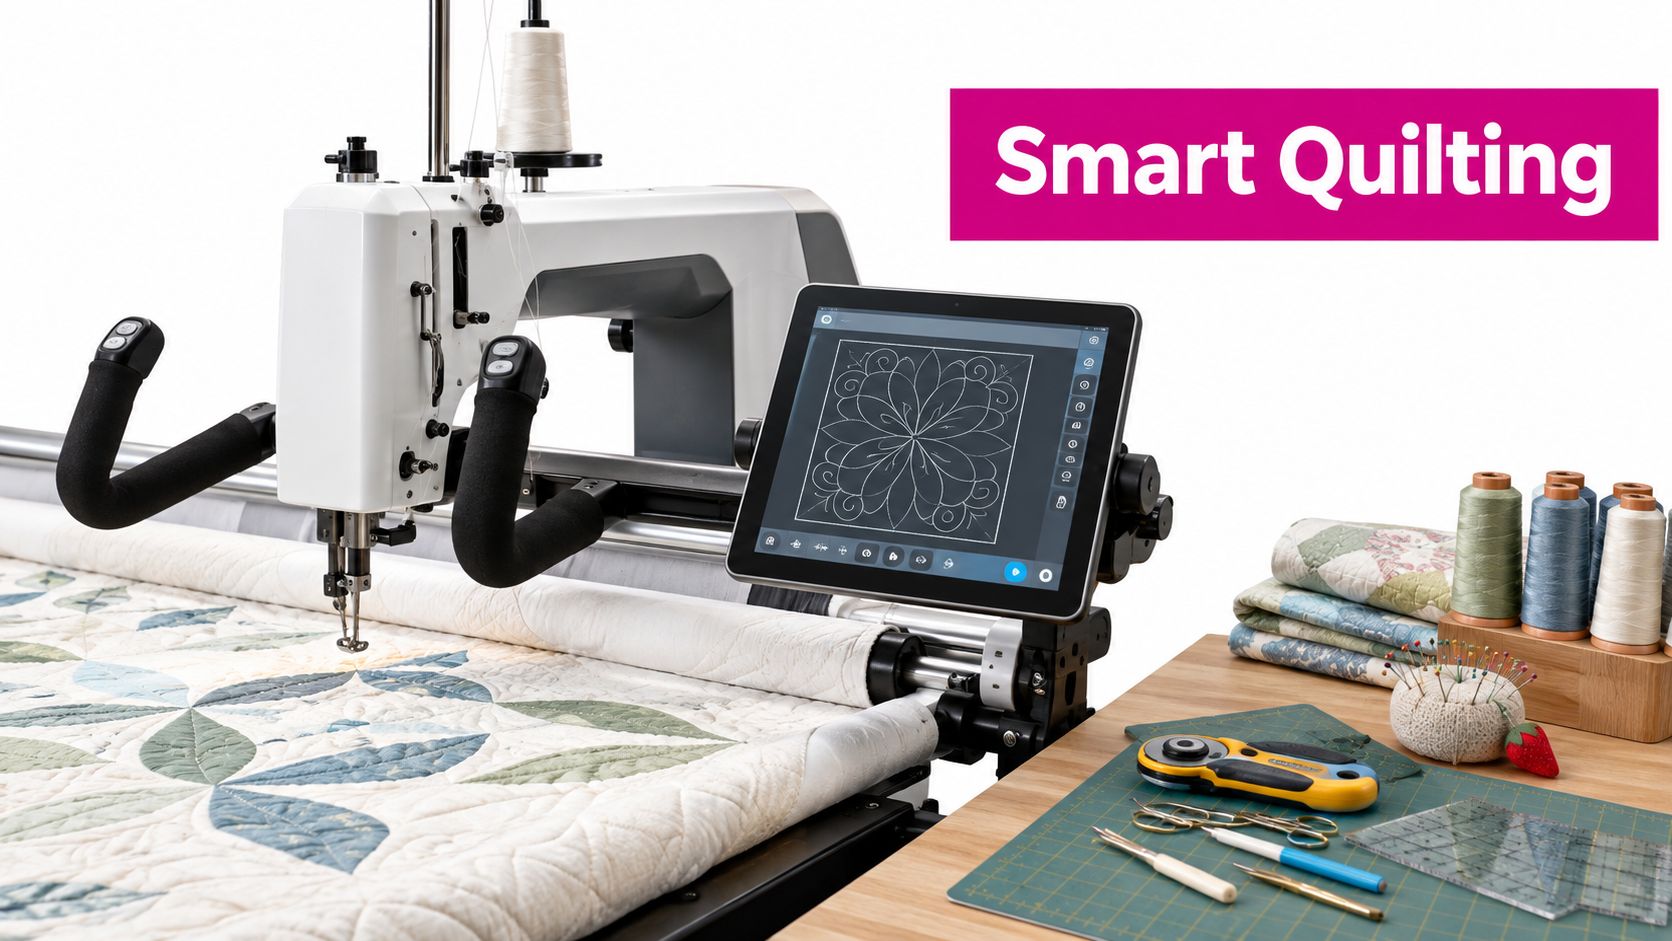
A computerized pantograph can repeat a design accurately, but only after the quilt sandwich is square, stable, and evenly tensioned. The system controls the stitch path. It cannot correct a backing that has shifted, relaxed, or pulled a border out of line. Preparation remains the operator's responsibility.
Use automation as a control system
Set the design scale against the quilt dimensions, confirm the safe margin at each edge, and baste enough of the sandwich to hold the layers while you check placement. Run the first repeat at a controlled speed. Watch how the frame advances before allowing the machine to continue unattended.
A backing that has relaxed in the center exposes the limits of automation. The pantograph may follow its programmed route while the loose area forms small tucks or causes uneven stitch spacing. Pause at the next safe point, smooth the backing toward the rollers, correct the side tension, and advance only after the surface is supported. Restarting the design without fixing the center transfers the problem across every repeat.
Cloud design libraries and touchscreen controls reduce the work of converting a motif into a usable path. They do not replace tactile checks. Listen for a change in motor load, watch the thread path, and confirm that the quilt advances evenly. The screen shows the programmed route, not whether the sandwich is developing drag or slack.
Balance speed against density
Industry commentary describes growing interest in CNC automation, cloud design libraries, touchscreens, and younger technology-oriented users. It also discusses projected growth for the longarm market and product launches such as the Infinity 28 with Pro-Stitcher. Treat those references as market commentary, not a guarantee of demand or performance for an individual operator.
Dense designs need enough time for the operator to see how thread, batting, and fabric respond. Open designs may tolerate a smoother, faster hand, provided the backing remains supported. Automation produces consistent results only when preparation, observation, and intervention stay part of the workflow.
Troubleshooting and Essential Resources
Most longarm problems have a physical cause. Before changing several settings at once, stop the machine, inspect the sandwich, and identify which layer or component changed.
Diagnose the failure before adjusting
- Puckering appears behind the needle: Check whether the backing has loose areas or uneven side tension. Smooth and advance the sandwich instead of tightening the machine tension immediately.
- The quilt shifts out of alignment: Compare the backing and leader centers, then inspect the clamps and roller loading. Recheck squareness before continuing.
- Thread breaks during dense quilting: Inspect the needle, thread path, bobbin casing, and speed choice. Heavier thread and dense motifs need a controlled test.
- Skipped stitches occur on corners: Reduce abrupt acceleration and verify that the quilt surface is evenly tensioned.
- The center feels baggy: Revisit how the backing was rolled and smoothed. A flat edge doesn't prove that the center is supported.
Pressing seams open, stay-stitching vulnerable edges, and preparing pieced borders before loading can prevent rework. This preparation guide from From My Carolina Home focuses on the often-overlooked preparation choices that affect edge stability.
For a visual shopping and education option, Linda's Electric Quilters also provides live shopping content and instructional videos through its quilting community resources. Keep a project checklist beside the frame, and record the batting, thread, needle, stitch setting, and tension arrangement that worked. That record turns troubleshooting into repeatable practice.
Linda's Electric Quilters offers batting, quilting thread, longarm tools, rulers, and project supplies for preparing and finishing quilt sandwiches with greater control. Visit Linda's Electric Quilters to choose materials for your next longarm project, then test the complete combination before committing it to the finished quilt.


