
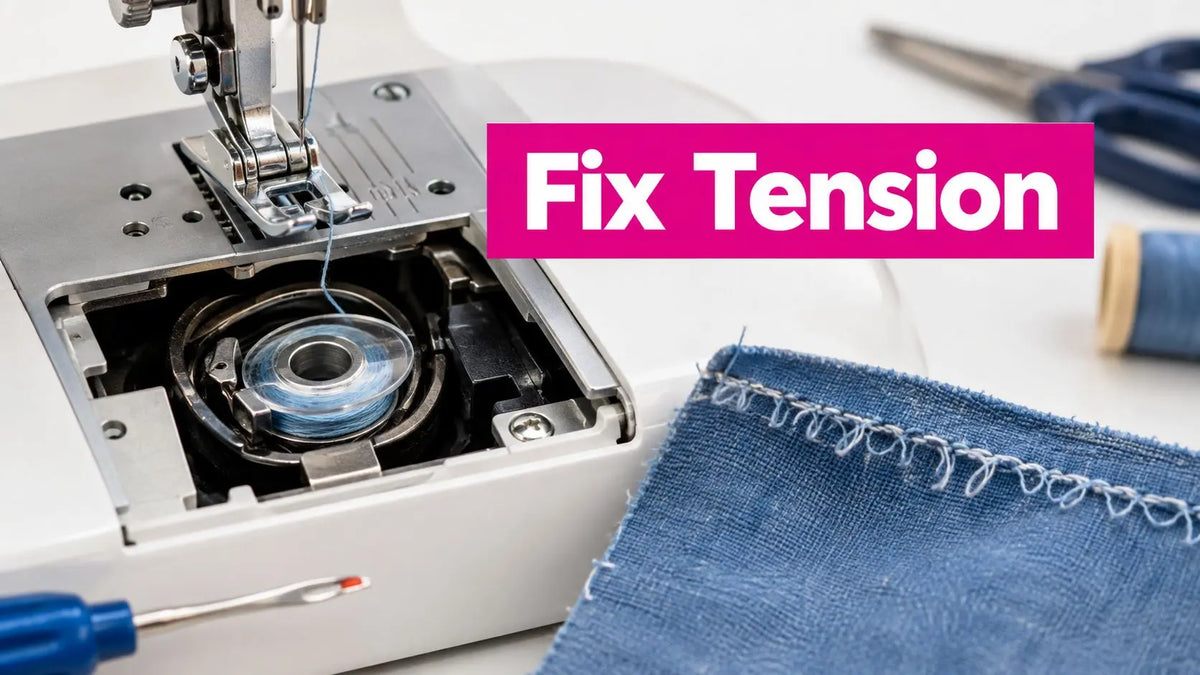
You pull the first finished seam from the machine and find a tangled row of loose loops underneath. The top looks acceptable, but the underside resembles a bird's nest. Sewing machine tension loops on the bottom usually point to the upper thread path, not a failed bobbin. Raise the presser foot, rethread completely, test on scrap, and only then adjust upper tension. If the loops remain, inspect the bobbin case, needle, thread, and lint.
This diagnosis-first approach saves thread, bobbins, and frustration. The sequence is straightforward: confirm the defect, rule out threading errors, make small upper-tension adjustments, then escalate to the lower mechanism or machine service. Most users shouldn't feel defeated at the first messy seam. The thread may have missed a tension disc, or the presser foot may have been down during threading.
Why Your Stitches Are Looping on the Bottom
A quilter often notices the problem after sewing far enough to trust the seam. Turn the fabric over, and loose top-thread loops have collected beneath it. The instinct is to open the bobbin cover and adjust the tiny screw, but that usually skips the most useful evidence. Loops underneath are consistently treated as an upper-thread problem in the University of Melbourne maker-space troubleshooting guide, which says the upper thread may not be seated in the tension mechanism and take-up lever.
Start with four checks, in this order:
- Confirm the symptom. Make sure the loops are on the underside, rather than skipped stitches, thread shredding, or a needle problem.
- Rethread the top path. Raise the presser foot, place the take-up lever correctly, and make sure the thread passes through every guide.
- Test upper tension. Use scrap fabric and change the numbered dial only in small steps.
- Escalate carefully. Check the bobbin installation, needle, thread pairing, and lint before considering bobbin tension or technician service.
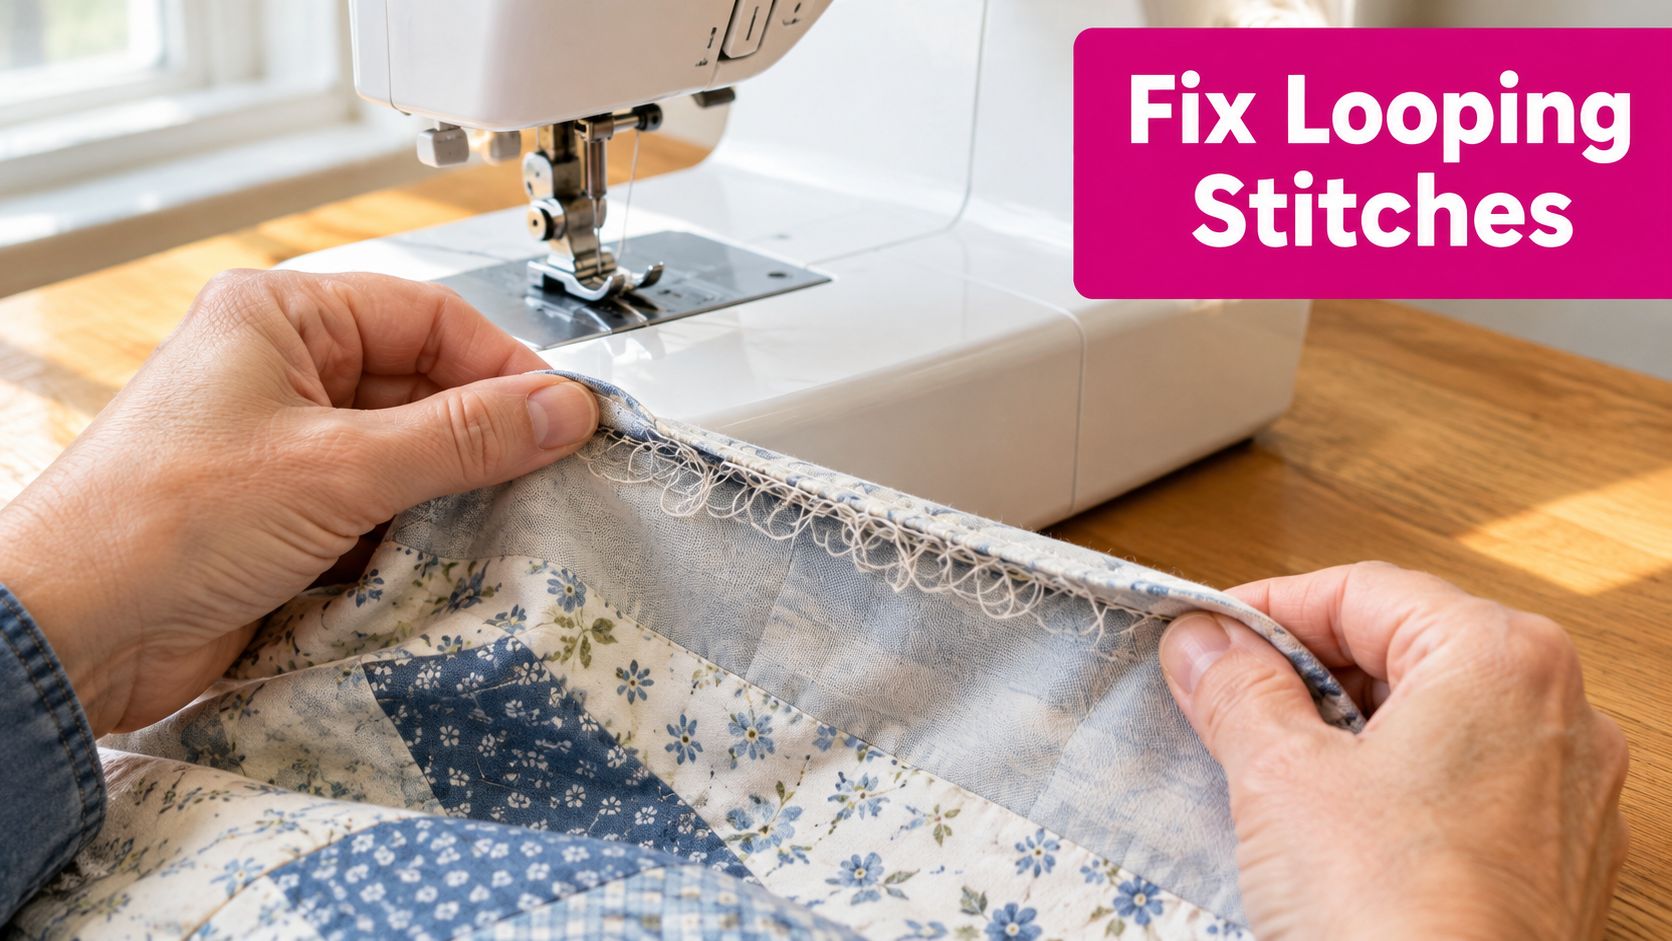
At the counter in a McKinney, Texas longarm shop, this is the part many quilters skip. They assume the visible mess must come from the bobbin because the loops are underneath. In practice, a top thread that has slipped outside the tension discs can run nearly uncontrolled and pile up below the fabric, even though the bobbin is correctly installed.
Practical rule: Diagnose the thread path before changing a setting. A clean rethread often fixes the defect without disturbing the machine's original calibration.
For quilters working with a domestic machine, a longarm, or a newer electronic model, the same principle applies. Use a test scrap made from the same fabric stack as the project, and don't judge the stitch only from the top. The underside is giving you a useful clue about which thread isn't being controlled.
What Bottom Loops Tell You About Your Stitch
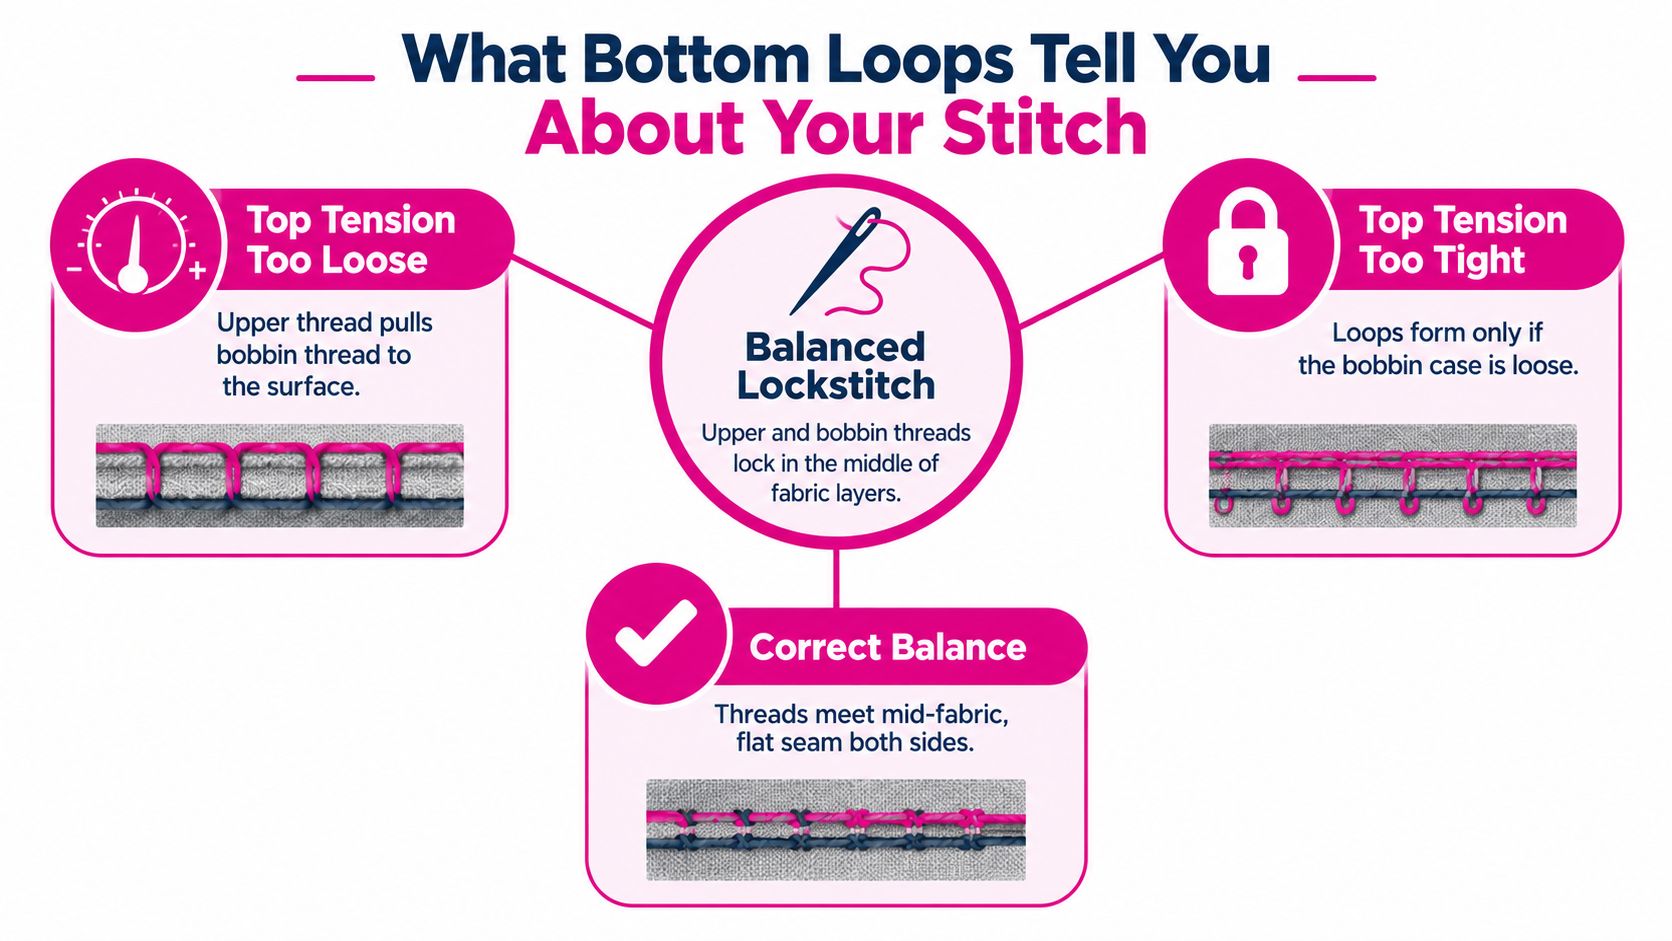
A balanced lockstitch forms when the upper thread and bobbin thread meet between the fabric layers. The needle carries the upper thread down, the hook catches the loop, and the two threads interlock inside the seam instead of lying loose on either surface. When that balance fails, one thread rides across the fabric without enough control.
If the loop hangs only from the underside, the upper thread generally isn't pulling the bobbin thread into the middle of the fabric. That points toward upper-thread slack, incorrect threading, or tension discs that never engaged the thread. If thread is pulled to the top, the upper path may be too tight, although a loose bobbin case can also disturb the balance.
The four usual suspects are easy to name, but they shouldn't be treated as interchangeable:
- Incorrect upper threading: The thread missed a guide, tension disc, or take-up lever.
- Incorrect upper tension: The dial is too loose for the thread, needle, and fabric combination.
- Bobbin-case trouble: The case is dirty, mis-seated, oriented incorrectly, or outside its usable tension range.
- Needle and thread mismatch: A bent needle, unsuitable size, fuzzy thread, or uneven pairing changes how the stitch forms.
A useful bench test is to tug the loop gently. If it pulls cleanly toward one side, that side identifies the thread with excess slack. This isn't a substitute for a proper test seam, but it helps separate a top-path problem from a lower-thread problem before you start turning anything.
The New Mexico State University sewing-machine troubleshooting guide also directs users with underside loops toward upper-tension correction rather than immediately adjusting lower tension. That distinction matters on newer machines, where the bobbin may be factory set and not intended for user adjustment.
Rethreading the Top Path the Right Way
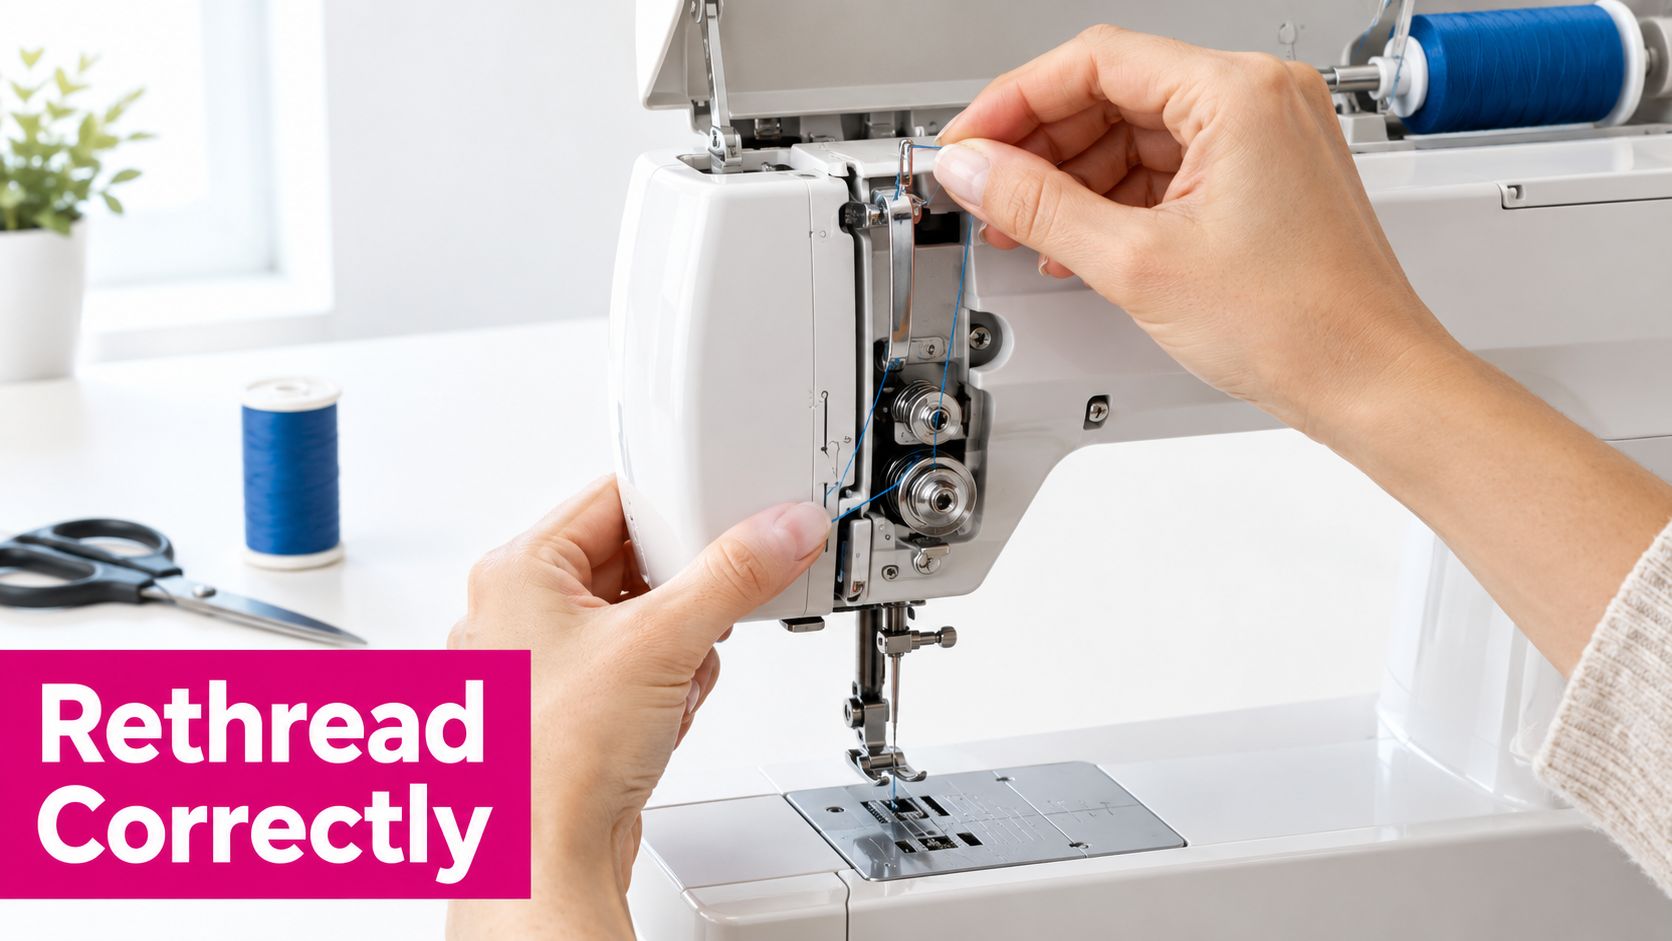
A fresh test seam still shows loops underneath. Before turning the tension dial, remove the upper thread completely. Raise the presser foot, then bring the take-up lever to its highest position. This opens the tension discs and makes each checkpoint easier to see.
Follow the path in order:
- Start at the spool. Check that the thread unwinds smoothly and does not catch on a notch or spool cap.
- Follow every guide. Seat the thread in each guide instead of dragging it across the machine's front.
- Seat the tension discs. With the presser foot raised, place the thread firmly between both discs.
- Catch the take-up lever. The thread must pass through the lever eye as it rises and falls.
- Finish at the needle. Use the machine's specified needle direction, and pass the thread through the final guide.
The tension discs and take-up lever are the checkpoints people skip most often. Thread outside the discs can leave the numbered dial with little effect. A missed take-up lever leaves excess slack during the needle stroke, producing loops underneath even when the bobbin is correctly installed.
Use contrasting thread for a short test if you want to protect the project's original color. Pull it with the presser foot raised, then lower the foot and pull again. Resistance should be light with the foot up and firm and even with it down, as described in this presser-foot and thread-loop diagnostic guide.
Sew a short line on scrap and inspect both sides. If the loops disappear, the path was the fault. If they remain, record that result and move to a small upper-tension adjustment. On newer machines with factory-set bobbins, leave the bobbin setting alone unless the manual specifically allows adjustment.
Linda's Electric Quilters also discusses raising the presser foot and checking the upper path before changing bobbin settings.
Adjusting Upper Tension in Small Steps
Once the top path is correctly threaded, the upper-tension dial becomes useful. Many home machines use a numbered dial, and a typical upper-tension range is 3 to 6 when the take-up lever and tension path are threaded correctly, according to this upper-thread troubleshooting reference. A baseline near 4 is a practical starting point for many medium-weight cotton tests, but the correct setting depends on the thread, needle, fabric stack, and machine.
Don't make a large jump. Turn the dial by 0.5 to 1.0 at a time, then sew a fresh test line on two layers of scrap. Inspect the underside before changing anything else. The goal is for the upper and bobbin threads to interlock in the middle of the layers.
Upper tension dial test table
| What You See on Underside | Top Thread Reading | Dial Adjustment | Next Test |
|---|---|---|---|
| Loose upper-thread loops | Upper thread has too much slack | Increase by 0.5 to 1.0 | Sew another line on the same scrap |
| Bobbin color is pulled upward | Upper thread may be too tight | Decrease by 0.5 to 1.0 | Check both surfaces again |
| Flat, even stitching | Thread interlock is centered | Leave the setting alone | Record the setting for this combination |
| Uneven loops after several tests | Tension may not be the root cause | Stop turning the dial | Rethread and inspect needle, bobbin, and lint |
The My Tailor Kit tension guide recommends incremental upper-tension changes and scrap testing rather than extreme adjustments. That approach protects your baseline and gives you a readable cause-and-effect trail.
Keep notes for thread-and-needle combinations you use often. A setting that works for one cotton thread may not suit a heavier top thread, specialty rayon, or a different needle point. If the dial appears to do nothing after correct rethreading, stop adjusting and return to the first diagnostic step.
When the Bobbin Case Is Actually the Problem
Most bottom loops begin in the top path, so run the rethread-and-test sequence before touching the bobbin case. If the upper thread is seated correctly, the dial has been tested in small increments, and the underside still loops, inspect the bobbin area.
Remove the bobbin and check its orientation, winding, and seating. Look for lint beneath the bobbin spring or a short piece of thread caught in the case. A drop test can reveal whether the bobbin tension is dramatically outside a usable range. Hold the case with the thread hanging, then give it a small jiggle. It shouldn't free-fall to the floor, and it shouldn't remain completely immobile, as outlined in this bobbin-case troubleshooting guide.
Decide before touching the bobbin screw
| Situation | Touch the Bobbin Screw? | Action |
|---|---|---|
| Top path hasn't been rethreaded with the foot raised | No | Rethread completely and test |
| Loops disappear after upper-tension correction | No | Keep the bobbin at its original setting |
| Correct threading and upper testing still fail | Possibly | Inspect orientation, debris, and case movement |
| Newer machine with a factory-set bobbin | No | Leave the setting alone and contact a qualified shop |
| Traditional adjustable case with persistent imbalance | Carefully | Use a quarter-turn, then test again |
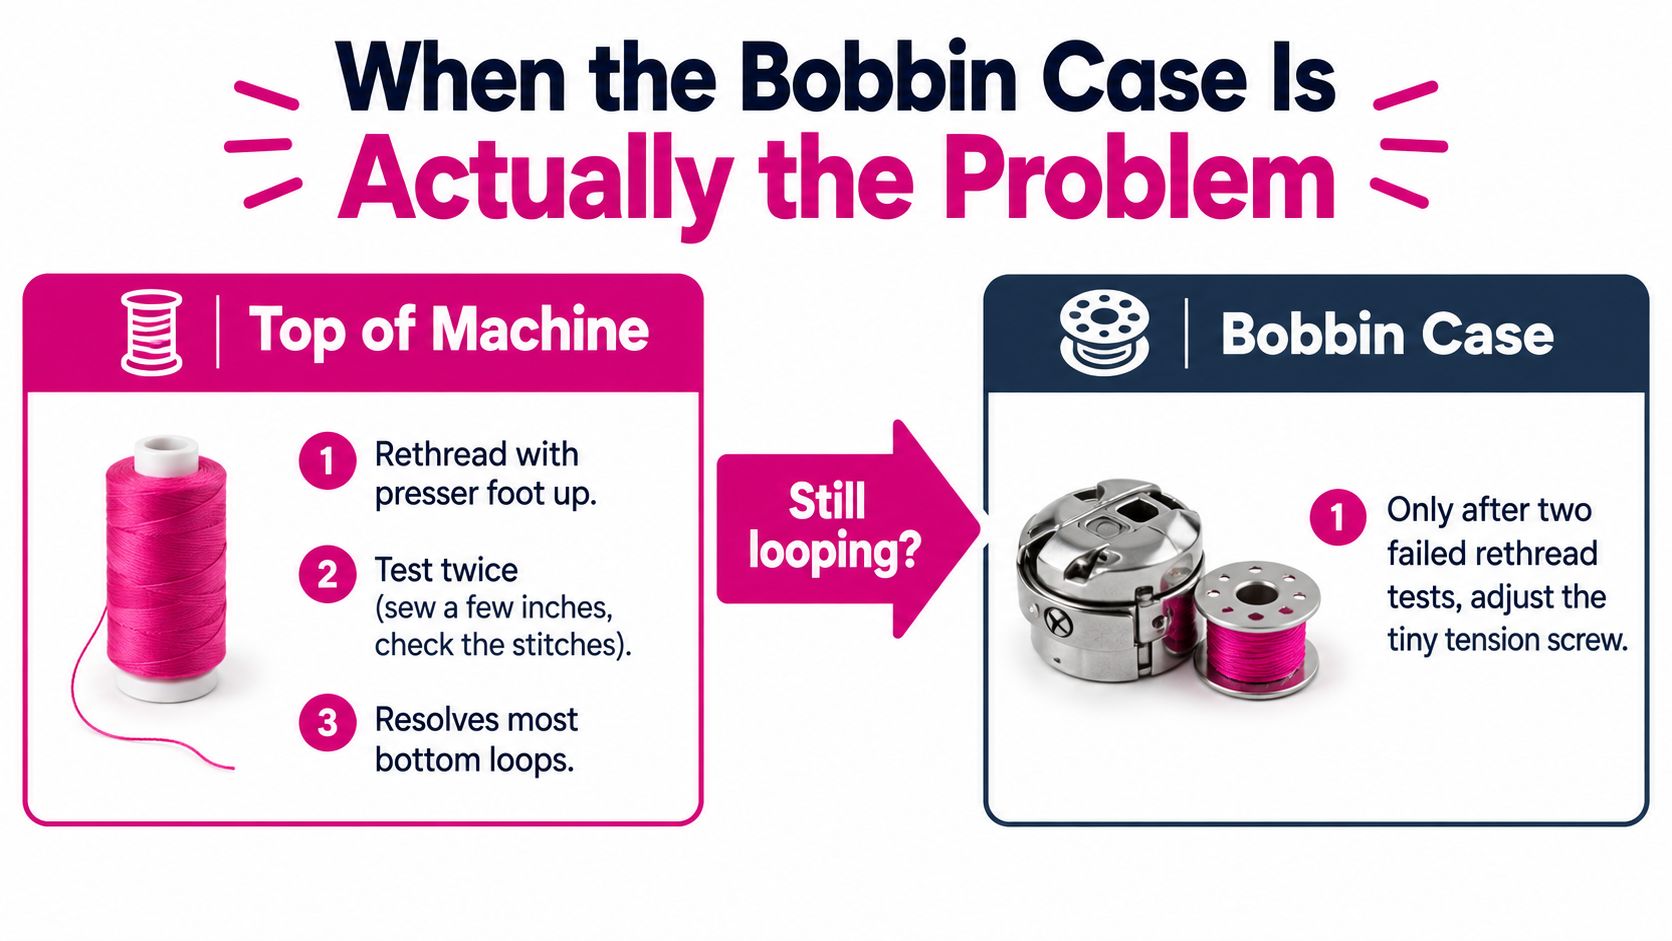
For a traditional adjustable case, make only a quarter-turn at a time. The YLI Threads bobbin-tension guide describes clockwise movement as increasing tension and counterclockwise movement as decreasing it. Test after every adjustment, using the same fabric, thread, and needle.
This is the section many skip and regret. Newer drop-in and front-loading systems may use factory-set bobbins that shouldn't be adjusted by hand. If the case is sealed, marked as non-adjustable, or covered by the machine's service instructions, leave the screw alone.
Needle Thread and Cleanliness Checks
When the upper path and tension tests don't solve the defect, move to the needle, thread, and machine cleanliness. These checks are less dramatic than turning a bobbin screw, but they often explain why a machine behaves differently from one project to the next.
Remove the needle and hold it flat against a white background. Replace it if the shaft is bent, the point has a hook or burr, or the surface catches light unevenly. A 90/14 universal needle suits many quilting-cotton projects, while a Microtex or topstitch needle can be a better match for tightly woven or slippery fabrics. The needle must suit both the fabric and the thread weight.
Thread pairing matters too. A heavyweight upper thread combined with a much lighter bobbin thread can create competing drag, especially when the fibers behave differently. Match thread weight and fiber whenever practical, then test the actual combination on the same fabric stack you plan to sew.
Clean the places that collect trouble
Power off and unplug the machine before opening covers or cleaning. Then inspect:
- Bobbin race: Brush away lint, broken thread, and dust around the hook area.
- Feed-dog area: Remove the needle plate if the machine allows safe access, and clear packed lint.
- Tension path: Check for fuzzy thread fragments caught near the discs.
- Spool path: Make sure the thread unwinds without catching or wrapping around the pin.
Use a stiff, clean brush for loose lint. Avoid canned air near sensitive sensors, because it can push debris farther into the machine. Reassemble the machine, install the fresh needle, and sew another test line using the same materials as the earlier sample.
If the result changes after cleaning, note what improved. That observation is more valuable than another random dial turn. A machine that loops only with one thread may need a different needle or thread pairing, while a machine that loops across several combinations may need deeper inspection.
Habits That Prevent Loops and When to Call Us
Tension problems are easier to prevent than to chase. Brush lint from the bobbin area and under the needle plate every few bobbins, especially after sewing fuzzy fabric or thread. Replace the needle every 8 to 10 hours of sewing, and store fresh thread away from sunlight so it isn't exposed to unnecessary deterioration. Always power off and unplug before cleaning.
A ten-stitch test scrap before each project gives you an early warning. Use the same fabric layers, needle, upper thread, and bobbin thread you intend to use in the project. Look at the top and underside before you commit to a long seam or begin quilting a larger section.
Shop habit: Keep a small test sandwich beside the machine. It turns a tension complaint into a visible comparison instead of a guess.
Quality supplies also reduce variables. A clean bobbin, a suitable needle, and consistent thread make it easier to tell whether the machine is at fault. For ongoing sewing and quilting supplies, Linda's Electric Quilters carries threads, needles, bobbins, batting, and other notions through its quilting supplies category.
Know when the machine needs a technician
Stop home adjustments when persistent looping remains after:
- Complete rethreading with the presser foot raised
- Small upper-tension changes and scrap testing
- A fresh, correctly matched needle
- Cleaning the bobbin area and tension path
- Verification of bobbin orientation and seating
At that point, timing, hook damage, a burr, or an internal tension-spring problem may be involved. Those conditions require tools and calibration that aren't sensible to improvise at the sewing table. Further screw turning can erase the machine's baseline and make professional diagnosis harder.
If you need a replacement part rather than a tension adjustment, confirm compatibility with your machine before ordering. A specific longarm part, such as an Innova-compatible tension assembly, should be matched to the exact model and service requirements. Linda's Electric Quilters also offers educational support through instructional videos and live shopping content, which can help you compare consumables before your next project.
Visit Linda's Electric Quilters for compatible threads, needles, bobbins, batting, and quilting notions that help you control the variables behind sewing machine tension loops on the bottom. If careful rethreading and testing don't restore a balanced stitch, contact the McKinney, Texas team for practical guidance before adjusting a factory-set bobbin or sending the machine for service.


