
Turning a stack of old t-shirts into a cozy, memory-filled quilt is one of the most rewarding projects you can tackle. At its core, the process breaks down into three main stages: first, you'll prep your shirts by stabilizing and cutting them; next, you'll sew those prepared blocks into a quilt top; and finally, you'll finish it off with batting, a backing fabric, and binding. It's a beautiful way to transform sentimental clothing into something you can use and cherish every day.
Your First Step to Crafting a T-Shirt Quilt
So, you're ready to give those special t-shirts a new life? Making a t-shirt quilt is so much more than just a sewing project—it's about weaving together a tapestry of memories from concerts, vacations, sports teams, and family reunions. Think of this guide as your complete roadmap, walking you through everything from the initial planning to that final, satisfying stitch.
Before we dive in, it’s worth noting that this project is a fantastic example of upcycling. If you're looking for more inspiration on giving old garments a second chance, check out these creative ways to repurpose old clothes.
The Quilting Journey Ahead
Your quilt-making adventure will follow a pretty clear path, which helps keep things from feeling overwhelming. I like to think of it in three core phases: preparation, assembly, and finishing. A little extra planning in that first stage makes the next two so much easier.
A solid plan also helps you figure out exactly how much extra fabric you'll need for things like sashing and backing. To take the guesswork out of it, our guide on how to calculate fabric yardage is a lifesaver.
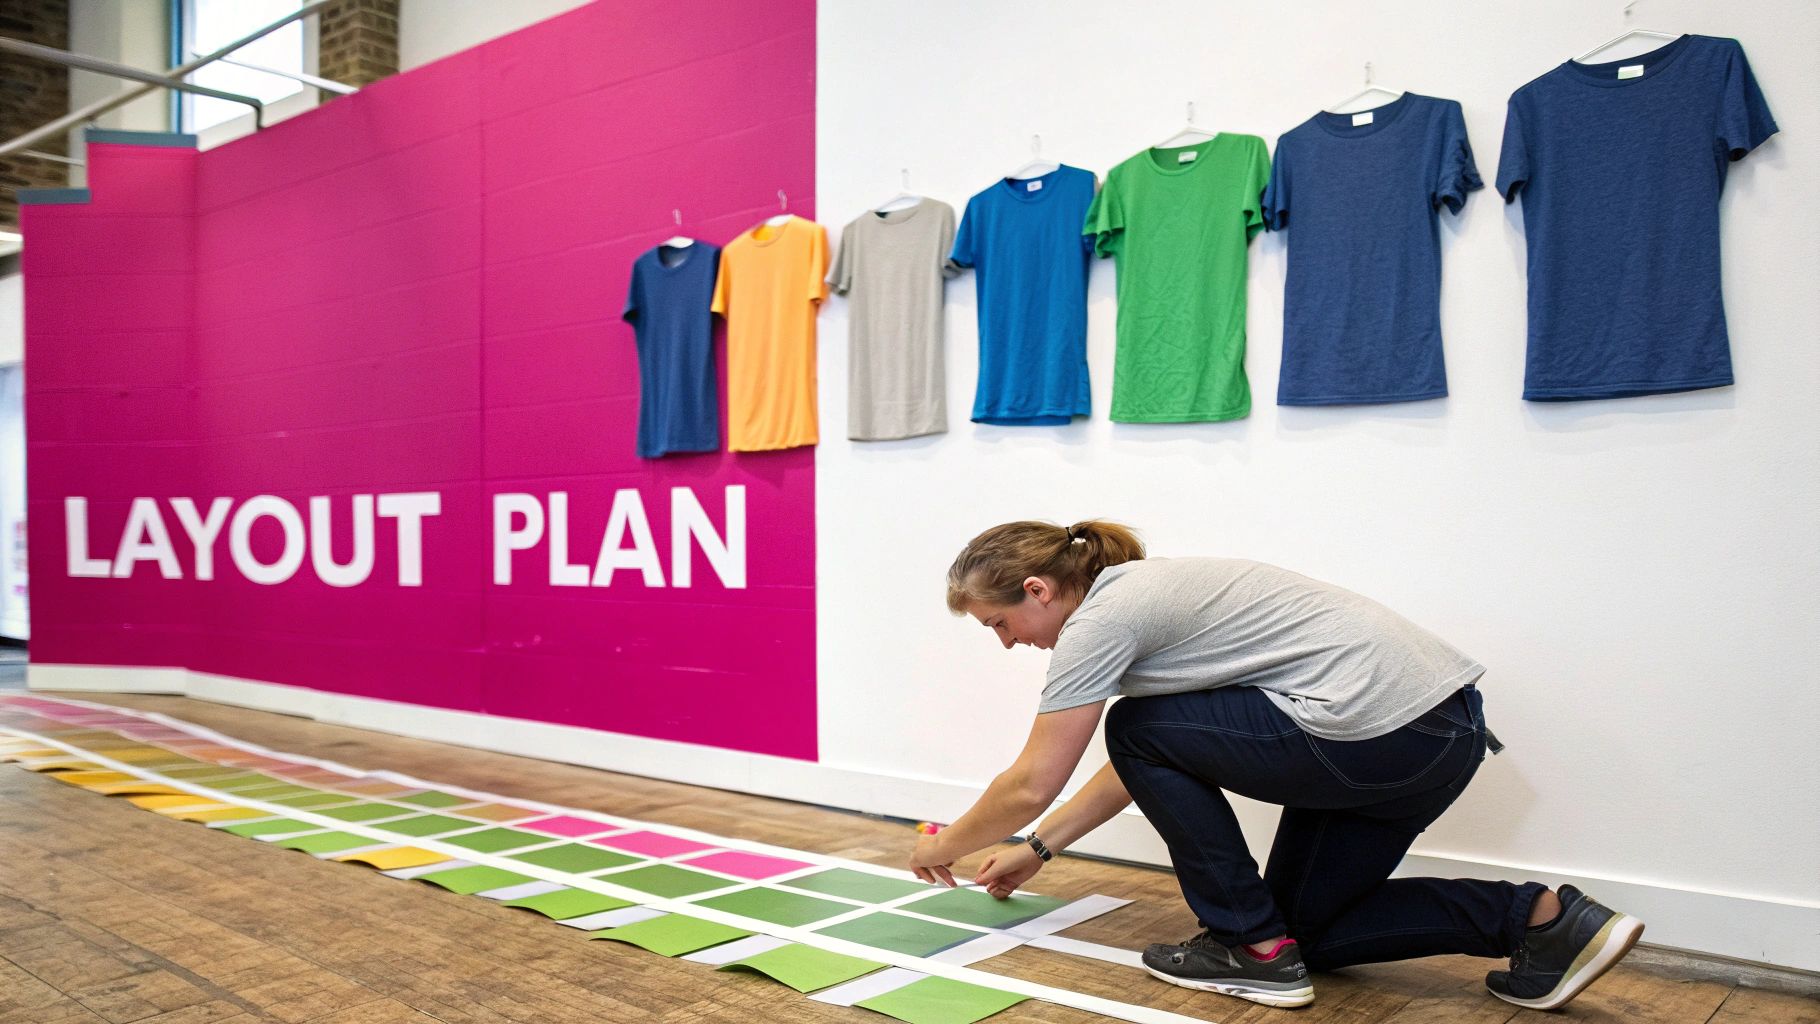
This simple visual breaks down the basic workflow you'll be following.
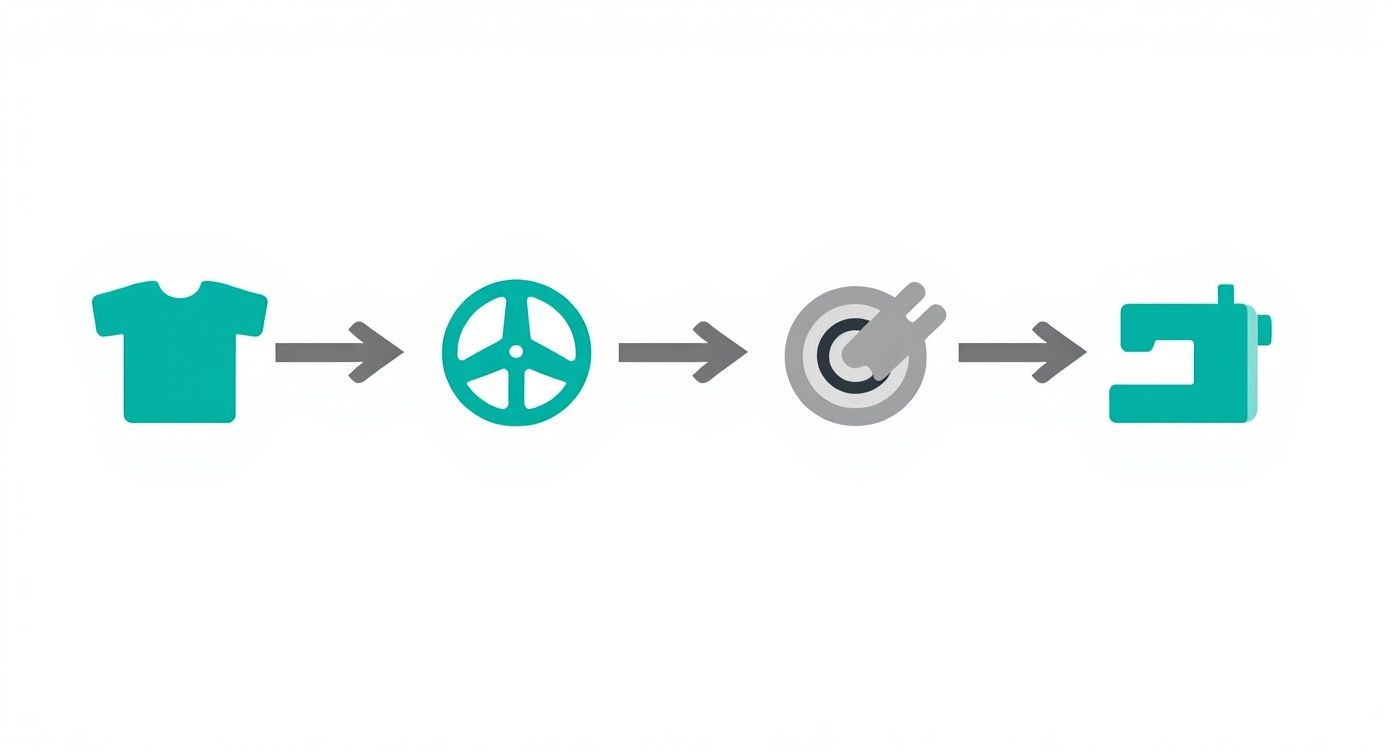
As you can see, choosing your shirts, cutting them precisely, and then piecing the blocks together are the key steps that lay the groundwork for a beautiful quilt.
To give you a clearer picture of the road ahead, here’s a quick summary of the main stages you’ll be working through.
The T-Shirt Quilting Process at a Glance
| Stage | Primary Goal | Essential Tools from Linda's |
|---|---|---|
| 1. Preparation | Wash, stabilize with fusible interfacing, and cut shirts to a uniform block size. | Fusible Interfacing, Rotary Cutter & Mat, Acrylic Rulers |
| 2. Assembly | Sew the t-shirt blocks together, often with sashing, to create the quilt top. | Sewing Machine, Quality Cotton Thread, Walking Foot |
| 3. Finishing | Layer the quilt top with batting and backing, quilt the layers together, and attach the binding. | Basting Spray or Pins, Batting, Binding Clips |
This table maps out the entire journey, making it easy to see what’s coming next and what you'll need from Linda's to complete each part of the project.
Why T-Shirt Quilts Are So Popular
If you're jumping into this craft, you're in good company! T-shirt quilting is part of a massive quilting market valued at around $4.5 billion, which has seen incredible growth over the past couple of decades.
There are an estimated 9 to 11 million active quilters out there, and what’s really exciting is the growing number of younger crafters under 40 who are discovering the joy of quilting. It’s a craft that truly spans generations.
This project is perfect for anyone looking to preserve memories in a practical, huggable form. With the right guidance and high-quality supplies from Linda's, you'll have everything you need to create a keepsake you’ll treasure for years.
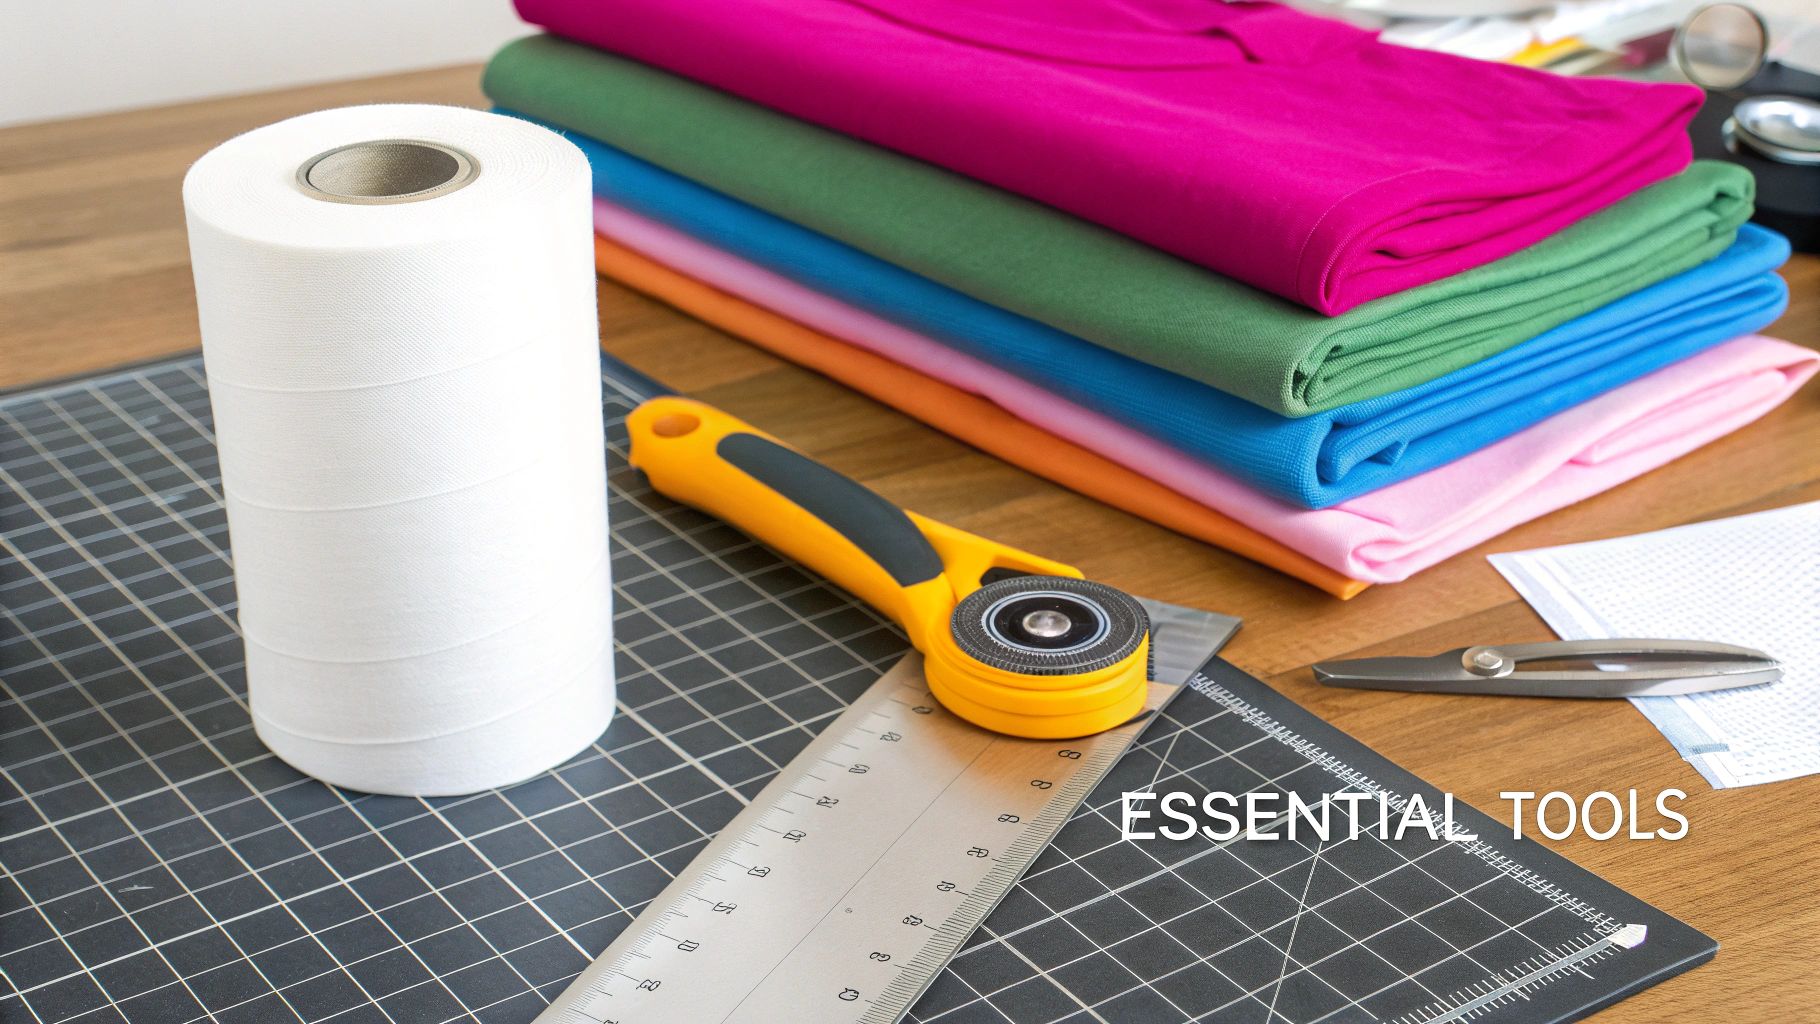
Gathering Your Essential Quilting Tools
Before you even think about making that first cut, let's talk about setting yourself up for success. Getting your tools and materials in order is the secret ingredient to a t-shirt quilt that looks polished and lasts a lifetime. This is more than just grabbing some fabric; it's about creating a workspace that makes the whole process a genuine pleasure.
Having the right gear on hand is the best way to sidestep common frustrations. It ensures every step, from cutting your shirts to sewing the blocks, is as precise as it can be.
Of course, the heart and soul of your quilt are the t-shirts themselves. While you can use just about any shirt, you'll have a much easier time with those made from 100% cotton or a cotton blend. These fabrics are simply more cooperative—they take to stabilizer beautifully and don't shift around as much as those super-stretchy performance fabrics. Also, give some thought to the graphics! Big, bold designs often make for the most stunning quilt blocks.
Core Materials for a Sturdy Quilt
To properly learn how to t shirt quilt, you'll need a few more things than just a pile of memories. These are the absolute must-haves that give your project its structure and coziness. Linda's is your one-stop shop for all these quilting essentials.
- Fusible Interfacing: Honestly, this might be the most important item on the list. T-shirt material is designed to stretch, which is fantastic for wearing but a quilter's nightmare. A quality, lightweight woven fusible interfacing like the Pellon SF101 Shape-Flex available at Linda's is a lifesaver. It adds just enough stability to stop the fabric from warping, helping your blocks lay flat and sew together like a dream.
- Batting: This is the fluffy middle layer of your quilt "sandwich," giving it warmth and that wonderful quilted texture. The batting you choose will directly impact the final weight and how the quilt drapes. A classic choice like Warm & Natural cotton batting gives a traditional, cozy feel, but there are plenty of options out there.
- Backing Fabric: This is what you'll see on the back of your quilt. I always recommend a durable, high-quality quilting cotton. Just make sure you get a piece that's a few inches larger than your finished quilt top on all sides to make the quilting process easier.
Feeling a bit overwhelmed by batting options? It happens! For a much deeper dive into picking the perfect one for your project, take a look at our complete guide to batting choices for the passionate quilter.
Precision Tools for a Professional Finish
With your core materials sorted, a few key tools will make cutting and piecing so much faster and more accurate. Think of these as your quilting power trio, all available to order from Linda's.
- Self-Healing Cutting Mat: A large mat is non-negotiable. It protects your table and gives you a gridded surface for perfectly straight cuts.
- Rotary Cutter: This little tool is a total game-changer for slicing through fabric with clean, crisp lines. My best advice? Always use a sharp blade. A dull one will only snag your fabric and cause you headaches.
- Large Acrylic Ruler: For squaring up your t-shirt blocks, nothing beats a long, clear quilting ruler (a 6" x 24" is a great workhorse).
The combination of a sharp rotary cutter, a gridded ruler, and a self-healing mat is what really elevates a project from looking homemade to looking professionally crafted. This trio is your guarantee that every block is the exact same size—and that's the key to a quilt top that lies perfectly flat without any puckers.
It's amazing to think about where all these shirts come from. Globally, the t-shirt industry is massive, with an estimated 2 billion T-shirts sold every year. That number is only expected to grow, which just shows how many potential memories are out there, waiting to be turned into a quilt. You can find more apparel industry statistics on goodink.com if you're curious.
Now that you've gathered your tools and materials from Linda's, you're all set for the next step.
Preparing and Cutting Your T-Shirt Blocks
Alright, this is where the magic really begins. That pile of treasured t-shirts is about to start its journey into a quilt, and these first steps—thoughtful prep and careful cutting—are what separate a homemade-looking quilt from a professional-quality heirloom. Getting this part right is the key to a flat, square quilt top that’s a dream to sew.
First things first: wash and dry every single shirt. The one rule here is no fabric softener. It can leave a residue that prevents the fusible interfacing from sticking properly. Once they're clean and dry, it's time to deconstruct. Lay each shirt flat and slice up the side seams and across the shoulder seams. This separates the front from the back, giving you two flat panels to work with and isolating the graphic you want to use.
The Secret Weapon: Fusible Interfacing
If there's one step you absolutely cannot skip, it's this one. T-shirt material is a knit fabric, meaning it's inherently stretchy. That stretch is your enemy when quilting; it will fight you every step of the way, leading to wavy seams and puckered blocks. Fusible interfacing completely solves this problem.
To apply it, lay your t-shirt panel with the graphic facing down on your ironing board. Place a piece of interfacing—bumpy, glue-side down—onto the back of the shirt. Check the manufacturer's instructions, but the general idea is to press the iron firmly down, hold for a few seconds, then lift and move to the next section. Don't slide the iron around like you're ironing a dress shirt. You want to methodically press and lift until the entire piece is fused solid.
This stabilization step is non-negotiable. It transforms your flimsy, stretchy t-shirt material into a stable, woven-like fabric that’s easy to cut and sew with precision. It is the secret to achieving sharp corners and flat seams.
It also helps to be familiar with the different types of material for shirts, from 100% cotton to tricky polyester blends. Knowing what you're working with helps you set the right iron temperature and pressing time, so you get a great bond without accidentally melting a treasured graphic.
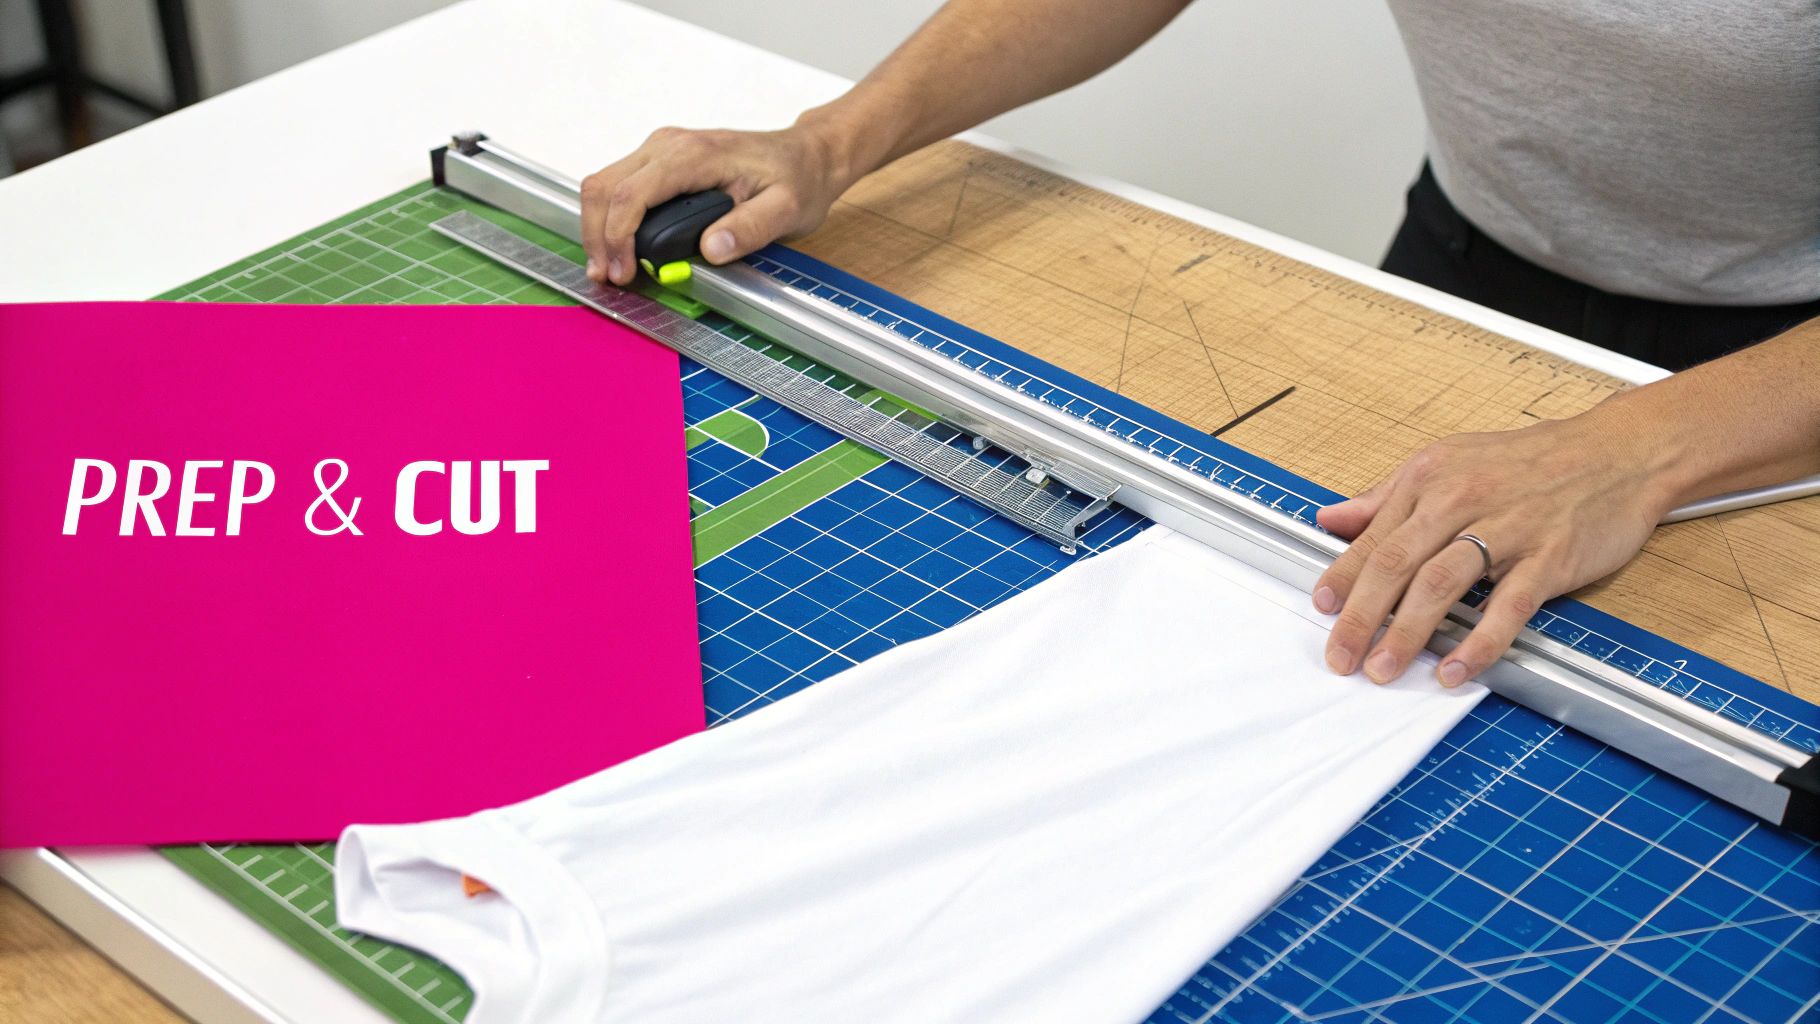
Cutting Blocks with Confidence
Now that your shirts are stabilized, they're ready to be cut into uniform blocks. Your acrylic ruler and rotary cutter are about to become your best friends. Most t-shirt quilts use finished block sizes of 12 inches or 14 inches. To get there, you’ll need to cut your squares to 12.5 inches or 14.5 inches to account for that crucial quarter-inch seam allowance on every side.
The goal is always to center the graphic perfectly within your block. This is where the grid lines on your ruler are invaluable. For designs that aren't perfectly centered on the shirt, you’ll need to do what quilters call “fussy cutting.” It just means you’re intentionally positioning your ruler to frame a specific part of the design, rather than just cutting a random square.
Here’s my go-to method for getting perfect cuts every time:
- Center the Graphic: Lay your acrylic ruler over the design. Nudge it around until the graphic looks perfectly framed within your target size (like a 12.5" square).
- Make Your First Two Cuts: Pressing down firmly on the ruler, use your rotary cutter to slice along the right side and then the top edge. Don't move the fabric.
- Rotate and Finish: Now, rotate the entire cutting mat 180 degrees. Line up your ruler with the two fresh-cut edges and make your final two cuts.
This simple rotation trick guarantees a perfectly square block, every single time. Taking your time here will pay dividends later. If you're new to this and want to build up your skills, our guide with quilting tips for beginners is a great place to get more foundational advice.
Once you have a neat stack of perfectly cut blocks, you’re ready for the really fun part—laying out your design.
Designing Your Layout and Assembling the Top
You’ve got a neat stack of stabilized, perfectly cut t-shirt blocks. Now for the fun part—where the story of your quilt really comes to life. Before you even think about firing up the sewing machine, you need to arrange your blocks into a layout you’ll absolutely love.
The best way to do this is to clear a big space on the floor. If you're lucky enough to have a design wall, even better. Lay out all your blocks and just start playing around. Move them, swap them, and step back frequently to see the bigger picture. The goal here is balance—you want to spread out the colors, themes, and graphic sizes so everything feels cohesive.
Finding the Perfect Arrangement
Think about the visual journey. Do you have a few "hero" shirts that deserve center stage? Or maybe some really bold, bright colors that need to be toned down by placing them next to more neutral blocks?
Here are a few popular layout strategies I've seen work well:
- Simple Grid: This is the most direct approach. You simply sew the blocks to each other in straight rows and columns, letting the t-shirts do all the talking.
- Alternating Blocks: A great way to make your graphics pop is to mix in plain fabric squares cut to the same size as your t-shirt blocks. This creates a really nice checkerboard effect.
- Sashing and Cornerstones: For a more traditional quilt aesthetic, you can add fabric strips called sashing between each block. Where the sashing intersects, you can pop in a small square of a different fabric—a cornerstone—for a little extra flair.
Don’t rush this part. I always tell people to leave their layout on the floor for a day or two. See it in the morning light, check it out at night, and don't hesitate to make changes until it feels just right. Once you're happy with it, snap a quick photo on your phone so you have a reference.
Assembling Your Quilt Top
With your design locked in, it's time to get sewing. The absolute key to this stage is consistency. A precise quarter-inch seam allowance is the gold standard in quilting for a reason—it’s what makes all your points and corners line up beautifully.
Start by sewing your blocks into horizontal rows. Place the first two blocks of a row right-sides together and sew down one edge. Open them up and press the seam allowance to one side using a hot, dry iron. Here's a pro tip: to reduce bulk later, press the seams in your first row to the right, the seams in your second row to the left, and keep alternating directions for each row.
Once you have all your rows pieced, you'll sew them together. This is where that alternating seam-pressing trick really pays off. When you lay two rows right-sides together, the seams should "nest" against each other perfectly, like little puzzle pieces. This is the secret to getting those sharp, professional-looking corners where four blocks meet. Your thread choice is important, too. For some deeper insight, check out our guide on selecting the best thread for quilting.
Turning old shirts into keepsakes has become a huge movement. Companies like Project Repat have made quilts for over 100,000 customers, which just goes to show how much people love these memory-filled blankets. They've even found a way to use sustainable fleece made from recycled plastic bottles, proving a t-shirt quilt can be sentimental and eco-friendly.
Finishing Your Quilt Like a Pro
Alright, this is the magic moment. You’ve got a beautifully pieced quilt top, and now it’s time to turn that flat sheet of memories into the cozy, three-dimensional t-shirt quilt you've been picturing. These final steps are all about bringing the layers together, quilting them, and adding that polished, finished edge. This is where it all comes together.
It all starts with what we call the "quilt sandwich." First, find a large, clean patch of floor. You'll need the space. Lay your backing fabric down with the wrong side facing up. I like to use painter's tape to pull the corners taut and tape them to the floor—just enough to keep it smooth, not stretched out.
Next, gently lay your batting over the backing fabric, smoothing it out. Finally, place your quilt top, right side up, on the very top of the stack. Now, get on your hands and knees and start smoothing from the center outwards. Your goal is to eliminate every single wrinkle and bubble until all three layers are lying perfectly flat against each other.
Securing the Quilt Sandwich
Once everything is perfectly smooth, you have to hold those layers in place for sewing. This is called basting, and it’s a non-negotiable step. You’ve got two main ways to tackle this.
- Pin Basting: This is the old-school, reliable method. Use special curved safety pins designed for quilting and place one every 4-6 inches all over the quilt. It's reusable and incredibly secure.
- Spray Basting: A temporary adhesive spray can also glue the layers together. If you go this route, work in small sections. Peel back part of the quilt top, give a light spray, and smooth it back into place. Just be sure you’re in a well-ventilated area!
The entire point of basting is to stop any of the three layers from shifting while you sew. A well-basted quilt is your best defense against dreaded puckers and tucks on the back of your quilt.
The Quilting Process
Now for the fun part—the actual quilting! This is the stitching that permanently joins the sandwich. For a t-shirt quilt, simple and functional is usually the best approach. Because the stabilized shirts add some bulk, you don't want a quilting design that’s too dense, or you’ll end up with a blanket that feels stiff instead of cuddly.
Your absolute best friend for this job is a walking foot. This amazing tool has its own set of feed dogs that work in tandem with your machine's, pulling all three layers through at the same rate. It’s a game-changer for a thick project like this. We have a whole guide on how to use a walking foot if you want to dive deeper.
For beginners, I always recommend one of these two techniques:
- Stitching in the Ditch: This just means you sew directly in the seam lines (the "ditches") between your t-shirt blocks. It’s a nearly invisible way to secure everything without taking attention away from the shirt graphics.
- Simple Straight Lines: Another great option is to sew straight lines diagonally across your blocks, corner to corner, creating a big "X" on each one. You can use a guide bar on your walking foot or mark the lines with a fabric pen to keep them nice and straight.
Binding for a Polished Edge
The final step in learning how to t shirt quilt is applying the binding. This is the fabric border that wraps around the raw edges of your quilt, giving it a durable and professional-looking frame. You’ll create long strips of fabric, sew them together end-to-end, and press the whole thing in half lengthwise.
You then sew this prepared binding strip to the front of the quilt, mitering the corners as you go around. Once it's attached, you simply wrap the folded edge around to the back of the quilt and stitch it down. You can do this by hand for a perfectly invisible finish or by machine for extra speed and durability. Pro tip: high-quality tools like binding clips, which you can find at Linda’s, are a huge help for holding everything in place.
Tackling Your Top T-Shirt Quilt Questions
Even after you've gathered your shirts and made a plan, a few questions always seem to pop up. It happens to everyone! Getting these common hang-ups sorted out will give you the confidence to move forward and tackle any little surprises along the way.
From picking the right supplies at Linda's to figuring out laundry day down the road, let's get these frequent questions answered so you can focus on creating a quilt you'll love.
What’s the Best Interfacing to Use for T-Shirts?
My go-to recommendation is always a lightweight, woven fusible interfacing. Something like Pellon SF101 Shape-Flex is perfect for the job, and you can find it at Linda's. It gives that stretchy t-shirt fabric just enough body to stop it from wiggling around when you cut and sew, but it doesn't add any annoying stiffness.
The goal is stability without bulk. This keeps your finished quilt soft and drapey, just like a good quilt should be. Stay away from the heavy or non-woven stuff—it will make your quilt feel more like a board than a blanket.
How Do I Wash My Finished T-Shirt Quilt?
Once you've put all that love into your quilt, you want to make it last. The key is to be gentle. I always tell people to machine wash on a gentle cycle with cold water and a mild detergent.
You can pop it in the dryer on low heat, but if you have the space, letting it air dry is even better for the shirts and the quilting. High heat is the enemy here; it can shrink the cotton and cause those precious screen-printed graphics to crack or fade over time.
How Many T-Shirts Do I Actually Need?
Ah, the big question! The answer really comes down to two things: the final size you want for your quilt and how big you plan to cut your blocks. A little bit of planning here goes a long way.
Here’s a rough guide to get you started:
- Lap Quilt: For a nice, cozy lap quilt (think 50" x 60"), you’ll probably need around 20 shirts if you're using 12-inch blocks.
- Throw or Twin Quilt: If you're aiming for a larger throw or a twin-sized bed quilt, you should gather between 30 and 42 shirts.
My best piece of advice? Always collect a few more shirts than you think you'll need. It gives you so much more freedom when you're designing the layout and saves you from a headache if you make a cutting mistake on a favorite shirt.
Can I Use Those Stretchy Athletic Shirts?
Yes, you sure can! Those performance and tech fabric shirts often hold great memories, so don't leave them out. They just need a little extra TLC. The non-negotiable step is stabilizing them with a good fusible interfacing to tame all that stretch.
When you press the interfacing on, be extra careful. Use a low-temperature setting on your iron and always use a press cloth between the iron and the shirt. This prevents the synthetic material from melting. Once they're stabilized, you can treat them just like any other cotton t-shirt block in your quilt.
Your t-shirt quilt is a beautiful tapestry of memories, and using quality supplies ensures it will be cherished for years. From the right interfacing and thread to sharp rotary cutters, Linda's Electric Quilters has everything you need to stitch your story together.
With a massive inventory of over 30,000 craft products, you can find exactly what you need to finish your project with confidence. Start shopping at lindas.com today!


