
Have you ever dreamed of creating those flawless, intricate quilting patterns without spending countless hours hunched over your sewing machine? Well, that dream is now a reality. Quilting on an embroidery machine completely changes the game. It takes a complex, sometimes frustrating craft and turns it into a joy, letting your machine do the heavy lifting to create perfect stippling, feathers, and custom motifs with incredible precision.
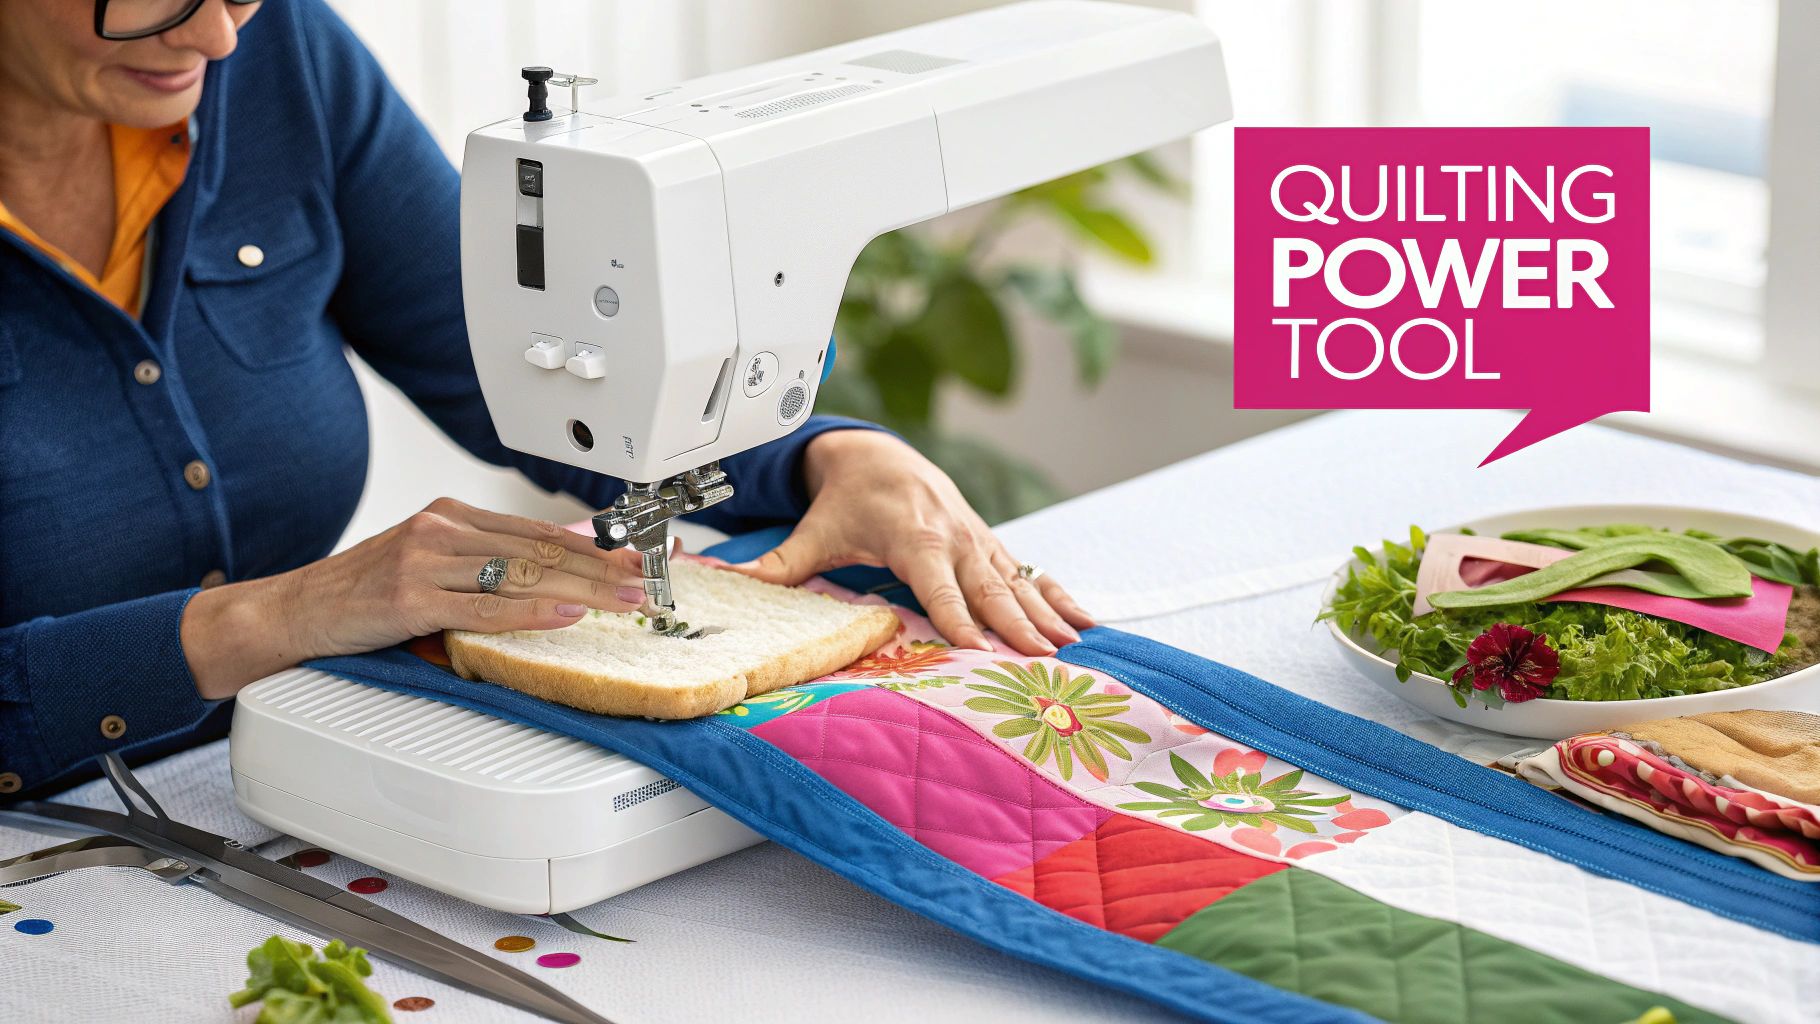
Your Modern Quilting Power Tool
Turning to your embroidery machine for quilting isn't just a neat trick—it's a massive time-saver that opens up a whole new world of creativity. This technique lets you add beautifully detailed artwork, custom lettering, or monograms right onto your quilt blocks. The consistency is simply stunning. You’re moving beyond just sewing and into the world of automated artistry.
The quilting world is buzzing right now, and accessible technology like this is a big reason why. It’s no surprise that the quilting industry has grown into a powerhouse, valued at approximately USD 4.5 billion in annualized revenue by 2025. With a fresh wave of interest thanks to computerized machines, this method is more relevant than ever.
The Key Advantages
The biggest win here is the precision. I mean, it’s flawless. Unlike free-motion quilting, which really depends on a steady hand and years of practice, your embroidery machine follows a digital design perfectly. Every. Single. Time. Every stitch is even, every curve is smooth, and every block matches the next.
This kind of consistency is a lifesaver for:
- Complex Patterns: Think geometric grids, delicate feathering, and dense motifs that are a real challenge to get right by hand.
- Edge-to-Edge Quilting: You can achieve that seamless, all-over design that looks like it came straight from a professional longarm machine.
- Personalization: Easily add names, dates, or special symbols to make memory quilts and gifts truly one-of-a-kind.
To really see the difference, let’s break down how this modern approach stacks up against more traditional methods.
Traditional Quilting vs Embroidery Machine Quilting
| Aspect | Traditional Quilting (Free Motion/Walking Foot) | Embroidery Machine Quilting |
|---|---|---|
| Precision | Relies entirely on operator skill; results can vary. | Computer-guided for perfect, repeatable stitches. |
| Speed | Can be very slow and labor-intensive, especially for large quilts. | Significantly faster; the machine handles the complex stitching automatically. |
| Learning Curve | High. Requires extensive practice to master control and consistency. | Low. Once the machine is set up, the process is largely automated. |
| Design Complexity | Limited by personal skill; intricate patterns are difficult to execute. | Virtually limitless; can stitch any digital design with perfect accuracy. |
| Physical Strain | Can cause back, neck, and shoulder strain from leaning over the quilt. | Minimal physical effort required; less strain on the body. |
As you can see, the embroidery machine offers some serious advantages, especially if you're looking for that professional, polished finish without the steep learning curve.
Why Quilters Are Making the Switch
More and more quilters are turning to their embroidery machines to give their projects that professionally finished look. Techniques like "quilt-in-the-hoop" make the whole process so much simpler, letting you piece, quilt, and even build small projects like zipper pouches all in one go. It’s an incredibly efficient way to get stunning results.
For many of us, the embroidery machine is the perfect bridge. It connects our love for traditional quilting with the amazing possibilities of modern technology. It doesn't replace the craft—it just makes it bigger.
This method also unlocks an entire universe of designs. You can find thousands of professional quilting patterns online or even digitize your own, giving you total creative freedom. If you're just starting out and trying to find the perfect machine for this journey, it helps to know what features to look for. To get you pointed in the right direction, you might find our guide on how to choose a sewing machine really helpful.
Getting Your Supplies in Order
Before you even think about threading that needle, let’s talk supplies. Getting your materials sorted out first is probably the single best thing you can do to guarantee a great result. It's just like baking—if you start with the right ingredients, you're already halfway to a delicious cake.
Starting with good-quality gear from Linda's doesn't just make the whole process more fun; it helps you sidestep all those common headaches like fabric puckering, threads snapping, and wonky tension. This isn’t just a shopping list; it's about knowing why each piece is so important for your project's success.
Your Foundation: Fabric and Batting
The heart and soul of any quilt are its fabric and batting. Making the right choices here is absolutely critical when you're bringing an embroidery machine into the mix.
-
Fabric: When it comes to quilting, high-quality quilting cotton is your best friend. No question. Its tight, stable weave is a dream for handling the dense stitching of machine embroidery and it won't distort in the hoop. We always point people toward premium cottons because they give your designs a perfectly smooth canvas to sink into.
-
Batting: The batting you pick is what gives your quilt its final personality—its loft, drape, and warmth. Classic cotton batting gives you that traditional, flat look. If you want more poof and coziness, wool is fantastic. And for a quilt that's going to see a lot of use and washing, polyester is a durable, lightweight workhorse that holds its shape beautifully.
The Unsung Hero: Stabilizer
If I could tell you to buy only one "extra" thing, it would be stabilizer. Seriously, don't skip it. It's the secret weapon that supports your fabric while the machine is flying, preventing it from stretching, shifting, or puckering. Without it, your gorgeous embroidery designs can turn into a crumpled mess in a heartbeat.
My Go-To Tip: For most of my machine quilting projects, a medium-weight tear-away stabilizer is perfect. It gives plenty of support where you need it, but you can gently tear it away when you're done. Your quilt stays soft and flexible, with no extra bulk.
Now, if you're working on a really dense design or a more delicate fabric, a wash-away stabilizer can be a lifesaver. It provides a ton of support and then—poof!—it dissolves completely in water, leaving nothing behind.
The Details: Threads and Needles
This is where a good quilt becomes a great one. Don't overlook your thread and needle choices; they make a huge difference.
-
Thread: You’ve basically got two camps here: polyester and cotton. Polyester embroidery thread is strong, durable, and has a beautiful sheen that really makes your quilting designs pop. On the other hand, cotton thread gives you that classic, matte finish that just melts right into the fabric. If you're stuck, we have a handy guide to help you choose the best thread for quilting.
-
Needle: Please, don't just grab any old needle from your pincushion! An embroidery-specific needle is a must. It’s designed with a bigger eye and a special groove (called a scarf) that helps prevent your thread from shredding or skipping stitches, which can happen a lot with high-speed stitching. I always, always start a new quilting project with a fresh needle—a size 75/11 or 80/12 is a solid place to start.
It's really no surprise that so many people are falling in love with using their embroidery machines for quilting. The global market for these machines hit around USD 5.71 billion in 2024 and is expected to keep growing. That just shows you how much the technology is empowering home quilters to create incredible things. You can read more about the embroidery machine market trends on PrecedenceResearch.com. Having the right supplies on deck from Linda's means you’re ready to make the most of these amazing creative tools.
Setting Up for Flawless Stitches
A beautiful quilt is no accident. The secret to those perfect, pucker-free stitches lies in a thoughtful setup. Honestly, taking the time to get everything right before you start stitching is the best thing you can do to make the whole process fun instead of frustrating.
It’s no surprise that computerized embroidery machines are becoming so popular for quilting. The global quilting machine market hit around USD 850 million in 2023 and just keeps growing as more quilters discover how these machines can create stunning, intricate patterns with ease. You can read up on the quilting machine market trends at Dataintelo.com if you're curious.
Think of it like this: your fabric, batting, and thread are the basic ingredients for your quilting recipe.
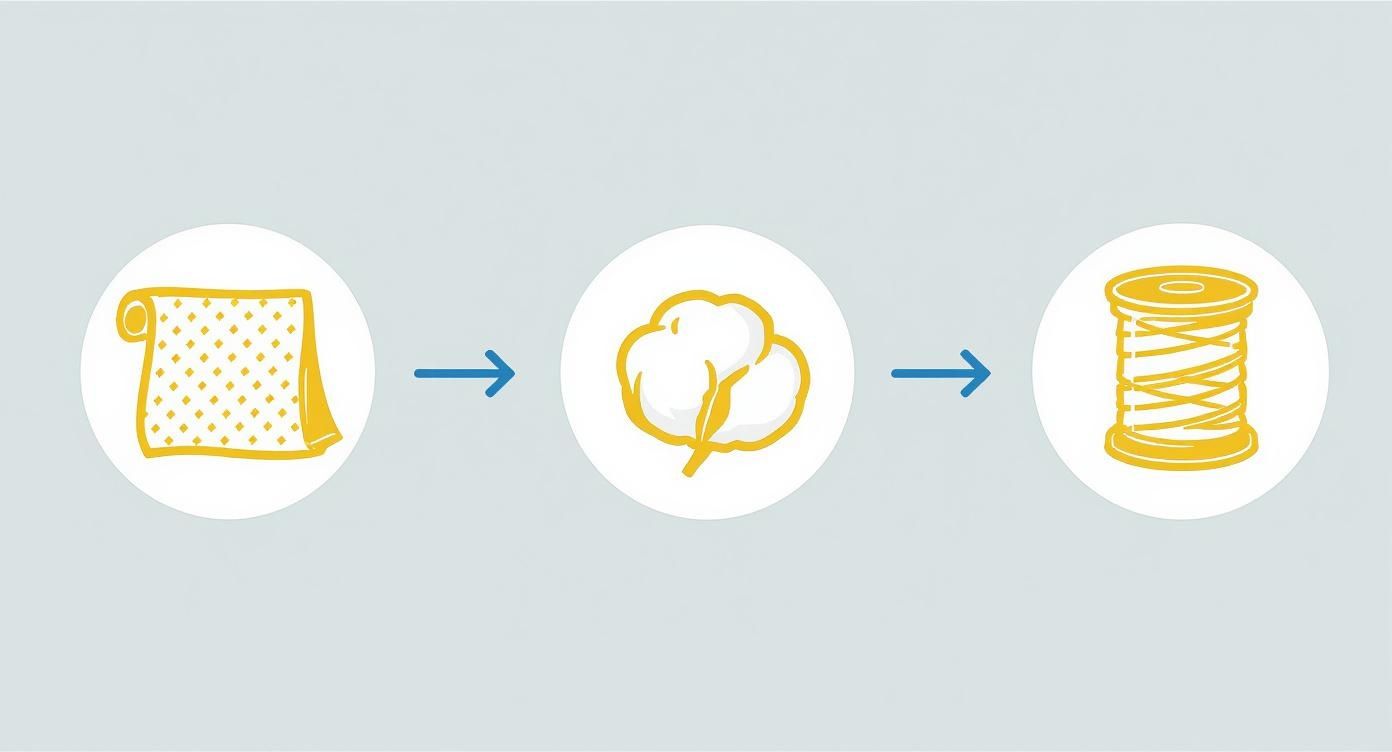
Starting with high-quality materials from Linda's is the foundation for a quilt you’ll be proud of.
Prepping Your Embroidery Machine
First things first, let's get your machine ready. Attach your embroidery unit and listen for that solid click—that's how you know it's locked in and communicating properly.
Next, grab your embroidery foot. It’s usually labeled with a "Q" or an "R" and is designed to glide smoothly over your fabric layers. Just double-check that it's clean and installed correctly to avoid any snags down the line.
Now, let's talk tension. You're asking your machine to stitch through three layers (top, batting, backing), which is a bigger job than standard embroidery. A good starting point is to lower your upper thread tension by a notch or two. This helps prevent the bobbin thread from peeking through on top.
But don't just trust the numbers! Always, always stitch a quick test on a scrap piece of your quilt sandwich to see how it looks before you commit to the real deal.
Building the Perfect Quilt Sandwich
We call it a "quilt sandwich" for a reason—it’s all about the layers! Getting them perfectly smooth is non-negotiable. Any wrinkle you have now will only get bigger and more obvious once you start quilting.
- Lay down the backing: On a big, flat surface, lay your backing fabric wrong side up. Use painter's tape or pins to pull it taut—not stretched, just smooth and flat.
- Add the batting: Place the batting on top, smoothing it out from the center to get rid of any folds or bumps.
- Position the quilt top: Finally, lay your quilt top right side up over the batting. Again, smooth everything from the center out so all three layers are perfectly aligned.
My favorite trick: A light spritz of a temporary spray adhesive, like 505 Spray and Fix, between the layers works wonders. It gently holds everything together, acting like an extra pair of hands and drastically cutting down on shifting. Find it in our notions section at Linda's!
Mastering the Art of Hooping
Hooping can feel a little tricky, but this is where the magic starts. Your goal is to get the fabric "taut like a drum" without actually stretching it. If you stretch it now, it'll spring back and look distorted when you take it out of the hoop later.
Place your stabilizer in the bottom hoop first. Then, lay your quilt sandwich over it, centering the area you plan to stitch. Press the top hoop into place until it's snug, then tighten the screw. The layers should be secure but not pulled out of shape.
Have a quilt with really thick, fluffy batting? You might want to "float" it instead.
- Floating Your Quilt: This just means you hoop the stabilizer by itself. Then, you use a temporary adhesive spray or your machine’s basting stitch function to attach the quilt sandwich directly onto the hooped stabilizer. This technique is fantastic because it prevents the hoop from squishing your batting flat and protects any delicate seams in your piecing.
This is a totally different skill than using a walking foot for straight-line quilting, which is designed to help feed all the layers through the machine evenly. If you want to learn more about that for other projects, check out our guide on how to use a walking foot.
With your machine and materials prepped, you're ready to bring that design to life.
Your Guide to Essential Quilting Techniques
Alright, this is where the magic really happens. You’ve layered your quilt sandwich, your machine is ready to go, and your project is hooped up. It's time to turn that fabric into a work of art.
We'll walk through some of the most popular and practical techniques, and I’ll use a simple quilted placemat as our example project to keep things clear and easy to follow.
First things first: you need to choose your quilting design. This might be a pattern already built into your machine, or it could be a digital file you've bought online. Getting it loaded is your starting point. Modern machines make this a breeze, letting you import designs with a USB stick or even over Wi-Fi.
Once the design pops up on your machine's screen, you're in the driver's seat. Now you can position, resize, and rotate the pattern to get the placement just right. For our placemat, maybe we want a single motif perfectly centered, or a repeating pattern that flows across the fabric.
Mastering Design Placement
Getting your design exactly where you want it is a huge part of the process, and your machine’s software is your best friend here. Most embroidery machines show a grid or placement markers on the screen that line up with your hoop, which helps you see exactly where the stitches will land.
Don't rush this part. I promise, spending a few extra minutes tweaking the placement can be the difference between a project that looks polished and professional and one that feels just a little… off.
Here's a tip I always share: use your machine’s "trace" or "baste" function. This feature sews a temporary outline around the design's perimeter. It lets you see the exact footprint on your fabric before you commit to a single permanent stitch. It’s a fantastic way to double-check your alignment and avoid those frustrating "oops" moments.
Foundational Quilting Techniques
With your design perfectly placed, it's time to talk about a few core stitching styles. Each one creates a completely different texture and feel, and learning them will give you a versatile toolkit for any quilting project you dream up.
-
All-Over Stippling: This is a classic for a reason. Stippling, sometimes called meander quilting, gives you that beautiful, uniform texture across an entire quilt block. It's perfect for creating that cozy, crinkly quilt feel and is a fantastic choice for your first few projects. Many machines even have built-in stippling files designed to fill your hoop perfectly.
-
Echo Quilting: This is such an elegant technique. It involves stitching lines that "echo" or outline a central shape, like an appliqué or a pieced block. It’s a brilliant way to make a specific element of your design pop. On our placemat, you could use echo quilting around an embroidered monogram to really make it stand out.
-
Motif Placement: Sometimes, one beautifully placed design is all it takes. This could be a single feather, a flower, or a geometric shape. Placing individual motifs is a great way to add custom details to sashing, borders, or the center of your quilt blocks.
Once you get the hang of these, you can start combining them. Imagine a block with a gorgeous floral motif in the center, surrounded by delicate echo quilting, all set against a background of light stippling. The creative possibilities are truly endless.
The Stitching Process From Start to Finish
Okay, you've pressed the "start" button. Now, your main job is to watch and listen. Keep an eye on the thread spool to make sure it's feeding smoothly and pay attention to the sounds your machine is making.
What happens if a thread breaks? First, don't panic! It happens to all of us. Just stop the machine, re-thread it, and then use your machine's function to back up a few stitches before you hit start again. This little trick ensures your design continues without any noticeable gaps.
For bigger projects, you'll need to re-hoop your quilt to continue the design seamlessly. Most quilting files come with built-in alignment stitches that help you line up the next section perfectly. After stitching the first hooping, you just un-hoop your project, slide it down, and use those markers to align the start of the new section with the end of the last one.
If you're just getting started and want to build a solid foundation, check out our guide covering essential quilting tips for beginners.
Now that you have these techniques in your back pocket, you're ready to tackle your first project. Let's get some of those amazing products from Linda’s, like our premium quilting cottons and lustrous embroidery threads, and turn that placemat from an idea into a reality.
Inspiring Projects to Start Today
Alright, you've got the basics down for quilting on an embroidery machine. Now for the fun part—actually making something! The best way to get comfortable and confident is to just dive in and stitch. I've picked out a few beginner-friendly projects that are perfect for putting your new skills to the test, and you'll end up with something beautiful to show for it.
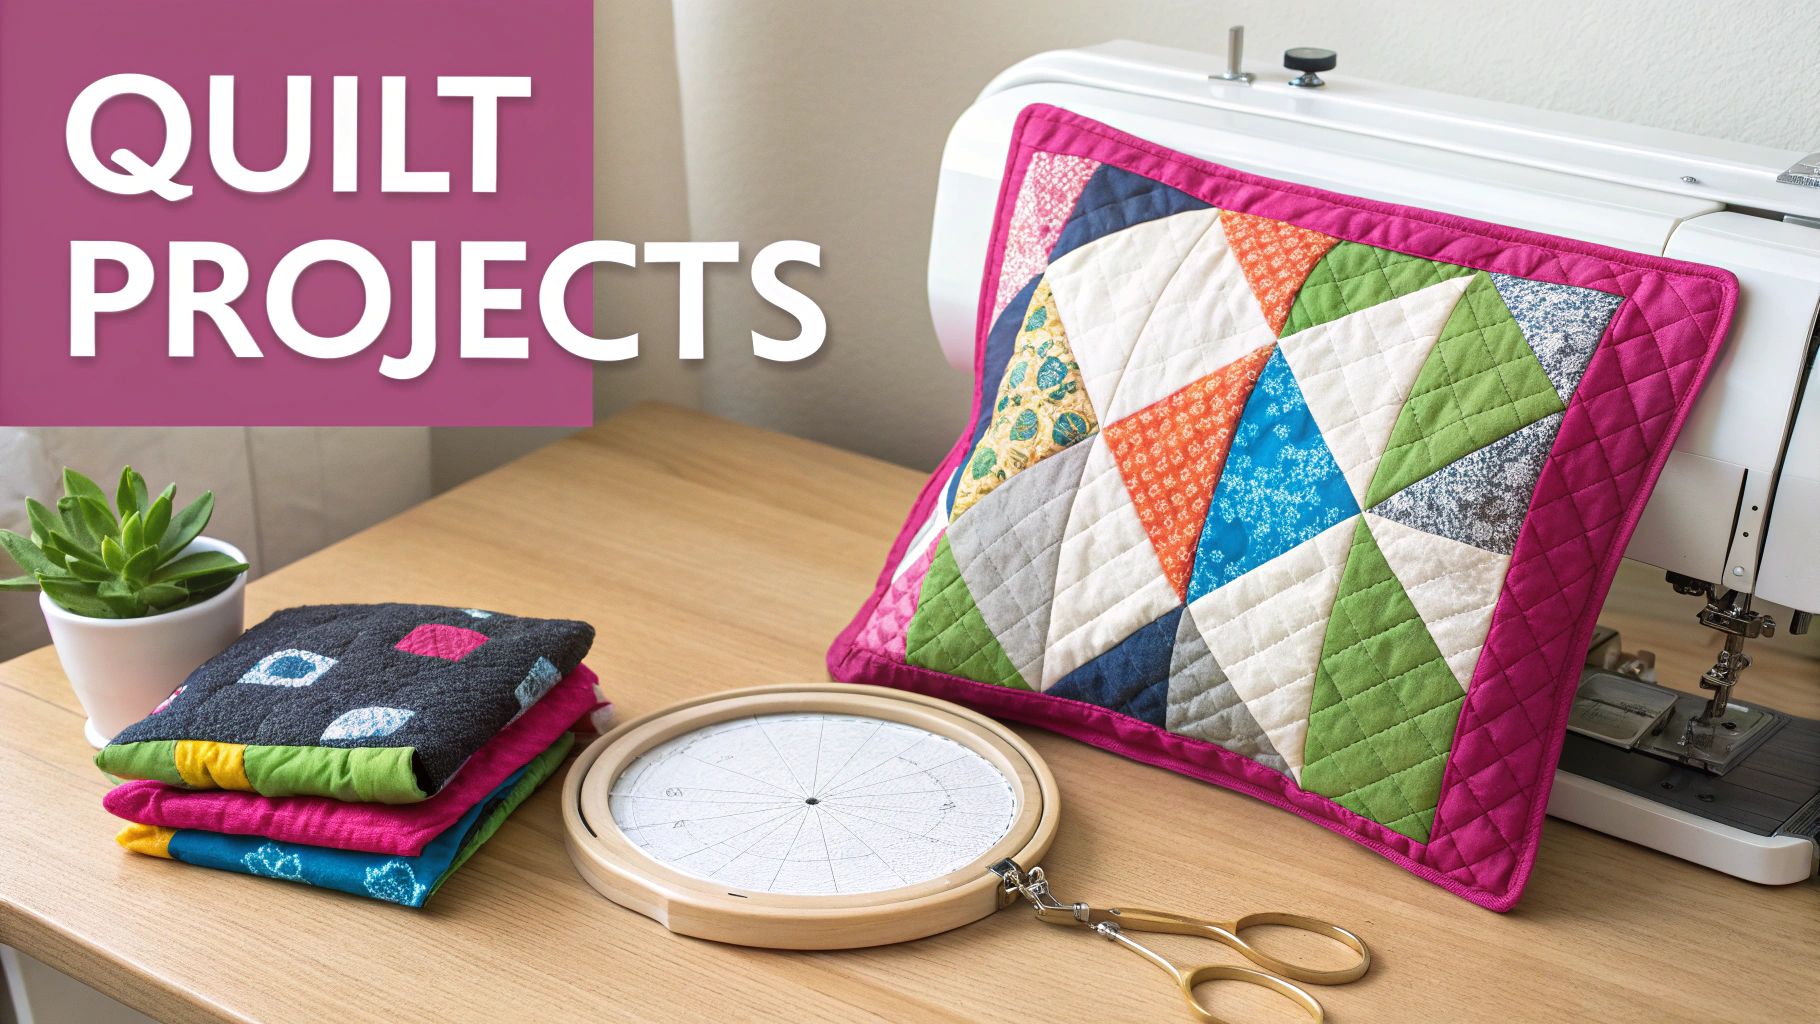
Each of these is a great way to practice everything we've talked about, from making the perfect quilt sandwich to getting your design placement just right. We've got all the supplies you'll need right here at Linda's to make it easy to get started.
Project 1: Quilted Mug Rug
A mug rug is the perfect first project. Seriously. It’s small, quick to finish, and doesn't eat up a lot of fabric. This makes it a fantastic, low-pressure way to practice hooping and stitching. You can try a simple stippling design or pop a cute little motif right in the center.
Here's what you'll need to grab:
- Fabric: Two 6" x 8" pieces of quilting cotton for your top and back, plus a small scrap for binding.
- Batting: A 6" x 8" piece of thin cotton batting.
- Stabilizer: A piece of medium-weight tear-away stabilizer.
- Thread: A spool of durable polyester embroidery thread from Linda's that looks great with your fabric.
This little project is all about getting the feel of the process. You’ll layer your mini quilt sandwich, hoop it all up, and let the machine stitch out your design. It's a fantastic way to see how your machine handles the layers and build that muscle memory without worrying about a big quilt.
Project 2: Embroidered Throw Pillow Cover
Ready for something a little bigger? A throw pillow cover is a great next step. It lets you work on a slightly larger scale and really nail your design placement. The goal is to perfectly center a beautiful, larger embroidery motif to create a gorgeous statement piece for your couch.
This is where your creativity can really take center stage. Pick a design you absolutely love—a floral spray, a cool geometric pattern, or a classic monogram. You'll be amazed how it turns a simple square of fabric into a custom piece of home decor.
Round up these supplies to get going:
- Fabric: Two 18" x 18" squares of a sturdy home decor fabric or a good quality quilting cotton.
- Batting & Stabilizer: You can "float" this one. Just hoop your tear-away stabilizer, then use a temporary adhesive spray to secure a thin layer of batting and your top fabric.
- Specialty Items: An 18" pillow form and a zipper for the back. You can find both here at Linda's.
With this project, you'll really get to use your machine's positioning tools to make sure that design lands exactly where you want it. It's a super rewarding project that leaves you with something both functional and stylish.
Project 3: 'Quilt-in-the-Hoop' Zipper Pouch
This project is your ticket into the magical world of "in-the-hoop" projects. It's an amazing technique where you complete both the quilting and the construction of a small zipper pouch entirely inside the embroidery hoop. The first time you do it, it honestly feels like magic as your machine builds the pouch step-by-step.
You'll want to find a specialized in-the-hoop zipper pouch design file, and they almost always come with detailed instructions. The machine literally tells you when to add your fabric, batting, and even the zipper. It's a blast!
To help you get everything organized, here's a quick reference for what you'll need from Linda's for each project.
Project Supply Quick-Reference
| Project | Fabric Needed | Batting Type | Stabilizer Recommended | Specialty Items |
|---|---|---|---|---|
| Mug Rug | (2) 6" x 8" quilting cotton | Thin cotton | Medium-weight tear-away | Binding scrap |
| Pillow Cover | (2) 18" x 18" quilting cotton | Thin cotton or fusible fleece | Medium-weight tear-away | 18" pillow form, zipper |
| Zipper Pouch | Scraps per design file | Thin cotton | Cut-away or tear-away | In-the-hoop design, zipper |
This table should make your shopping trip a breeze!
And if you're ever looking for more ideas, you can find a ton of inspiration with these easy quilt patterns for beginners available for free that you can easily adapt for your embroidery machine. These are a great way to keep practicing and building your collection of beautiful handmade goodies. Now, let's get stitching!
Your Top Questions About Machine Quilting, Answered
Diving into a new technique is exciting, but it always comes with a few questions. That’s perfectly normal! Getting those nagging uncertainties cleared up is often the key to moving from a frustrating afternoon to a project you're proud of.
Let's walk through some of the most common things quilters ask when they first start using their embroidery machine for quilting. Think of this as your personal FAQ to help you get started with confidence.
Can I Use Any Embroidery Machine for Quilting?
This is the big one, and the short answer is mostly yes. But—and this is a big but—some machines will make your life a whole lot easier. While you can technically quilt a small block on just about any machine, a few key features are game-changers, especially when you start dreaming bigger.
Here’s what really makes a difference:
- A Big Hoop: The larger your hoop, the more quilting you can get done in one go. This means less time spent re-hooping and a much easier time getting those all-over patterns to line up beautifully. A 5" x 7" hoop is a decent starting point, but an 8" x 12" hoop (or even larger) is where the magic really happens.
- Generous Throat Space: This is simply the space between your needle and the machine's body. More room here means you can manage your quilt without it getting all bunched up, which can throw off your tension and cause skipped stitches.
- Design Positioning Features: This is where modern machines really shine. On-screen grids, laser guides, or built-in cameras are absolute lifesavers. They help you place quilting designs with incredible accuracy, which is non-negotiable for creating those seamless, edge-to-edge looks.
What’s the Best Stabilizer to Use?
Ah, the unsung hero of machine embroidery: stabilizer! It’s what keeps your fabric from shifting, stretching, or puckering under the pressure of all those stitches. For quilting, your go-to will almost always be a medium-weight tear-away stabilizer.
It gives the fabric the support it needs while stitching, but you can gently tear it away when you're done. This is crucial because it leaves your quilt feeling soft and cuddly, not stiff. If you're working with a super dense design or very delicate fabrics, a wash-away stabilizer is another fantastic choice since it dissolves completely in water, leaving no trace behind.
My personal rule of thumb is to always match the stabilizer weight to the fabric weight and design density. Honestly, a simple tear-away handles about 90% of all my quilting projects.
How in the World Do I Manage a King-Sized Quilt?
The mental image of wrestling a massive quilt into a home embroidery machine is enough to make anyone nervous! But trust me, it’s completely doable if you have a strategy. It's all about managing the bulk.
First off, work in sections. Always start quilting from the center and work your way outwards. This approach keeps you from having to cram the entire quilt through the machine's throat all at once.
Next, you have to support the quilt's weight. Don't just let it hang off the side of your table—that's a recipe for disaster. Use extension tables or even pull up a few chairs to hold the weight. This allows the hooped area to move freely with the embroidery arm. I also love using quilt clips to roll up the excess fabric and keep it neatly contained and out of the way.
Help! Why Is My Fabric Puckering?
Puckering is the absolute worst, isn't it? It almost always comes down to two culprits: your hooping technique or your thread tension.
When you hoop your quilt sandwich, you want it "taut like a drum," but you should never actually stretch the fabric. If you pull everything too tight, the fabric will just relax and shrink back to its original size once you unhoop it, causing those dreaded puckers.
Make sure your layers are smooth and flat, but not stretched. If your hooping technique is spot on and you’re still getting puckers, take a look at your machine’s top tension. It might be set too tight for the thick layers of a quilt sandwich, which can pull the bobbin thread up and bunch the fabric. Try lowering the top tension a smidge and run a quick test on a scrap piece before you go back to your main project.
And once you've perfected your craft, you might find yourself with a beautiful stack of quilts. If you're thinking about turning your passion into a side hustle, it might be worth learning how to sell handmade items on Amazon and share your creations with a bigger audience.
At Linda's Electric Quilters, we believe every quilter deserves the best tools and support to bring their vision to life. From premium quilting cottons and lustrous embroidery threads to the perfect batting and stabilizers, we have everything you need to finish your next masterpiece. Explore our amazing selection and get inspired at https://lindas.com.


