
Using fusible interfacing is surprisingly straightforward. You just place the adhesive side down on the wrong side of your fabric, cover it with a press cloth, and give it a good press with a hot, dry iron for about 10-15 seconds. That’s it! This heat-activated material is the real secret behind professional-looking collars, cuffs, and waistbands, instantly turning your homemade projects into high-quality garments. It provides all the stability you need without the bulk of old-school sew-in methods.
The Secret Ingredient for Professional Sewing
Ever wondered how store-bought shirts get those perfectly crisp collars or structured button plackets that never seem to lose their shape? The answer is almost always fusible interfacing, the secret ingredient for turning any project into a masterpiece.
Think of it as a special support fabric that has a heat-activated adhesive on one side. When you bring on the heat and pressure from your iron, it bonds directly to your main fabric, becoming a permanent, hidden part of the garment. It's the ultimate behind-the-scenes player in elevating your sewing projects, giving them the structure and durability to last for years.
The main job of interfacing is to add body and stability to certain areas of a garment, which keeps them from stretching, sagging, or collapsing over time. Unlike its sew-in cousin, fusible interfacing creates a beautifully clean and smooth finish with no visible stitches. It's our go-to for getting that polished, professional look every time.
Why Interfacing Is a Game Changer
Learning how to use fusible interfacing correctly is one of the most powerful skills you can add to your sewing toolkit. It’s what truly separates a project that looks "homemade" from one that looks like it came from a high-end boutique. When you reinforce key areas, you're ensuring the garment not only looks incredible but also wears better and lasts a whole lot longer.
Here’s a quick rundown of what it brings to the table:
- Adds Structure and Shape: It gives collars, cuffs, and waistbands just enough stiffness to hold their form without feeling like cardboard.
- Prevents Stretching: It's perfect for stabilizing tricky areas like necklines or buttonholes on delicate or knit fabrics, so they don't warp out of shape after a few wears.
- Reinforces Fabric: It provides an extra layer of durability for areas that take a lot of stress, like the fabric behind snaps, buttons, or grommets.
- Improves Drape: Sometimes a lightweight fabric needs a little help. A light interfacing can give it more body, helping it hang and move beautifully.
And it’s not just a secret weapon for home sewers! The garment industry relies on this stuff for its efficiency and consistent results. In fact, fusible interlinings are on track to make up about 68.4% of the entire global garment interlining market revenue by 2025. It’s a testament to how essential it is in high-volume production.
Pro Tip: We can't stress this enough—always test your fusible interfacing on a scrap piece of your project fabric first! This little check takes two minutes and ensures your iron temperature is right and that you actually like the final feel and drape before you commit to your real pattern pieces.
This foundational material works hand-in-hand with other essential components, like batting, to create truly exceptional projects. For our quilting friends looking to dive deeper into support layers, you can learn about batting from The Warm Company in our detailed guide.
Whether you're tackling a tailored blazer or a simple tote bag, choosing and applying the right interfacing is your first step toward a flawless finish. And here at Linda's, we have an amazing selection of high-quality interfacings to help you finish your project beautifully.
Choosing the Perfect Fusible Interfacing
Standing in the notions aisle, surrounded by bolts of interfacing, can feel pretty daunting. But picking the right one is more than just a small detail—it's what gives your project that professional, polished look. Make the wrong choice, and you could end up with fabric that feels stiff, bubbly, or just completely off.
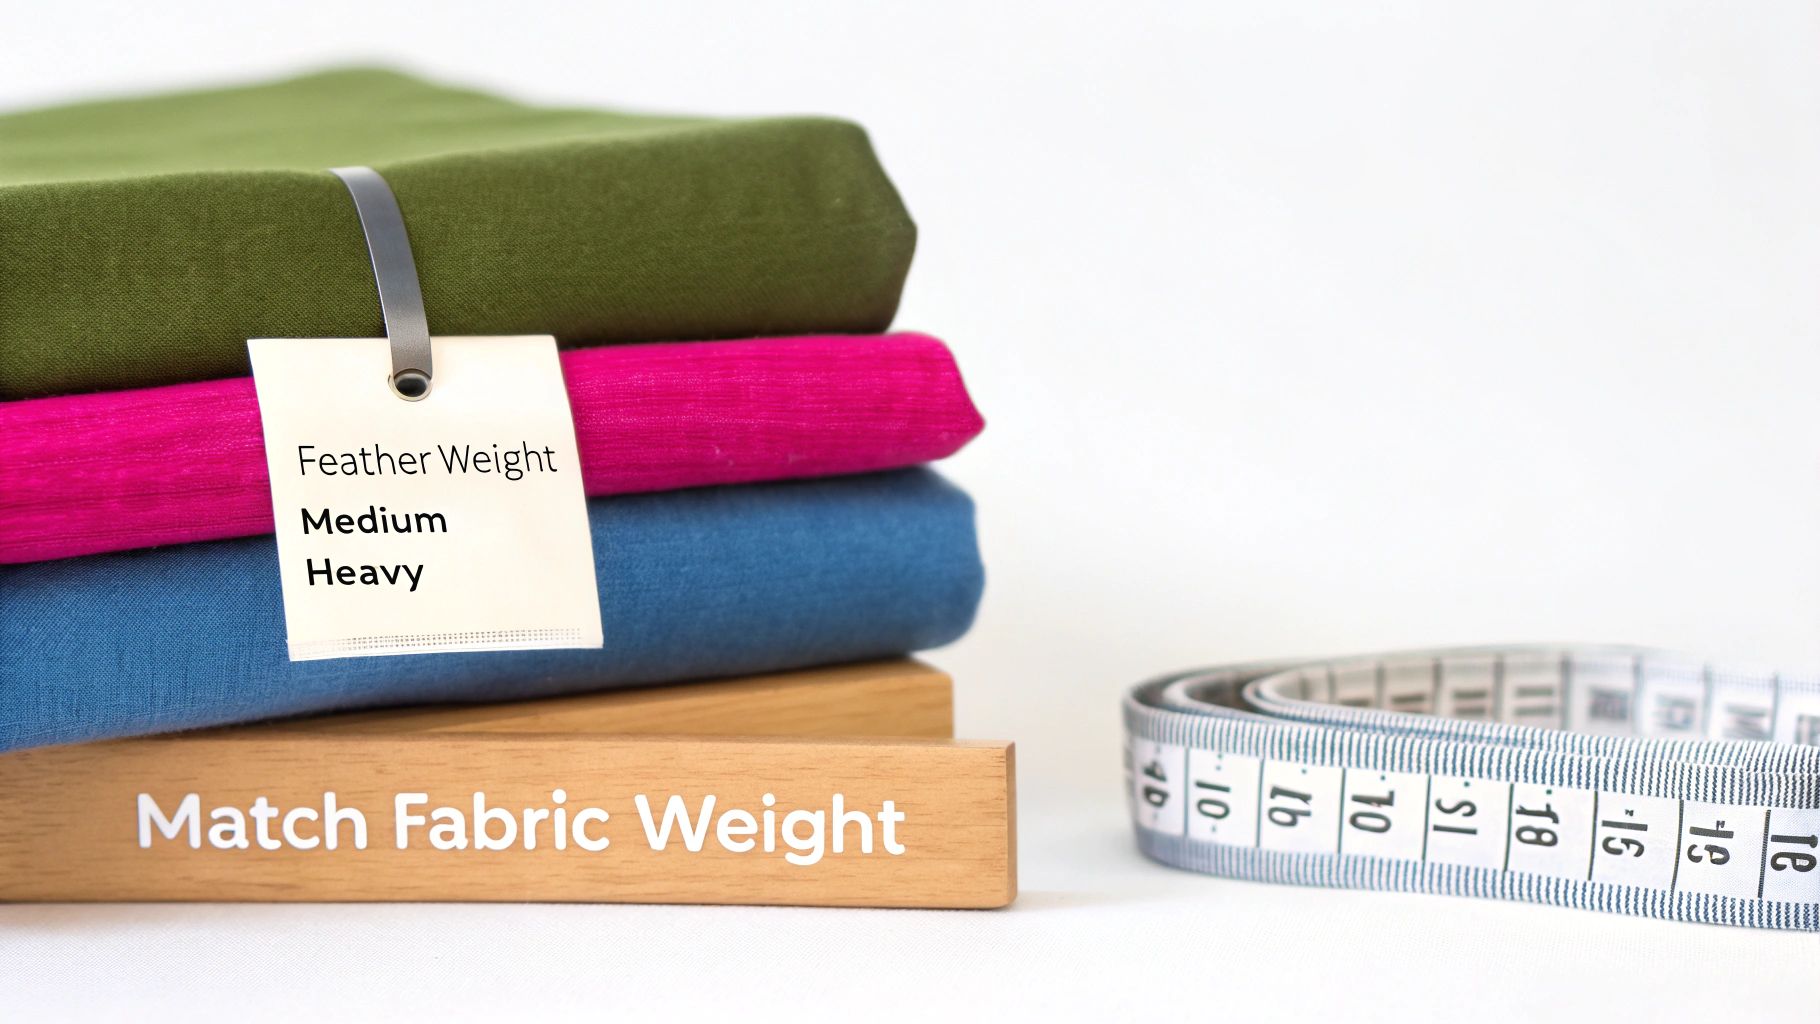
We've learned a golden rule over the years, and it's saved countless projects: always choose an interfacing that is slightly lighter in weight than your main fabric. Simple, right?
Think of interfacing as your fabric's supportive best friend, not its bossy older sibling. It’s there to add a little structure and stability, not to completely take over and change the fabric's personality. If you stick to this one guideline, you'll be on the right track almost every time.
For instance, you wouldn't use a heavy, rigid interfacing on a delicate silk blouse—it would ruin the beautiful, fluid drape of the fabric. Instead, a whisper-light fusible woven would be perfect, adding just enough support to a collar or cuff without sacrificing the silk's natural movement. Getting this pairing right is the secret sauce.
Matching Interfacing to Your Fabric
Let’s get into the nitty-gritty. When you're looking at garment sewing, you'll mostly come across two main flavors of interfacing: woven and non-woven.
-
Woven Interfacing: This type looks and feels a lot like regular fabric. It has a grainline, so you need to cut and apply it just like you would your pattern pieces, aligning the grain. Because it moves and drapes like fabric, it’s our top choice for adding subtle structure to garments.
-
Non-Woven Interfacing: This version is more like a very stable paper or felt. It has no grainline, which is great because you can cut it in any direction and save fabric. It’s perfect for adding crispness to things like collars, cuffs, and bag components where drape isn't the main concern.
Of course, the interfacing is only half the equation. If you’re still hunting for the perfect material for your next quilt, check out our guide to the best quilting fabric. It’s packed with ideas to get you started.
Fusible Interfacing and Fabric Pairing Guide
To make your next trip to the fabric store a breeze, we've put together a quick cheat sheet. Use this table to match common fabrics with the right interfacing to get fantastic results every time.
| Fabric Type (Example) | Recommended Interfacing Weight | Interfacing Type | Project Example |
|---|---|---|---|
| Sheer or Lightweight (Voile, Chiffon) | Featherweight | Woven or Knit | Blouse Placket, Neckline |
| Medium Weight (Cotton, Linen, Rayon) | Lightweight to Midweight | Woven or Non-Woven | Shirt Collars, Dress Facings |
| Heavyweight (Denim, Canvas, Twill) | Midweight to Heavyweight | Non-Woven or Fleece | Structured Tote Bag, Jacket Lapels |
| Stretchy Knits (Jersey, French Terry) | Knit (Tricot) Interfacing | Stretch Knit | Stabilizing Hems, Neckbands |
This guide should help you narrow down the options and pick the perfect partner for your fabric.
One last pro tip: don't forget about color. Interfacing usually comes in white, charcoal, or black. Always pick a color that's either lighter than or matches your fabric so it doesn't show through on the right side.
With this knowledge in your back pocket, you can walk into Linda's and grab exactly what you need with confidence, ready to bring your next amazing project to life.
Preparing Your Fabric for a Perfect Bond
Want to know the real secret to getting that perfect, bubble-free finish with fusible interfacing? It’s not about some fancy ironing technique. The magic is all in the prep work you do before your iron even gets a chance to heat up.
Honestly, skipping these early steps is the number one reason we see sewists struggle with puckered seams, weird shrinkage, and interfacing that just won’t stay put. Taking a few extra minutes here is what makes a project look truly professional.
Pre-Wash Everything First
This is the big one. You absolutely have to pre-wash and dry both your main fabric and your fusible interfacing. It’s so tempting to skip this, we know, but fabrics and interfacings are often made of different fibers, and they all shrink differently. Pre-washing gets all that shrinking out of the way before you fuse them together.
This one simple action prevents that heartbreaking moment when a finished garment comes out of its first wash all warped and puckered. Trust us, it’s a non-negotiable step for a result you’ll be proud of.
Create a Smooth Foundation
After everything is washed and dried, give your fabric a good, thorough press. You need a completely smooth, wrinkle-free surface for the adhesive to grab onto. Any little crease left in the fabric will get permanently locked in when you apply the heat, creating weak spots in the bond.
Take your time here. Think of it like priming a wall before you paint—you need a perfect starting surface for a flawless finish. Success starts right here at the ironing board.
A clean, flat surface is non-negotiable for achieving a perfect bond. Make sure your ironing board is firm and level. If it's a bit wobbly or too soft, consider placing a sturdy wooden board or a pressing mat on a table to create a reliable workspace.
Cut for Clean Seams
Here’s a fantastic little trick we’ve picked up over the years: when you cut your interfacing, trim it just a bit smaller than your fabric pattern pieces. We aim to cut the interfacing so it fits just inside the seam allowance, about ⅛ of an inch away from the cutting line.
It seems like a tiny change, but it makes a world of difference. Keeping the interfacing out of the seam allowance slashes the bulk, which means your seams will be flatter, crisper, and way easier to press open. It’s one of those details that gives your project a much more refined, less "homemade" look.
And if you need a quick refresher on figuring out your material needs, our guide on how to calculate fabric yardage is a huge help.
With your prep work done, you're all set to create a bond that lasts. For all your project needs, from high-quality interfacing to the perfect press cloth, be sure to explore the amazing selection here at Linda's.
How to Apply Fusible Interfacing Correctly
Alright, let's get to the fun part—actually fusing this stuff. Getting that permanent, bubble-free bond is all about patience and doing things the right way. It’s not about just sliding your iron around; it’s a deliberate press that gives the adhesive time to melt and really grab onto the fabric.
First things first: placement. You always want to place the adhesive side of the interfacing onto the wrong side of your fabric. You'll know it's the right side because it will feel a little bumpy or have a slight sheen to it when it catches the light.
This quick infographic lays out the prep work that makes all the difference.
As you can see, pre-washing, pressing your fabric first, and trimming the interfacing are the simple things you do before you even plug in the iron that set you up for success.
The Pressing Technique
Get your iron set to the temperature recommended for your fabric, not the interfacing. And here's the most important tip: make sure the steam function is turned off. Steam adds moisture, and moisture is the enemy of a good bond. It can make the adhesive weak or patchy.
Now, forget everything you know about ironing out wrinkles. We’re not gliding the iron back and forth. Instead, you're going to place the iron down firmly on one section and just hold it still. No wiggling!
Count to 10-15 seconds before lifting the iron straight up. This wait time is what lets the adhesive fully melt into the fabric fibers, creating that strong, lasting hold. If you rush this part, you're pretty much guaranteed to get bubbles or peeling later on.
Once that first section is done, lift the iron straight up and move it to the next spot, overlapping just a little with the area you just pressed. Keep repeating this press-and-hold method until you've covered the entire piece. This is how you get even heat and pressure everywhere.
This whole heat-and-pressure method is a core concept in the textile world. If you want to dive a little deeper into the science behind it, check out this great beginner's guide to heat transfer printing.
Letting It Set
You've pressed the whole piece, and it looks great. But don't touch it! The final step is probably the most crucial: let it cool completely. Just lay the fused fabric on a flat surface and walk away for a few minutes. While it's cooling, the adhesive is hardening and locking that bond into place. If you move it while it's still warm, you risk creating shifts and those dreaded bubbles.
This careful approach is what separates good sewing from great sewing. It’s the same basic principle used in big factories, where ease and consistency are key. The market for fusible interfacing is huge, partly because it’s so simple to apply with the automated machines used in mass production.
Of course, getting that flawless finish also means using the right supplies all around. The quality of your thread matters just as much as the interfacing. Our sewing thread size guide can help you find the perfect match for whatever you're working on. To really nail your next project, explore the fantastic selection of high-quality interfacing and pressing cloths right here at Linda’s.
Troubleshooting Common Interfacing Problems
Even when you do everything right, you might run into a hiccup with fusible interfacing. Don’t panic! It happens to all of us, and most of these little frustrations are surprisingly easy to fix. Think of them as learning opportunities for your next project.
The most common issue we see is bubbling or puckering. When this happens, it's almost always a problem with one of three things: not enough heat, not enough pressure, or not enough time. The adhesive simply didn't get a chance to melt and bond completely with your fabric.
Thankfully, the fix is usually pretty simple. Just grab your press cloth, lay it back over the bubbly area, and fuse it again. This time, really press down with your hot, dry iron and hold it completely still for a full 15 seconds. That extra dose of heat and pressure is usually all it takes to melt the glue properly and create that smooth, permanent bond you were aiming for.
Diagnosing a Bad Bond
So, what if the interfacing isn't bubbling—it just refuses to stick at all? It's time to play detective. More often than not, the culprit is a simple mistake made during setup.
Before you get frustrated, run through this quick mental checklist:
- Is the adhesive side down? It sounds basic, but it’s an easy mistake to make when you’re in the creative zone. The bumpy, shiny side needs to be facing the wrong side of your fabric.
- Is your iron hot enough? Take a second to double-check that your iron is set to the correct temperature for your specific fabric.
- Is the steam turned OFF? Moisture is the arch-nemesis of a good fuse. A dry iron is a must for almost all fusible interfacing.
If you’ve checked all three and it’s still not sticking, your interfacing might be old. The adhesive can degrade over time and lose its power. It might just be time to treat yourself to a fresh roll from Linda's.
When the Fabric Feels Wrong
What if the interfacing sticks perfectly, but now your fabric feels stiff, unnatural, or just plain weird? This is a classic sign that the interfacing is too heavy for your fabric. It’s like trying to back delicate silk with a thick, rigid fleece—it completely overpowers the fabric's natural drape and personality.
Unfortunately, this one is tough to reverse once the bond is set. Trying to peel off fully fused interfacing can stretch or permanently damage your fabric. The best thing to do is chalk it up as a valuable lesson and remember the golden rule for next time: always test on a scrap first!
A two-minute test on a small scrap can save you from ruining an entire project piece. It lets you feel the final result and confirm that the weight and structure are exactly what you envisioned.
Dealing with these minor setbacks is just part of the sewing journey. Each little fix makes you a more skilled and intuitive sewist. Having the right tools and knowledge is key, and just as important as your interfacing is your thread choice. Our guide on the best thread for quilting can help ensure every part of your project is top-notch. Stop by Linda’s to find all the high-quality supplies you need to turn these lessons into beautiful, finished projects.
Your Fusible Interfacing Questions Answered
We get a lot of questions about fusible interfacing, so let's clear up a few of the most common ones we hear from fellow quilters. Think of this as your quick-fire round to get you over any last hurdles and on to your next masterpiece.
Can I Use Steam When Applying Fusible Interfacing
This is a big one, and the answer is a hard no almost every single time. Most fusibles are designed to work with a hot, dry iron. Why? Because steam is moisture, and moisture gets in the way of the adhesive, leading to a weak bond, or worse, those dreaded bubbles.
Of course, it never hurts to peek at the manufacturer's instructions that came with your interfacing, but a dry iron is the gold standard for getting that solid, lasting fusion you're after.
Do I Really Need to Use a Press Cloth
Oh, yes. A thousand times, yes! Don't skip this step. A press cloth is your best friend here for two huge reasons. First, it acts as a shield, protecting your beautiful fabric from getting scorched or developing shiny spots from the direct heat.
Second, it keeps any rogue adhesive from melting all over the bottom of your iron. Trust me, cleaning that sticky, gummy mess off your soleplate is a headache you don't need. It's a tiny bit of effort that saves you from a world of hurt.
A press cloth isn't just a suggestion—it's non-negotiable. It’s cheap insurance that protects both your project and your tools from a costly mistake.
What Happens If I Fuse It to the Right Side of My Fabric
Don't panic! We've all been there, especially when we're deep in the creative zone. If you catch it right away while everything is still hot, you can often gently peel the interfacing off without causing too much drama.
But if it's already cooled down and set, trying to rip it off is a recipe for disaster. You'll likely stretch, warp, or permanently damage your fabric. The best thing to do is usually to take a deep breath, chalk it up to experience, and just cut a new piece. It’s a great reminder to always double-check your placement before bringing in the heat!
Why Did My Interfacing Shrink and Pucker My Fabric
Ah, the dreaded puckering problem. This frustrating situation almost always leads back to one thing: skipping the pre-wash. If you don't pre-wash both your fabric and your interfacing, you're setting yourself up for a battle of the shrink rates.
Different materials shrink differently when washed. Pre-washing gets all that out of the way before you permanently fuse them together. This simple prep step is your ticket to a smooth, flat, professional finish that will look just as good after a trip through the laundry.
Now that you're armed with all the tips and tricks, you're ready to tackle any project with confidence. Linda's Electric Quilters has all the high-quality interfacing, beautiful fabrics, and essential notions you need to get started. Come explore our amazing selection and bring your next vision to life.


