
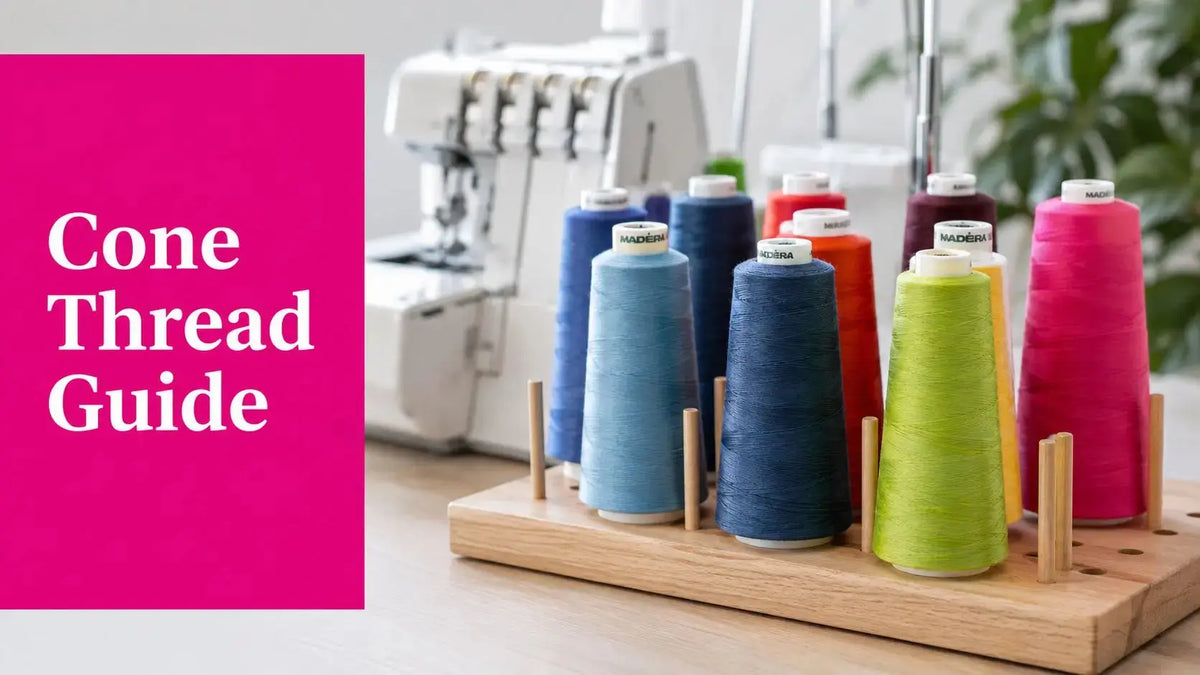
You know the moment. The serger is threaded, the fabric is ready, and then one cone starts jerking, fuzzing, or snapping for no obvious reason. Most of the time, the cone isn't the villain. The delivery path is. Once you understand how serger cone thread feeds, stores, and behaves on the machine, the whole process gets calmer, faster, and a lot less mysterious.
The short version is simple. A serger uses several threads at once, burns through thread quickly, and needs a smooth, continuous supply to keep stitching cleanly. That's why cone packaging became standard, why polyester dominates the conversation, and why setup matters just as much as the thread itself, especially on overlock seams and edge finishing.
What Serger Cone Thread Is and Why It Exists
A serger does not handle thread the same way a regular sewing machine does. It usually runs 3, 4, or 5 threads at once, and the loopers use thread fast while the machine trims the seam allowance and wraps the raw edge in one pass (Wise Geek). That is why cone thread exists. It is not a decorative extra, it is the supply format that keeps pace with the machine.

Why cones became the normal choice
Serging grew out of industrial overlock technology, which expanded in the 1920s and later reached home sewers in 1967 with the Baby Lock EF-205, the first serger aimed at the home market (EBSCO serging overview). Once you know that, the cone makes sense. Industrial-style stitching needs an uninterrupted feed, and a small spool runs out too quickly.
The wider sewing machine boom also helps explain why specialized thread formats took hold. Sewing machine patents from Elias Howe in 1846 and Isaac Merritt Singer in 1851 helped spread machine sewing worldwide, and by 1918 Singer machines were in one out of every five households worldwide, as noted in the sewing revolution timeline from the Mill Museum (Mill Museum sewing revolution). That kind of scale created room for purpose-built thread formats.
What a normal cone looks like on a serger
Retail guidance commonly describes serger thread as being sold in large cones of about 2,000 to 3,000 yards because the machine uses so much thread during continuous stitching (EBSCO serging overview). On a home serger, that size is not excessive. It is practical.
Practical rule: if the machine is forming overlock stitches all afternoon, a cone is a working supply, not an upgrade.
For a beginner, that is the key mental shift. Serger cone thread is part of the stitch system. It feeds the loopers, supports speed, and helps the machine keep tension steady while it finishes edges. A 3,000-yard cone may look oversized next to a regular sewing spool, but on a serger, it is normal.
Thread Fibers and Weight Numbers Explained
The numbers on a cone label can read like alphabet soup at first glance. Tex, weight, ply, and fiber type each describe a different part of the thread, and none of them make much sense until you connect them to the seam itself. Start with one simple question. What changes on the fabric, bulk, coverage, or stretch?

A reliable polyester cone as your baseline
A thread labeled Tex 27 / 40S/2 polyester fits a common home-serger setup, and many home serger cones use that polyester construction (Amazon product snapshot). Tex is a thickness system. Weight is another way of describing thread size. Ply tells you how many strands were twisted or constructed into the thread body.
You do not need to memorize the math to use the cone well. You need to connect the label to how the stitch behaves.
- Tex / weight: affects how full the stitch looks and how much the thread shows on the seam.
- Ply: affects structure and the way the thread feels as it feeds.
- Fiber type: affects strength, stretch, lint, and how the thread behaves under tension.
A good habit at the machine is to read the label like a recipe card. If the thread is thicker, the seam can look fuller and take up more space. If the construction is softer or fuzzier, it may feed differently and leave more lint behind. If the fiber has more give, it can handle serger tension in a different way than a stiffer thread.
Why polyester shows up so often
Polyester shows up often because it is described as having high tensile strength and elongation, which supports smoother stitches and less puckering under serger tension (Amazon product snapshot). That matters when the machine is moving fast and the seam is under stress. A thread that can stretch a little and still hold usually behaves better in overlock stitching.
Many sources also recommend 100% polyester as the default choice because it combines strength, low lint, and durability for light to medium fabrics and commercial laundering conditions (Ageberry serger thread guidance). That does not mean other fibers never fit. It means polyester is the safest place to begin when you are sorting out thread behavior on a serger.
A quick product example
A specialty metallic cone, like 002 Light Gold Metallic Thread, uses 2 ply, Tex/Weight 40, and a 1,090-yard cone size in the catalog snapshot. The same snapshot also notes a recommendation for Bottom Line thread in the bobbin and a 5.0 needle for best results. That is useful because it shows how a specialty cone is defined by construction and setup, not just by color.
If you are matching thread to fabric, start with seam behavior. Shine, hand, and coverage come after that.
Cone Sizes, Winding Styles, and What They Mean for You
A serger can burn through thread fast, so cone size affects how often you stop to change supplies. If you sew long seams, chain off a lot of finishing, or run a project with several threads moving at once, a larger cone keeps the machine fed longer. If you only sew short test pieces or occasional seams, a smaller cone may be enough. The right choice comes from how much thread you use, not from how impressive the cone looks on the shelf.

Cross-wound versus stacked-wound
Serger thread is usually cross-wound, which means it is built to feed from the top of the cone without the cone spinning along with it. That matters because a serger wants a steady delivery path, especially when it is running quickly. When the thread comes off the cone in a clean line, the machine has less to correct, and the stitch stays more even.
Stacked-wound cones are arranged differently. They show up in other sewing settings, but a serger usually prefers the top-feeding, no-spin behavior of cross-wound thread. On the machine, that difference shows up fast. If the thread has to fight its way off the cone, you may see drag, twitchy feed, or uneven stitching before you ever start blaming tension.
Choosing a size by project volume
A cone's size should match your sewing habits. Smaller cones work well for test seams, short runs, and light use. A larger cone makes more sense when you are sewing for longer stretches and do not want to stop as often to replace thread.
Use this rough logic:
- Smaller cones for occasional use, test seams, and low-volume sewing.
- Around 3,000 yards for regular home serging and garment finishing.
- Larger cones for heavy use, frequent color changes, or long project runs.
The extra capacity is not about status, it is about staying in the groove once the machine is already set up. On a serger, stopping to rethread interrupts your rhythm and adds another chance for the thread path to change.
Cone placement affects how it behaves
A cone is only half the story. The other half is how it sits and how the thread leaves it. If the cone does not feed cleanly, the machine may still stitch, but the thread path becomes the problem you notice at the seam.
That is why two cones of the same thread can behave differently on two different setups. One may feed straight and easy, while the other catches, twists, or hesitates because the delivery path is unhappy. The serger does not care whether the fiber is expensive or ordinary. It responds to smooth feed, and it shows you the trouble right away when the path is rough.
Pro tip: when the cone is feeding properly, the machine usually sounds calmer and the stitches show fewer odd tension swings.
Setting Up Cone Thread on Your Serger
Setup starts before you ever touch the needle. The cone has to sit correctly, the thread has to move through the guides in the right order, and the delivery path has to stay open from the cone to the looper. When that path is smooth, the machine feels easier to use immediately.
The video below is a good visual companion if you want to watch the path from cone to stitch as you read.
The parts that matter most
A serger setup can involve a vertical spindle, a thread antenna or guide, spool caps, and sometimes a foam pad or separate stand. The exact machine shape matters less than one principle. The thread has to unwind without dragging.
Some machines do better with the built-in cone holder. Others behave better with a separate thread stand or a horizontal setup, especially if the cone shape doesn't cooperate. That's why a cone can behave perfectly on one machine and act stubborn on another.
A simple setup sequence
- Place the cone upright: let it sit so the thread can come off the top in a clean line.
- Guide through the antenna or first guide: this keeps the thread from wandering.
- Follow the machine's path exactly: the tension discs can only work if the thread enters them.
- Finish with the tail secured properly: a clean start reduces tangles at the first stitches.
For some cones, a foam pad helps stabilize the base and calm erratic feed. For others, a spool cap or stand solves the problem better. The point is to watch the path, not force the cone to behave like a spool.
Where people get tripped up
Most frustration comes from tiny setup misses. The thread isn't seated in a guide. The cone is wobbling. The tail wrapped under itself. These don't sound dramatic, but they're enough to throw off the stitch. Our team in McKinney, Texas, sees the same pattern in store demos and machine help sessions, the machine usually tells you something in the path is off before the thread itself is the problem.
Troubleshooting Tension and Breakage the Right Way
A snapped thread often sends people straight to the cone, but that is usually the wrong first stop. A better check is the delivery path, because weak or incorrect thread, bad seating, and lint buildup can all show up as breakage, skipped stitches, or uneven tension.

Start with the path, not the brand
Troubleshooting guidance keeps pointing to the same trouble spots, cone position, thread guides, and tangling around the cone. One video-based source makes the same point clearly, many thread complaints are really delivery-path problems, not thread chemistry problems (YouTube troubleshooting clip). That shift in thinking matters. A good thread can still fail if it cannot leave the cone cleanly.
Look for these clues.
- Breakage near the needle: often tied to poor feed or a missed guide.
- Uneven stitching: often points to tension discs that are not fully seated.
- Random stopping or fraying: often means the cone is snagging or wrapping itself.
Cleanliness changes tension more than people expect
Lint buildup changes how thread moves through the machine. A serger that ran fine last week can start acting fussy after a few projects because the path is dirtier, not because the thread suddenly got weaker.
Practical rule: if the machine starts acting out, clean the tension area before you swap to a different cone.
When to suspect the thread itself
Thread quality still matters. If a cone is weak, uneven, or poorly wound, fraying and breakage can continue even after careful threading. That is the second question, though, not the first. Fix the delivery path, then judge the thread.
Some sewists keep a cone of reliable polyester on hand so they can separate a setup problem from a thread problem. If the machine behaves on one cone and not another, the product may be the issue. If it behaves badly on everything, the setup needs work.
Choosing Cone Thread for Quilting, Embroidery, and Serging Projects
A serger cone solves a delivery problem before it solves a material problem. Quilting, embroidery, and serging each ask thread to move in a different way, and the right cone is the one that feeds cleanly through your machine, matches the fabric, and holds up in the seam you are trying to make.
| Thread Type | Best For | Strengths | Watch For |
|---|---|---|---|
| Purpose-built serger cone thread | Everyday overlocking, garment seams, edge finishing | Smooth feeding, high-speed use, dependable tension | Needs correct setup and clean guides |
| General-purpose polyester cone | Mixed sewing, frequent machine use, long runs | Strength, low lint, broad usefulness | Not every cone is wound the same way |
| Specialty metallic or textured thread | Decorative stitching, visible accents, rolled hems | Shine, texture, visual impact | More sensitive to setup and thread path |
The default cone most people should stock
For most serging jobs, polyester is the safest starting point because it handles speed, tension, and everyday wear well. Home serger cones are often built around Tex 27 / 40S/2 polyester, which gives you a practical baseline for general sewing machine use. If you only buy one style first, choose a dependable polyester cone and learn how it behaves on your own machine.
That choice keeps the machine easy to read. If the cone feeds well, tension issues are easier to trace. If it feeds poorly, you know to look at the setup instead of blaming the thread fiber right away.
Where specialty thread earns its keep
Specialty cones make sense when the seam itself is part of the design. Metallic thread can add shine, and textured threads can change the edge finish in ways standard thread cannot.
They are less forgiving, though. A shiny cone that looks perfect on the shelf can still misbehave if the path has extra friction, if the guides are not threaded cleanly, or if the machine is already running near its limit. For that reason, specialty thread works best as a planned choice for visible edges or decorative stitches, not as the first fix for a stitching problem.
A note on other thread systems
Some sewists also use specialty looper threads for soft or decorative edges. That belongs in the project-planning stage, where you are choosing the look you want, not in the troubleshooting stage, where the machine is trying to tell you something is off. If the serger is already struggling, set the feed path correctly first, then decide whether the thread texture or sheen is part of the design you want.
Storage, Care, and Getting the Most From Every Cone
A clean cone lasts longer in practice because it causes fewer setup headaches. Store thread where it won't collect dust, keep it out of direct mess on the sewing table, and label it so you can grab the right cone fast the next time you sit down. That small bit of organization saves time when you're in the middle of a project.
Simple habits that protect your cones
- Label by fiber and weight: write down polyester, metallic, or specialty notes so you don't guess later.
- Keep cones covered or boxed: dust on the thread can travel into the machine.
- Separate leftovers by project: a partial cone of the wrong color can still be useful later if you know what it is.
- Watch for lint around the tension area: clean tools stitch better and complain less.
When to retire a cone
If the thread starts fraying repeatedly, has visible damage, or keeps snagging no matter how carefully you set it up, don't keep fighting it forever. Sometimes the cone is past its useful life. That's especially true with heavily used thread that's been carried around the sewing room and handled a lot.
Linda's Electric Quilters carries a broad thread and notions selection for sewists who want to build a working serger setup, including thread options, tools, and project supplies for regular machine use. If you're organizing your sewing room, this is the point where buying a couple of reliable cones and the right support tools starts to pay off.
Make your next changeover easier
Keep one or two cones reserved for your most common serger work, then separate the specialty thread by color and purpose. You'll spend less time untangling old choices and more time sewing clean seams. That's the payoff of treating serger cone thread like a system instead of a random notion.
If you're ready to build a cleaner serger setup, Linda's Electric Quilters has thread, notions, and project supplies that fit the way real sewists work at the machine. Visit Linda's Electric Quilters to shop for the serger cone thread and support items that make your next project smoother from the first stitch.


