
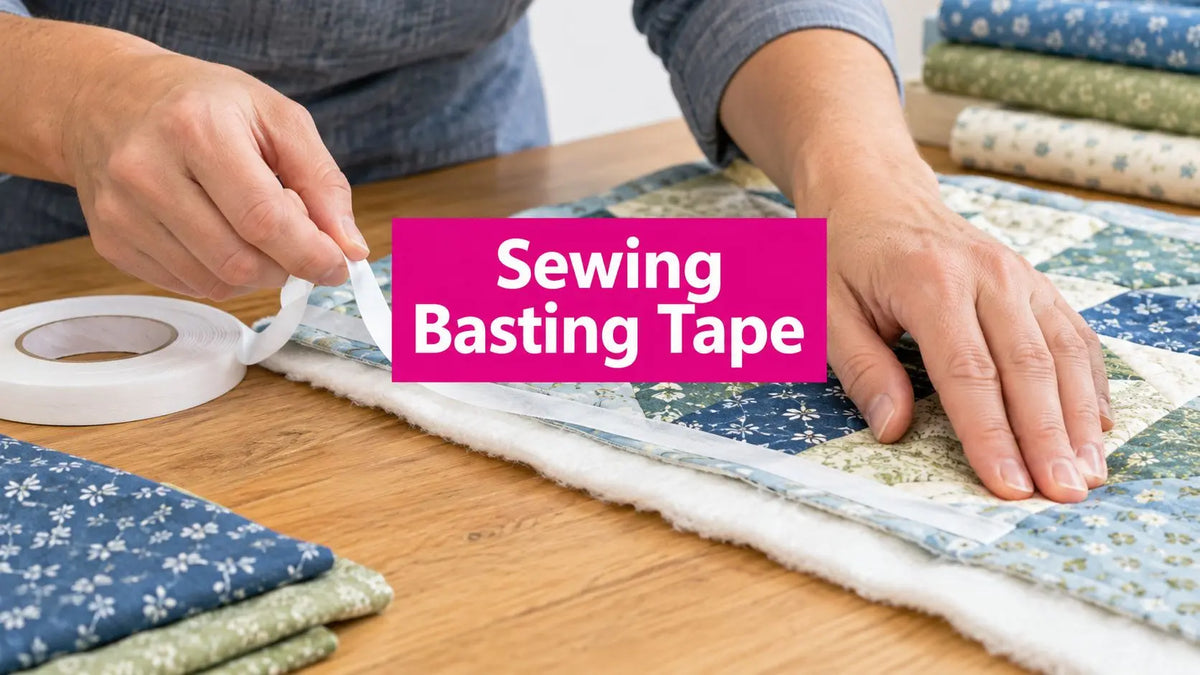
You're probably staring at a seam, a binding strip, or a quilt edge that wants to shift the second you take your hands off it. That's where sewing basting tape earns its keep. Used well, it can hold layers flat, keep a zipper from walking, and save you from pin bumps under the needle. Used carelessly, it can gum up a needle, leave residue, or create more cleanup than it saves.
If you quilt on a frame, piece at a domestic machine, or sew home decor on a deadline, the question isn't whether sewing basting tape works. It does. The question is whether the width, tack, and stitch path match the job.
Suggested URL slug: /blog/sewing-basting-tape
Meta description: Sewing basting tape helps hold quilts, bindings, zippers, and hems in place. Learn what works, what gums up needles, and shop supplies today.
What Sewing Basting Tape Is and Why Quilters Reach for It
At the longarm frame, the appeal is obvious. A quilt sandwich is loaded, the backing wants to creep, and nobody wants to fight a forest of pins across a wide span of fabric. In that moment, sewing basting tape is the fast reach.
It's a narrow pressure-sensitive adhesive strip used to temporarily hold fabric layers, bindings, zippers, hems, and trims before stitching. In the notions aisle, you'll also see it sold as double-sided basting tape, often under names sewists recognize from shop shelves. The key behavior is practical: pressure-sensitive adhesives bond with brief hand pressure at room temperature, so the normal workflow is to place the tape, align the layers, and press firmly. No heat activation is required, which matches the core behavior described for PSA systems in materials literature (pressure-sensitive adhesive reference).
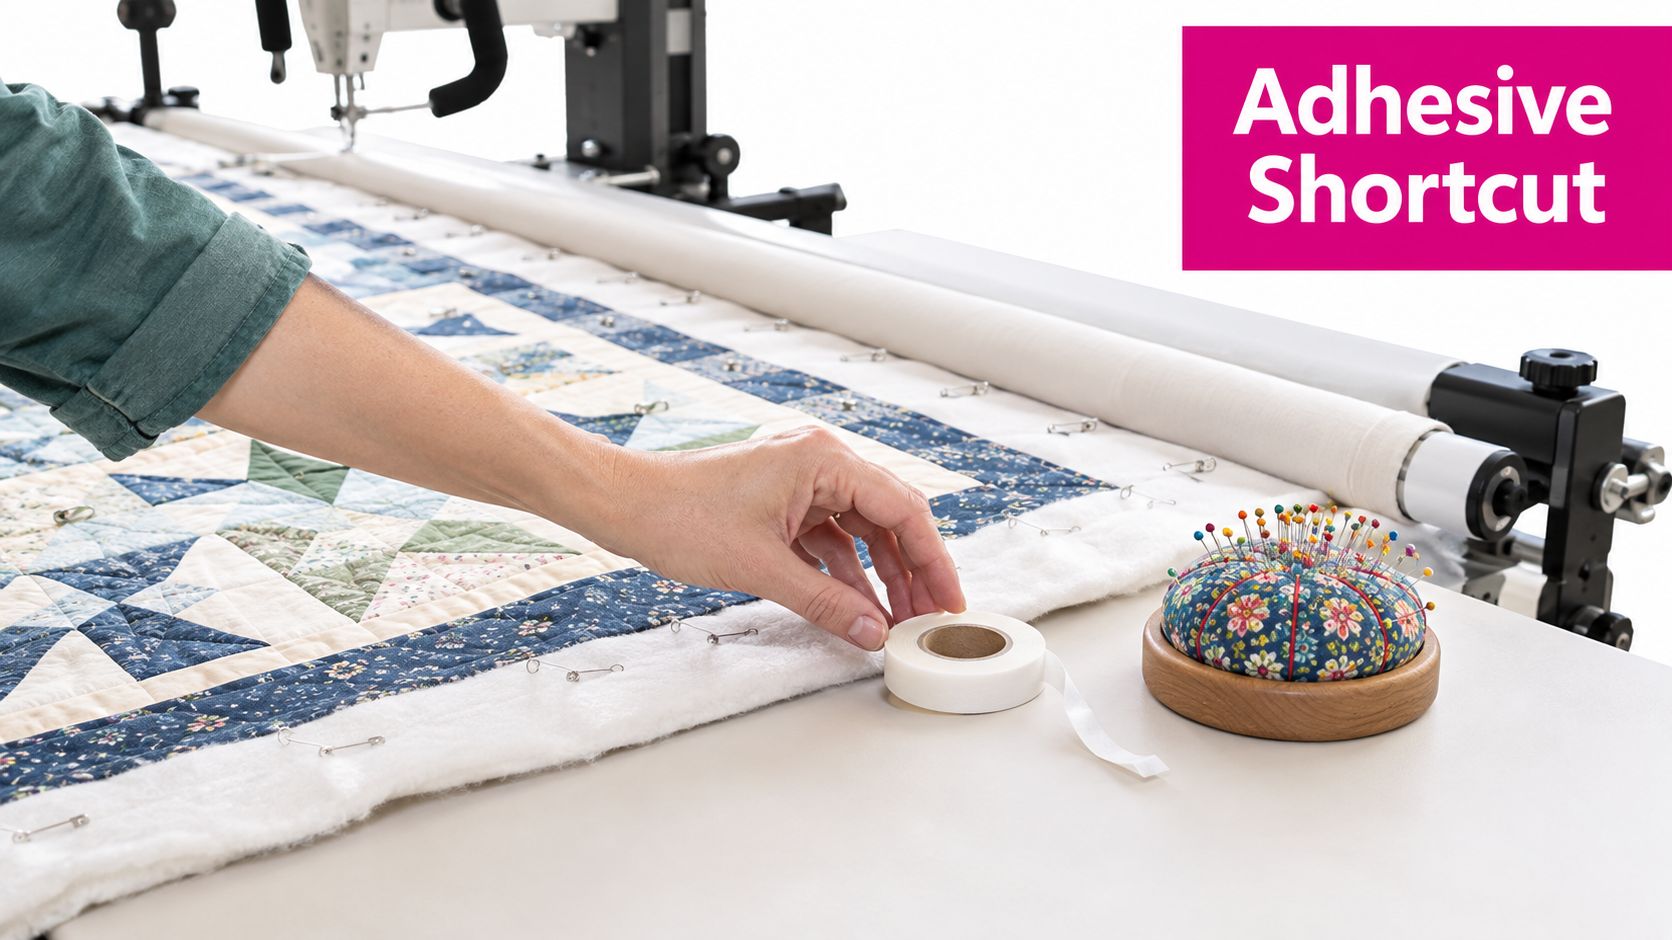
Why it stays in the tool drawer
For quilting, the biggest advantage is control without distortion. Tape can flatten a binding, hold a pocket edge, or secure a zipper tape without the little hills that pins create. On wide quilt work, it also lets you test placement before the first stitch goes in.
It's also different from other hold-in-place products.
- Not thread basting: There's no long line of temporary stitches to remove later.
- Not glue basting: You're not brushing or squeezing wet adhesive across fabric.
- Not fusible web: It isn't meant to become a permanent bond with heat.
Practical rule: Basting tape is for temporary hold and cleaner handling, not for replacing good seam prep.
Quilters reach for it because it solves a real machine problem. A pin can shift, catch, or force you to stop every few inches. Tape, when matched properly to the job, keeps the seam allowance calm and the feed smooth.
Our team in McKinney, Texas, tested this on an Innova longarm and found the difference shows up most on repetitive prep tasks. Binding tails, backing edges, and zipper placement all go faster when the hold is even and the stitch path is planned before the machine starts. If you like video learning, this topic is a good fit for a short demo clip or live shopping walkthrough so you can see exactly how firmly to finger-press the tape before sewing.
How Basting Tape Adhesion Works and What the Widths Mean
The three things that decide whether sewing basting tape behaves nicely are adhesive chemistry, carrier, and width. Most sewists focus only on tack. That's only part of the story.
A pressure-sensitive adhesive grabs when you press it down. The carrier, often paper or a thin fabric-like backing, affects how cleanly the tape dispenses and peels. Width determines whether the tape stays hidden inside the seam allowance or creeps into the stitch path where trouble starts.
What adhesion means in real sewing
Independent materials literature commonly measures peel adhesion in N/cm, and one formulation study reported a fabric-tape target around 3.3 N/cm on steel while still keeping acceptable adhesion on the tape backing (adhesion benchmark reference). At the sewing table, that translates into a simple requirement. The tape needs to hold layers during stitching, then release without tearing fibers or leaving residue.
That's why failure modes matter more than marketing copy:
- Over-adhesion: the tape grips harder than the fabric can tolerate.
- Residue transfer: adhesive stays behind instead of lifting cleanly.
- Tack loss after storage: the roll sits too long, then won't hold reliably.
Width is not a small detail
A sewing tutorial notes that basting tape should be chosen in a width similar to the seam allowance, and it identifies common widths such as 1/4 inch, 3/8 inch, and 1/2 inch (sewing width guidance). That's a useful baseline because the tape needs to stay inside the stitched area, not spill into open fabric where it attracts lint or catches the needle.
| Width | Best For | Tack Level |
|---|---|---|
| 1/4 inch | Binding folds, narrow seam allowances, prairie points | Light to medium |
| 3/8 inch | General garment seams, pocket placement, narrow trims | Medium |
| 1/2 inch | Zippers, hems, wider seam allowances | Medium |
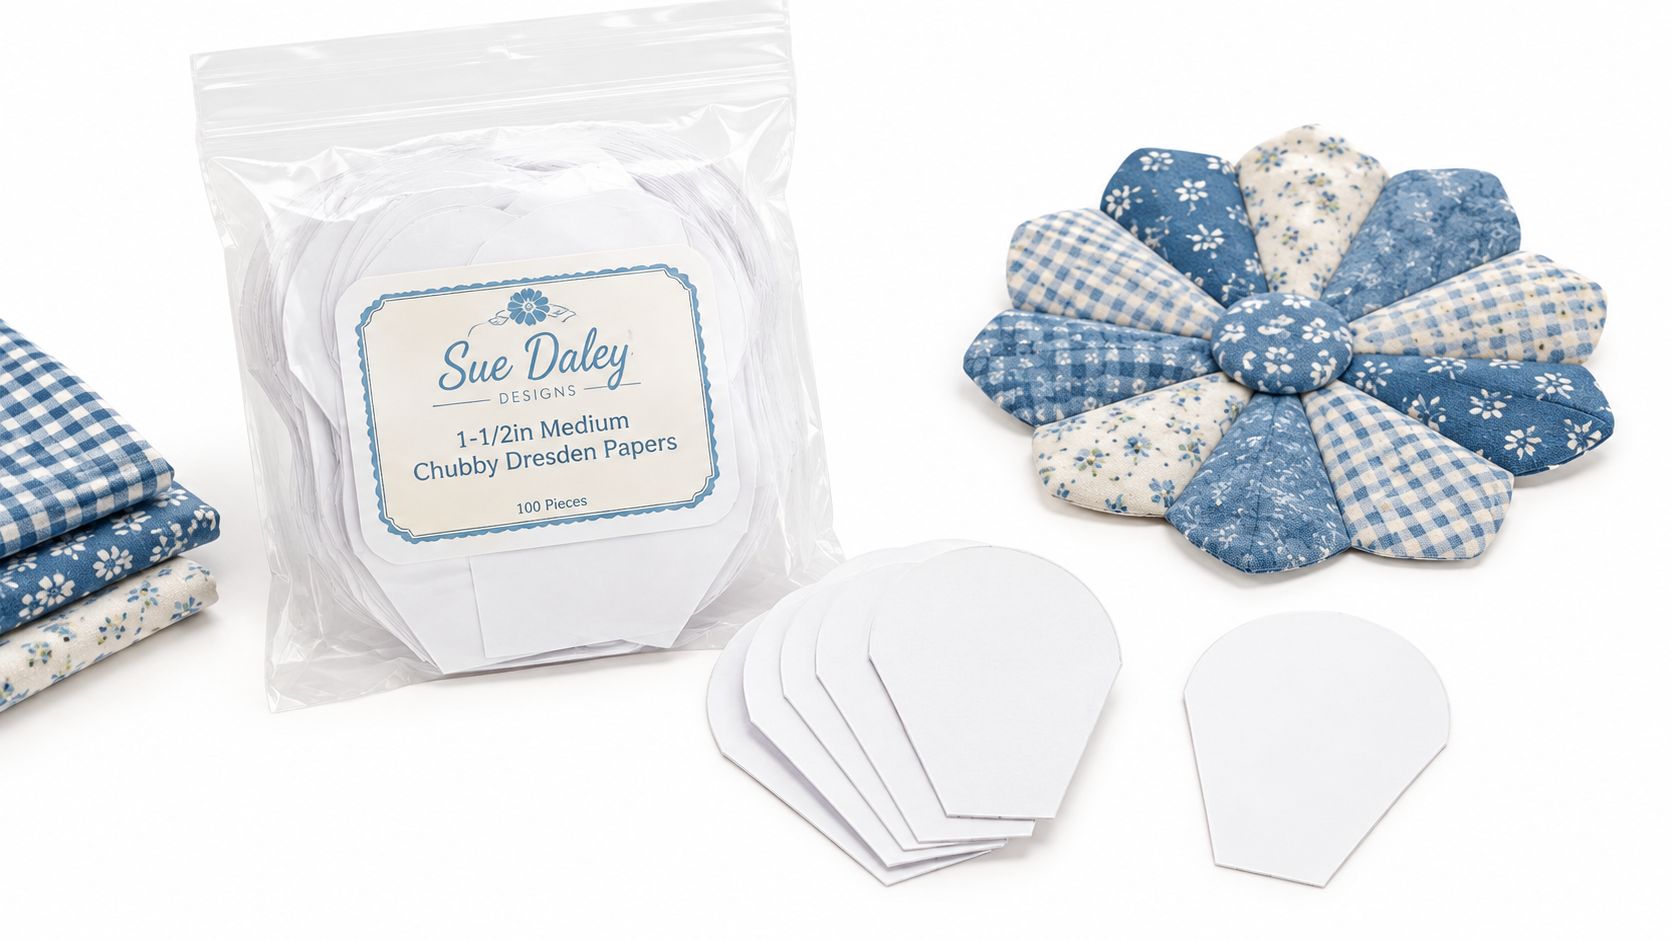
For precision work, that same width mindset shows up in paper piecing tools too. 1-1/2in Medium Chubby Dresden Papers are die-cut English paper piecing templates made from silk coated card, with 100 pieces per bag, and they're a good reminder that accuracy often comes from matching the tool size to the seam job instead of forcing one setup to do everything.
A tape that's too wide is often more trouble than a tape that's slightly less sticky.
If you're shopping across categories while planning a project, it also helps to keep related notions together with a broader Notions collection so tape, papers, clips, and prep tools stay in the same workflow.
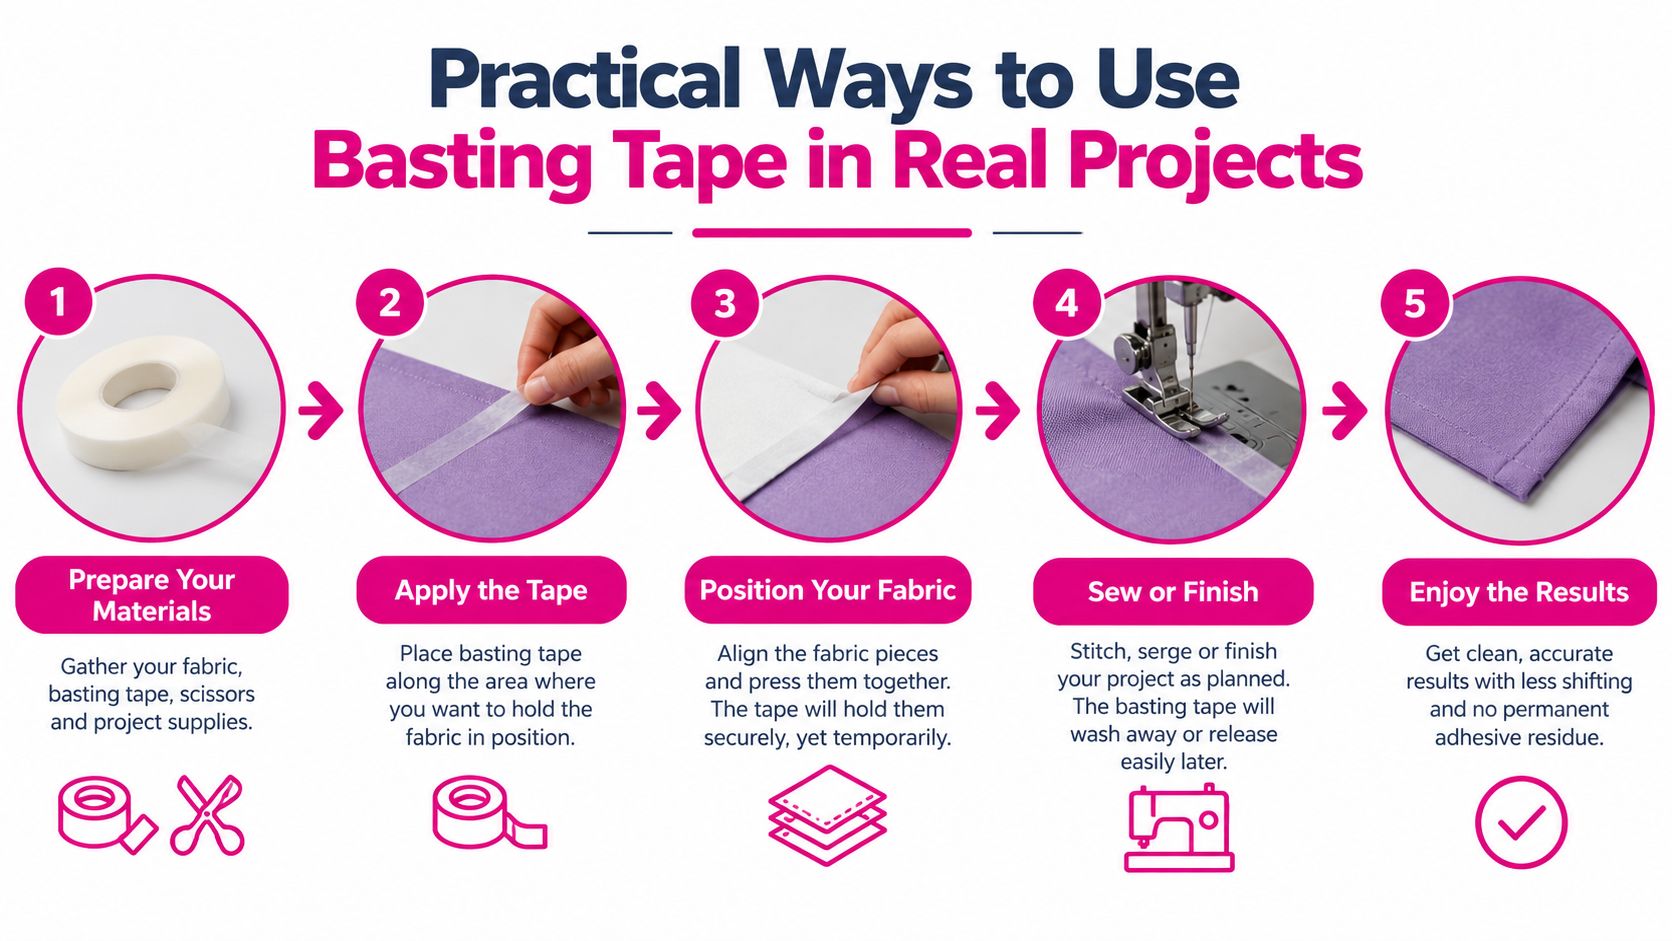
Practical Ways to Use Basting Tape in Real Projects
Basting tape shines when the hold needs to be narrow and exact. It's less about speed for its own sake and more about keeping the seam where you intended it to stay.
On a quilt sandwich
For a baby quilt or small wall quilt, tape can secure the edges of the batting to the backing while you smooth the top into place. I use a wider strip near the outside edge, well away from the quilting path, because the point here is temporary control while loading and smoothing.
The habit that prevents trouble is simple. Press the tape down firmly with your fingers before the quilt moves. A loose application invites wrinkles and drag.
On an invisible zipper
This is one of the cleanest uses for sewing basting tape. A 1/2-inch strip along the seam allowance holds the zipper tape exactly where the zipper foot needs it, and you don't have pins sliding around at the worst moment.
The trick is to keep the adhesive fully under the zipper tape or seam allowance. Don't let exposed sticky edges sit where lint can gather or where the needle will hit them repeatedly.
On zipper work, tape is often easier than pins because the zipper foot has less clutter to dodge.
On quilt binding
For machine-finished binding, especially on straight runs and miters, a 1/4-inch strip inside the folded binding helps stop creep. The binding stays where you set it, and the topstitch line looks calmer.
This is also where people get overconfident. Tape is holding the fold, not replacing careful corner handling. Miter first in your hands, then stitch.
- Baby quilt binding: Use narrow tape and keep it fully inside the fold.
- Table runner edges: Tape helps when a crisp finish matters more than speed.
- Bulky flannel binding: Use just enough tack to hold. Heavy adhesive on soft fibers can get messy fast.
On temporary hems and home decor
A denim skirt fitting hem or a curtain fold is a great temporary use. One strip inside the fold holds long enough to check length and hang. Then it peels away.
For curtain work, getting the length right matters before any permanent stitch goes in. If you're planning cafe curtains, this cafe curtain measuring advice is useful because the measuring step affects whether your taped hem hangs straight in the first place.
A soft mid-project reminder. If you're already gathering supplies, it's smart to add tape, clips, and batting in one pass so you're not stopping halfway through prep. For quilt finish work, a dedicated Batting category also helps when you're pairing edge prep with the actual body and loft of the quilt.
Basting Tape Versus Pins, Spray Baste, and Fusible Web
No single basting method wins every project. The right choice depends on seam shape, surface area, whether the bond should stay temporary, and how much needle contact the product creates.
Pins still have a place. Spray baste still has a place. Fusible web definitely has a place. Sewing basting tape fills the narrow, precise middle ground.
Where each method earns its spot
Pins are strong on curved seams and bias edges because you can pivot, ease, and adjust as you stitch. Spray baste is better when a large flat area needs broad coverage. Fusible web belongs where you want a permanent bond, especially on applique or a facing that should stay fixed after pressing.
Tape works best where precision beats coverage. It's clean on zipper installation, controlled on binding prep, and handy on hems that need a temporary hold.
| Method | Hold Strength | Repositionable | Needle Impact | Residue Risk | Best For |
|---|---|---|---|---|---|
| Basting tape | Light to medium, depending on tape | Often yes, if lifted early | Can gum needle if stitched through adhesive repeatedly | Moderate if overused or overheated | Bindings, zippers, hems, edge control |
| Pins | Secure point hold | Yes | No adhesive buildup | None | Curves, bias seams, fitted control |
| Spray baste | Broad surface hold | Limited after placement | Minimal direct needle buildup | Can transfer if oversprayed | Quilt sandwiches, large flat areas |
| Fusible web | Permanent after heat bonding | No, once fused | Not meant for repeated direct needle contact as a temporary baste | Depends on product and handling | Applique, facings, permanent placement |
Trade-offs that actually matter
Cost per yard matters if you're taping long edges on repeated projects. So does cleanup time. If you're doing dense stitching over a taped area, the convenience can vanish when the needle starts dragging.
Some sewing guidance notes that certain basting tapes can be stitched through, while stronger permanent tapes may gum up needles and call for frequent cleaning or different handling. That same guidance also points sewists toward tape widths narrower than the seam allowance, which is the practical clue needed (basting tape sewing guidance).
If you want a site tutorial that keeps you in the same workflow, pairing this topic with a how-to like how to load a quilt on a frame makes sense because tape decisions often start during prep, not at the needle.
When Not to Use Basting Tape and How to Avoid Needle Buildup
Sewing basting tape isn't universal. Some fabrics and some stitch paths make it a poor choice.
Stretch knits are a common example. Adhesive can distort the fabric while you're placing it, and once the grain is pulled off, the seam can pucker even if the stitching itself is technically fine. Sheers and loosely woven fabrics can also object. When you peel tape away, the fibers may lift or roughen before the adhesive lets go.
The projects that tend to fight back
Very long machine-stitched bindings can become a grind if the tape sits directly in the stitch path for too long. Friction builds, adhesive softens, and the needle or presser foot can start collecting gummy residue. The problem gets worse on dense stitching, small stitches, or hot-running machines.
Manufacturer guidance from a sewing supplies source explicitly says basting tape should be removed before pressing, laundering, or dry cleaning, and it warns not to stitch through the tape (manufacturer handling guidance). That's worth taking seriously, especially on garments or quilts that will see heat and later care steps.
How to reduce needle gumming
If you know a project is at risk, the fix is mechanical, not magical.
- Slow the machine down: Less friction means less adhesive softening on the needle.
- Keep tape off the stitch line: Let the tape hold the fold, not take the needle hit.
- Change the needle mid-project: A fresh needle often restores cleaner penetration after buildup starts.
- Choose a cleaner-releasing carrier: Paper-backed options often handle temporary placement better than overly grabby alternatives.
Pro tip: If a taped binding starts stitching fine and then suddenly sounds rough, stop before tension goes sideways. Clean the needle first, then test again on a scrap.
A sewing tips article explains that residue on the needle can be cleaned with rubbing alcohol or an adhesive remover (needle cleanup guidance). In practice, a quick wipe is often enough to get back to smooth stitching before skipped stitches begin.
What our team noticed on the machine side
Our team in McKinney, Texas, tested this on an Innova longarm and found tape works best when it supports setup rather than becoming part of the seam. The more hours the needle spends punching through adhesive, the less pleasant the job gets. That's especially true on repetitive edge stitching where lint and adhesive team up.
One soft nudge here. If you do longarm work often, it helps to keep extra machine needles and a dedicated cleaning cloth with your tape. That small prep habit saves more frustration than people expect.
Removing Basting Tape and Fixing Residue Without Damaging Fabric
The cleanest removal happens before heat, laundering, or long-term compression turn a temporary hold into a sticky problem. Lift the tape while the fabric is still manageable and before the adhesive has had time to settle deeper into the weave.
The safest removal motion
Peel at a low angle, almost parallel to the fabric surface. That puts less stress on the fibers than pulling straight up. If the seam was recently handled and the fabric is relaxed, removal is usually easier.
For stubborn bits, don't go straight to aggressive scraping. Start with the mildest method that matches the fabric.
- Cotton residue: Dab with isopropyl alcohol on a cotton swab and blot.
- Fibers caught in adhesive: Use a soft toothbrush to lift fuzz gently.
- Residue near a stitched edge: Work from the exposed side first instead of tugging under the stitches.
If residue is already a problem
Sometimes a taped binding gets stitched before anyone realizes adhesive has migrated. In that case, patience matters more than force. A warm, damp press cloth can help soften surface residue so it lifts more cleanly. Work in small sections.
Delicate rayon and silk need extra care. Test any cleanup method on an inconspicuous area first, and avoid turning a spot issue into a finish issue. Acetone is a poor gamble on sensitive fibers and should stay off acetate and triacetate. Hard scraping is just as risky because it can pill the surface or disturb the weave.
Residue is easier to dissolve than to tear away. Treat it like cleanup, not demolition.
Storage decides future performance
A lot of “bad tape” is really badly stored tape. Keep rolls closed, away from lint, dust, and high heat. If a roll lives loose in a notions drawer, it can contaminate its own edges and lose the clean handling you expect later.
Store tape where the edge stays protected and the roll doesn't flatten under heavier tools. If you use several widths, label them clearly so you don't grab a wider strip and trim it out of habit. Another mid-project nudge. Good storage is one of the cheapest ways to avoid tack loss, waste, and residue surprises.
Matching the Right Basting Tape to Your Project and Where to Shop
Project type should drive the tape choice. That sounds obvious, but most frustration comes from using the same roll for every job.
Tape choices by project type
Longarm quilters usually need control at the edge, not across the whole quilt body. Garment sewists need the tape to disappear inside a seam allowance. Embroidery hobbyists need narrow support that won't stiffen the design more than necessary.
| Project Type | Recommended Width | Adhesive Strength | Best Application |
|---|---|---|---|
| Longarm quilting | 1/4 inch to 1/2 inch | Medium | Binding edges, backing control, sandwich prep at edges |
| Garment sewing | 1/4 inch | Low to light-medium | Seam allowances, zipper placement, temporary hems |
| Machine embroidery | 1/8 inch to 1/4 inch | Light | Small applique placement, motif stabilization |
What this looks like in practice
For longarm quilting, 1/4-inch to 1/2-inch tape handles most edge tasks well, and a wider strip can help with larger-scale backing control when it stays outside the stitch path. In garment sewing, narrower low-tack tape is usually the safer choice because wide or aggressive adhesive can shadow through lighter fabrics or drag the seam off shape.
Embroidery is its own lane. The narrower the motif and the denser the stitching, the more important it is to avoid excess adhesive. You want placement support, not a stiff edge around the design.
A dispenser helps more than people think. On long binding strips, it cuts waste and keeps the tape from twisting back onto itself. If you also sew throws and quilted home decor, it's useful to compare throw blanket sizes before you prep tape lengths, backing coverage, and edge finishing plans.
Shopping without trial-and-error
Linda's Electric Quilters is one option if you want a single place to compare quilting and sewing supplies tied to actual projects. Their McKinney-based team tests products on quilts before listing them online, which helps when you're trying to avoid random substitutions in your tool drawer.
If you learn best by watching, this subject also benefits from a short video tutorial or live shopping clip showing tape width beside seam allowance width. That visual makes the match-up much easier than a package label ever does.
The soft advice is simple. Buy tape for the seam you're sewing next, not for every imaginary future project. A narrow roll, a medium roll, and good needle-cleaning habits will take you further than a drawer full of adhesives that all behave differently.
If you're sorting out binding prep, zipper insertion, quilt finishing, or edge control on a frame, Linda's carries the quilting and sewing supplies that support that work, including notions, batting, machine accessories, and project tools. Visit Linda's Electric Quilters to shop for the supplies that match your project and skip some of the trial-and-error that comes with the wrong tape, wrong width, or wrong setup.
FAQ
Can you sew through sewing basting tape
Sometimes, but it's not something to assume. Some tapes tolerate needle contact better than others, while stronger adhesive products can gum up the needle fast. If the tape can stay beside the stitch path instead of under it, that's usually the cleaner choice.
What width works best for quilt binding
For many bindings, 1/4 inch is the easiest width to control because it stays inside the fold more easily. The right width still depends on the bulk of the quilt edge and how much of the fold you want held before topstitching.
Why does my needle get sticky when I use tape
The adhesive can soften from friction and transfer to the needle, especially during long seams or dense stitching. Once residue starts collecting in the groove or near the eye, stitch quality can suffer.
Is sewing basting tape better than pins
Not universally. Tape is better for narrow, flat placement jobs like bindings, zippers, and hems. Pins are still better when you need to pivot, shape a curve, or control fabric easing by hand.


