
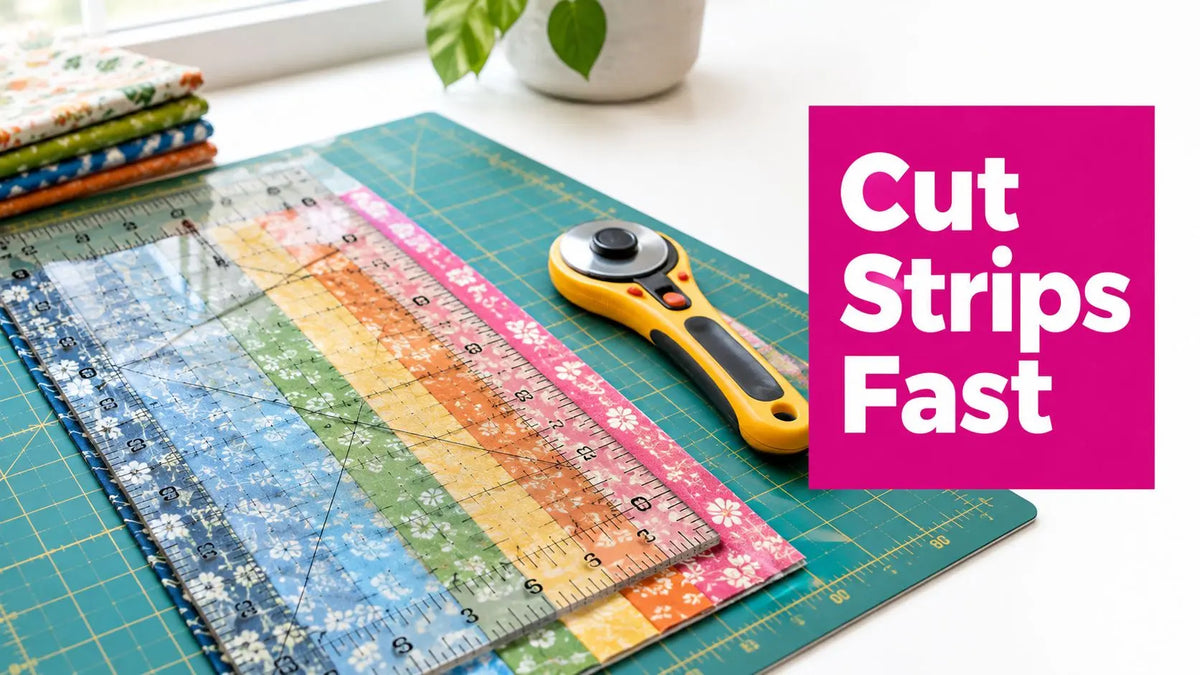
You're probably standing at the cutting mat with a stack of strips to prep, wondering whether a slotted ruler for quilting will speed things up or just become one more notion in the drawer. That's the right question. A slotted ruler shines when you need repeated cuts from yardage or fat quarters and want the rotary blade guided through fixed channels without re-measuring every line. It's less impressive on tiny scraps, odd trims, and one-off cuts.
Our team in McKinney, Texas, tested this style of workflow on an Innova longarm support bench setup and found the value isn't generic measuring. It's repeatable cutting that helps the piecing stage stay square before tensioning, quilting, and batting loft start affecting how the finished quilt reads.
What a Slotted Ruler for Quilting Does and Why It Matters
Halfway through cutting a full strip set is when this tool proves itself. If the fabric is squared, pressed, and laying flat on the mat, a slotted ruler for quilting lets you keep the ruler planted and send the rotary blade through fixed channels instead of lining up every cut from scratch. That changes the pace of the job, but only on the right kind of fabric stack.
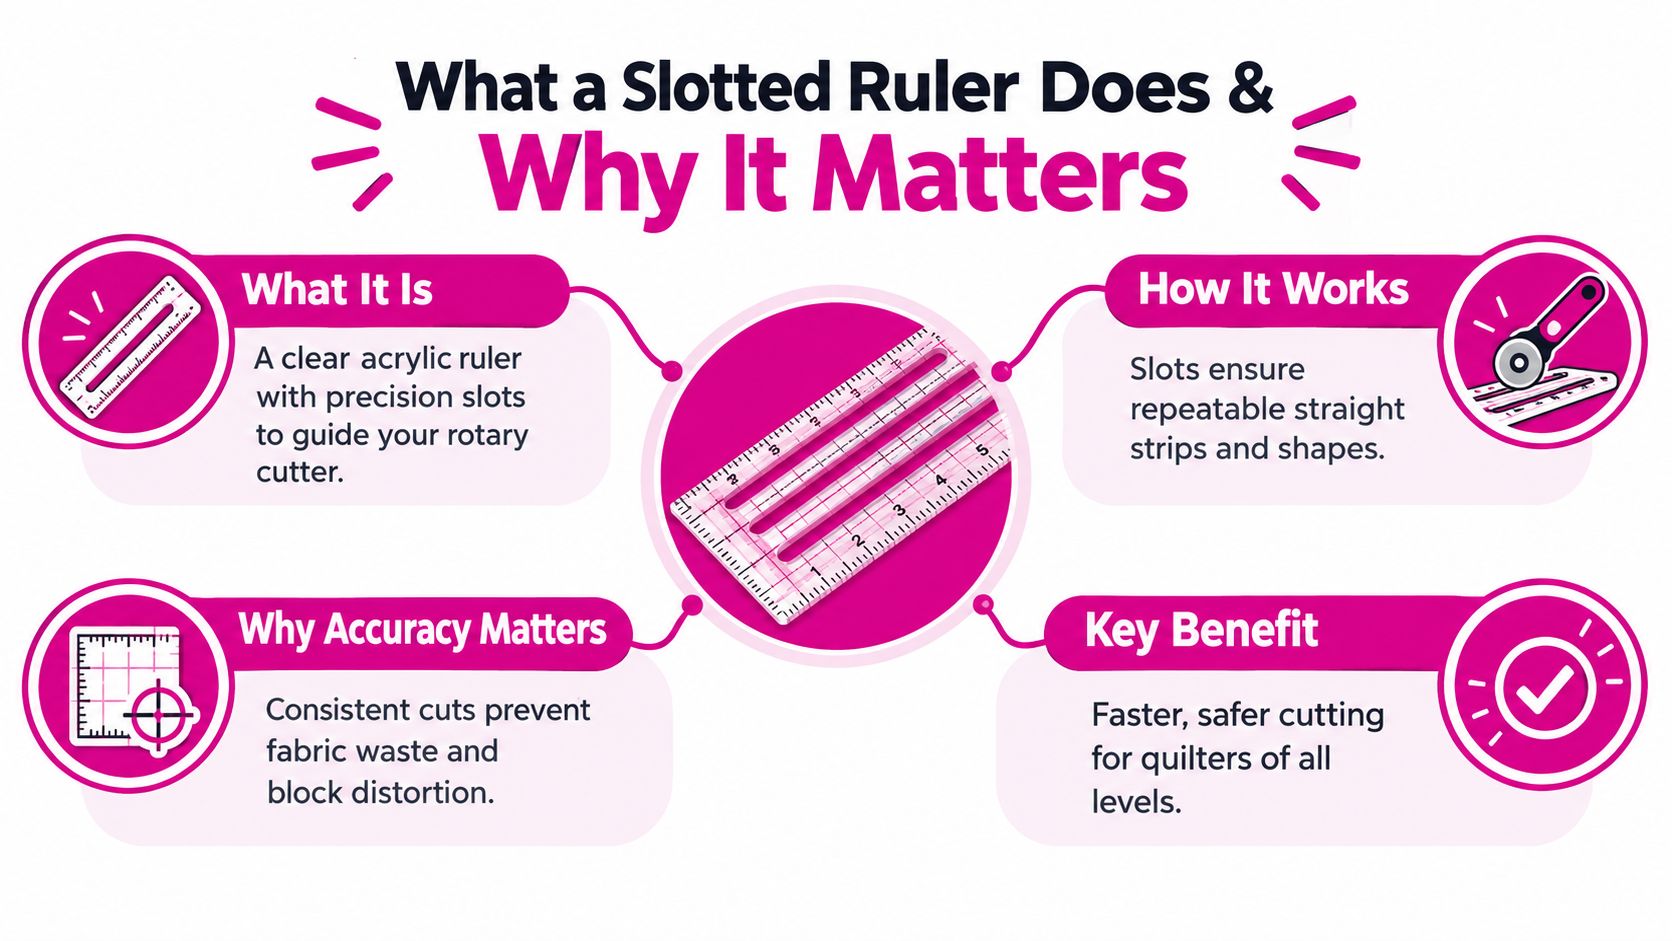
A slotted ruler is a clear acrylic ruler with built-in channels sized to guide the rotary cutter. The main benefit is repeatability. On yardage, fat quarters, and other pieces with enough body to stay aligned, the slot system cuts down on drift from one pass to the next. On scraps with uneven edges, soft bias, or short trimming cuts, the slots can slow you down because setup takes longer than the cut.
That trade-off gets skipped in a lot of ruler tutorials.
How a Slotted Ruler Changes the Cutting Workflow
With a standard ruler, each cut is its own alignment job. With a slotted ruler, the alignment work happens up front. After that, the blade follows the slot path while the ruler stays in place. A practical video example shows that sequence clearly. Align the ruler so the slots extend past both edges of the fabric, then run the rotary cutter through the selected channels for repeated strip or shape cuts while everything stays registered from the first pass to the last (slotted ruler cutting tutorial).
The time savings are real on repetitive cuts. They disappear fast on custom cuts.
For yardage, this matters because the ruler can hold a stable reference across several cuts. For scrap work, especially small leftovers from a block kit or trimmed-off border pieces, a regular acrylic ruler is often faster because you can grab, line up, and trim without fighting the slot spacing.
Where It Helps, and Where It Does Not
The best use cases are practical ones you run into every week:
- Strip cutting from yardage where repeated widths need to stay consistent
- Sub-cutting fat quarters into squares or rectangles after the piece is squared up
- Stable multi-layer cuts where the stack is thin enough to stay flat under the ruler
- Batch prep for piecing when one block unit repeats across the quilt
The weak spots are just as important:
- Tiny scraps that will not sit securely under a larger ruler
- Odd-size trims where slot spacing does not match the cut you need
- Lofty or shifting stacks that can lift under the ruler and throw off the blade path
- One-off cuts where setup time gives you no return
I use that same logic before anything reaches the longarm. If the cut stage wanders, the piecing stage pays for it. Then the quilt top shows it again during loading, tensioning, and quilting, especially when loft exaggerates a wavy seam line or an out-of-square border.
Why the Tool Matters Beyond the Cutting Mat
This is not about buying another ruler just to own another ruler. It is about matching the tool to the workflow. Quilters keep coming back to slotted rulers because repeat cuts are one of the easiest places to gain consistency without changing the rest of the process.
Analysts discussing quilting ruler demand and category growth have treated rulers as an active, researched product segment rather than a throw-in notion, and that tracks with real shop behavior. Quilters compare size, slot layout, visibility, and durability because those details decide whether the ruler saves time or sits unused (history and market overview of quilting rulers, U.S. quilting ruler market tracking).
Durability matters more than beginners expect. Deep slot use puts wear in the places that matter most. If the acrylic is too thin, the ruler can flex. If the slot edges roughen over time, the cutter stops feeling clean in the channel. For occasional cutting, that may not matter much. For regular batch cutting, it affects accuracy, hand fatigue, and whether the tool still feels trustworthy six months from now.
Matching your cutting workflow to the batting's loft and hand helps the finished project behave better from piecing through quilting.
Choosing the Right Slotted Ruler for Your Quilting Projects
A slotted ruler earns its space on the table only when the cuts repeat enough to repay the setup. If I am cutting border strips from yardage, trimming binding widths, or sub-cutting a full stack of strip sets, the slots keep the rotary blade tracking straight and save time over the course of the job. If I am digging through a scrap bin for one 3 1/2 inch square and two odd rectangles, the same ruler can slow me down.
That is the choice to make first. Buy for your workflow, not for the promise that one ruler will handle every cut in the room.
Slotted Ruler Versus Standard Acrylic Ruler
Slotted rulers and standard acrylic rulers do different work well.
A standard acrylic ruler is still faster for one-off cuts, short trims, and irregular leftovers that do not sit comfortably under long channels. It also gives more freedom when a pattern calls for a measurement that does not match the slot spacing.
A slotted ruler pays off when the fabric starts as yardage, fat quarters, or a stack of pressed strips and the goal is repeatable cuts with fewer resets. The blade rides in the channel, which reduces wander and helps keep width consistent when hand pressure changes late in a cutting session. Quilters discussing real use cases make the same point. Slotted rulers tend to shine on larger pieces, while scraps often go quicker under a smaller standard ruler (discussion of slotted rulers and small scraps).
That trade-off gets ignored in a lot of tutorials. It matters.
What to Check Before You Buy
Start with size. A large slotted ruler is the better choice for yardage and folded widths because it gives enough length to register the fabric and keep the cut path stable. A compact slotted ruler stores easily, but it can feel cramped the minute you move beyond charm-pack-scale cutting.
Then check slot layout. Some rulers are built almost entirely for strip cutting. Others add angles or shape sub-cuts. That sounds useful, but extra markings can also crowd the face and slow visual alignment. If you mostly cut straight strips, a simpler face is often faster in daily use.
Acrylic thickness matters more than branding. Thin acrylic is lighter in the hand, but it can flex under pressure, especially near the slot. On a busy cutting table, that flex shows up as inconsistent cuts and more hand fatigue because you compensate by gripping harder. Thicker acrylic usually lasts better, though it adds weight.
Look at the slot edges too. Clean, smooth channels let the blade travel without chatter. Once those edges start to roughen from heavy use, the ruler still works, but it stops feeling precise. That is usually the point where a budget ruler turns into a false savings for anyone cutting weekly.
Grip is the other make-or-break feature. If the ruler slides, the slots do not rescue the cut.
Match the Ruler to the Fabric You Actually Cut
For yardage, choose reach and stability. A larger slotted ruler gives better control over long strip cuts, especially on firmly pressed quilting cotton where speed comes from repeating the same motion without remeasuring every pass.
For scraps, choose agility. A standard ruler, or at most a smaller slotted ruler, usually handles short pieces better because you can reposition quickly and trim close to the usable fabric without fighting unused ruler length.
Fabric hand changes the decision. Crisp, starched cotton behaves well under slots. Softer fabrics with more give, or layered cuts that shift easily, sometimes need the simpler pressure and visibility of a plain ruler. Accuracy at the cutting stage matters later too. If the top will sit over higher-loft batting, small cutting errors can show up faster once piecing, pressing, and quilting tensioning start interacting.
Slotted Ruler Options Compared for Quilters
| Ruler Type | Best For | Trade-Off |
|---|---|---|
| Large slotted strip-cutting ruler | Yardage, fat quarters, repeated strips | Fast on repeat cuts, slower on tiny scraps |
| Slotted ruler with shape sub-cutting options | Strip sets turned into squares, triangles, diamonds, hexagons | More versatile, but busier markings can slow alignment |
| Standard acrylic ruler | Scraps, custom trimming, short cuts | Flexible and quick for odd jobs, less guided on repeated strip cutting |
Who Should Choose What
Quilters cutting for production piecing, charity tops, classes, or regular customer work usually get real value from a slotted ruler. Repeated sashing, borders, binding, backing prep, and strip sets are where it saves minutes that add up.
Scrap quilters often get less return. If most cuts start with leftovers smaller than a fat quarter, a standard acrylic ruler will stay in hand more often and waste less time in setup.
For quilters who also use rulers at the machine, ruler systems can extend beyond the cutting table. One factual example is the Good Measure Every Oval Set Low Shank Quilting Ruler. It serves a different purpose than strip cutting, but it shows how precision tools fit into a broader workflow from piecing to quilting.
How to Measure Align and Cut With a Slotted Ruler
You feel the time savings with a slotted ruler on the second and third repeat cut, not the first one. On yardage, that repeatability pays off fast. On small scraps, setup can take longer than the cutting itself, so the ruler only earns its place when the cut plan is consistent.
Start With a Flat Setup
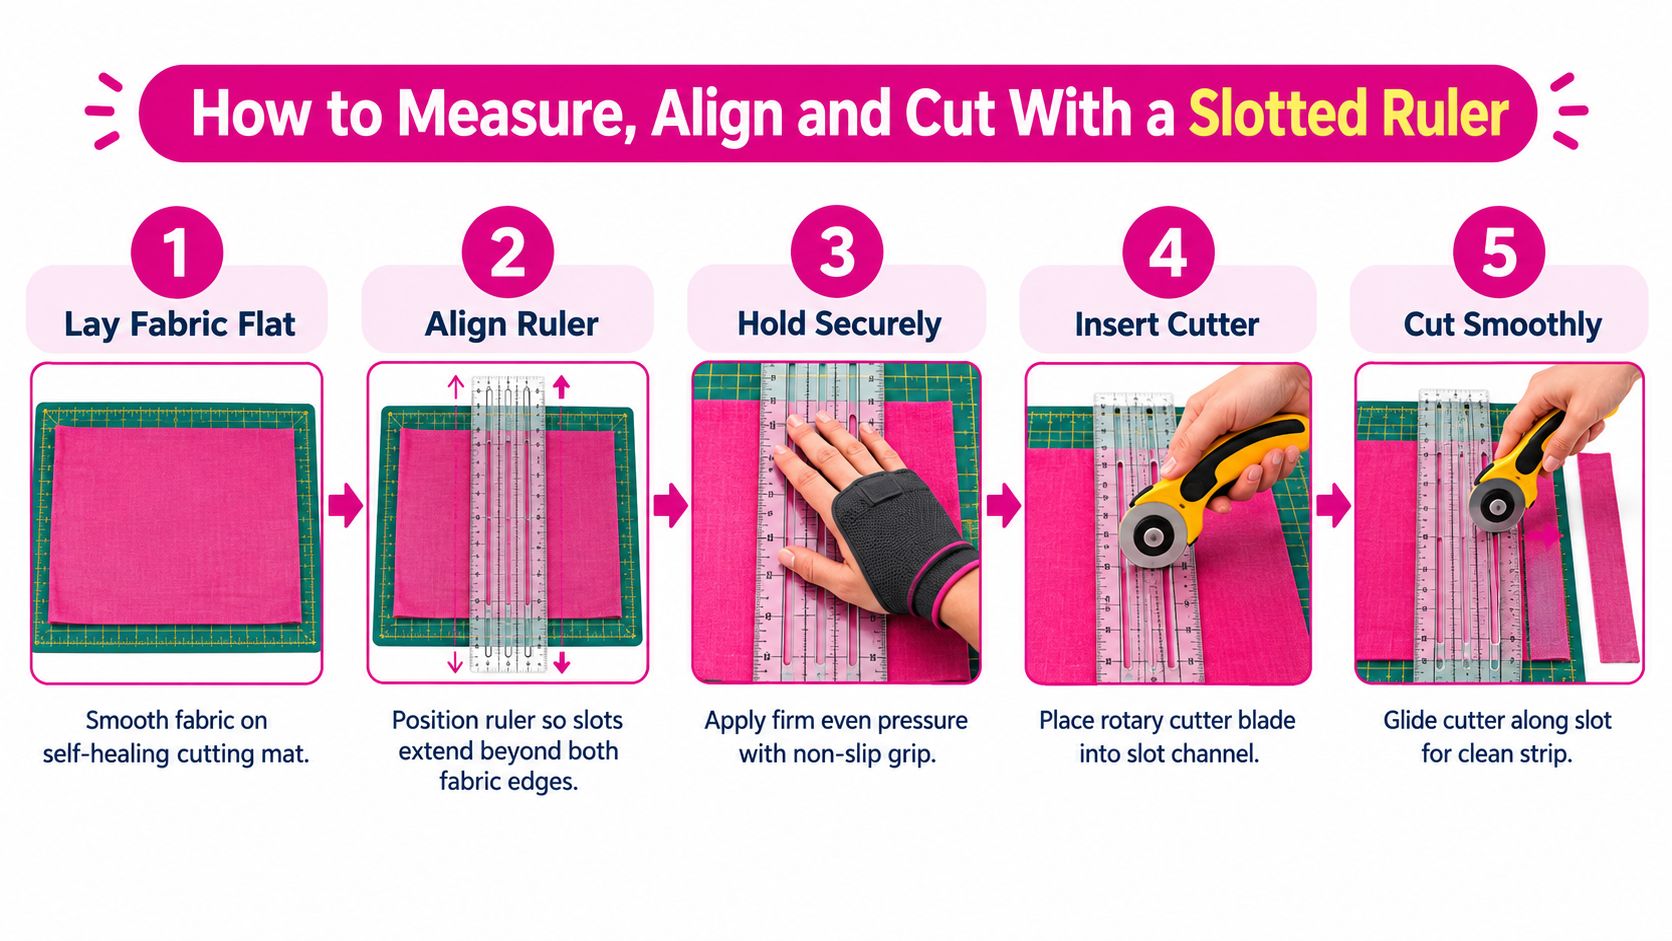
Lay the fabric on a self-healing mat and smooth it with your hands. Do not pull it into place. Fabric that has been stretched to look straight often springs back after cutting, and then your strip width is off before piecing even starts.
Square one edge if the cut edge is rough or the fold has shifted. Then place the ruler so the slot you plan to use runs past both fabric edges. That full entry and exit path matters. If the slot stops short, the blade can wander at the start or tail off at the end.
The same setup principle shows up outside quilting too. A guide on steps to measure a room makes the same point clearly. The first alignment controls the result.
Align for Yardage Differently Than Scraps
This is the part many quick tutorials skip.
For folded yardage, line up the ruler with the mat and the squared fabric edge, then check that the fold is still relaxed and even. Slotted rulers shine here because the slot keeps repeated strip cuts on track with fewer ruler resets.
For scraps, check the size first. If the piece is barely wider than the ruler slot span, a standard acrylic ruler is often faster because you can trim, rotate, and recut without fighting extra ruler length. Slotted rulers save time on repetition. They waste time on awkward one-off trimming.
The Cutting Sequence That Holds Accuracy
Use the same sequence every time so you do not have to troubleshoot after three bad strips.
- Smooth the fabric flat without stretching it.
- Square the starting edge if needed.
- Place the slot on the target measurement and confirm the ruler extends past both edges.
- Set your hand pressure across the ruler body so one corner does not lift.
- Run the rotary cutter through the slot in one steady pass.
- Check the first strip width before cutting the full stack.
That last check saves fabric.
Here's a video embed worth keeping on the page while you work through the motion:
Keep the Slot From Creating Confident Mistakes
A slotted ruler can guide an inaccurate cut very neatly if the alignment is off. The slot controls blade travel. It does not fix drift, poor pressure, or a shifted stack.
Three things matter most in actual use. Blade sharpness, hand pressure, and ruler stability. A dull blade drags the top layer. Uneven pressure tips the acrylic. Thin rulers cut fast but can nick and cloud sooner, while thicker acrylic usually stays flatter under pressure but feels heavier during long cutting sessions.
I see this most often with quilters trying to cut too many layers at once. If the fabric has a soft hand or noticeable loft, reduce the stack height and make another pass. Two accurate cuts are faster than recutting spoiled strips.
Sub-Cutting Without Losing the Time You Saved
After strip cutting, sub-cutting is where a slotted ruler either keeps paying off or starts slowing you down. If you are turning long strips into repeated units, keep using the slot-guided workflow. Align once, cut a series, and recheck every few units. If you are trimming odd leftover ends or cleaning up small pieces for scrappy blocks, switch tools and use a standard ruler.
That trade-off matters on real quilts. Production cutting from yardage rewards guided repetition. Scrap cutting rewards flexibility.
Pro Tip
If the third or fourth cut starts running narrow, stop right there and check for creep under the ruler or drag from the blade. Do not cut the whole batch and hope piecing hides it. By the time that top reaches the longarm, no amount of tensioning will make a crooked border sit flat.
For more machine and project education after your cutting is done, it's smart to keep a quilting tutorials collection open in another tab so your cutting, piecing, and quilting steps stay connected.
Project Tutorials Using Your Slotted Ruler From Strips to Blocks
A slotted ruler proves itself on a busy cutting table, not in the package. The test comes after the first strip cut, when yardage needs to turn into repeatable units that still fit at the sewing machine. On production-style cuts, the slots can keep the workflow fast. On scraps and one-off pieces, they often slow you down.
Strip-Pieced Blocks
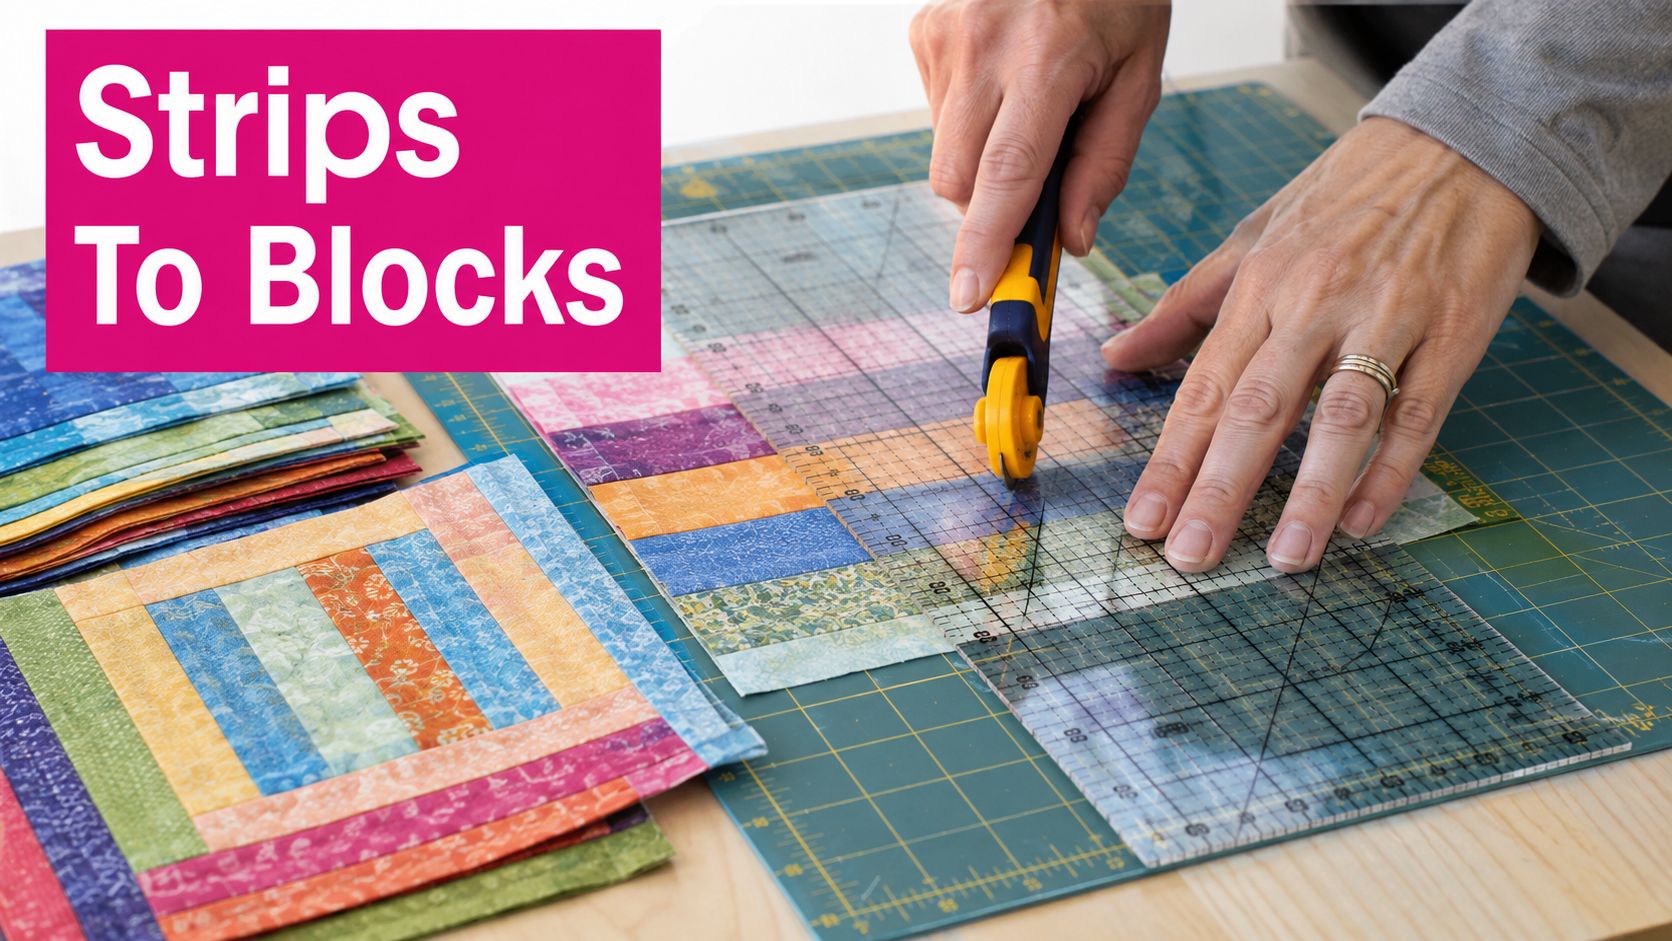
Strip-pieced blocks are where a slotted ruler usually earns its space.
Start with pressed yardage or fat quarters, cut consistent strips, sew them into strip sets, press, and sub-cut the set into matching units. That slot-guided sequence saves time because the setup gets reused. If you are making a lap quilt with repeated block parts, the ruler helps keep widths steady from the first unit to the last.
A typical setup looks like this:
- Finished use: strip-pieced blocks for a lap or twin quilt
- Fabric source: yardage or fat quarters with enough length for repeated strips
- Where the slotted ruler helps: matching strip widths and repeated crosscuts
- Where it stops helping: trimming odd leftovers after the strip set is already used up
Accuracy matters here for a practical reason. A strip that runs narrow does not just throw off one patch. It changes the sewn unit, shifts the block size, and can show up later when rows refuse to meet cleanly. By the time a top reaches the longarm, I would rather have taken one extra minute at the cutting table than fight fullness while tensioning a border.
For color planning ideas, it can help to browse cowboy cotton quilts and study how repeated strip units create movement without making the cutting plan complicated.
Borders and Sashing
Borders and sashing are another strong use case, especially when the fabric starts as yardage and the widths repeat.
Cut sashing first while the fabric is still easy to square and control. Measure border lengths only after the quilt center is assembled and checked. Pre-cutting borders by assumption is a fast way to waste fabric, and it usually shows up as waving or stretched edges later.
Three habits make a difference:
- Press before measuring so the fabric lies flat without hidden ripples
- Square the edge first instead of trusting the fold
- Cut only what the quilt center calls for rather than batching every border early
This is also where the trade-off between speed and flexibility becomes obvious. A slotted ruler is efficient for repeated 2-inch or 2 1/2-inch sashing strips. It is much less useful when each border insert or corner treatment has a different measurement.
If you're building a star or compass project after your strip prep, a specialty ruler-and-pattern product like the 32 Point Mariner's Compass Book and Ruler can fit into that next step. It's a separate tool category, but it pairs well with precise strip and unit prep.
Half-Square Triangle Trimming With Side Slots
Half-square triangle trimming is a narrower job, but some slotted rulers handle it well. Sew paired strips, press the seam to one side, align the seam marking on the ruler with the sewn line, cut, rotate, and trim the dog ears through the side slots. A demonstration of this method in this half-square triangle slotted trimming tutorial also shows why a 28 mm rotary cutter is a better fit for tight slot paths.
That smaller cutter reduces drag in narrow channels. It also puts less stress on the slot edges over time, which matters if the ruler gets heavy weekly use.
If dog ears are resisting the cut, stop and switch cutters. More pressure usually means more wobble, and wobble shows up in the finished unit.
Yardage Workflow Versus Scrap Workflow
This is the part many tutorials skip. Slotted rulers save the most time when the cut sequence repeats.
For yardage, the workflow is simple. Square once, align to the slot, cut a run of strips or units, and check every few cuts. For scraps, the setup changes constantly, fabric edges are irregular, and the ruler spends more time being repositioned than cutting. In that situation, a standard ruler is usually faster and less fussy.
Use the slotted ruler for:
- strip sets
- repeated sashing
- batch-cut block units from yardage
- controlled trimming paths that match the slot layout
Switch to a standard ruler for:
- odd scrap shapes
- custom filler pieces
- short leftover ends
- anything that needs frequent repositioning
That division keeps the slotted ruler in the jobs where it saves time, instead of forcing it into every cut because it is on the table.
Accuracy Safety and Efficiency Tips That Save Fabric
You square up a clean strip, line the slot on the mark, and the cut still finishes a thread off by the end of the pass. That kind of loss usually starts before the blade touches fabric. A little lint under the ruler, a blade that is dragging, or too much hand pressure in one spot is enough to push a slotted ruler off its best use.
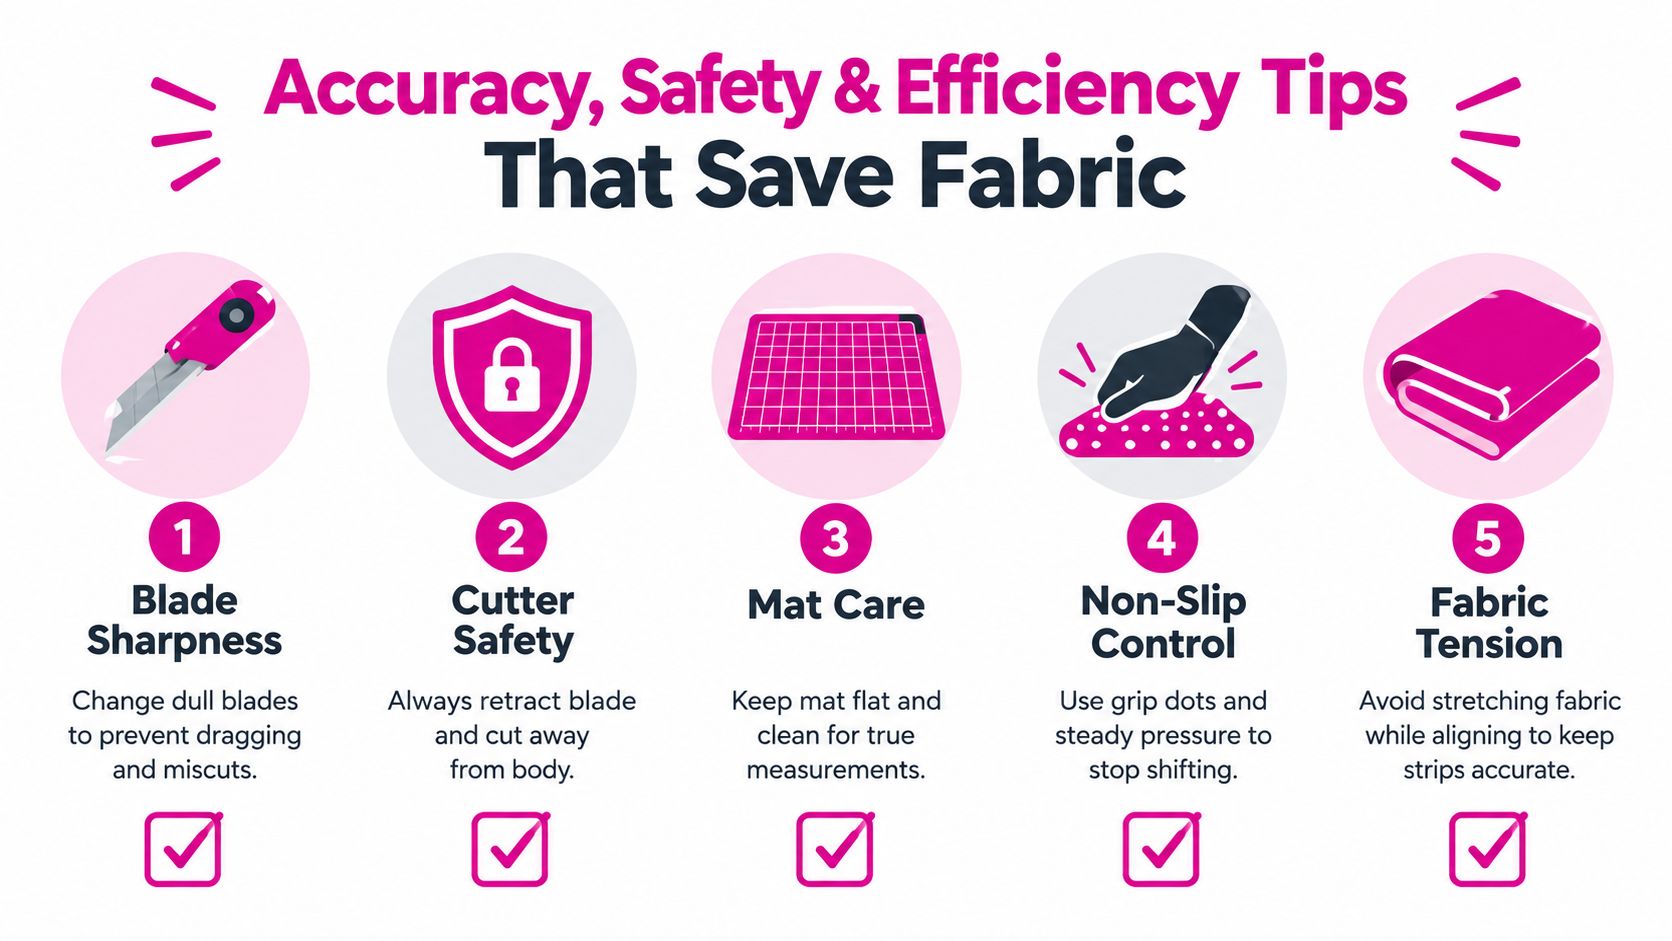
Accuracy with a slotted ruler comes from controlled handling. On my table, I treat cutting a lot like tensioning on the longarm. The fabric needs to lie flat and honest, with enough control to stay put and not so much force that it distorts under the ruler.
Quick Habits That Protect Accuracy
A few habits prevent most avoidable waste:
- Change blades before they drag. A dull edge pulls cotton, frays the cut, and wears on the slot walls.
- Retract the cutter every time you set it down. That protects hands and keeps the blade from nicking acrylic or the mat.
- Brush off the mat often. Thread tails and lint can lift one corner of the ruler just enough to throw off a narrow unit.
- Add grip dots or a non-slip aid if the ruler skates on tightly woven fabric.
- Support the fabric, don't stretch it. This matters most on bias edges and softer, higher-loft cuts that shift easily.
Where the Time Savings Are Real
Slotted rulers earn their keep in repeat work. If you are cutting twenty of the same unit from yardage, the slot path reduces side-to-side wobble and speeds up the rhythm once the first alignment is correct.
They lose that advantage with scraps.
Small leftovers, uneven edges, and odd shapes force constant repositioning. At that point, the slot stops saving time because setup takes longer than the cut. A compact straight ruler usually handles scrap trimming faster, especially when the usable fabric is shorter than the ruler's slot layout.
Durability belongs in that decision too. Heavy weekly use slowly rounds slot edges, especially if the blade is dull or oversized for the channel. A ruler that is still fine for strip cutting may stop being the right tool for precision trimming. That trade-off gets ignored in a lot of tutorials, but it matters if you cut in volume.
One practical rule works well. Use the slotted ruler for repeatable yardage workflows. Switch tools for scraps and one-off filler pieces.
A Pro-Level Setup Detail
Store the ruler close to the cutting station and handle it as little as possible between cuts. Acrylic stays truer when it is not getting shuffled around with scissors, pins, and metal notions. If your table turns into a pileup during a project, this expert guide to rolling carts has storage ideas that fit quilting rooms well.
Keep a second ruler within reach too. The fastest setup is often a slotted ruler for batch work and a small straightedge for cleanup cuts.
If you are planning the full quilt, have batting on hand before the top is done so you can check loft and drape against the piecing style as noted earlier.
Caring for Your Ruler and Finishing Your Next Quilt
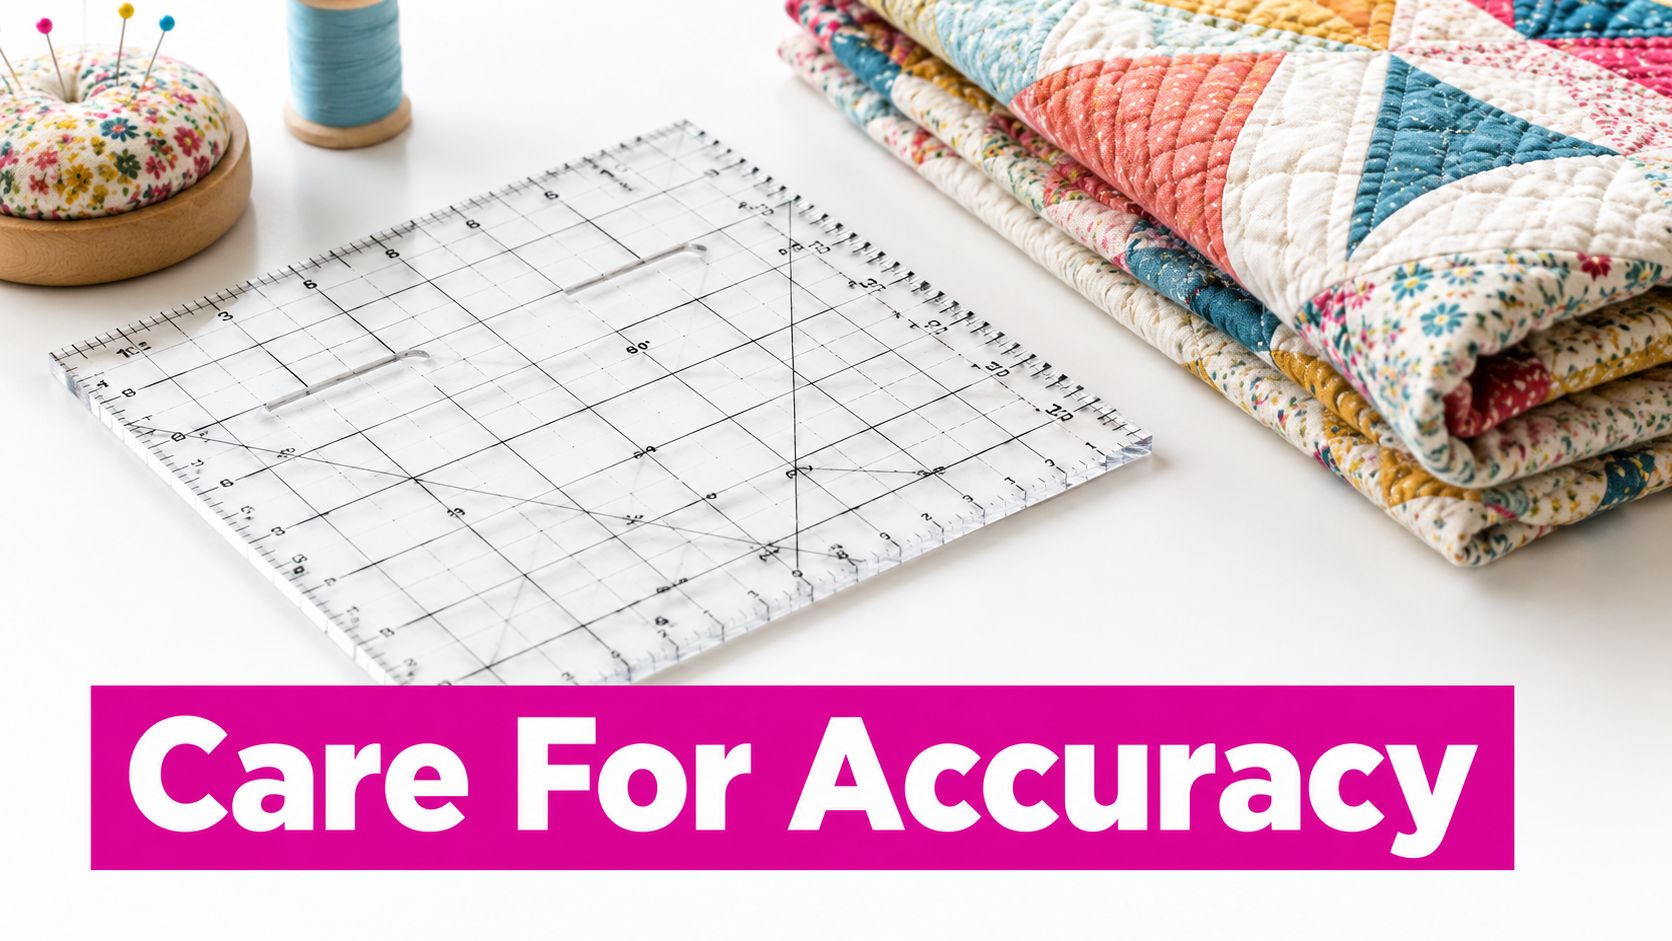
A slotted ruler earns its space on the table only if it still cuts true. In a busy quilting room, wear shows up slowly, then all at once. One week the ruler is fine for strip sets, and the next week a trimming pass starts shaving a thread off one side because the slot edge has softened or the underside has picked up residue.
Wipe the ruler after cutting days, not just when it looks dusty. Lint, starch buildup, and fusible residue can lift one corner enough to throw off a narrow cut. Store it flat, keep it out of heat, and do not stack heavy tools on top of it. Acrylic does not need much abuse to lose accuracy.
What to Inspect Over Time
Check the ruler where it works hardest. The outer edge matters, but the slots usually tell the story first.
- Feel the slot edges for roughness, widening, or tiny nicks from blade contact
- Look at the underside for adhesive, batting fuzz, and grip dots that are starting to peel
- Check printed lines if the marks are getting hard to read under cutting-room light
- Make a test cut on scrap before trimming units for a quilt that needs tight matching points
That last step saves fabric. If a ruler has seen a lot of yardage cutting, I still keep it in rotation for strip prep or border work, but I stop asking it to do precision cleanup on small units. That is the durability trade-off many tutorials skip. A ruler can still be useful after it stops being your most accurate trimming tool.
Finishing the Quilt Without Slowing Yourself Down
The same rule applies at the finishing stage. Use the slotted ruler where repetition pays you back. Binding strips, straight border cuts, and batch-prepped sashing are usually worth slot-guided cutting if the fabric starts as clean yardage. Scrap binding, pieced filler strips, and odd end-of-project patches usually go faster with a standard straight ruler because the setup time climbs fast.
Loft matters here too. A high-loft batting can make a slightly off binding width more noticeable once the quilt is tensioning on the frame, while low loft tends to forgive small variation. That is one reason consistent strip cutting still matters after the piecing is done.
Good Next Projects for This Tool
Slotted rulers tend to earn their keep on projects with repeat cuts and predictable dimensions:
- Jelly-roll style quilts
- Strip-pieced borders
- Sashing-heavy tops
- Half-square triangle batches from strip methods
A video demo can still help before you buy or replace one, but the point to watch is simple. See how the ruler behaves on real fabric, with real cutter passes, and whether the slots stay easy to track without forcing your hand position.
FAQ Schema
<script type="application/ld+json">
{
  "@context":"https://schema.org",
  "@type":"FAQPage",
  "mainEntity":[
    {
      "@type":"Question",
      "name":"What is a slotted ruler for quilting used for?",
      "acceptedAnswer":{
        "@type":"Answer",
        "text":"A slotted ruler for quilting guides a rotary cutter through measured slots so quilters can cut repeated strips and shapes with fewer ruler resets."
      }
    },
    {
      "@type":"Question",
      "name":"Are slotted rulers better than standard acrylic rulers?",
      "acceptedAnswer":{
        "@type":"Answer",
        "text":"They are better for repetitive cutting from yardage or fat quarters. Standard acrylic rulers are often faster for scraps, short cuts, and custom measurements."
      }
    },
    {
      "@type":"Question",
      "name":"Can you cut multiple layers with a slotted quilting ruler?",
      "acceptedAnswer":{
        "@type":"Answer",
        "text":"Yes, if the layers are smoothed flat, aligned carefully, and cut with a sharp rotary blade while the ruler stays stable on the mat."
      }
    },
    {
      "@type":"Question",
      "name":"What rotary cutter works well for slot trimming?",
      "acceptedAnswer":{
        "@type":"Answer",
        "text":"For half-square triangle slot trimming, a 28 mm rotary cutter is commonly recommended because it fits tighter trimming paths more comfortably."
      }
    }
  ]
}
</script>
A slotted ruler is worth owning if your workflow includes repeated cuts from yardage and you know when to set it aside for scraps. Keep it clean, retire it from fine trimming when the slots start to wear, and use a sharper tool than force when cuts stop tracking cleanly.
Linda's Electric Quilters carries the rulers, batting, and project tools that support this kind of precision cutting from first strip to finished quilt on the frame. If you want to build a more reliable cutting workflow and cut down on do-overs, visit Linda's Electric Quilters.


