
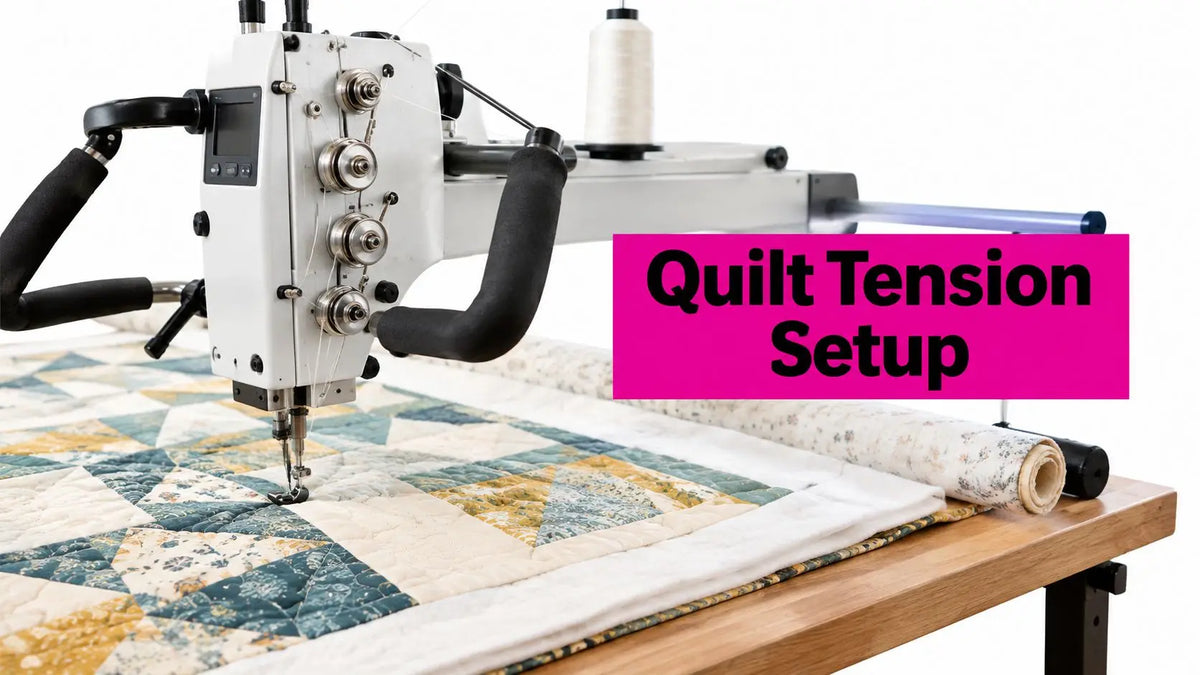
You pull the quilt from beneath the needle and find loops on the top, a bird's nest underneath, or puckering near the frame. The instinct is to turn the tension dial. That's often the wrong first move.
Sewing machine tension for quilting is a material-and-machine balance, not a universal dial number. The upper thread, bobbin thread, needle, thread fiber, batting loft, stitch speed, and quilt handling all affect the lockstitch. Start with a correctly threaded machine, establish bobbin resistance, test the actual quilt sandwich, and adjust only one variable at a time.
Why Tension Is a Tug of War Between Two Threads
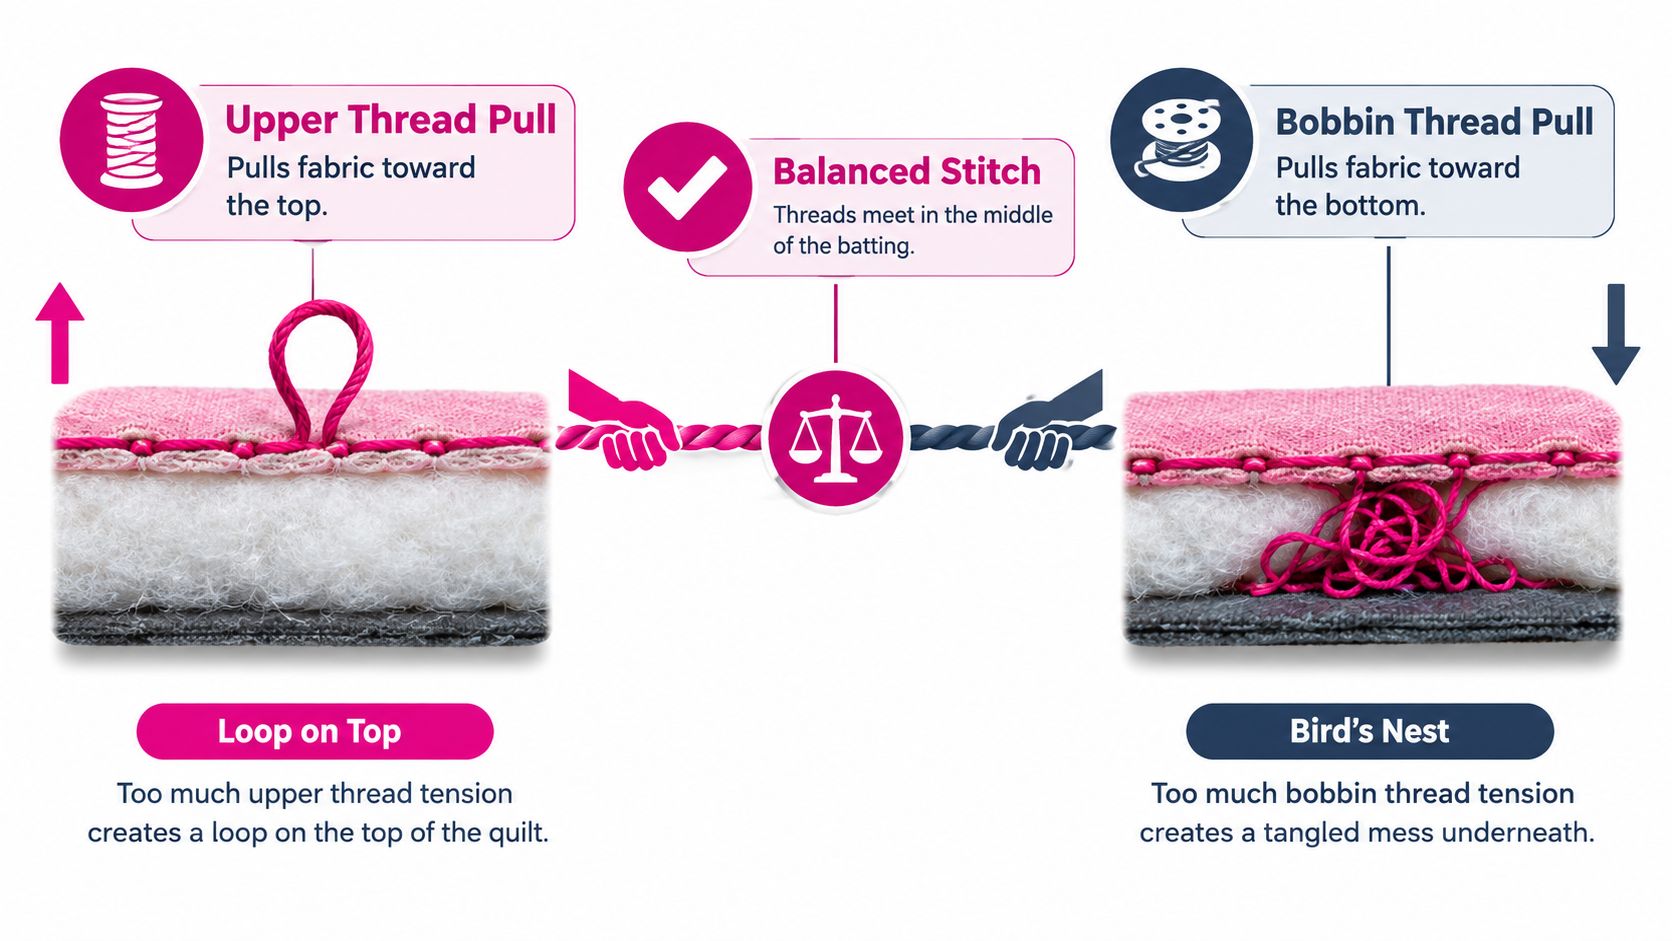
A quilting stitch works when the upper thread and bobbin thread meet and interlock near the middle of the quilt sandwich. Neither thread should dominate. If one pulls harder, the interlock shifts toward the quilt top or backing, creating visible loops, eyelashes, thread breaks, or distortion.
That mechanical balance has been part of sewing-machine design from the beginning. The Smithsonian's record of Allen B. Wilson's rotary-hook design, patented on August 12, 1851, describes a needle-thread loop passing beneath the bobbin so the threads could interlock. The same record connects thread tightening with forming the lockstitch, while Isaac Singer's 1851 patent added a friction pad for controlling thread tension from the spool. You can review that history in the Smithsonian record of Wilson's patent model.
Read the stitch before touching the dial
Use the visible thread position as your first diagnostic:
- Bobbin thread pulled to the quilt top: Upper tension is generally too tight, or bobbin tension is too loose.
- Upper thread pulled underneath: Upper tension is generally too loose, or bobbin tension is too tight.
- Balanced lockstitch near the batting: The thread paths are working together as they should.
- Loops or nests in only one movement direction: Investigate quilt handling, frame drag, presser-foot position, or stitch-regulator behavior before changing calibration.
A practice sandwich is more reliable than a tension number. Use the same quilt top fabric, batting, backing, thread, needle, and approximate movement you'll use on the project. A setting that behaves beautifully on a flat cotton scrap may fail once you introduce high-loft batting, a dense quilt design, or a loaded frame.
Working target: Aim for a centered lockstitch with smooth thread delivery. Maximum tightness isn't the goal, and a dial setting that works on one quilt may be wrong for the next.
The Pre-Tension Checklist You Should Never Skip
Many apparent tension problems begin before the first stitch. A thread can miss a guide, sit outside the tension discs, or leave the bobbin case incorrectly. Turning the dial in that condition only hides the original problem and creates a new baseline.
Our team in McKinney, Texas, starts every longarm setup with the same mechanical checks. This routine is less exciting than adjusting a dial, but it saves far more time than unpicking a full section of quilting.
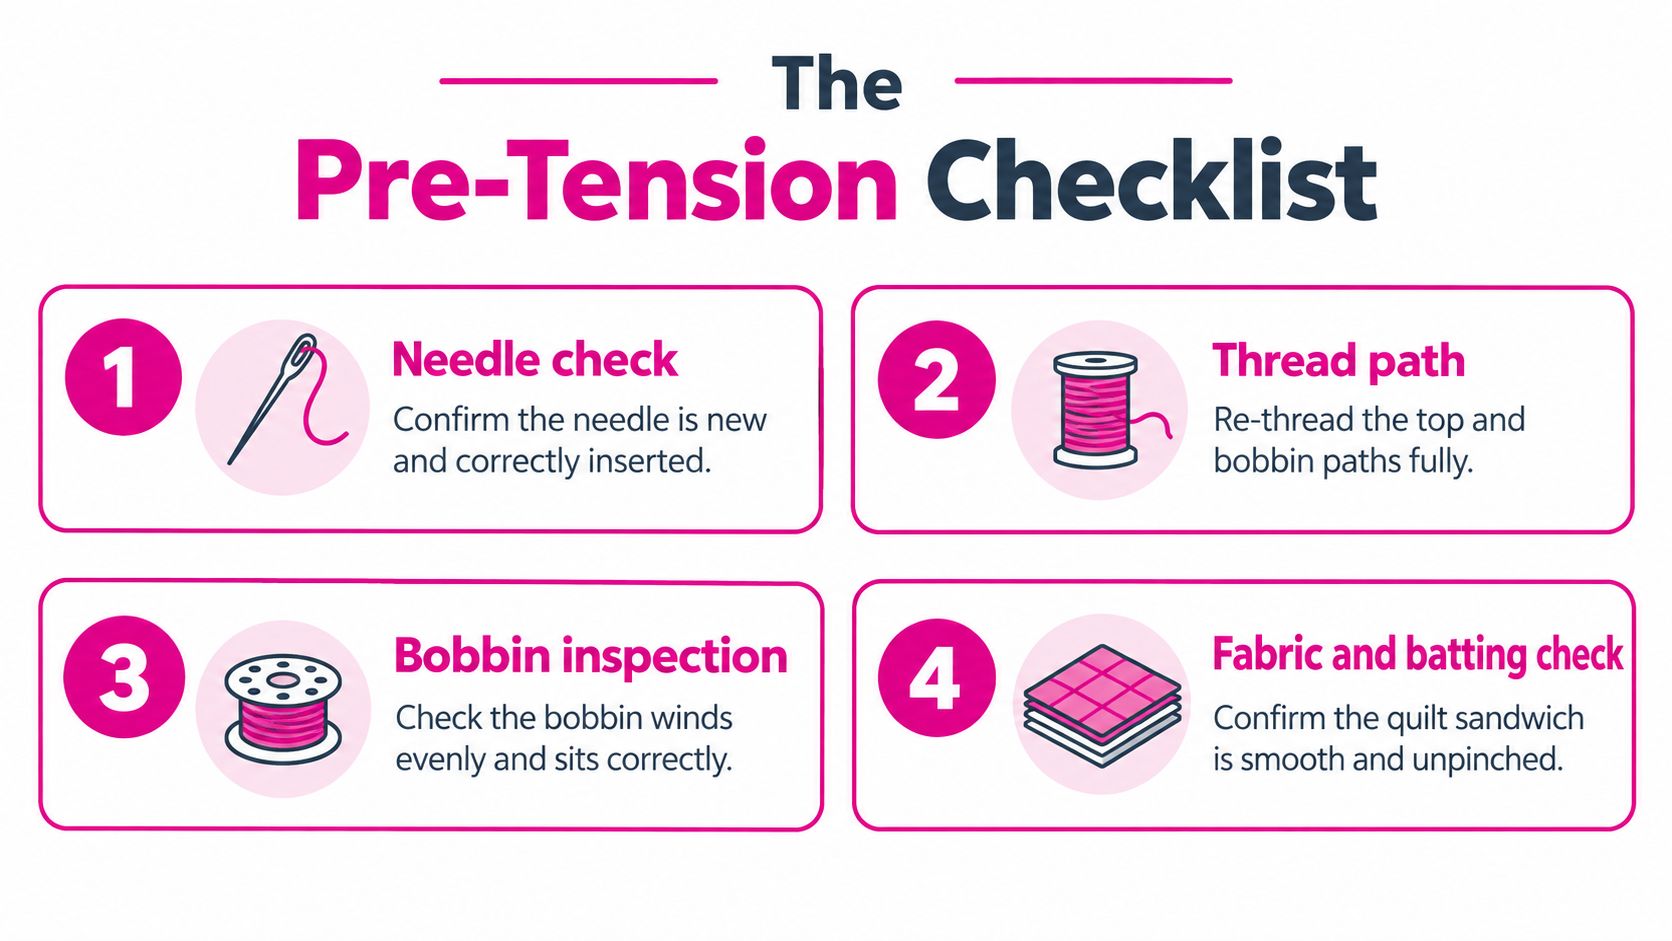
Four checks before tensioning
- Start with the needle. Install a fresh needle that suits the thread and quilt materials. Confirm that it's fully inserted and facing the correct direction. A bent needle, an unsuitable size, or a damaged point can cause skipped stitches and breaks that look like tension failures.
- Rethread the upper path completely. Raise the presser foot before threading so the tension discs open. Floss the thread firmly between those discs, then follow every guide to the needle. If the thread floats outside the discs, it can form nests even when the dial setting looks reasonable.
- Inspect the bobbin. The bobbin should be wound evenly, seated correctly, and installed according to the machine's instructions. Remove lint and stray thread from the bobbin casing and race before assuming the screw needs adjustment.
- Build the correct test sandwich. Sew through fabric, batting, and backing that match the actual quilt. Include enough layers to reproduce the project's loft and resistance. Test straight lines, curves, and direction changes, then inspect both sides.
SCHMETZ recommends keeping quilting tension as low as possible while still producing a balanced, smooth, pucker-free stitch, because excess tension can compress the quilt layers. Its technical guidance also emphasizes that the required setting depends on the fabric, thread, and machine, not on the dial alone.
Handling matters, too. Utah State University Extension's machine-quilting guidance recommends raising the needle and lifting the presser foot when moving to a new quilting position. That releases the thread and tension system, allowing the thread to move more freely instead of dragging through the quilt.
If your test still fails after these checks, then adjust. Before that point, a dial is only a guess.
Setting Bobbin Tension First on a Longarm
On a longarm, bobbin tension is the foundation. Establish it before changing upper tension, or you'll be trying to correct two unknowns at once.
For the longarm workflow, install the bobbin so it rotates clockwise when the thread is pulled, following the machine's manual for the casing path. Hold the bobbin case by the tab and perform a controlled drop or tilt test. The case should respond to the thread's weight by tilting or sliding onto its side, but it shouldn't fall freely.
Use small adjustments and a repeatable test
Turn the larger bobbin-case screw in very small increments:
- Clockwise increases bobbin tension.
- Counterclockwise decreases bobbin tension.
- Test after every adjustment.
- Record the direction and result so you can return to a known baseline.
The Grace longarm technical guidance describes this drop or tilt approach and stresses that the upper thread must be fully flossed between the tension discs before diagnosing calibration. A poorly seated upper thread can imitate a bobbin problem.
Some machines provide a measured target. BERNINA Q Series manuals specify 220 mN as a bobbin-thread tension reference for those Q Series systems, and identify clockwise turning of the larger screw as an increase and counterclockwise turning as a decrease. That value is machine-specific, not a universal setting for every longarm, domestic machine, or bobbin system. Use your manual and a calibrated gauge when your machine provides a stated target, then confirm the result on the actual quilt sandwich.
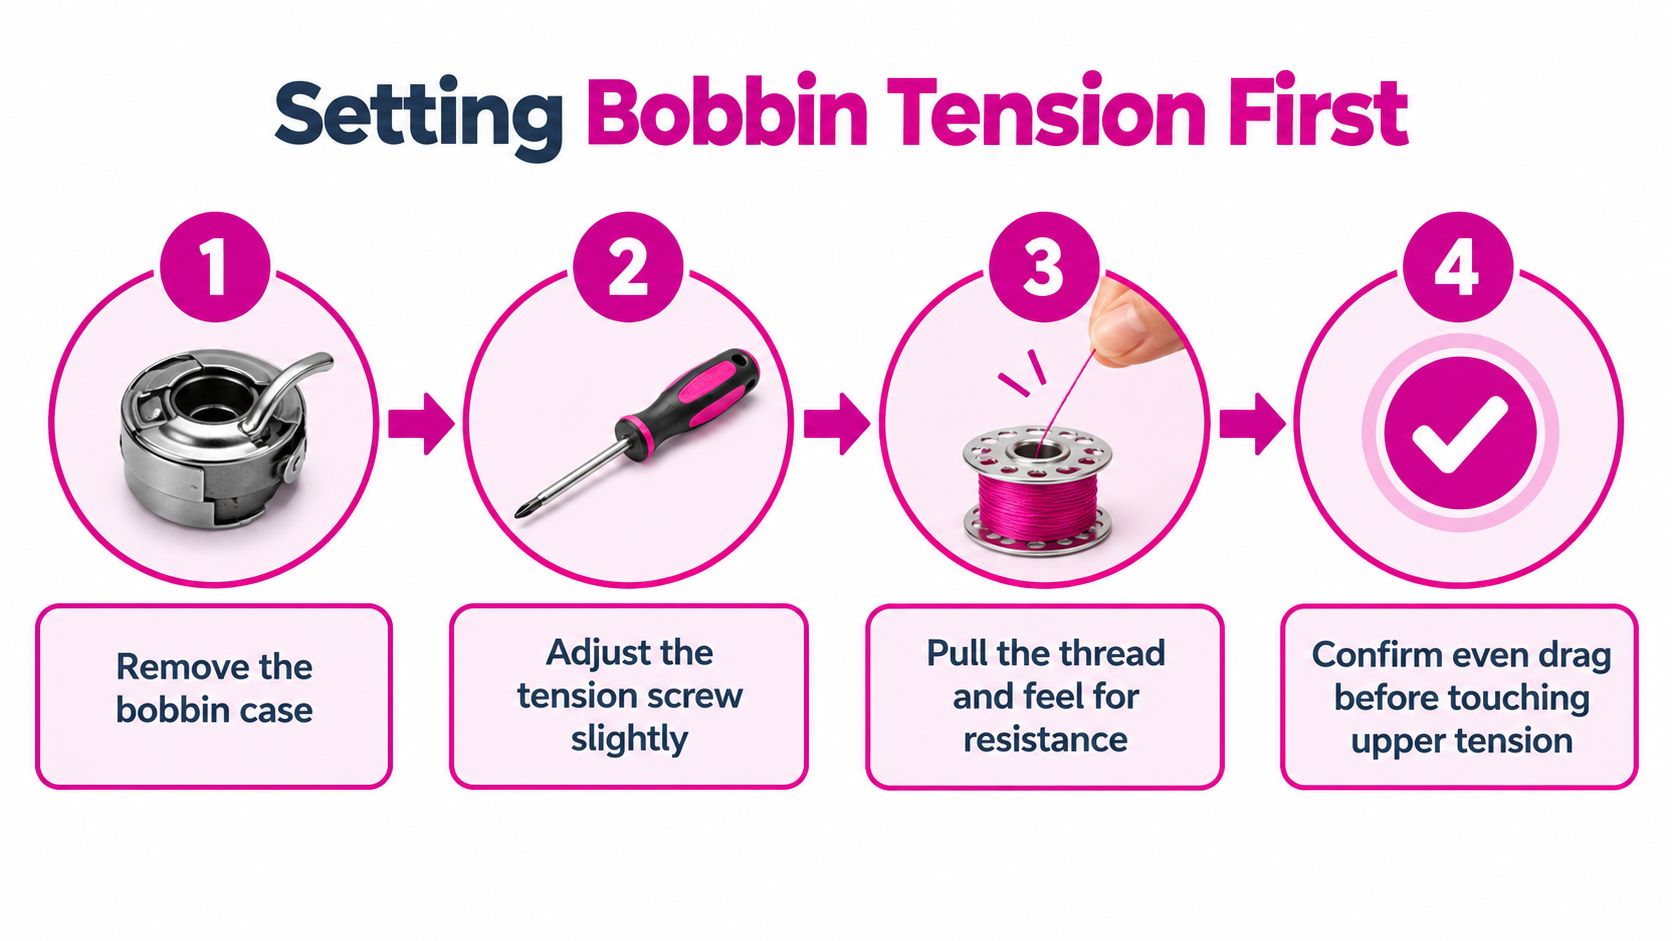
Confirm the bobbin before changing the upper path
Sew a test line with the actual quilt top, batting, backing, thread, needle, and stitch speed. Look at the top and underside. If the bobbin thread appears on top, upper tension may be excessive or bobbin tension insufficient. If the upper thread appears underneath, upper tension may be insufficient or bobbin tension excessive.
The APQS quilting guidance also recommends checking the complete upper thread path and bobbin installation before making changes. That order matters. If you alter the bobbin to compensate for missed threading, you'll have to undo that adjustment later.
Watch the technique in this longarm bobbin-tension video before making your first adjustment. A clear view of the case movement is often more useful than turning a screw by feel.
How Needle, Thread, and Batting Change the Outcome
The same machine setting can produce different stitches when you change the needle, thread, batting, or stitch density. Quilters often call the result a tension problem because the symptom appears at the stitch. The cause may be friction, thread clearance, batting resistance, or movement.
A needle that's too small for the thread can restrict the thread path and contribute to breaks or skipped stitches. A high-loft batting can hold the threads apart differently from a low-loft batting. A heavier thread also occupies more space in the needle eye and stitch channel.
Material Variables and Their Tension Effect
| Variable | What Changes | First Thing to Try |
|---|---|---|
| Needle size, 80/12 versus 90/14 | Needle clearance, penetration, and thread movement through the quilt sandwich | If the thread drags, breaks, or skips, test the larger suitable needle before changing tension |
| Thread fiber, 50-weight cotton versus polyester | Friction, surface feel, elasticity, and delivery through the guides | Keep the machine setting steady and test each fiber separately |
| Batting loft, low-loft cotton versus high-loft polyester | Layer thickness, resistance, compression, and the position of the interlock | Test on the same batting used in the quilt, then consider the appropriate needle |
| Stitch density, 10 versus 12 stitches per inch | The number of needle penetrations and the amount of thread placed in a given area | If the area looks crowded or puckered, reduce density before forcing a tension correction |
Research on sewn seams identifies needle size, thread tension, stitch density, and machine maintenance as joint determinants of seam performance, rather than treating tension as the only control. It also reports 10 to 12 stitches per inch as a normal range for many quilting applications. You can examine that discussion in the research on sewn seam performance.
I've seen a test line look like a dial failure until the needle changed from 80/12 to 90/14. The loops disappeared without changing the tension setting because the larger needle gave the thread enough clearance to move cleanly through the sandwich. That's why a controlled comparison beats a reflexive adjustment.
Change one variable at a time
Keep a simple test record:
- Thread fiber and weight
- Needle size and type
- Batting fiber and loft
- Stitch length or regulated setting
- Machine speed
- Which side showed the defect
- Whether the defect appeared on curves, straight lines, or both
If you're changing batting, compare options in the batting collection at Linda's Electric Quilters using the same thread and needle. That keeps the comparison useful instead of turning every test into a new combination.
When the Problem Is Movement, Not Tension
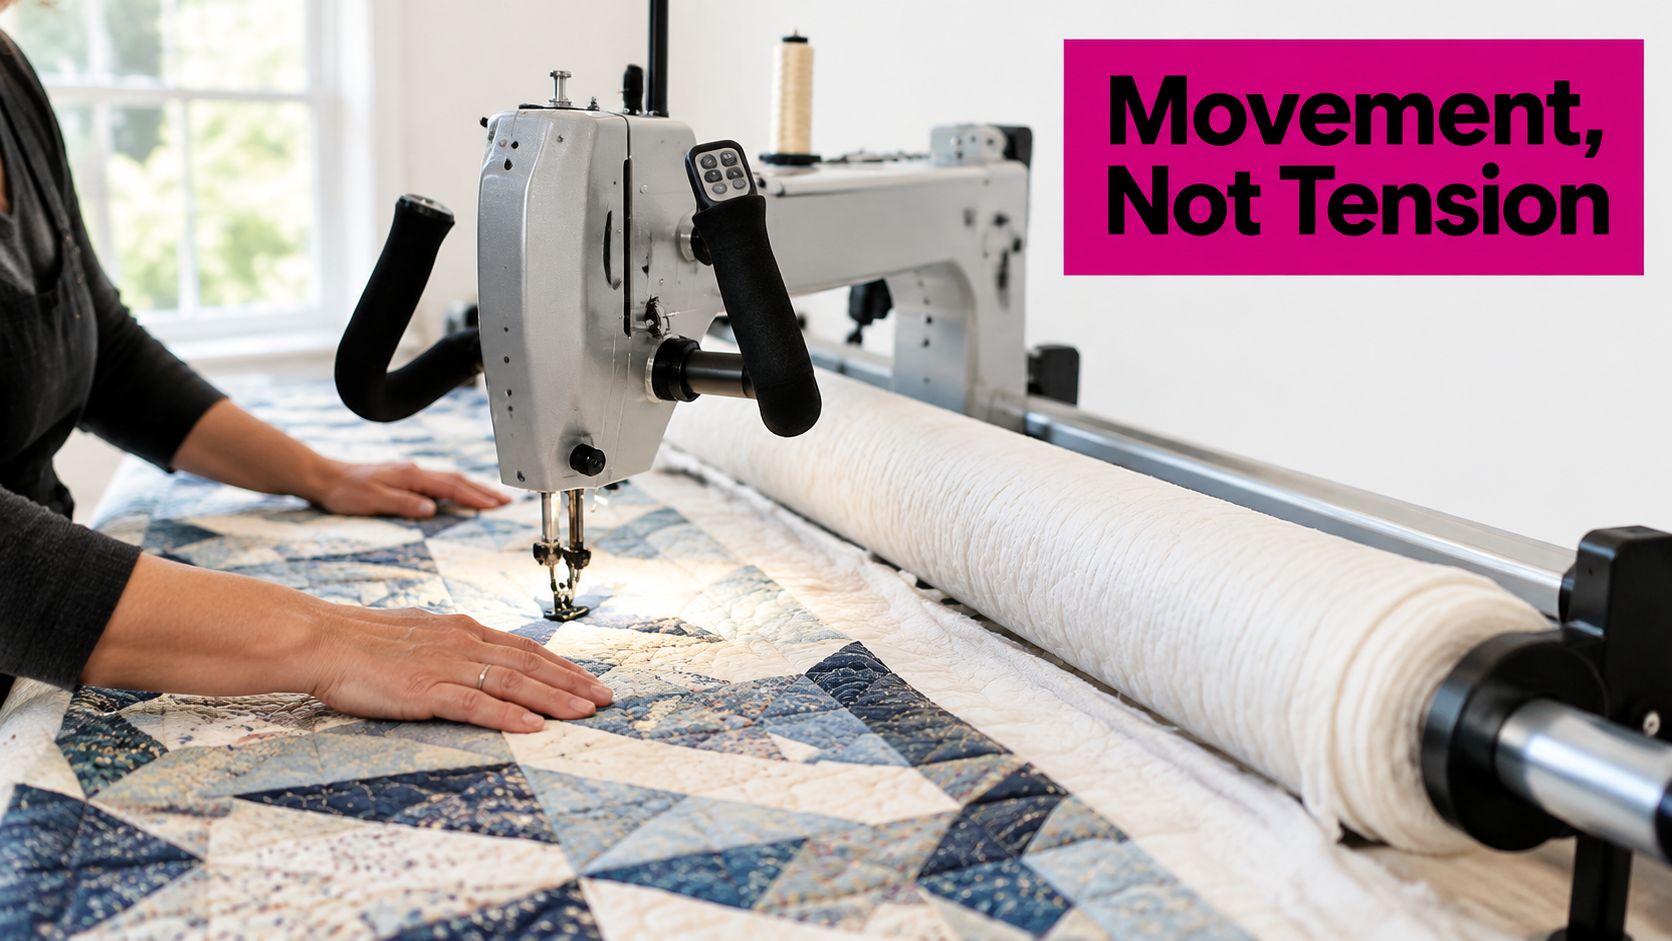
A longarm doesn't stitch against a motionless piece of fabric. The frame, take-up roller, quilt tension, acceleration, and stitch regulator all influence how much resistance reaches the needle. A machine can produce balanced stitches in the center of the quilt and show loops near the frame edge without having an incorrect tension setting.
The first diagnostic is simple. Put the presser foot down, confirm the quilt isn't caught or over-tightened, and inspect the entire thread route. Then compare a controlled line with the stitch regulator on and off, if your machine allows that test.
Match the symptom to the movement
| Symptom | Likely movement issue | First diagnostic |
|---|---|---|
| Loops appear only during curves | Acceleration, directional resistance, or inconsistent hand speed | Sew the same curve slowly, then compare regulated and unregulated motion |
| Thread breaks at direction changes | Sudden resistance, a snagged thread path, or needle deflection | Check the quilt's freedom of movement and inspect the needle and guides |
| Stitches balance in the center but pull near frame edges | Frame drag, take-up-roll pressure, or an over-tightened quilt | Release excess resistance and retest before changing bobbin tension |
| Defects appear intermittently | Thread routing, presser-foot position, or movement state | Stop, raise the needle and presser foot, recheck the path, and restart |
Utah State University Extension's machine-quilting PDF reinforces the importance of raising the needle and presser foot when moving to another position. That handling step can change how freely the thread travels.
Adjusting the bobbin to chase frame drag is a costly habit. It may improve one area while pushing the machine away from its known baseline. Once the quilt moves freely and the thread path is correct, then tension changes become meaningful.
Symptom Map for the Four Most Common Tension Failures
Use this map after the pre-tension checks. The first action should remove the most likely cause without disturbing a stable bobbin foundation.
| Symptom | Most likely cause | First action | Avoid |
|---|---|---|---|
| Bobbin thread on top | Upper tension too tight or bobbin tension too loose | Rethread the upper path, inspect the bobbin, then make a small upper adjustment if both paths are correct | Tightening the bobbin immediately |
| Top thread nesting underneath | Upper tension too loose, bobbin tension too tight, or the presser foot not fully down | Raise the presser foot, rethread, and confirm the bobbin case before testing | Sewing farther to see whether it settles |
| Thread breaks at curves | Needle deflection, a burr, thread drag, or movement resistance | Replace or inspect the needle, then test the curve with freer quilt movement | Increasing tension to stop the break |
| Puckering near frame edges | Frame drag, take-up-roll pressure, dense stitching, or excessive tension | Release quilt resistance and test a less dense area | Changing both bobbin and upper tension together |
Pro tip: The most expensive tension mistake is adjusting before rethreading. A missed guide or thread that isn't seated between the tension discs can mimic a calibration problem, and a second imbalance rarely unwinds cleanly.
A practical decision tree looks like this:
- Check the needle and thread path.
- Verify the bobbin installation and resistance.
- Confirm the quilt can move freely.
- Sew the matching test sandwich.
- Adjust one tension path in a small increment.
- Inspect both sides before continuing.
For frame-related problems, work through a tutorial on loading a quilt on a longarm frame before recalibrating the machine. A smooth load and controlled quilt tension give your stitch system a fair test.
Maintenance Habits and Questions Quilters Ask Most
Clean lint from the bobbin case and race regularly, floss the upper tension discs whenever you rethread, and replace the needle when it becomes dull, bent, or unsuitable for the next thread. Recheck the bobbin drop test as part of a quarterly maintenance routine, and follow the machine manufacturer's oiling instructions rather than applying oil by guesswork.
Frequently asked questions
How often should I oil my longarm
Follow the longarm manual and service schedule. Different machines use different lubrication points, and excess oil can contaminate thread or fabric.
Should I adjust bobbin or upper tension first
On a longarm, establish bobbin tension first. Confirm threading and bobbin installation before making either adjustment.
Why does the test sandwich look balanced but the quilt does not
The quilt itself may have different batting loft, fabric structure, thread delivery, stitch density, frame resistance, or movement speed. Recreate those conditions in the test rather than relying on a lighter sample.
What thread works with high-loft batting
Choose a thread and needle combination that moves cleanly through the loft, then test it in the actual sandwich. A larger suitable needle may solve clearance problems without a tension change.
Linda's Electric Quilters carries batting, thread, needles, notions, and Innova longarm parts for quilters who need to finish a project after troubleshooting the stitch. Visit Linda's Electric Quilters to match your materials and machine setup before your next test line.


