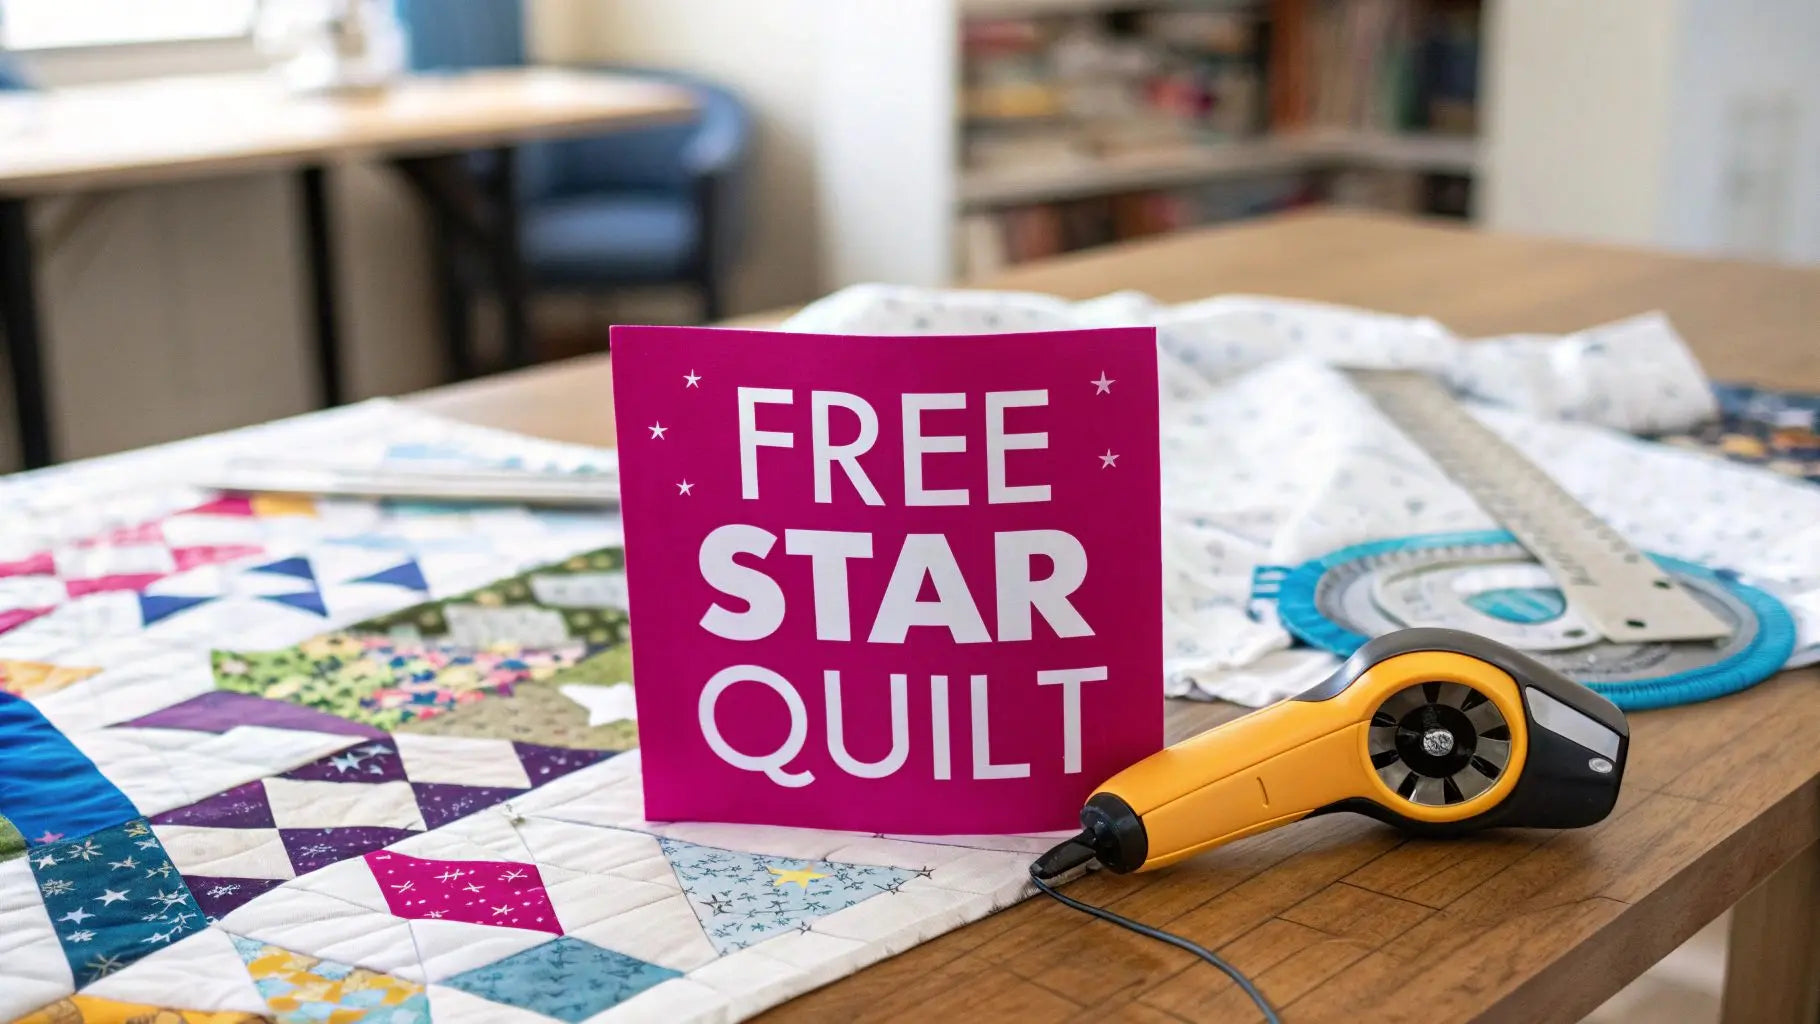
There's nothing quite like the feeling of starting a new quilt, and a star quilt pattern free of charge is the perfect excuse to dive in. It's a chance to learn, practice new skills, and create something truly special—a timeless heirloom—without spending a dime on the design.
Starting Your Star Quilt Journey
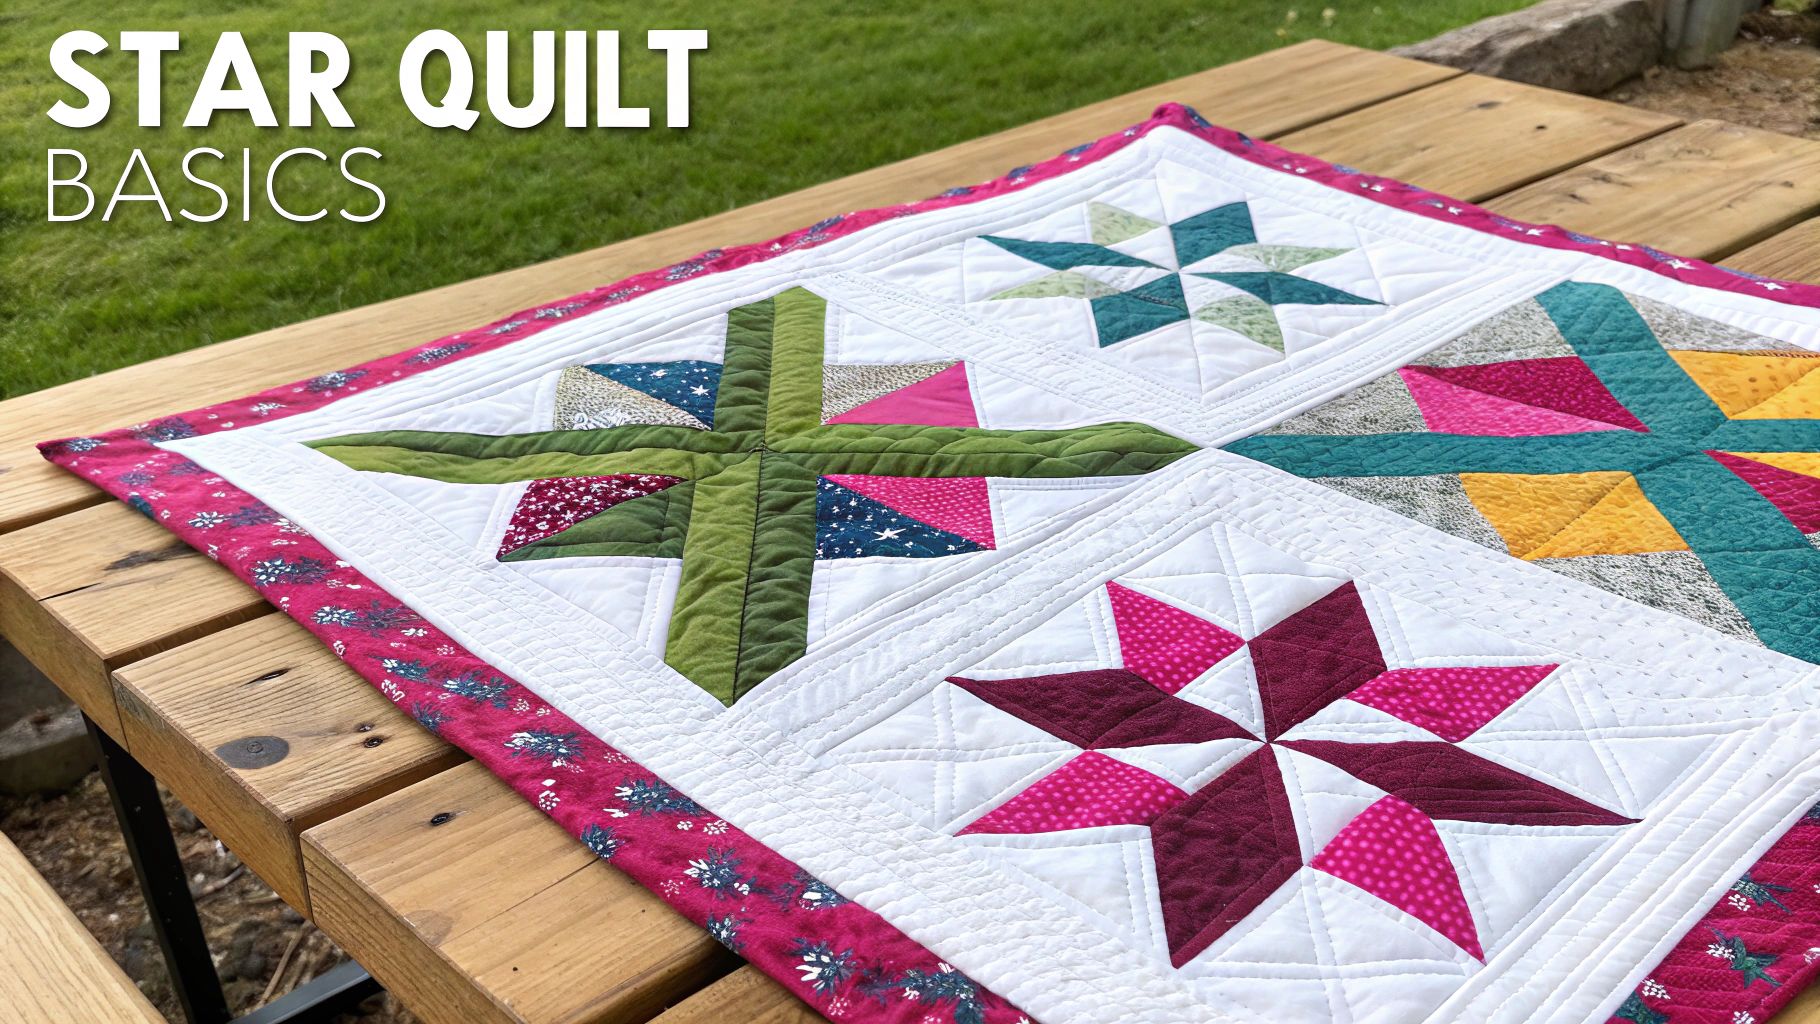
Star quilts have this magnetic pull, don't they? For centuries, quilters have been captivated by them. You can find everything from simple four-pointed stars to mind-blowingly complex designs, making them a fantastic canvas for playing with color, geometry, and contrast.
Grabbing a free pattern is a smart move. It frees up your budget so you can really invest in those gorgeous fabrics and quality tools that make all the difference in the final product.
We've put this educational guide together to help you navigate the sea of free star quilt patterns out there. We’ll cover what to look for in a good pattern so you can skip the frustration and enjoy a successful project from the very first stitch.
What Makes a Great Free Pattern
Let's be honest, not all free patterns are created equal. A truly great one is more than just a pretty picture; it's a clear roadmap that guides you to a finished quilt you can be proud of.
As you're browsing for your next project, keep an eye out for these must-haves:
- Clear Instructions: The steps need to be written in plain English. No jargon, just easy-to-follow, logical directions that educate you on the process.
- Accurate Diagrams: Visuals are everything in quilting. You want diagrams that clearly show how the pieces fit together, which way to press your seams, and what the final block should look like.
- Material Requirements: A solid pattern lists everything you need upfront—fabric yardage, batting size, and any special tools. That way, you can gather all your supplies from Linda's before you even think about cutting.
- Community Proof: Can you find examples of quilts made by other people using the same pattern? Seeing real-world results is a huge confidence booster and a good sign that the pattern is reliable.
The history behind these star designs is just as beautiful as the quilts themselves. The Lone Star, for instance, has a fascinating story, traveling from 18th-century England to the United States, where it was first known as the 'Star of Bethlehem' before becoming an icon in Texas.
Choosing a Beginner-Friendly Star
If you're just getting started on your quilting adventure, it’s best to pick a pattern that helps you build those core skills without feeling like you've been thrown in the deep end.
Patterns like the classic Sawtooth Star or the Ohio Star are fantastic starting points. They’re built from the most basic quilting blocks, like squares and half-square triangles (HSTs). Getting these down is fundamental to almost everything else in quilting.
When you're trying to figure out where to begin, it helps to see the options side-by-side.
Choosing Your First Free Star Quilt Pattern
This table breaks down some of the most common star patterns you'll find for free online, helping you match a project to your current skill level and what you want to learn.
| Pattern Type | Best For | Key Skills Practiced | Common Variations |
|---|---|---|---|
| Sawtooth Star | Absolute Beginners | Half-Square Triangles, accurate 1/4" seams, nesting seams | Multiple stars in a row, alternating with plain blocks |
| Ohio Star | Confident Beginners | Quarter-Square Triangles, precise piecing, block construction | "Scrappy" versions using various fabrics, sashing |
| Friendship Star | First-Timers | Half-Square Triangles, point matching, simple block layout | Can be made in various sizes, often used in signature quilts |
| Lone Star | Ambitious Beginners | Diamond cutting (with a ruler), Y-seams or set-in seams, handling bias edges | "Broken" star designs, multiple color gradients |
No matter which one you choose, the goal is to build a solid foundation. Once you've mastered these simpler blocks, you'll feel way more confident and ready to tackle more intricate designs.
For quilters, every project is a story told in thread and fabric. A star quilt is a classic tale, and choosing the right free pattern is the perfect first chapter.
As you get more comfortable, you can start exploring other essential quilt projects for every skill level to keep growing. With a good pattern, a solid foundation, and the amazing selection of fabrics and notions from Linda's, your first star quilt is bound to be a masterpiece you’ll cherish for years.
Gathering Your Essential Quilting Tools and Fabrics
Alright, you've picked out your perfect star quilt pattern free of charge, and now comes the fun part: gathering your supplies! This is where your quilt starts to come alive, moving from a concept to a stack of beautiful fabrics and shiny new tools.
For any quilt, but especially for star blocks with all their points and seams, 100% quilting cotton is king. It behaves beautifully—it’s sturdy, presses like a dream, and doesn't stretch out of shape when you're piecing. Getting those crisp, sharp points that make a star quilt really sing is so much easier with good quality cotton. We’ve got a huge selection of premium quilting cottons right here at Linda’s, perfect for whatever vision you have in mind.
Choosing Your Fabric Palette
Time to play with color! What kind of vibe are you going for? If you want your stars to jump right off the quilt, go for high-contrast fabrics. Think pairing a light, breezy print with a deep, moody solid. The stars will be bold and graphic.
On the other hand, a more subtle, low-contrast palette with fabrics in similar shades can give you a soft, blended look that's just as stunning. It’s all about the story you want to tell.
Before you start shopping, double-check the yardage requirements on your pattern. It will lay out exactly what you need for your star points, background, backing, and binding. My personal pro-tip? Always buy a little extra—an extra quarter yard has saved me more times than I can count. There's nothing more frustrating than miscutting a piece and realizing you don't have enough fabric to fix it!
A well-chosen fabric collection is the heart of a memorable quilt. The interplay of color and pattern is what transforms a simple geometric design into a work of art.
Your Essential Quilting Toolkit
Having the right gear makes everything smoother, more accurate, and way less stressful. While you could spend a fortune on quilting notions, there are a few non-negotiables you'll need to tackle a star pattern with confidence.
Here’s a quick checklist of the must-haves:
- Rotary Cutter and Self-Healing Mat: This combo is a game-changer for cutting straight, precise pieces quickly. And trust me, a sharp blade is non-negotiable for clean cuts.
- Quilting Rulers: At a minimum, you'll want a long ruler (a 6" x 24" is a workhorse) for cutting strips from your yardage and a smaller square one for trimming up your blocks.
- Quality Sewing Thread: A good 50-weight cotton thread is the way to go for piecing. It’s strong enough to hold your quilt together for years but fine enough to let your seams press nice and flat.
- Sewing Machine Needles: Always, always start a new project with a fresh needle. A size 80/12 universal or quilting needle is a fantastic all-purpose choice for cottons.
- Fabric Scissors and Snips: Keep a pair of sharp scissors dedicated only to fabric. A small pair of thread snips to keep by your machine is also super handy for trimming threads as you go.
Star patterns, especially complex ones like the Card Trick block, are all about precision. The right fabric choices can make those points and angles really stand out. You can see some great examples of this in our guide to the Card Trick quilt pattern.
It's amazing to think about the history behind these designs. The LeMoyne Star, for instance, is one of the oldest eight-pointed star patterns around, with a story that might go all the way back to 18th-century France. It’s a beautiful example of how these quilting motifs traveled and evolved, becoming cornerstones of American folk art. You can discover more insights about quilting history on stitchinheaven.com. Now that you've got your beautiful fabrics and trusty tools from Linda’s, you’re all set to create your own piece of that history.
Cutting and Piecing with Confidence
The real magic of a star quilt happens when you start cutting and sewing. It’s all about precision. Those sharp, perfect points and seams that line up just right are what turn a pile of fabric into a masterpiece. This is where you and your rotary cutter become best friends.
Think of it like cooking a gourmet meal—your knife skills matter. In quilting, your rotary cutter and ruler are your chef's knives. Getting the cuts right from the very beginning will save you a world of headaches later on.
Before that first slice, take a moment to gather your tools. Having everything you need laid out and ready to go is half the battle.
This little graphic breaks down the essential gear you’ll want on hand for your free star quilt pattern.
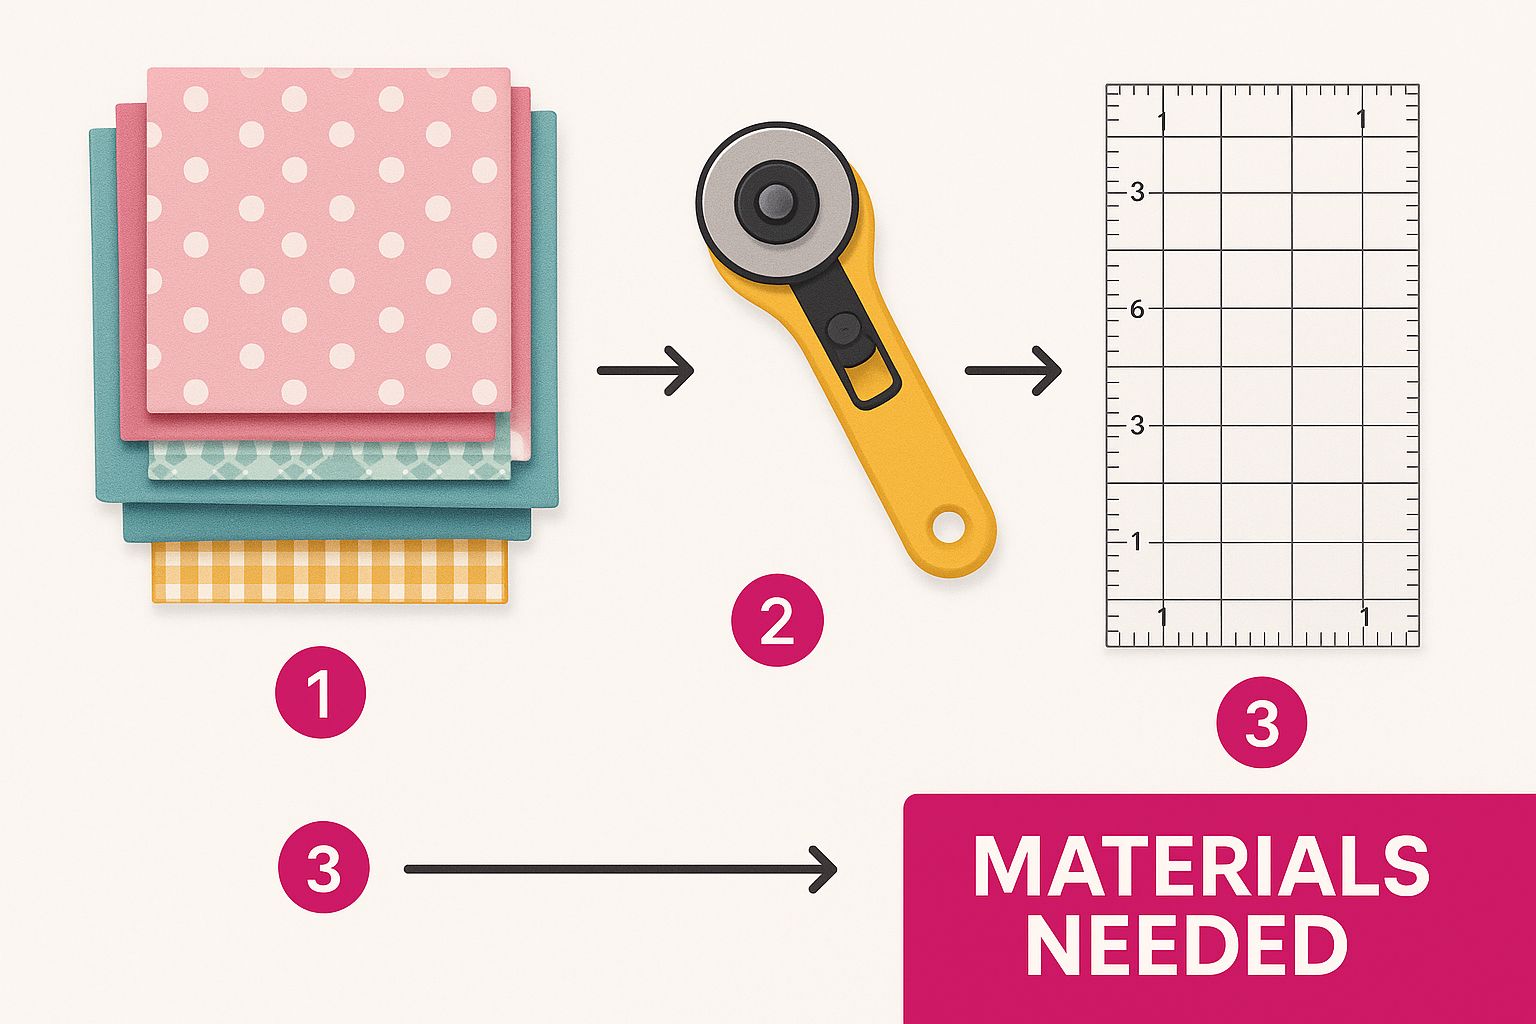
When you have these core items, from a truly sharp rotary blade to good quality fabric, you're setting yourself up for clean cuts and straight seams every time.
Mastering Your Rotary Cutter
Let’s talk technique. Using a rotary cutter safely and effectively is simple: always cut away from your body and press your quilting ruler down firmly. That ruler isn't just for a straight edge; it's a guard for your fingers.
Apply steady, even pressure as you roll the blade. A classic rookie mistake is starting with a hard press and letting up at the end, which gives you a wobbly, uneven cut. Grab a few scraps and practice a bit. You’ll quickly find the right amount of pressure. And please, use a sharp blade! A dull one will just snag and chew up your fabric, leading to wonky pieces.
You can find some fantastic ergonomic rotary cutters and sharp replacement blades at Linda's that make the whole process feel like cutting through butter.
The Non-Negotiable Quarter-Inch Seam
If there's one golden rule in all of quilting, it's the scant quarter-inch seam. This isn't just a friendly suggestion; it’s the bedrock of accurate piecing. Most presser feet have a guide, but I always recommend testing yours to be sure.
Here's how: Sew two 1.5" x 4" strips together along the long edge. Press the seam open or to one side and measure the width. The finished piece should be exactly 2.5" wide. If it's bigger, your seam is too skinny. If it’s smaller, your seam is too wide. Fiddle with your needle position or guide until you nail that measurement.
Precision isn't about being a robot; it's about being consistent. A consistent seam allowance is the secret sauce that makes all those star points meet up flawlessly.
Demystifying Star Block Components
Most star patterns you’ll find are built from a few key components, mainly Half-Square Triangles (HSTs) and Flying Geese. The names might sound fancy, but I promise they are super straightforward to make.
-
Half-Square Triangles (HSTs): These are simply squares made from two right-angle triangles. The easiest way to make them is to draw a diagonal line on the back of a light square, place it right-sides-together with a dark square, and then sew a quarter-inch seam on both sides of the line. Slice right on your drawn line, press them open, and voilà—two perfect HSTs.
-
Flying Geese: This unit looks like a little house—a rectangle made of one big triangle and two smaller ones. There are a bunch of ways to make them, but the "no-waste" method is a crowd favorite because you get four units at once with very little scrap fabric.
For both of these, remember to trim them down to the exact size your star quilt pattern free download calls for. This final trim, what we quilters call "squaring up," is an absolutely critical step for accuracy. Don't skip it!
Once you have your pieces, here’s one last pro-tip: nest your seams. This just means you press the seams of connecting rows in opposite directions. When you go to sew the rows together, the seams will "lock" into each other, almost like a zipper. This trick guarantees your points line up perfectly and helps your quilt top lay beautifully flat.
Assembling Your Quilt Top Layout
This is the magic moment. It's when all those individual stars you've carefully pieced together finally become a sparkling constellation. Seeing your star quilt pattern (free or paid) come alive as a full quilt top is one of the most satisfying parts of the whole process.
Before you even think about sewing another stitch, lay all your finished blocks out on a big, flat surface. A design wall is fantastic for this, but a clean floor works just as well in a pinch. Step back and take a look. Move blocks around, play with the arrangement, and make sure your colors and fabrics feel balanced. This is your chance to get the visual flow just right.
Adding Sashing and Cornerstones
Sometimes, your star blocks need a little room to breathe. That's where sashing comes in. These are simply strips of fabric sewn between your blocks, and they do a wonderful job of framing each star, making it a true focal point. It's also a great opportunity to bring in a new color or a subtle low-volume print for another layer of interest.
You have a couple of common options here:
- Simple Sashing: Just what it sounds like—plain fabric strips between each block and row. This gives your quilt a clean, classic grid look.
- Sashing with Cornerstones: Want to add a bit more sparkle? Try adding small squares of a contrasting fabric, called cornerstones, right where the sashing strips intersect. It creates this beautiful secondary pattern that dances across the quilt.
I can't say this enough: pressing isn't just something you do at the end. It’s a critical part of construction. Pressing your seams properly at every single stage is what ensures your blocks fit together perfectly and your final quilt top lies beautifully flat.
Sewing Rows and Matching Seams
Once you're happy with your layout, it's time to start sewing the blocks into horizontal rows. The name of the game here is consistency. Keep that precise quarter-inch seam allowance you've been using all along.
After sewing two blocks together, press the seam. Here's a pro tip that makes a huge difference: press the seams in alternating directions for each row. So, for Row 1, press all the seams to the right. For Row 2, press them all to the left. When you go to sew those two rows together, the seams will "nest" or lock right into each other. This is the secret to getting your points and corners to match up flawlessly.
Historically, star quilts carry deep meaning, especially those requiring incredible precision. The Morning Star quilts made by the Lakota Sioux people since the late 19th century are a perfect example, often built from hundreds of tiny diamond pieces to symbolize honor and generosity. You can learn more about the cultural role of these popular American quilt patterns on stitchinheaven.com.
Once all your rows are joined, give the entire quilt top one last, good press. Just be careful not to push and stretch the fabric—use a gentle up-and-down motion with your iron.
Let’s be real, sometimes, no matter how careful we are, a quilt top ends up a little wonky. It happens to everyone! If you find yourself in that boat, don’t panic. We have a guide on what to do if your quilt top is not square that can help you sort it out.
With a beautifully pressed top, you're on the home stretch! Linda's has all the premium batting and backing you'll need to get your project over the finish line.
Layering and Finishing Your Quilt

You’ve pieced your beautiful quilt top, and now you’re on the home stretch! These final steps are what will turn that lovely fabric into a warm, cuddly quilt you can actually use and love for years to come.
It's time to build the "quilt sandwich," that three-layer masterpiece made of your backing, the batting, and your stunning star quilt top. This is what gives your quilt its coziness and structure, so don't rush it. A little patience here will pay off with a smooth, pucker-free finish that really makes those stars shine.
Building Your Quilt Sandwich
First thing's first: you need a big, clean space. For most of us, the floor is about to become our new best friend.
Start by laying your backing fabric down with the wrong side facing up. Smooth it out completely, then use painter's tape to secure the edges to the floor. You want it taut, but be careful not to stretch the fabric out of shape.
Next, place your batting right on top of the backing, smoothing out any wrinkles as you go. Finally, lay your gorgeous star quilt top over everything, right side up. Take your time getting it perfectly centered and flat.
The perfect quilt sandwich is the foundation for beautiful quilting. Taking the time to layer and baste correctly prevents shifting, puckering, and bunching, ensuring a professional-looking finish you can be proud of.
Choosing the Right Batting
The batting you pick has a huge impact on how your finished quilt looks and feels. It's the "fluff" in the middle, determining the warmth, weight, and overall "poofiness," or loft, of your project.
Here's a quick look at the most common choices:
- Cotton Batting: This is a classic for a reason. It creates a flatter, more traditional-looking quilt that gets softer and crinklier with every wash. It's wonderfully breathable and a fantastic choice for an everyday quilt.
- Polyester Batting: If you're dreaming of a quilt with more loft and a puffier look, polyester is what you're after. It's lightweight, holds its shape incredibly well, and is perfect for things like bedspreads.
- Cotton/Poly Blends: Want the best of both worlds? An 80/20 blend gives you the softness of cotton with a bit more stability and loft from the polyester. It's a real workhorse.
Honestly, choosing batting is a personal preference, but knowing the differences is key. If you want to get into the nitty-gritty, our guide to batting choices for the passionate quilter has all the details you could ever need.
Basting Your Layers Securely
Once your sandwich is layered just right, you need to "baste" it. This just means temporarily securing all three layers together so nothing can shift around while you do the actual quilting. Trust me, this step is absolutely critical.
The most popular methods are pin basting and spray basting. Pin basting uses special curved safety pins placed every few inches all over the quilt. Spray basting, on the other hand, uses a temporary adhesive to glue the layers together. Many quilters swear by the speed of spray basting, but pins offer rock-solid security.
Whichever method you pick, be thorough! Always start from the center and work your way out to the edges. Now, your free star quilt pattern is prepped and ready for the final quilting and binding that will complete your masterpiece. If you need the perfect high-quality batting and backing fabrics to bring it all home, we've got you covered right here at Linda's.
Common Questions About Free Star Quilt Patterns
Diving into a new star quilt pattern free of charge is exciting, but it's totally normal for a few questions to pop up, especially when you're trying to get everything just right. I get asked these all the time, so I've put together some quick answers to the most common queries.
My goal is to give you clear, practical solutions so you can get past any little hurdles and keep stitching with a smile.
What Is the Easiest Star Quilt for a Beginner?
If you're just getting started with quilting, I always recommend looking for a Sawtooth Star or an Ohio Star pattern. These two are absolutely fantastic for beginners. Why? Because they're built from simple squares and half-square triangles (HSTs), which are the bread and butter of quilting.
You get to practice the most foundational skills without getting bogged down. They are way less intimidating than something like a Lone Star quilt, which often involves piecing tons of tiny diamonds together with tricky Y-seams. A free Sawtooth Star pattern is the perfect project to master your quarter-inch seam and get your points looking sharp.
How Do I Make My Star Points Sharp?
Ah, the quest for the perfect point! This is a common frustration, but I promise it's completely achievable. The whole secret lies in a precise and consistent quarter-inch seam allowance.
When you're sewing your pieces together, the most important thing is to make sure your stitch line doesn't cross over the point where your other seams intersect. A great little trick is to sew right up to that intersection, do a tiny backstitch to lock it in, and then press that seam open or to the side before you attach the next piece.
I also love using a stiletto or even just a pin to guide the fabric under the needle. It stops things from shifting and really helps you nail that perfect point. As you get more comfortable, you can elevate your quilting craft with advanced techniques to tackle even more intricate designs.
There's nothing more satisfying for a quilter than seeing those sharp, perfect points come together on a star block. It’s that one little detail that takes a block from "good" to "wow!"
Can I Resize a Free Star Quilt Pattern?
You bet! Resizing a star quilt pattern is totally possible, and it just takes a little bit of simple quilt math. The easiest way to do it is by changing the size of the initial squares you cut.
For example, if the pattern calls for 4-inch squares to make your HSTs, try using 5-inch squares instead. This will naturally make your final block bigger. Another way to go is to add more blocks to the layout or simply make the sashing and borders wider.
No matter how you decide to do it, I always, always recommend making a single test block first. It’s the best way to make sure your new measurements work out exactly as you planned before you cut into all your beautiful fabric.
Ready to start your next star quilt with total confidence? Linda's Electric Quilters has everything you need to bring your vision to life, from stunning fabrics to the perfect batting and thread. Come explore our amazing selection at https://lindas.com and find all the goodies for your next masterpiece.


