
Hey everyone, today we're making a little batting-padded wall patch that stops a door knob from banging a dent in your wall — no nails, no screws, no holes.
You know the sound. The door swings a little too fast. Bang. The knob kisses the wall. Do that a few hundred times and you've got a dent, chipped paint, and one sad security deposit.
This fix is pure renter-friendly sewing. We build a small padded patch, about the size of a coaster, and hang it where the knob lands. Batting soaks up the hit. Interfacing keeps the patch flat and crisp. Removable adhesive strips hold it up, and they peel off clean when you move out. Just like that.
Here's why both layers matter. Batting alone curls and flops. Interfacing alone is flat, but it has no cushion, so the knob still thuds. Together? Flat, firm, and padded.
Where it lands
Before you cut anything, do this test. Open the door slowly until the knob touches the wall. Mark that spot with a pencil dot. That dot is the center of your patch. Make the patch at least 2 inches wider than the knob on every side — knobs don't always land in exactly the same spot, and that extra room is cheap insurance.
Materials
- Two squares of quilting cotton, 5 by 5 inches each
- Low-loft batting, two squares at 5 by 5 inches — scraps are perfect here
- Medium-weight fusible interfacing, one 5 by 5 inch square
- Removable adhesive strips, the kind rated for picture hanging
- Coordinating thread
- Your usual tools: rotary cutter or scissors, ruler, iron, and a press cloth
- Optional: a ribbon loop if you'd rather hang it on a removable hook
How to make it
- Cut your stack. Cut two cotton squares, two batting squares, and one interfacing square, all at 5 by 5 inches. Want a round patch instead? Cut 5-inch circles. Completely up to you.
- Interface one fabric square. Lay one cotton square wrong side up. Place the interfacing glue side down on it. Press and lift with a hot, dry iron, about 10 to 15 seconds per spot. Don't slide the iron. Let it cool flat. That interfaced square is the back of your patch, and it keeps everything lying flat against the wall.
- Build the sandwich. Stack in this order: the plain cotton square right side down, both batting squares, then the interfaced square with the fabric side facing up. Pin around the edges. Two layers of low-loft batting give a real cushion without a bulky lump.
- Stitch around the edge. Sew all the way around with a 1/4-inch seam, leaving a 2-inch gap on one side for turning. Set your stitch length to about 2.5 mm, roughly 10 stitches per inch. Clip the corners close, but don't clip into the stitching.
- Turn and press. Turn the patch right side out through the gap. Poke the corners out gently with a chopstick — not your scissors, ask me how I know. Press it flat, then fold the gap edges in and press those too.
- Topstitch and quilt a little. Topstitch around the whole patch about 1/8 inch from the edge. That closes the gap and gives you a crisp border. Then stitch an X corner to corner. That little bit of quilting keeps the batting from shifting when the knob lands.
- Mount it, no nails. Stick two removable adhesive strips on the back, top and bottom. Line the patch up over your pencil dot and press it to the wall firmly for about 30 seconds. Open the door and let the knob meet its new cushion. Quiet, isn't it?
Tips and variations
Match the room. Use fabric that blends with your wall color and the patch nearly disappears. Or go bold with a bright print and call it art. Both work, and one patch takes about fifteen minutes.
Make a set. Walk the house with the door test. Bathroom and kids' bedroom doors are the worst offenders at our place. Cut all your squares at once and you'll knock out four patches in one sitting.
Prefer a hook? Stitch a small ribbon loop into the top seam before you turn the patch, then hang it on a removable adhesive hook instead. Same protection, and you can take it down for washing.
Don't chase perfect. If your square is a tiny bit wonky, the door knob will never tell. Take your time, it's not a race — you're your own worst critic on a project nobody will inspect that closely. If I can do this, y'all can do it.
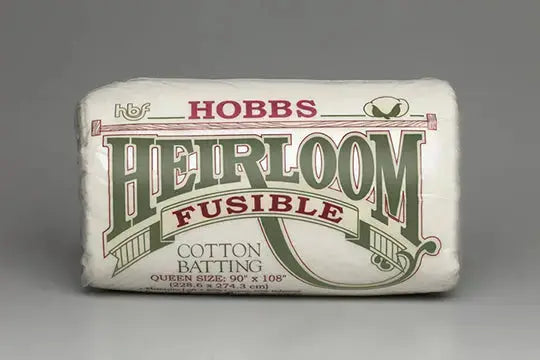
The batting I reach for here is a fusible 80/20 — it's what I use in the shop when I want small scrap pieces to stay put while I stitch, and it's available at lindas.com. One package covers a whole houseful of patches, with leftovers for the next little project.
Thanks for sewing along with me, folks. We'll see you next time. Bye.
Shop Hobbs Heirloom 80/20 Fusible Batting Package at Linda's Electric Quilters.


