
Last Updated: October 30, 2026
Quick Summary
To digitize embroidery designs as a beginner, convert your artwork into a stitch file using digitizing software, then assign stitch types, density, and order to each shape. Start with a simple, high-contrast design, preview the simulation, and test on scrap fabric before sewing.
- Start with a simple, high-contrast design such as a single letter or basic shape.
- Use a black-and-white PNG at least 1000 pixels wide, or a vector file like SVG or EPS.
- Check the design fits your hoop with at least 0.5 inch of margin on each side.
- Keep jump stitches under about 0.5 inch without a trim command.
- Always run a test sew-out on scrap fabric with the same stabilizer before stitching the real piece.
Table of Contents
- What Embroidery Digitizing Is and How Artwork Becomes a Stitch File
- Choosing Embroidery Digitizing Software for Beginners
- How to Convert an Image to an Embroidery File, Step by Step
- Embroidery Stitch Types for Digitizing and When to Use Each
- Embroidery Design File Formats and What Your Machine Needs
- Fabric, Stabilizer, and Test Sew-Out: Checking Your Digitized Design
- Booking Your First Digitized Design or Shopping the Supplies You Need
- Frequently Asked Questions
What Embroidery Digitizing Is and How Artwork Becomes a Stitch File
Digitizing is the process of turning a picture into a set of instructions that an embroidery machine can follow, and it is the first step when you digitize embroidery designs at home. Your machine cannot read a JPEG or a PNG. It reads a stitch file, which tells the needle where to go, how far to move, when to change thread color, and when to trim. Learning to digitize embroidery designs for beginners starts with understanding this gap between an image and a stitch file.
Most of the work happens in the software, where you digitize embroidery designs by assigning stitch settings to each shape. You trace the shapes of your artwork, then assign each shape a stitch type, direction, density, and color. The software converts those choices into thousands of individual stitch points. Simple artwork with clean lines and few colors makes this far easier, which is why many quilters start with a single letter or a basic shape.
Here is what a stitch file usually contains:
- Stitch coordinates: the exact path of every needle penetration
- Color stops: pauses where you change thread
- Trims and jumps: instructions for cutting thread between separate areas
- Stitch order: which shape sews first, which sews last
Choosing Embroidery Digitizing Software for Beginners
The right software depends on your machine, your budget, and how much time you want to spend learning. Start by checking what file format your machine reads, then pick a program that exports to it. Many beginners overspend on advanced software they never fully use.
Use this checklist when comparing options:
- Exports to the file format your embroidery machine needs
- Has a free trial or free version to test before buying
- Includes beginner tutorials or built-in help
- Supports auto-digitizing for quick first attempts
- Lets you edit individual stitch objects, not just the whole design
A common mistake is choosing software based on feature lists alone. A program with hundreds of tools can be harder to learn than a simpler one that does the basics well.
How to Convert an Image to an Embroidery File, Step by Step
Converting an image is the core skill of digitizing. The steps below follow one simple design, a two-color, 3-inch-wide monogram letter with a thin outline, from start to exported stitch file. Practicing this single workflow end to end will teach you more than jumping between random designs.
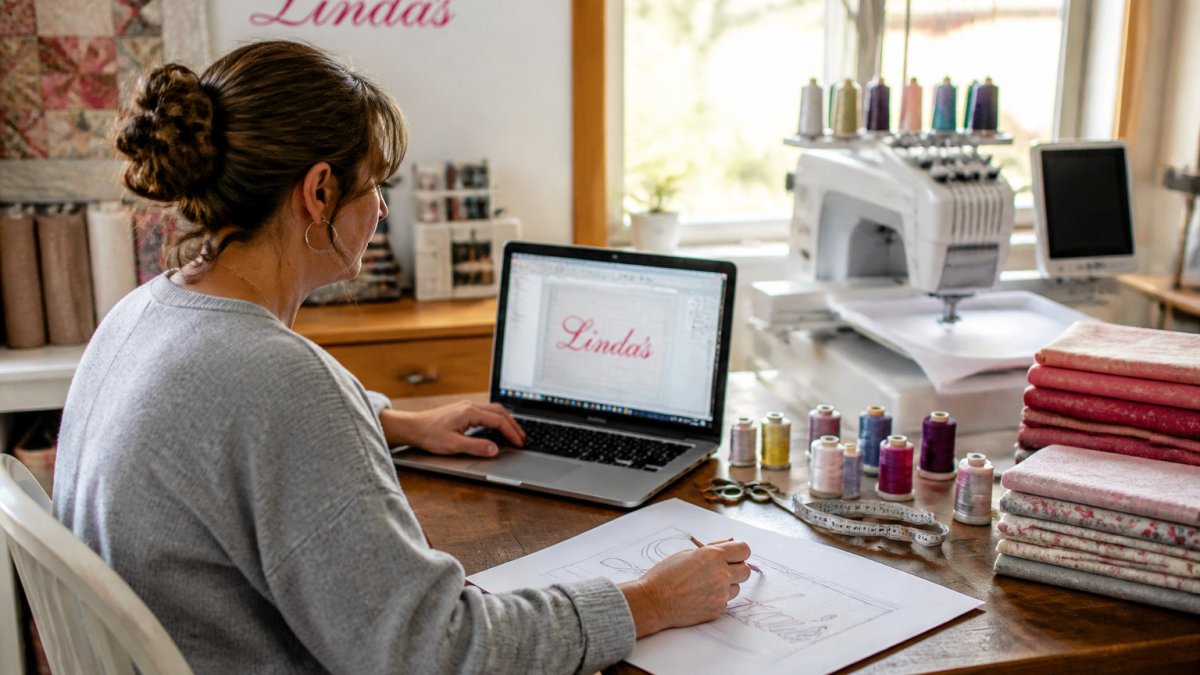
- Prepare your artwork. Use a clean, high-contrast image. For the monogram, save the letter as a black-and-white PNG at least 1000 pixels wide. Remove background clutter and reduce colors where you can. A vector file (SVG, EPS) is even better because it scales without blurring.
- Import the image into your digitizing software as a template. Most programs let you lock the template layer so you do not accidentally move it while tracing.
- Set the design size. Enter the real finished dimensions in inches, 3 inches wide for the monogram, so stitch density matches your hoop. Check that the design fits inside your hoop with at least 0.5 inch of margin on each side.
- Trace or auto-digitize the shapes. Auto-digitizing is faster, but manual tracing gives cleaner results on detailed areas. For the monogram, trace the outer edge of the letter as one closed shape and the inner counter (the hole in an A or O) as a separate shape.
- Assign stitch types to each shape. Use satin for the narrow letter strokes and a fill stitch for any wide areas. Add a run stitch for the thin outline.
- Set the stitch order so underlay sews before the top layer. The software usually shows a sequence panel; drag objects until the order reads: underlay, fill, satin, outline.
- Preview the simulation to catch gaps, overlaps, and jump stitches. Slow the simulation down and watch the needle path. Look for long jumps that should be trimmed and any place where two shapes overlap awkwardly.
- Export the file in your machine's format and save a backup copy. Keep the native project file so you can re-export later without re-digitizing.
Watch out: a design that looks fine on screen can still pucker or break thread on fabric. Always test on scrap material before stitching the real project. If the monogram pulls the fabric or the satin stitches look uneven, revisit the density and pull compensation settings covered in the next section.
Embroidery Stitch Types for Digitizing and When to Use Each
Each stitch type creates a different texture and suits a different shape. Choosing the right one makes the difference between a crisp design and a messy one.
| Stitch Type | Best For | Typical Use |
|---|---|---|
| Run stitch | Fine outlines and details | Thin lines, sketched lettering |
| Satin stitch | Narrow columns and borders | Letters, borders, small text |
| Fill stitch | Large solid areas | Backgrounds, filled shapes |
| Underlay | Stabilizing other stitches | Hidden base layer under satin or fill |
Satin stitches look smooth but can snag on long, wide columns, so keep them narrow. Fill stitches cover large areas well but need careful density settings to avoid stiffness.
Stitch Settings, Density, and Pull Compensation
Stitch settings control how the design looks and how the fabric reacts. Density is the number of stitches per unit of area, usually expressed in stitches per inch or as a density value in your software. Higher density gives more coverage but makes the fabric stiff and more likely to pucker. Lower density is softer but can show gaps.
Practical starting ranges for common fabrics:
- Quilting cotton and stable wovens: satin density around 0.4 mm spacing (roughly 60-70 stitches per inch), fill density around 0.4-0.5 mm.
- Knits and stretchy fabrics: slightly lower density (0.5-0.6 mm spacing) to reduce puckering, paired with cutaway stabilizer.
- Thick fabrics like denim or canvas: slightly higher density may be needed for coverage, but watch needle deflection and thread breaks.
Pull compensation adjusts for the fact that stitches tend to pull the fabric inward, shrinking satin columns. Adding a small amount of compensation widens the stitch so the finished shape matches your artwork. Start with the software's default and adjust after a test sew-out. On stretchy fabric, you may need more compensation; on stable woven fabric, less.
Floriani Medium Weight Firm Tearaway 12" x 10 yds →
Stitch length also matters. Long stitches cause snags, while very short ones can break thread. Use the software's recommended stitch length range for your thread weight, then fine-tune from there.
Stitch direction affects how the design reflects light and how it sews. Angle satin stitches so they run perpendicular to the shape's longest edge, and keep fill stitch angles consistent across adjacent shapes so the design looks uniform.
When in doubt, sew a test sample on scrap fabric with the same stabilizer you plan to use. Adjust density, pull compensation, and stitch length in small increments, and record the settings that work so you can reuse them on future designs.
Embroidery Design File Formats and What Your Machine Needs
File formats are not interchangeable. Each brand of embroidery machine reads specific formats, and sending the wrong one is a common beginner problem.
Check your machine manual before you start. Common formats include:
- DST: a widely supported baseline format
- PES: used by many Brother and Babylock machines
- EXP: used by many Bernina machines
- JEF: used by Janome machines
- HUS: used by Husqvarna Viking machines
Save a master copy in your digitizing software's native format so you can re-export later. Keep your design files organized by project so you can find them when you need to make changes.
Fabric, Stabilizer, and Test Sew-Out: Checking Your Digitized Design
Fabric and stabilizer choices decide whether a digitized design looks good in real life. A perfect file can still fail on the wrong fabric.
Match the stabilizer to the fabric:
- Stable woven fabric such as quilting cotton often works with a tearaway stabilizer. The Floriani Medium Weight Firm Tearaway 12" x 10 yds is priced at $13.99 at Linda's Electric Quilters.
- Stretchy or unstable fabric such as knits, fleece, or sweatshirts usually needs a cutaway stabilizer. The Floriani Cutaway Medium 15" x 10 yds Non-Fusible is priced at $19.99 at Linda's Electric Quilters.
- Lightweight or delicate projects may call for a softer option like a foam stabilizer. See the Soft And Stable Foam Stabilizer Guide for guidance on choosing one.
Always run a test sew-out before stitching the real piece. Hoop a scrap of your actual fabric with the same stabilizer, then stitch the design. Check for puckering, thread breaks, gaps, and misregistration. If you see problems, adjust density, pull compensation, or stabilizer weight and test again.


Booking Your First Digitized Design or Shopping the Supplies You Need
Once your test sew-out looks right, you are ready to make your first real project. Gather your supplies before you start so you do not stop mid-stitch. For thread, the 60944 Marine Corps Glide Polyester Thread - 5,500 yards King Spool is priced at $14.96 at Linda's Electric Quilters and suits a large project. For bobbin needs, the Lead Grey Magna-Glide Classic #60 Bobbins Bag is priced at $13.04.

If you are unsure which thread to buy, our guide How to Choose Thread for Embroidery: A 2026 Guide walks through the options. Linda's Electric Quilters also offers an extensive library of over 700 educational videos and tips, and the Crafters Roundtable podcast features quilters, sewists, and industry experts if you want more guidance as you learn.
Frequently Asked Questions
Can I digitize embroidery designs for free?
Yes. Several free and beginner-friendly programs let you import artwork, trace it and assign stitch types without paying up front. Free tools usually have fewer automation features and smaller stitch libraries than paid software, so they suit simple logos, lettering and single-color shapes well. Start with a small, clean design to learn the workflow, then decide whether a paid program with auto-digitizing is worth the cost for the designs you plan to sew most often.
What software do beginners use to digitize embroidery designs?
Beginners usually start with programs that combine an easy interface with a basic set of stitch tools. Choose software based on your machine's file formats, your budget and how complex your designs are. Look for a trial version so you can test the import, tracing and export steps before buying. Pick one program and learn it well rather than switching between several while you are still building basic skills.
How do I choose stitch types when digitizing?
Match the stitch type to the shape. Use fill stitches for larger areas, satin stitches for narrow columns such as borders and lettering, and run stitches for fine outlines or details. Adjust stitch density and direction so the fabric does not pucker, and keep satin columns narrow to avoid long, loose threads. Always confirm your choices with a test sew-out on the same fabric and stabilizer you plan to use.
How do I test and fix a newly digitized embroidery design?
Sew the design on scrap fabric with the same stabilizer you will use on the final project. Check for puckering, thread breaks, gaps between colors and shifted registration. If the fill looks loose, increase density or add underlay. If edges pull, adjust pull compensation. Make one change at a time, sew another test and keep notes so you can repeat the settings that worked.



