
Quick Summary
To prevent batting creases in quilts, store batting flat rather than folded or tightly rolled, keep heavy items off it, and let it rest unrolled on a clean surface for at least 24 hours before cutting. Relax any firm fold lines before you layer the quilt sandwich.
- Batting creases usually come from folding, tight rolling, heavy items on top, humidity swings, or folded packaging.
- Unroll batting on a clean, flat surface and let it rest for at least 24 hours before cutting.
- Store batting flat on a shelf or in a wide, shallow bin, and avoid stacking heavy items on it.
- Cut backing 3 to 4 inches and batting 2 to 3 inches larger than the quilt top on each side.
- Use a dry iron on low heat with a pressing cloth; avoid steam on polyester batting.
Table of Contents
- Why Batting Creases Form in the First Place
- How to Prepare Quilt Batting Before You Start
- How to Make a Quilt Sandwich Without Wrinkles
- Using Fusible Batting to Lock Layers in Place
- How to Get Creases Out of Quilt Batting Safely
- How to Store Quilt Batting So It Stays Flat
- Booking Your Next Batting Roll or Package
- Frequently Asked Questions
How to Prevent Batting Creases in Quilts
Last Updated: October 29, 2026
Why Batting Creases Form in the First Place
Batting creases usually form because the batting was folded, rolled tightly, or stored in a way that set the fibers into lines.
Most creasing happens in three places: the shipping box, the storage shelf, and the moment you lay the batting out for a project. Each one calls for a slightly different fix.
Here are the most common causes:
- Tight rolling: Batting rolled too tightly for too long sets fold lines.
- Heavy items on top: Stacked fabric or boxes press into the batting.
- Humidity swings: Damp or heated storage can make fibers relax unevenly.
Batting creases differ from crinkle, which is the soft, textured look many quilters want after washing. A crease is a sharp, straight line. Crinkle is random and gentle.
How to Prepare Quilt Batting Before You Start
Preparing your batting before you layer it is the single best way to avoid trouble. Take a few minutes before you start to relax the fibers.
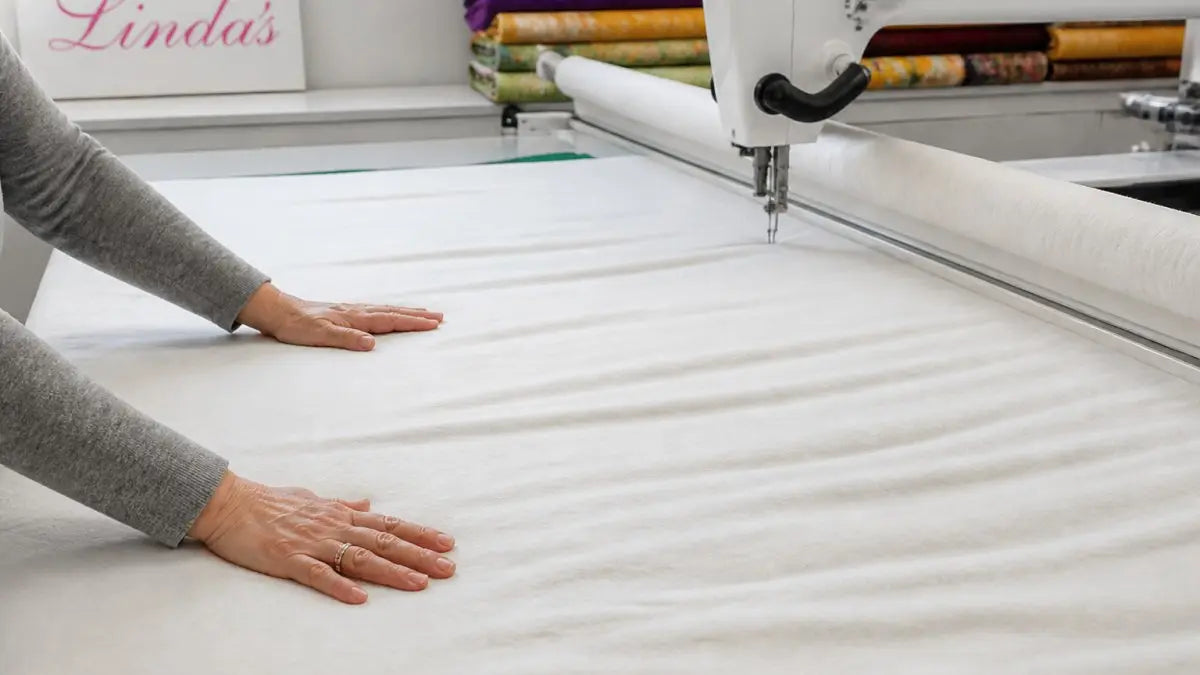
Start by unrolling the batting on a clean, flat surface and let it rest for at least 24 hours.
Next, check the batting for lines. Hold it up to a window or lay it under bright light.
Keep these tips in mind:
- Unroll the batting slowly to avoid new creases.
- Lay it flat without stretching it.
- Use a clean table or a large board for the best results.
Premium batting rolls can be large and heavy. If you are planning a large quilt, the best quilting batting for large quilts guide explains which batting suits large sizes before you start preparing it. If you are weighing options, a buying guide for premium batting rolls can help you compare what fits your project and budget.
How to Make a Quilt Sandwich Without Wrinkles
Most creases that show up after quilting were built into the sandwich before the needle ever touched it. The goal here is not just to smooth the layers but to keep them from stretching, shifting, or trapping air, because those are the mechanisms that produce the lines and puckers you see later.
Size and Square the Layers First
Cut the backing and batting slightly larger than the quilt top, a common allowance is 3 to 4 inches of backing and 2 to 3 inches of batting on each side. The extra margin gives you room to adjust and prevents the top from running short if a layer shifts. Square each layer before stacking; a skewed backing will pull the whole sandwich out of alignment no matter how carefully you smooth it.
Lay the Layers in Order and Smooth Directionally
- Backing, right side down. Tape or clamp the backing to a hard floor or large table, but only enough to remove major ripples. Over-taping stretches the fabric, and it will relax into waves once you release it.
- Batting. Unroll or unfold it gently and lay it on the backing without pulling. Let it settle rather than stretching it to fit.
- Quilt top, right side up. Center it and check that the edges are parallel to the backing edges.
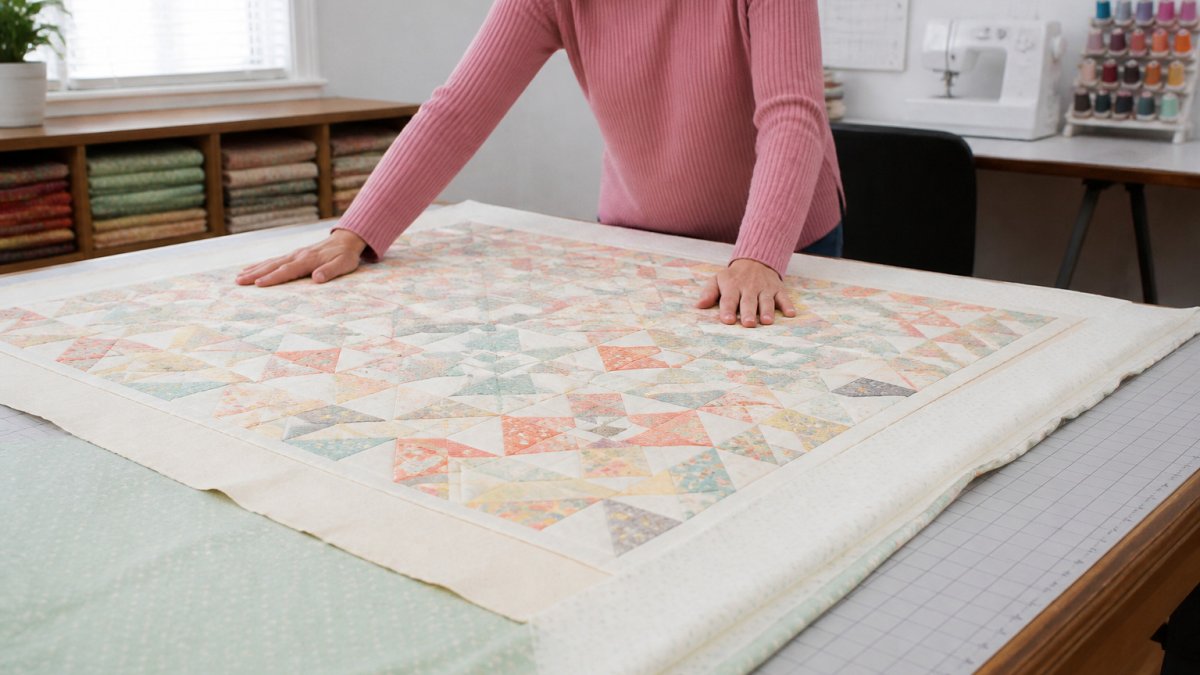
Smooth each layer from the center outward with flat palms, not fingertips. Work in one direction at a time, center to top, center to bottom, center to left, center to right, so you push trapped air out to the edges instead of trapping it in the middle. Check the edges after each pass; if one layer is consistently larger, the layers are shifting rather than stretching.
Baste to Lock the Layers Before They Move
Basting is what holds the smoothing you just did. The two common methods trade speed against control:
- Spray basting: Fast and gentle on batting, and it leaves no holes. Use a quilt-specific basting spray in a well-ventilated area, apply it in light, even coats, and let it tack up before pressing the layers together. It is a good fit for polyester and blends, which handle less pin handling.
- Pin basting: Slower, but it lets you adjust layers as you go. Space safety pins roughly 4 inches apart across the whole quilt, closer in areas that will be heavily quilted. Pin through all three layers and close each pin fully so it does not catch the needle.
Whichever method you choose, baste before you move the quilt. Lifting or rolling an unbasted sandwich is one of the most common ways to introduce new creases.
Watch for the Pucker That Looks Like a Crease
A pucker along a quilting line is not a batting crease, it is usually a sign that the layers were not held flat, the backing was stretched, or the quilting direction pulled fabric unevenly. If you see small tucks forming as you quilt, stop and check the basting and the layer alignment before continuing. Fixing the sandwich is far easier than removing stitches later.
Hobbs FUSIBLE Heirloom Batting 96" Wide Batting Roll - 30 Yards →
Using Fusible Batting to Lock Layers in Place
Fusible batting is a useful option when you want to skip basting altogether. It has a water-soluble fusing medium on both sides that bonds the top and backing to the batting when you press it.
The key rule is to use a dry iron with no steam. Water can prevent the fusing medium from sticking.
Hobbs FUSIBLE Heirloom Batting 96" Wide Batting Roll is one option for this method. You can see the fusible heirloom batting roll to check the specifications.

How to Get Creases Out of Quilt Batting Safely
Before you reach for an iron, confirm what you are actually looking at. Proper maintenance of the textile structure remains essential, especially when you wash handmade quilts to ensure the fibers remain stable and free from unintended distortion.
Once you have confirmed a real batting crease, match the method to the fiber. Heat tolerance varies widely, and the wrong method can shrink, scorch, or melt the batting.
Match the Method to the Fiber
- Cotton batting: The most heat-tolerant common option. A dry iron on a low-to-medium setting over a pressing cloth, or a short tumble on low dryer heat with no heat-sensitive items, is generally safe. Cotton can shrink slightly with steam, so test a corner first.
- Wool batting: Tolerates gentle steam well and responds to moisture, but high direct heat can felt or shrink it. Use a damp cloth and a warm (not hot) iron, and never press directly on the wool.
- Polyester batting: The least heat-tolerant. Low heat only; high heat can melt or glaze the fibers, and a hot iron can leave a permanent shine. Avoid steam on polyester, since moisture plus heat can set new wrinkles.
Safe Methods, From Gentlest to Most Aggressive
- Rest and weight-free relaxation. Unroll the batting on a clean, flat surface in a room with normal humidity and leave it for 24 to 48 hours with nothing on top. This resolves most shipping and storage fold lines without any heat.
- Damp-cloth method. Lay a clean, damp (not wet) cloth over the crease, never on the batting directly, and let it sit for several hours. The moisture relaxes the fibers gradually. Repeat once if the line persists.
- Low, dry iron over a pressing cloth. Set the iron to the lowest setting that produces steam-free heat, place a pressing cloth between the iron and the batting, and press in short passes from the center outward. Lift and reposition rather than sliding the iron. Let each area cool before checking.
- Low dryer tumble. For a whole piece of batting, a few minutes on the lowest dryer setting with a clean, dry towel can loosen set folds. Stay nearby, check every couple of minutes, and remove the batting while it is still slightly warm so it can be laid flat to cool.
What Not to Do
- Do not press a hot iron directly on batting, especially polyester or a blend.
- Do not use high heat or hold the iron in one spot; scorching and glazing are permanent.
- Do not steam polyester or unknown blends.
How to Store Quilt Batting So It Stays Flat
Storage is where many creases begin. Keep batting in its original packaging when possible, and lay it flat rather than standing it on end.
Follow these storage habits:
- Store batting flat on a shelf or in a wide, shallow bin.
- Avoid stacking heavy items on top.
- Keep it in a cool, dry place away from direct sunlight.
For large rolls, storing them flat can take up space. Plan your shelf or bin before you open the package.
Storage habits make the biggest difference in keeping batting crease-free. Here is a quick reference:
| Storage method | Best for | Key difference |
|---|---|---|
| Flat on a shelf | Large rolls and packages | Avoids fold lines from standing or stacking |
| Wide, shallow bin | Pre-cut or smaller packages | Keeps batting flat and protected |
| Wide tube (if rolled) | Batting that must be rolled | Less tight than a standard roll, reducing set creases |
| Tight roll | Not recommended | Sets fold lines that show through the quilt |
Booking Your Next Batting Roll or Package
When you are ready to buy, browse our full range of batting rolls to find the right size and fiber blend for your next quilt. Whether you need a full roll for a large project or a pre-cut package for one quilt, choosing the right format helps you avoid waste and wrinkles.
Frequently Asked Questions
How do you get creases out of quilt batting?
Unroll the batting and let it relax flat for a day or two in a room-temperature space before you cut or layer it. For stubborn folds, lay it on a clean surface, smooth gently by hand from the center outward, and avoid stretching the fibers. Pre-washing is not recommended for Hobbs batting, so do not rely on washing to remove creases. Once layered, check the back of the quilt sandwich for wrinkles and smooth them before basting.
How should quilt batting be stored to prevent creases?
Store batting rolled loosely on a tube or flat in a box rather than folded tightly, since sharp folds set into the fibers over time. Keep it in a cool, dry place away from direct sunlight and humidity. Shipped rolls typically arrive in a box to prevent damage, so keep that packaging if you can. Before using stored batting, let it relax flat so the creases can release.
Should you wash or steam quilt batting before quilting?
Pre-washing is not recommended for Hobbs 80/20 batting. Washing can cause shrinkage of 3-5% and may distort the layers before you begin. Steaming can also affect fusible batting, because the fusing medium is water-soluble and must stay dry for proper adhesion. Use a dry iron on fusible batting, and let the quilt relax rather than washing or steaming it first.
Why does batting wrinkle or bunch while quilting?
Batting bunches when the layers are not smoothed and basted before stitching, or when the quilt sandwich shifts under the needle. Starting with a flat, well-aligned top, batting, and backing, then securing them with spray basting or enough pins, keeps the layers stable. Quilting stitches spaced up to 4 inches apart also help hold the batting flat across the quilt.
Linda's Electric Quilters carries premium batting, fabrics, threads, and notions for quilters at every skill level. Explore our selection and find the supplies you need for your next project.



