
Hi Bestie,
Here’s something that can make your time at the sewing machine a little easier:
Your iron doesn’t have to do all the pressing.
There are plenty of moments while piecing when you simply want a seam to lie where you need it before moving on to the next step.
That’s where finger pressing comes in.
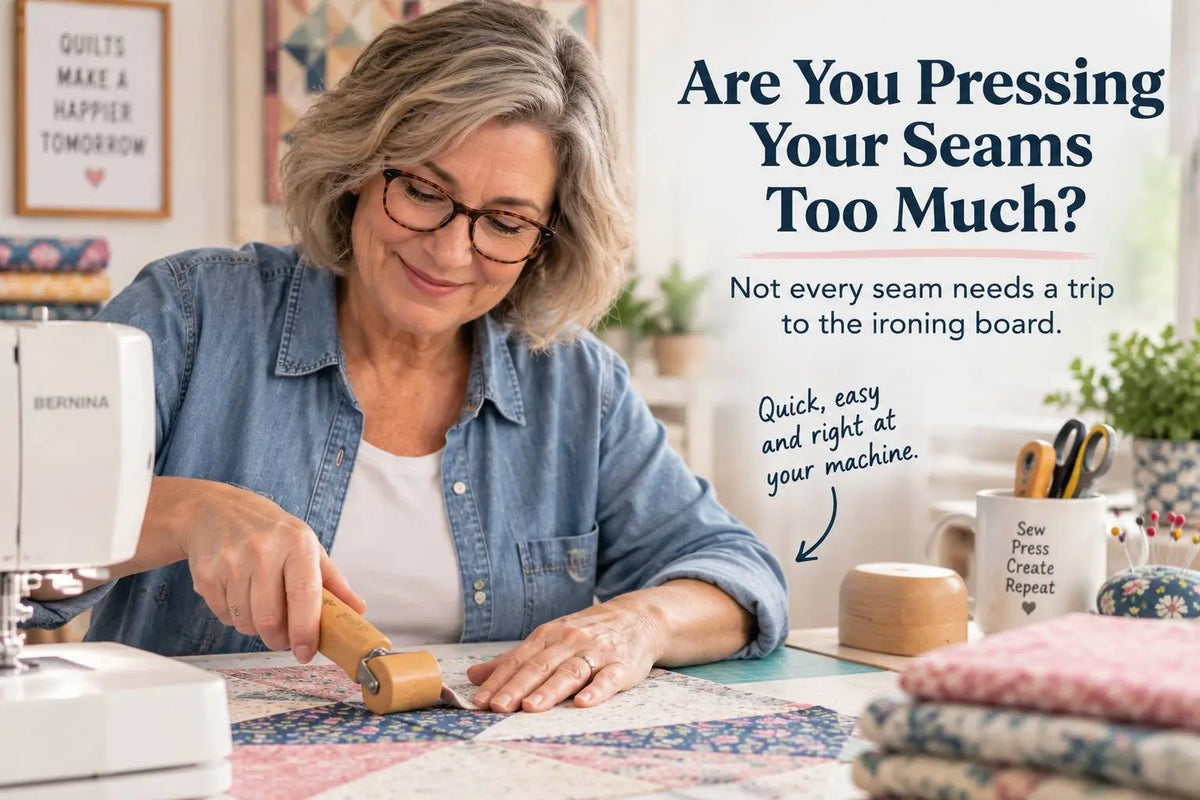
Instead of stopping what you’re doing, getting up, pressing with heat, and coming back to your machine, a finger pressing tool lets you give the seam a quick, controlled press right where you’re already working.
Less back-and-forth.
Less interruption.
More time actually sewing.
So… Finger Press or Iron?
It’s not really an either/or.
Think of them as two tools for two different moments:
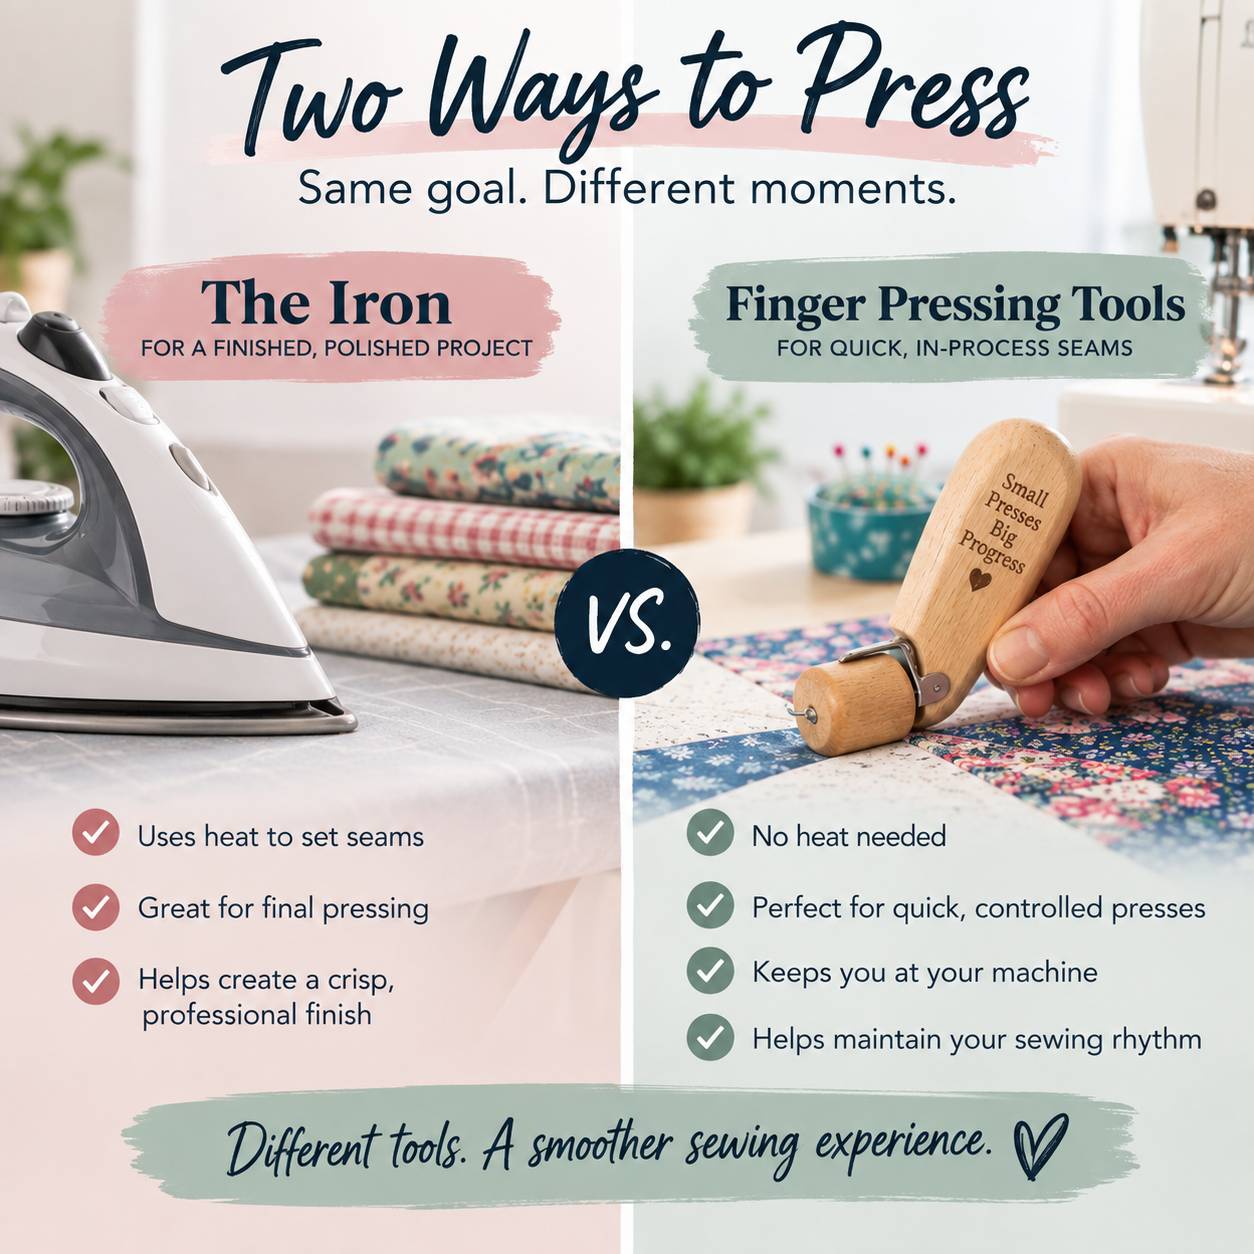
Finger Pressing
- Quick, in-process seams
- Right at your sewing machine
- No heat required
- Great when you want to keep your sewing rhythm going
Ironing
- A more thorough press with your iron
- Crisp finishing
- When your project calls for heat and a traditional press
The trick isn’t choosing one over the other.
It’s knowing when you really need the iron, and when a quick finger press will do.
And once you get used to having a pressing tool beside your machine?
You may be surprised how often you reach for it.
Why Finger Pressing Works On Small Seams
A seam allowance is just two layers of fabric folded along a stitch line. Cotton holds a crease surprisingly well once the fibers are pushed flat, so firm pressure from a wooden presser bar, a seam roller, or even your thumbnail is enough to set a short seam long enough to sew the next one across it.
Where finger pressing runs out is length and bulk. A long strip set or an intersection where several seams meet needs heat to relax the fibers and a good pressing surface to flatten the bulk. That’s the iron’s job.
A few favorites that live beside my machine: the Gypsy Quilter Presser Bar for straight seams, the Magic Seam Wand for tight spots, and a hardwood clapper when I do go to the iron and want that seam to stay flat.
Remember,
Pressing should help your sewing flow, not interrupt it.
Keep your iron nearby for the moments that call for a crisp, thorough press, and reach for a finger pressing tool when a quick press will do.
Sometimes, the smallest tools make the biggest difference.
Happy Quilting!
From Corey.
Frequently Asked Questions
What is finger pressing in quilting?
Finger pressing means setting a seam allowance flat using pressure instead of heat — with your fingernail, a wooden presser bar, a seam roller, or a similar finger pressing tool. It’s done right at the sewing machine so you can keep piecing without walking to the iron after every seam.
Do I need to iron every seam when quilting?
No. Short, in-process seams that will be crossed by another seam can be finger pressed. Save the iron for longer seams, strip sets, completed blocks, and any intersection where bulk needs to be flattened. Pressing every single seam with heat is one of the most common ways quilters slow themselves down — a bit like backstitching more than you need to.
What is the best tool for finger pressing seams?
A wooden presser bar or seam roller gives more pressure and a straighter crease than a fingernail, and is easier on your hands over a long session. For paper piecing and tight corners, a slim seam wand or hera-style tool reaches where a bar can’t. A hardwood clapper isn’t a finger pressing tool, but it’s the perfect partner for the iron when you want a seam to stay flat.
Can finger pressing distort my quilt blocks?
It can if you drag the tool along a bias edge. Press straight down or roll along the seam line rather than pulling, the same way you’d lift and set an iron rather than slide it. Accurate cutting and light pressure keep blocks true.
When should I use an iron instead of finger pressing?
Use the iron for a final press on each completed block or row, on seams that won’t be crossed again, and wherever multiple seams meet. Heat relaxes the fibers so the bulk lies flat, and a wool pressing mat holds that heat under the fabric for a crisper result. For iron and mat pairings, see the wool pressing mat and quilting iron guide or the Oliso M3 Pro review.


