
Hi Bestie,
Here’s something neat:
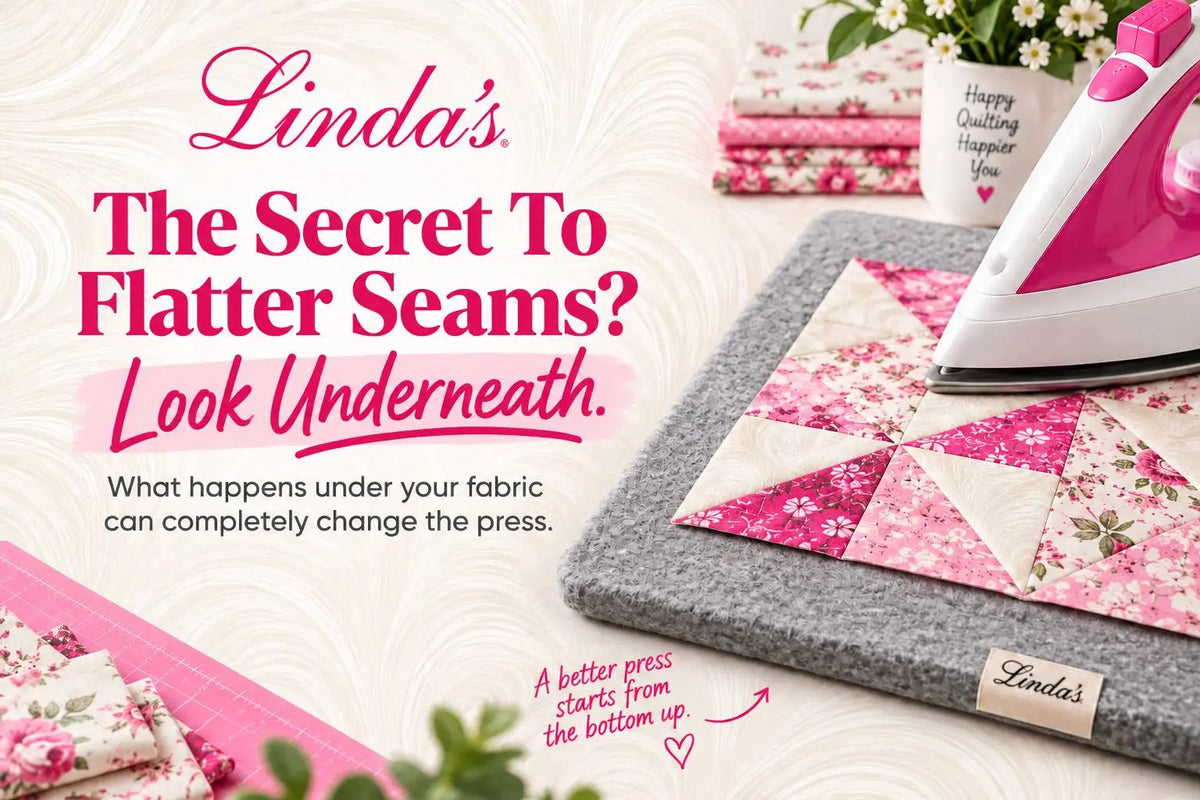
When you press on a wool mat, your iron isn’t doing all the work.
Wool retains heat underneath your fabric, helping you press your seams from both sides at once.
The result?
Crisp, flat seams with less fuss.
And that matters more than you might think.
When seams lie flatter, your blocks are easier to work with, intersections are less bulky, and you have a smoother foundation for the next step of your project. (Bulky intersections are the same problem that makes binding corners so lumpy.)
A good press isn’t just about making fabric look neat, it helps set you up for more precise piecing.
Why Wool Presses From Both Sides
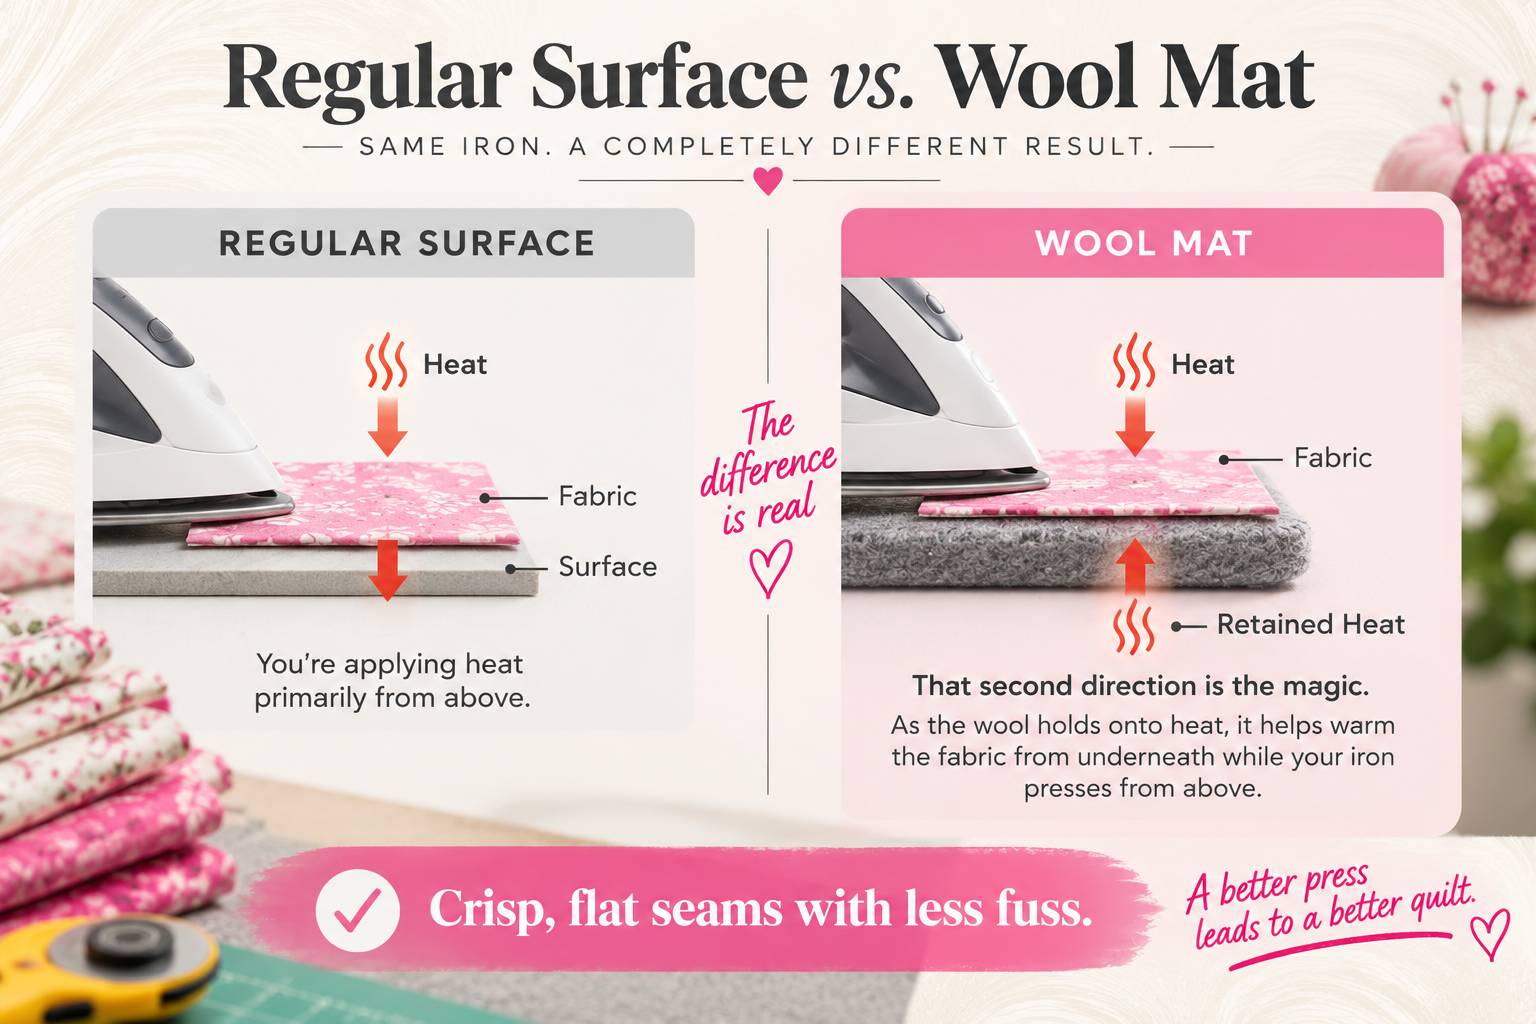
A regular ironing board cover is designed to let heat and steam pass through. A dense felted wool mat does the opposite: it absorbs the heat from your iron and radiates it back up into the underside of your fabric.
So instead of heat hitting one side of your seam allowance, it’s hitting both. That’s why the same iron, same fabric, and same pressure gives you a noticeably flatter seam on wool.
But Heat Isn’t The Only Advantage
There’s another reason wool makes such a useful pressing surface:
Its texture helps hold your fabric in place while you press.
That extra grip can help reduce unwanted shifting as you work, especially useful when you’ve spent all that time carefully cutting and piecing your block.
Because the goal isn’t to move the fabric with your iron.
It’s to press the seam into place.
Quick Pressing Reminder
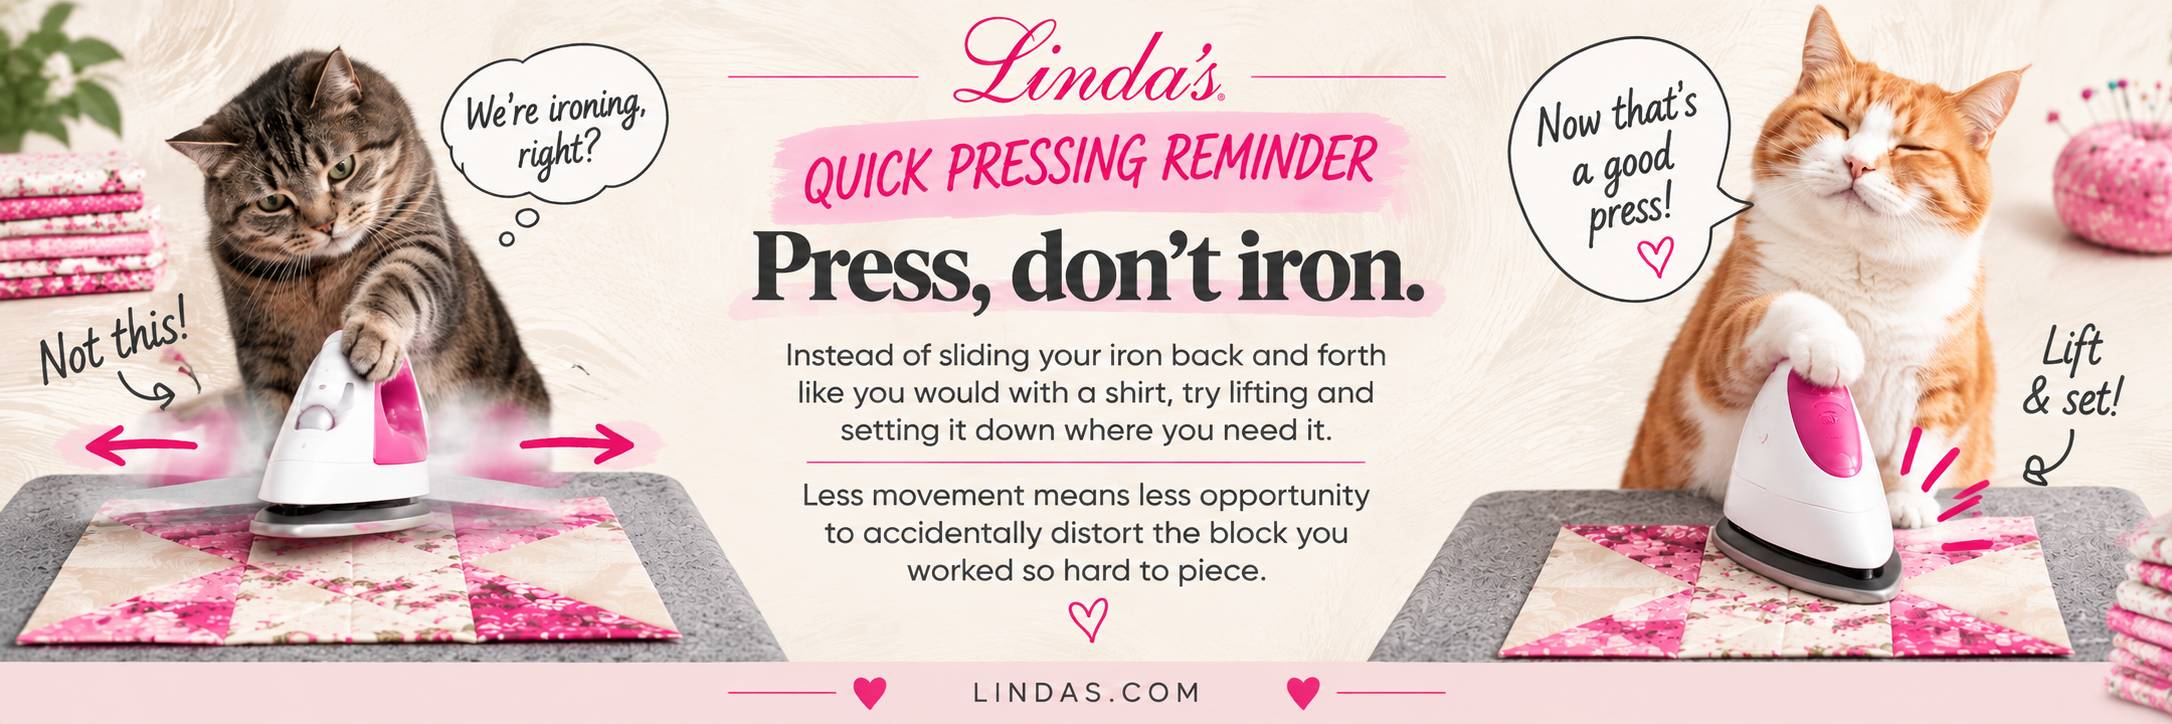
Press, don’t iron.
Instead of sliding your iron back and forth like you would with a shirt, try lifting and setting it down where you need it.
Less movement means less opportunity to accidentally distort the block you worked so hard to piece.
Remember,
For felted wool mats, use a dry iron for best results.
And whatever you do...
Don’t put your wool mat on top of your rotary cutting mat while pressing.
Because wool retains heat, some of that heat can travel through the mat, and potentially warp the cutting mat underneath. (Your cutting mat has enough to deal with already — see why it has a “right” side.)
If you want to go deeper on mats and irons, my wool pressing mat and quilting iron guide walks through the whole setup.
Happy Quilting!
From Corey.
Frequently Asked Questions
Why do quilters use a wool pressing mat?
Felted wool absorbs heat from the iron and radiates it back into the underside of the fabric, so the seam is effectively pressed from both sides at once. The result is a flatter, crisper seam with less effort. The wool’s texture also grips fabric so blocks don’t shift while you press. Browse sizes in our pressing mats collection.
Should I use steam on a wool pressing mat?
Use a dry iron on a felted wool mat for best results. Wool can absorb moisture from heavy steam, which may lead to a damp mat, a lingering wool smell, or moisture transferring to the surface underneath. If you like a steam-style press, a spray starch or pressing spray applied lightly to the fabric works well with a dry iron.
Can I put a wool pressing mat on top of my cutting mat?
No. Wool holds heat, and that heat can travel through the mat and warp the self-healing cutting mat underneath. Keep your cutting mat and your pressing mat on separate surfaces, and set the wool mat on a heat-safe table or ironing board instead.
What size wool pressing mat do I need?
For pressing individual blocks, a 13½" x 13½" mat handles most standard blocks. If you want room for strip sets and larger units, the 17" x 24" mat is the popular all-purpose size. A small 8½" x 8½" mat is handy for paper piecing or pressing right beside your machine.
What is the difference between pressing and ironing a quilt block?
Ironing slides the iron back and forth across the fabric, which can stretch bias edges and distort a pieced block. Pressing lifts the iron and sets it straight down on the seam, letting heat and weight do the work without moving the fabric. For quilting, always press. A lightweight iron like the Oliso M3 Pro makes the lift-and-set motion easier on your wrist.


