
Hi Bestie,
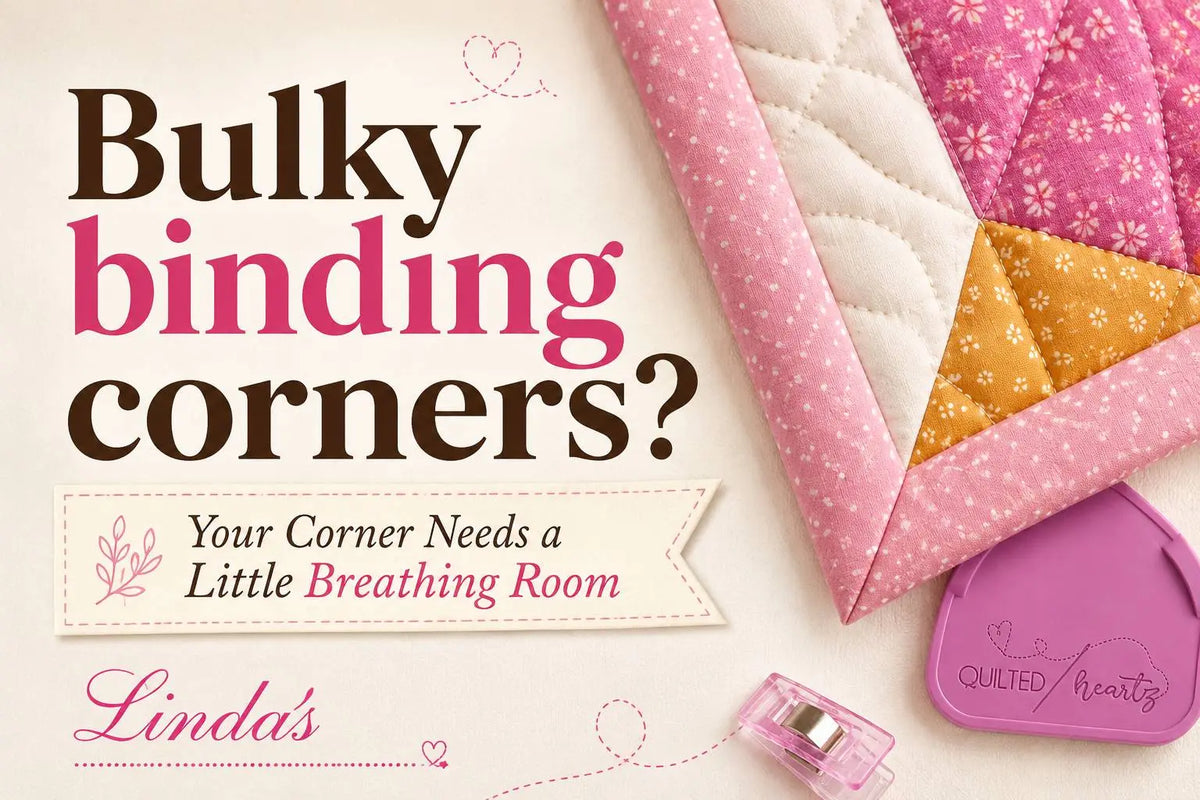
Ever finish your binding, admire your work… then notice one chunky little corner staring back at you?
It may not be your folding.
It may be where you stopped stitching.
And the fix is surprisingly tiny.
Why Stop a Quarter Inch Short?
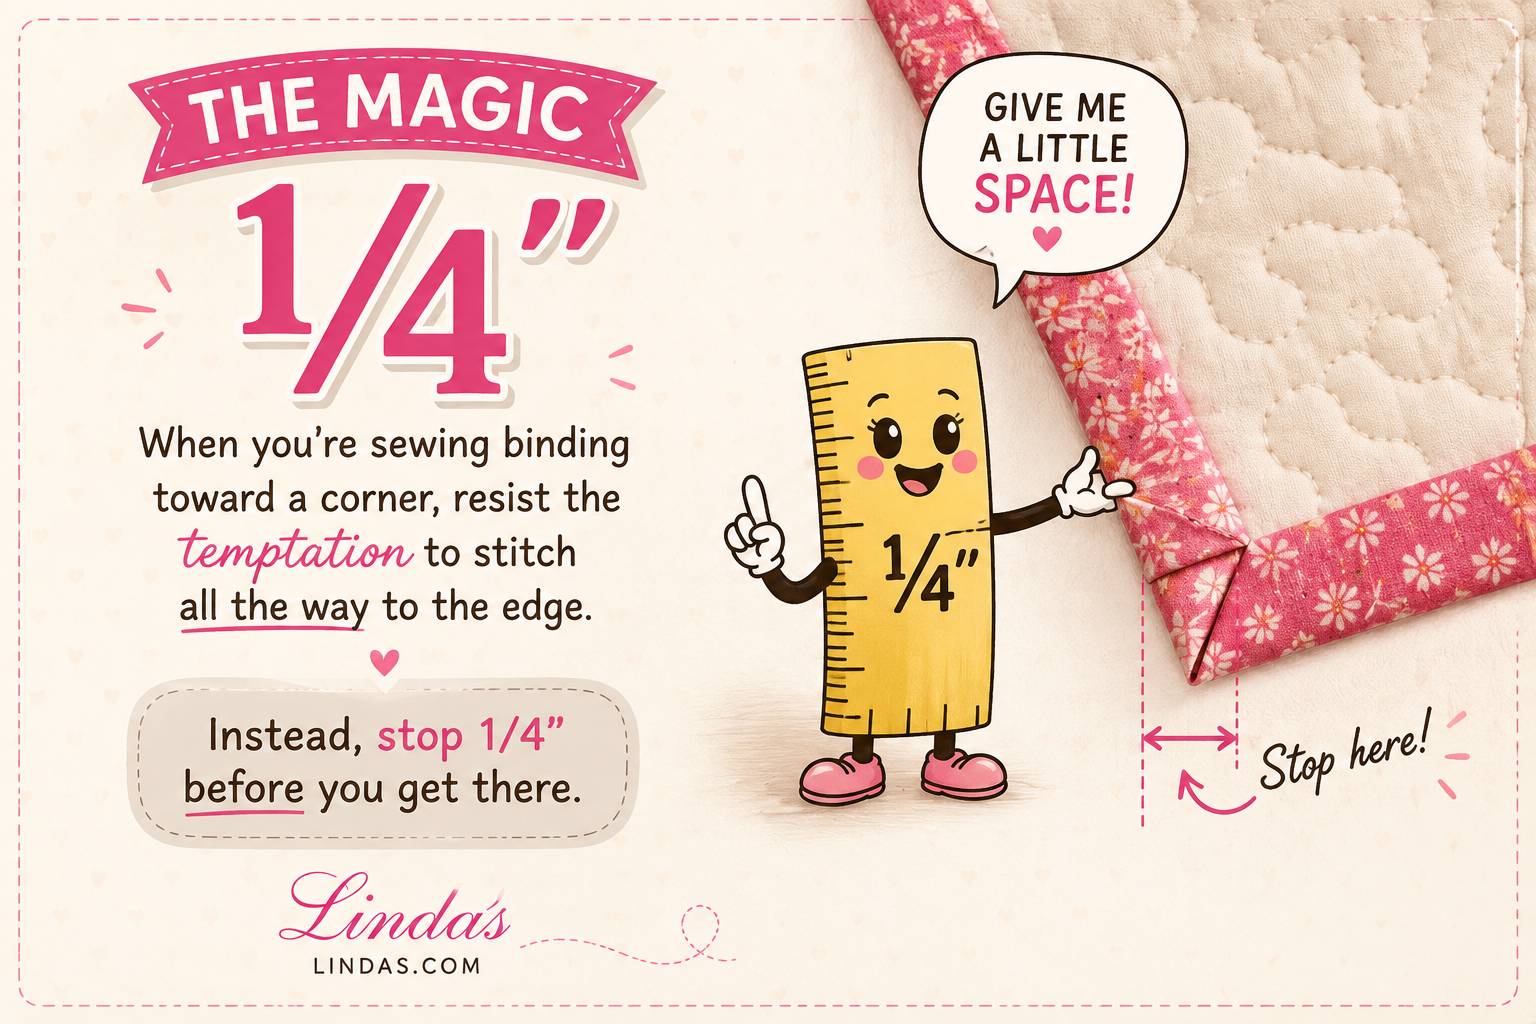
That little unstitched section gives your binding the freedom it needs to fold, turn, and form the miter without fighting against stitches running all the way to the edge.
Think of it as giving your corner a little breathing room.
Too far = things can get loose.
Too close = things can get crowded.
¼″ = a great target for a neat turn.
If you've read the seam allowance mistake that warps beautiful quilts, you already know why that number matters: your binding is sewn with a ¼″ seam, so stopping ¼″ from the edge means the stitching line ends exactly where the next side's stitching line will begin. The two seams meet at a point instead of crossing, and the fold has nothing to pile up against.
The 5-Second Corner Check
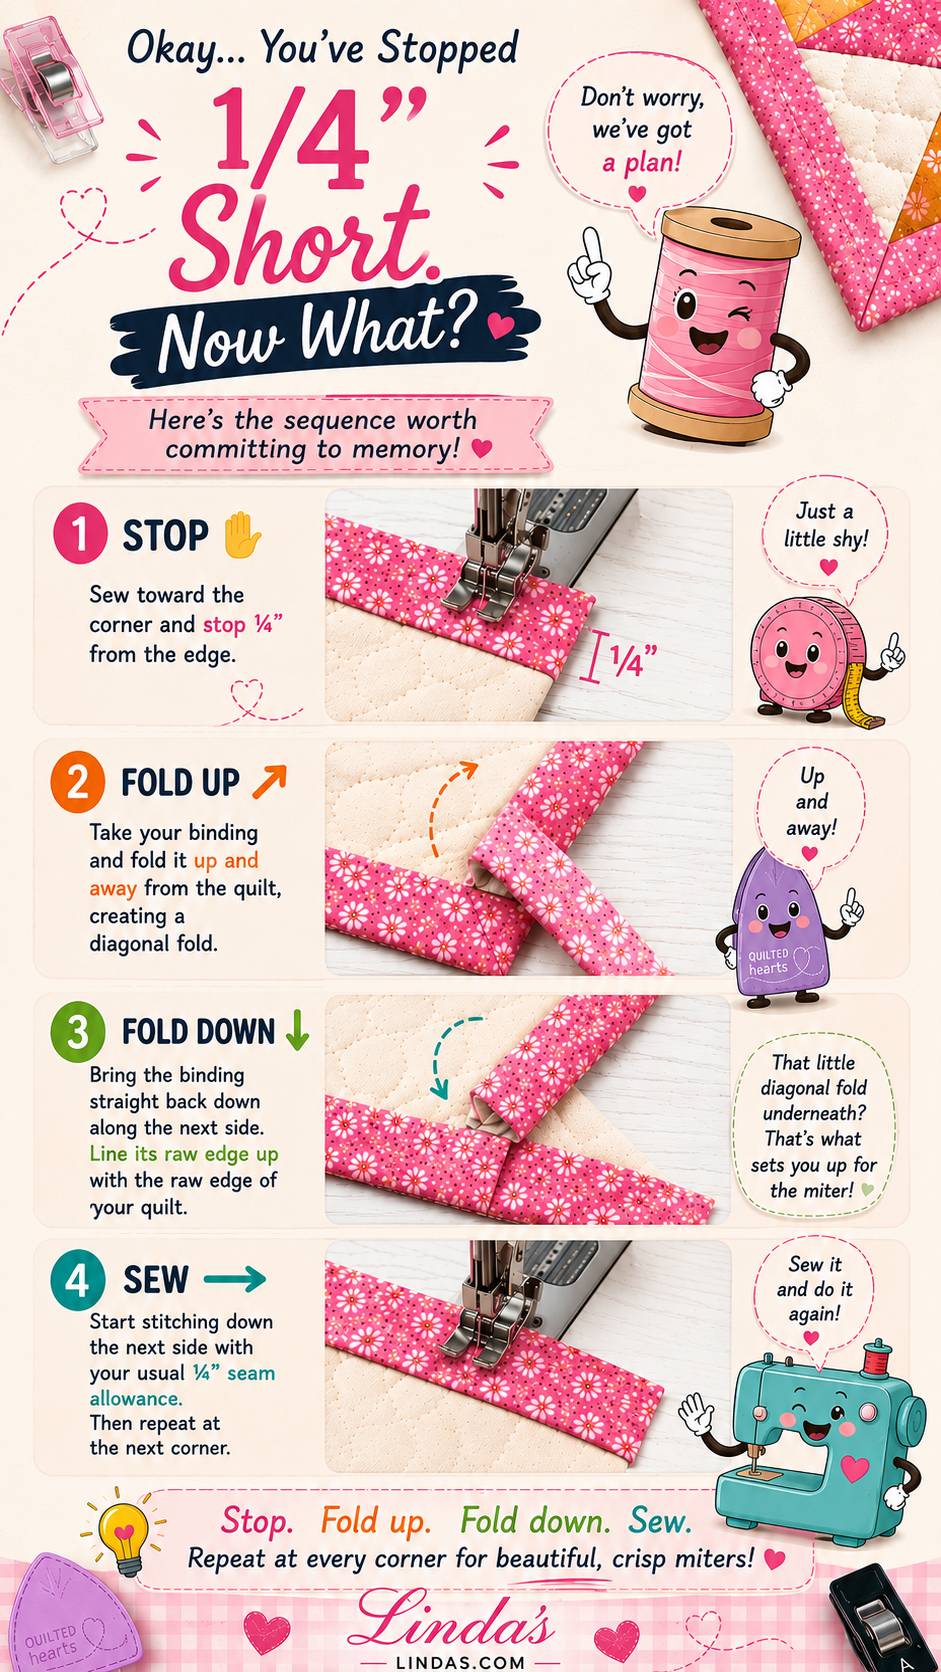
Before you put your presser foot down, take a quick look:
Is the binding lying flat?
Are the raw edges lined up?
Is there a clean diagonal fold underneath?
If yes, you're ready to sew.
If the fabric is already bunching or twisting, don't hope it'll magically sort itself out later.
Refold it now.
Those few extra seconds can save a lot of fiddling when it's time to finish the binding. A couple of binding clips at the corner will hold the fold while you reposition under the needle.
Remember,
Sometimes a ¼″ adjustment is all it takes to make something you're already doing look that much better.
Here's to flatter, sharper, happier corners.
Happy Quilting!
From Corey.
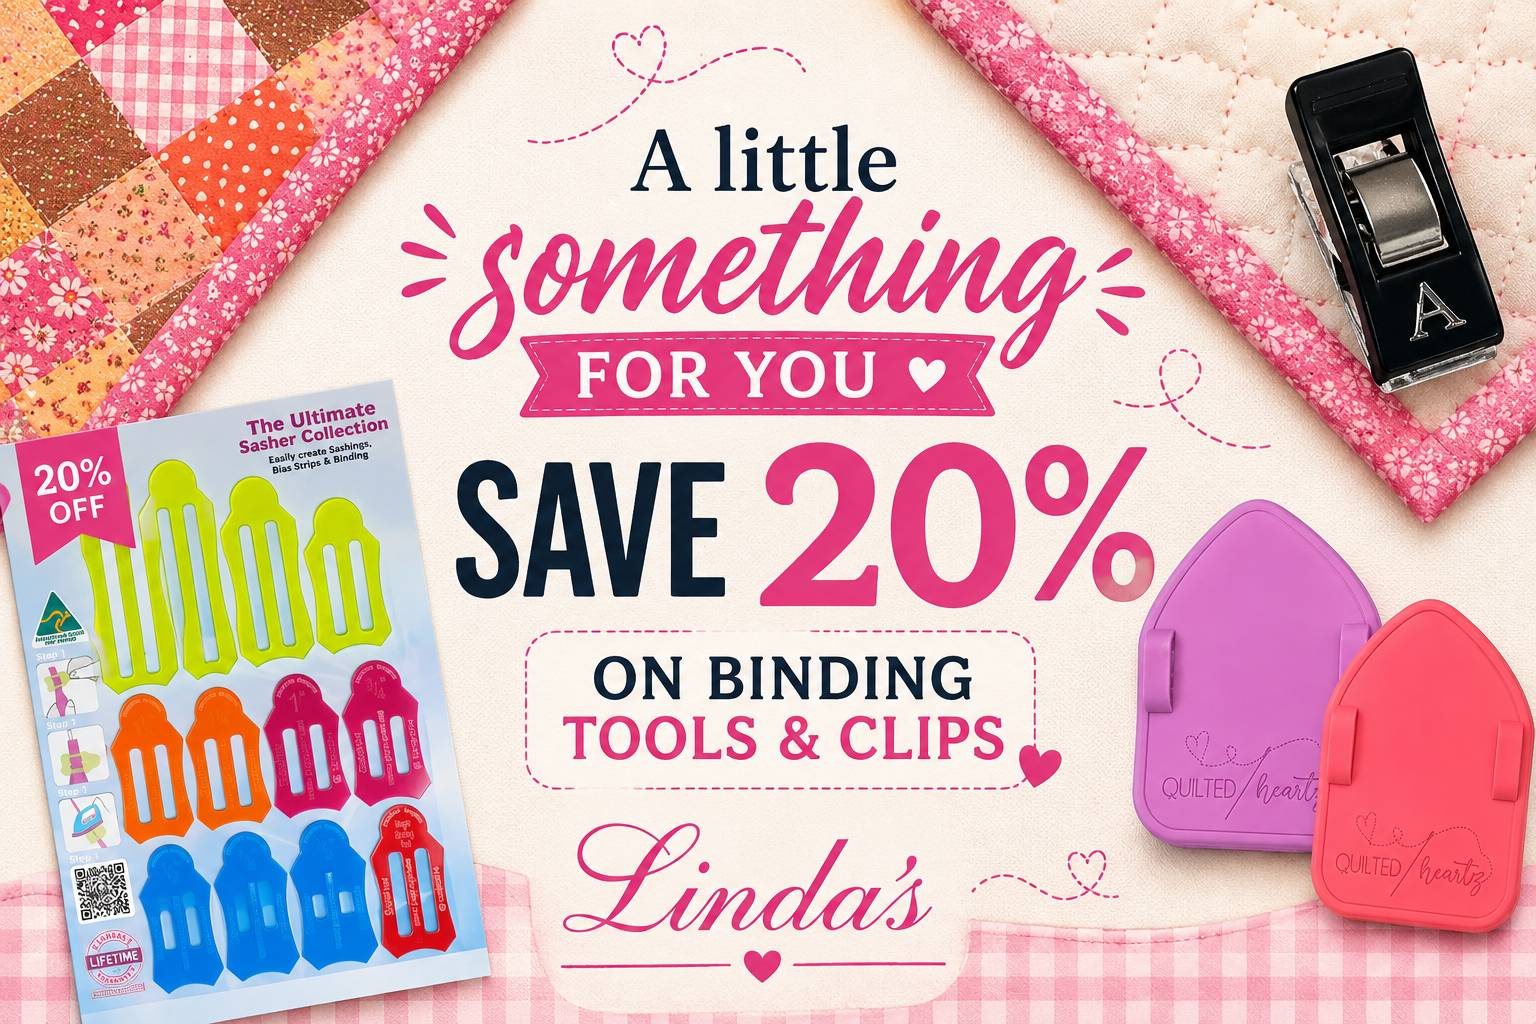
Want binding that folds like it was pressed by a pro? Browse quilt binding tools and clips at Linda's, including the Sasher Collection Ultimate Set of 12 and the Magic Binding Sasher for perfectly folded strips every time.
Frequently Asked Questions
Why do you stop stitching a quarter inch before the corner when binding a quilt?
Because the binding is attached with a ¼″ seam, stopping ¼″ from the edge puts the end of one seam exactly at the start of the next. That gives the strip room to fold up at a 45-degree angle and back down along the next side without stitches trapping the fold. Stitching all the way to the edge is the most common cause of a lumpy or rounded corner.
How do you fold a mitered corner on quilt binding?
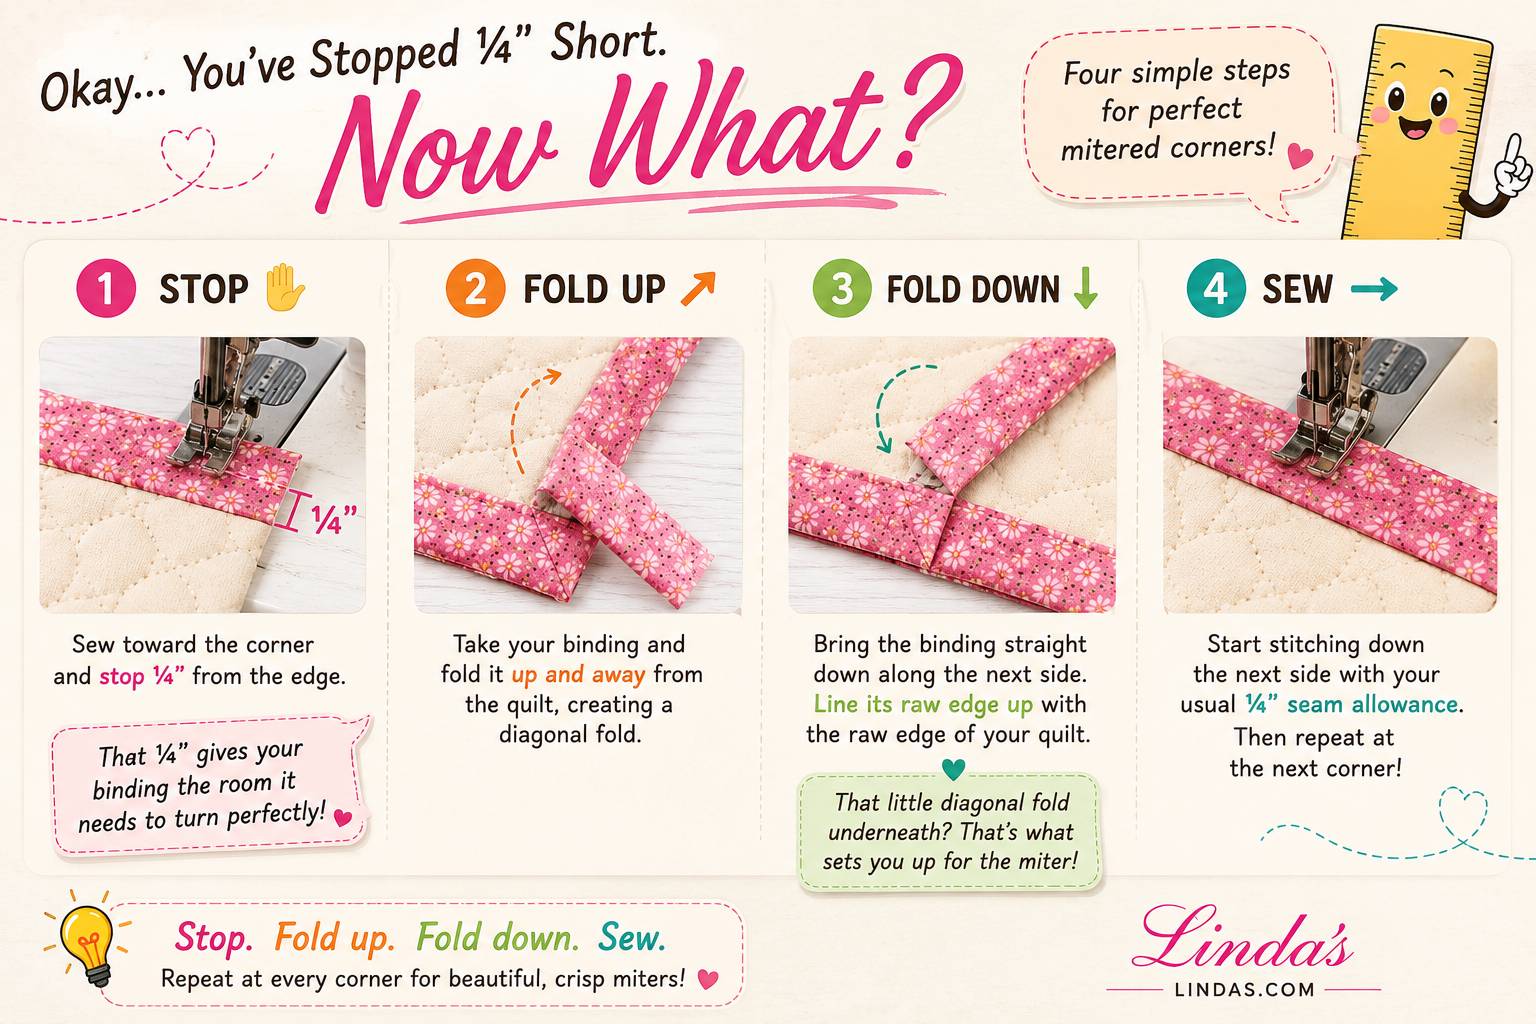
Stop ¼″ from the edge and backstitch a couple of stitches (more than that isn't needed, see are you backstitching more than you need to). Lift the presser foot, pull the quilt out slightly, and fold the binding strip straight up so it runs along the next edge, forming a 45-degree fold at the corner. Then fold it back down so the new fold sits even with the top edge and the raw edges line up on the next side. Start stitching again from the very top.
Why are my binding corners bulky even though I stopped a quarter inch short?
Check three things: the binding strip may be cut too wide for your seam allowance, the diagonal fold underneath may not be a true 45 degrees, or you may be starting the next side too far in from the edge. Our quilt binding size chart lists strip widths that match common seam allowances, and a binding sasher gives you a consistently pressed strip that folds cleaner.
How wide should quilt binding strips be?
Most quilters cut 2¼″ or 2½″ strips for a double-fold binding with a ¼″ seam. Narrower strips make a tighter, flatter corner; wider strips are easier to handle but leave more fabric to fold at the miter. See the binding size chart for strip widths and yardage, and stop guessing your quilt yardage for how to calculate what you need.
What tools make quilt binding easier?
A sasher or bias tape maker folds strips evenly before you press them, so the corners have uniform bulk. Binding clips hold the folded edge in place for hand or machine finishing. If you're working with a pre-folded blanket binding rather than a quilt binding, how to apply blanket binding like a pro covers that technique. Our Sasher Collection guide walks through the full tool set.


