
There's something truly special about making a baby quilt. It's one of the most heartfelt projects you can take on, and the best baby quilt patterns for beginners are built on simple shapes like squares and rectangles. Starting this way lets you learn the foundational skills without getting bogged down, making sure your first go at quilting is a happy one.
Your Journey into Making a Baby Quilt
So, you're ready to dive into the wonderful world of quilting! Creating a baby quilt is an incredible way to craft a keepsake that will be cherished for years—and it’s practical, too. This guide is designed to cut through the jargon and get you feeling confident and excited, not overwhelmed. We'll stick to simple, charming patterns and walk you through the essential tools you'll need—all of which you can find right here at Linda's—to get started.

The love for handmade baby items has never been stronger, and that personal touch you add makes any gift absolutely priceless. You're not just stitching together a blanket; you're becoming part of a huge, thriving community of creators.
Why Start with a Baby Quilt
If you're new to quilting, a baby quilt is the perfect first project. We recommend it to everyone starting out, for a few key reasons:
- Manageable Size: Forget wrestling with massive amounts of fabric. A baby quilt is small enough to be a quick, satisfying finish that builds your confidence right away.
- Skill Building: It’s the perfect practice ground. You'll learn all the core techniques—cutting, piecing, and binding—on a smaller, less intimidating scale.
- Creative Freedom: The smaller canvas is your playground! You can experiment with fun color palettes and fabric prints without committing to a king-sized project.
If you already have a vision for the baby's room, you're one step ahead. Checking out some stylish nursery theme ideas can be a huge source of inspiration for your fabric choices and quilt design, helping you create something that fits the space perfectly.
This project is so much more than just a craft; it's a first step. I can't tell you how many quilters I know—myself included—who started exactly where you are, making a quilt for a new arrival. It's a tradition that truly connects generations.
A baby quilt is a fantastic starting point. Once you've got this one under your belt, you’ll be ready to explore more complex designs. You can learn more about taking the next steps in our guide on essential quilt projects for every skill level.
The demand for these handmade treasures is real. The global baby quilt market was valued at around USD 2.3 billion back in 2022 and is only expected to grow. It just shows how much people value high-quality, personal baby items.
Ready to get started? Let's begin this creative journey and make something truly special. Here at Linda's, we have all the amazing fabrics and notions you'll need to bring your project to life.
How to Choose Your First Quilt Pattern
Picking a pattern is easily the most important decision you'll make for your first quilting adventure. Think of it as the roadmap for your baby quilt. The right one will gently build your skills and give you a huge confidence boost, but the wrong one can be a one-way ticket to frustration.
The goal here is simple: choose a design that teaches you the basics without making you want to pull your hair out.
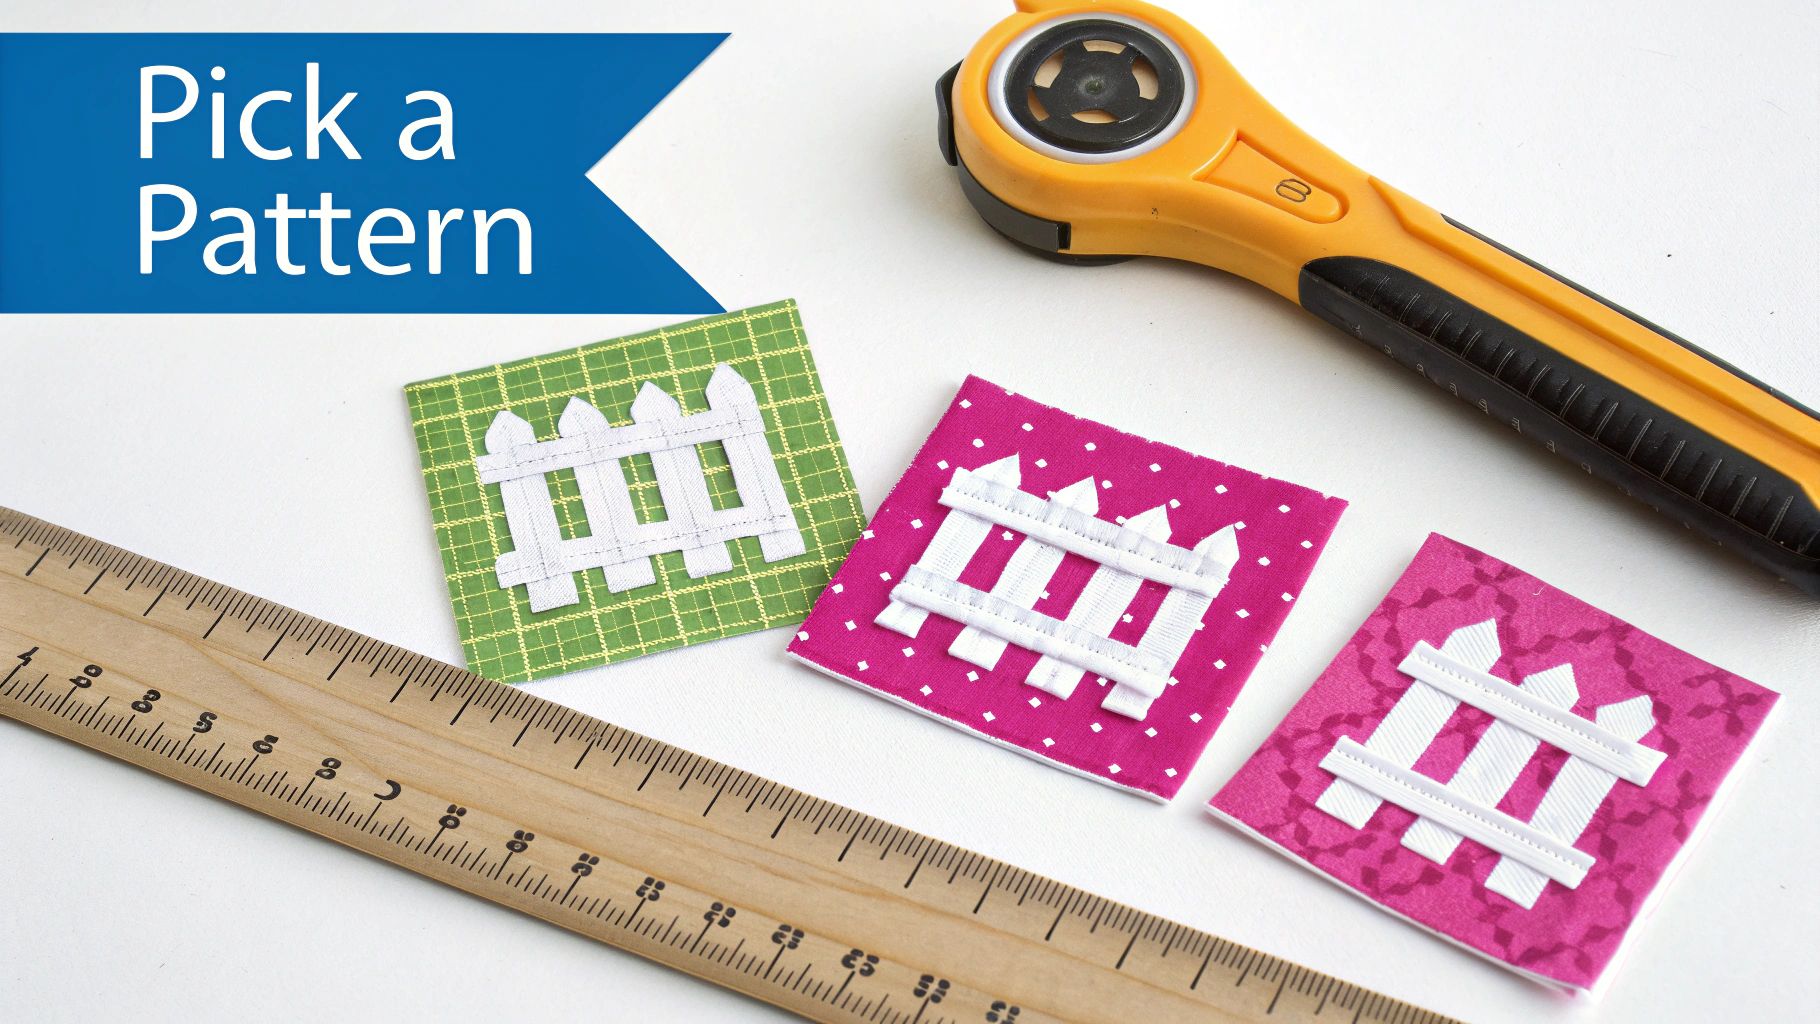
Many beginner-friendly baby quilt patterns are designed to be quick and satisfying wins. They almost always lean on simple shapes like squares and rectangles, which are a breeze to cut accurately and sew together.
This focus on the fundamentals lets you really nail the all-important 1/4-inch seam allowance. Mastering this is the secret sauce to making sure all your quilt pieces fit together like a perfect puzzle.
As you start looking at patterns, keep an eye on the finished size. Baby quilts are already a great manageable size, but you'll find even smaller "lap" or "stroller" quilts that come together even faster. Trust us, a quick finish is the best motivation to start your next project!
Patterns That Teach Core Skills
The best patterns for newcomers introduce just one or two core quilting techniques at a time. This way, you can really learn a new skill properly without getting overwhelmed by trying to juggle too many new things at once.
To help you get started, we've put together a quick comparison of some classic, beginner-friendly patterns. This table breaks down what skill you'll learn with each, the best fabrics to use, and how easy they are to tackle.
Beginner-Friendly Baby Quilt Pattern Comparison
| Pattern Name | Primary Skill Learned | Best For Fabric | Difficulty Level |
|---|---|---|---|
| Simple Squares (Patchwork) | Precise cutting & 1/4" seam | Large-scale prints, novelty fabrics | Very Easy |
| Rail Fence | Strip piecing & efficient cutting | Coordinating collections, stripes | Easy |
| Classic Nine Patch | Basic block construction | Scraps, fat quarters, solids | Easy |
| Disappearing Nine Patch | Creative block deconstruction | High-contrast prints, solids | Easy to Moderate |
These patterns aren't just great for learning; they also offer a ton of creative freedom. A simple Rail Fence can look traditional with soft pastels or completely modern and bold with high-contrast prints. It all comes down to the fabric you choose!
Finding Inspiration and Free Resources
Once you’ve got a handle on the basic pattern types, the real fun begins. You'll start to see how even a simple design can be transformed by your fabric choices.
Don’t be afraid to start simple. My very first quilt was a basic patchwork of squares, and the pure satisfaction of finishing it was what hooked me for life. You're building muscle memory with every single stitch.
A fantastic way to get started without a big investment is to explore the world of free baby quilt patterns for beginners. You can browse tons of designs and instruction styles to find one that just clicks with you.
For a hand-picked list of some truly great starter projects, check out our guide on easy quilt patterns for beginners available for free. It’s packed with options that are perfect for your first quilt.
Ready to find the perfect fabrics for your chosen pattern? The team at Linda's is here to help you pick out the perfect cotton prints, cozy batting, and durable thread to bring your beautiful baby quilt to life.
Gathering Your Quilting Tools and Fabric
Having the right tools in your corner can make all the difference. It’s what turns a project that feels a little intimidating into something truly fun and joyful. Before you even think about laying out that beautiful fabric, let's get your quilting toolkit assembled. This isn't about buying every shiny gadget in the store; it's about getting the core items that will give you accurate results with less frustration.
For any quilter, the absolute non-negotiable trio is a rotary cutter, a self-healing mat, and a clear acrylic ruler. We’re serious, this combination is the secret sauce for cutting perfectly straight lines and consistent shapes. It's the foundation of a beautiful quilt, and frankly, scissors just can't compete with that level of precision for this kind of work.
Your Essential Supply Checklist
Once you have the cutting basics handled, a few other items will make your first quilting project run so much more smoothly. Here’s a practical checklist of what you'll want to have on hand for your baby quilt:
- Rotary Cutter, Mat, and Ruler: This is your dream team for accurate cuts. A 45mm rotary cutter is a fantastic all-purpose size to start with.
- Quality Sewing Machine: Make sure it’s cleaned up, running well, and has a fresh needle. You'll thank yourself later.
- 100% Cotton Fabric: This really is the gold standard for quilting. It’s stable, presses like a dream, and is wonderfully soft against a baby's delicate skin.
- Cotton Batting: This is the cozy, warm layer tucked inside your quilt. Cotton is breathable and a natural, safe choice for a baby quilt.
- Durable Thread: A high-quality, 50-weight cotton thread is what you want for piecing your quilt top. It’s strong but won’t add bulk to your seams.
- Basic Notions: You'll need straight pins or quilting clips, a seam ripper (because nobody's perfect!), and a good iron.
Choosing the Perfect Fabric and Batting
Okay, now for the best part—the fabric! When you're making a baby quilt, 100% cotton is always, always the best choice. It holds its shape beautifully while you're sewing and, most importantly, it stands up to the endless washing that comes with anything made for a baby. You'll need fabric for the quilt top, the backing, and the binding that frames the whole thing.
Coordinating fabrics is where your personality really gets to shine. A great trick is to pick a "focus fabric" with a print you love, and then pull colors from it to choose your other solids or smaller-scale prints. Don't be afraid to play around and mix things up!
Figuring out just how much fabric you need can feel a bit like a math quiz at first. If you want a helpful walkthrough, you can learn more about how to calculate fabric yardage for your project in our detailed guide.
The fabric you choose tells the story of your quilt. A simple pattern can look completely different depending on whether you use soft pastels, bold primary colors, or modern geometric prints. Let your personality guide you!
When it comes to batting, a low-loft cotton or cotton-blend is ideal for a baby quilt. It gives you that lovely warmth and quilt-y feel without being too thick or bulky, making the quilt easy to handle and perfect for snuggling.
Ready to gather your supplies? At Linda's, we have a fantastic selection of high-quality fabrics, durable threads, and all the essential tools you need. Stop by and let us help you find the perfect materials to bring your beautiful project to life.
Bringing Your Quilt Top to Life
This is the part we live for—the moment your vision starts becoming a reality. Watching a neat stack of fabric transform into a quilt top is pure magic, and it all starts with one of the most important (and sometimes overlooked) steps: cutting.
Don't rush this part. Accuracy here isn't just a suggestion; it's the very foundation of your quilt. A tiny slip of the rotary cutter can throw off a whole block, and those little errors really add up. Take your time, measure twice, and you'll thank yourself later when everything fits together like a dream.
Perfecting Your Piecing Technique
With your fabric cut, the real fun begins. As you start piecing your blocks, you'll finally see that beautiful pattern you chose start to take shape. The one skill you need to get comfortable with right away is a consistent 1/4-inch seam allowance.
That tiny quarter-inch seam is what makes a quilt lie flat and look polished. Most modern machines have a special foot or guide marks to help you out, but we always recommend sewing a few practice seams on scrap fabric first. Actually measure them with a ruler. Nailing that perfect quarter-inch is a total game-changer for new quilters.
Another crucial habit is pressing your seams as you go. It might feel like a tedious extra step, but trust us, it makes a huge difference. Proper pressing reduces bulk where your points meet, which is key for a smooth finish. The golden rule? Press your seams toward the darker fabric so it doesn't peek through the lighter side.
This handy infographic breaks down the essential tools that make all this prep work a breeze.
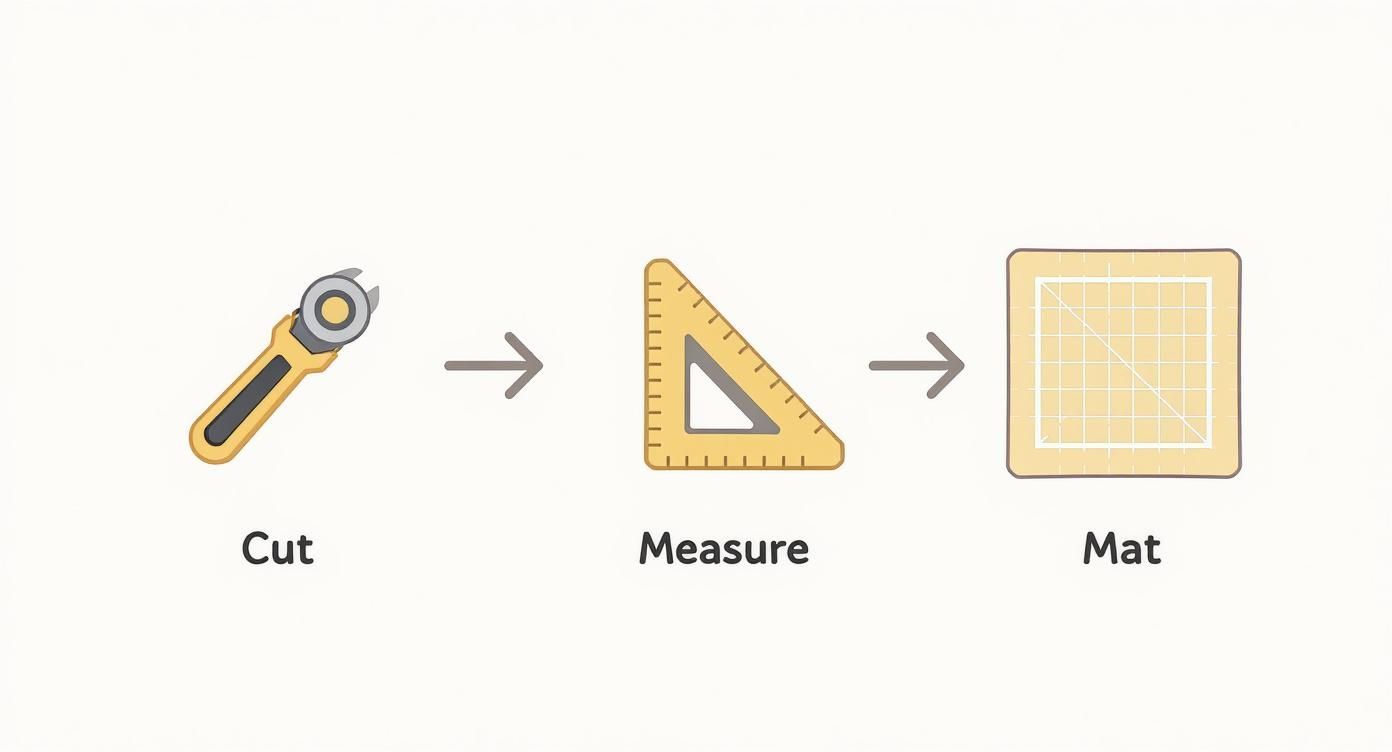
You can see how the rotary cutter, ruler, and mat work together. It’s a simple system that sets you up for success before you even sit down at your sewing machine.
Assembling Your Quilt Top Blocks
Once you've sewn all your individual blocks, it's time to arrange them. Find a big, open space—the floor works great, or a design wall if you have one—and lay everything out. This is your chance to be the artist! Move blocks around, swap them, and find a layout that makes you happy. We always like to step back a few feet to get the big picture and check the color balance.
When you've settled on a final design, you’ll sew the blocks together into rows. The next trick is to press the seams of each row in alternating directions. So, press all the seams in row one to the right, row two to the left, row three to the right, and so on.
Why do this? This little trick helps your seams "nest" together perfectly when you join the rows. The seams lock into place, which makes it so much easier to get those crisp, matching points for a beautiful, grid-like finish.
As for size, a popular finished dimension for a baby quilt is around 33 inches wide by 38 inches long. To hit that mark, you'll probably use four coordinating fabrics—plan on getting about a half to three-quarters of a yard of each. Don't forget you'll also need backing fabric and some fluffy batting to give it that cozy feel.
If you’re ready to take your precision to the next level, exploring different tools can open up a new world of possibilities. You can learn more about how specialized equipment can elevate your work in our guide on using ruler quilting templates for accurate designs.
After joining your rows, give the entire quilt top one final, gentle press. And remember, all the notions, threads, and high-quality rulers you need to create a masterpiece are right here waiting for you at Linda's.
Assembling and Finishing Your Quilt
Your beautiful quilt top is officially done! Now comes the really magical part—transforming it from a flat piece of fabric into a soft, cuddly treasure. This is where we bring all three layers together: your pieced top, the soft batting in the middle, and the backing fabric.
Getting this stage right is what gives a quilt that professional, polished look.
The final assembly can feel a little intimidating at first, but we promise, with a few simple tricks you’ll sidestep any frustrating wrinkles or puckers. Let's walk through it together.
Making the Perfect Quilt Sandwich
The term "quilt sandwich" is a pretty perfect description of what we're about to make. It’s all about layering your materials carefully before you start the actual quilting.
First, find a clean, flat surface—the floor works great for this. Lay your backing fabric down, wrong side facing up. A great tip is to use painter's tape to secure the corners and edges to the floor, pulling it taut but not so tight that you stretch the fabric.
Next, center your batting on top of the backing, smoothing out any lumps or bumps. Finally, place your finished quilt top, right side up, over the batting. Take a moment to make sure everything is flat and centered just right.
Now, you need to baste it. Basting is just a temporary way to hold the layers together while you quilt. You've got a couple of good options:
- Pin Basting: This is the classic method. Use special curved safety pins made for quilting and place one every 4-5 inches across the entire quilt.
- Spray Basting: If you want to speed things up, a temporary adhesive spray works wonders. Just be sure to use it in a well-ventilated area.
Quilting Your Layers Together
With your sandwich securely basted, it's time to do the actual quilting! For beginners, you can't go wrong with simple straight-line quilting. It’s a fantastic, modern-looking option that’s easy to master.
We highly recommend using a walking foot on your sewing machine for this part. It helps feed all three layers through evenly, which is the secret to preventing shifting and puckering.
A great place to start is to "stitch in the ditch," which just means sewing right along the existing seam lines of your pieced top. This cleverly hides your quilting stitches while securing the layers perfectly. As you get more comfortable, you can add more lines parallel to the seams for a denser, more textured feel. The thread you choose also makes a huge difference, so check out our guide on finding the best thread for quilting your masterpiece.
This is where your quilt truly comes to life. The quilting stitches add that beautiful texture and dimension, turning your flat quilt top into a plush, tactile blanket. Don’t worry about perfection; just focus on finding a good rhythm and enjoy the process.
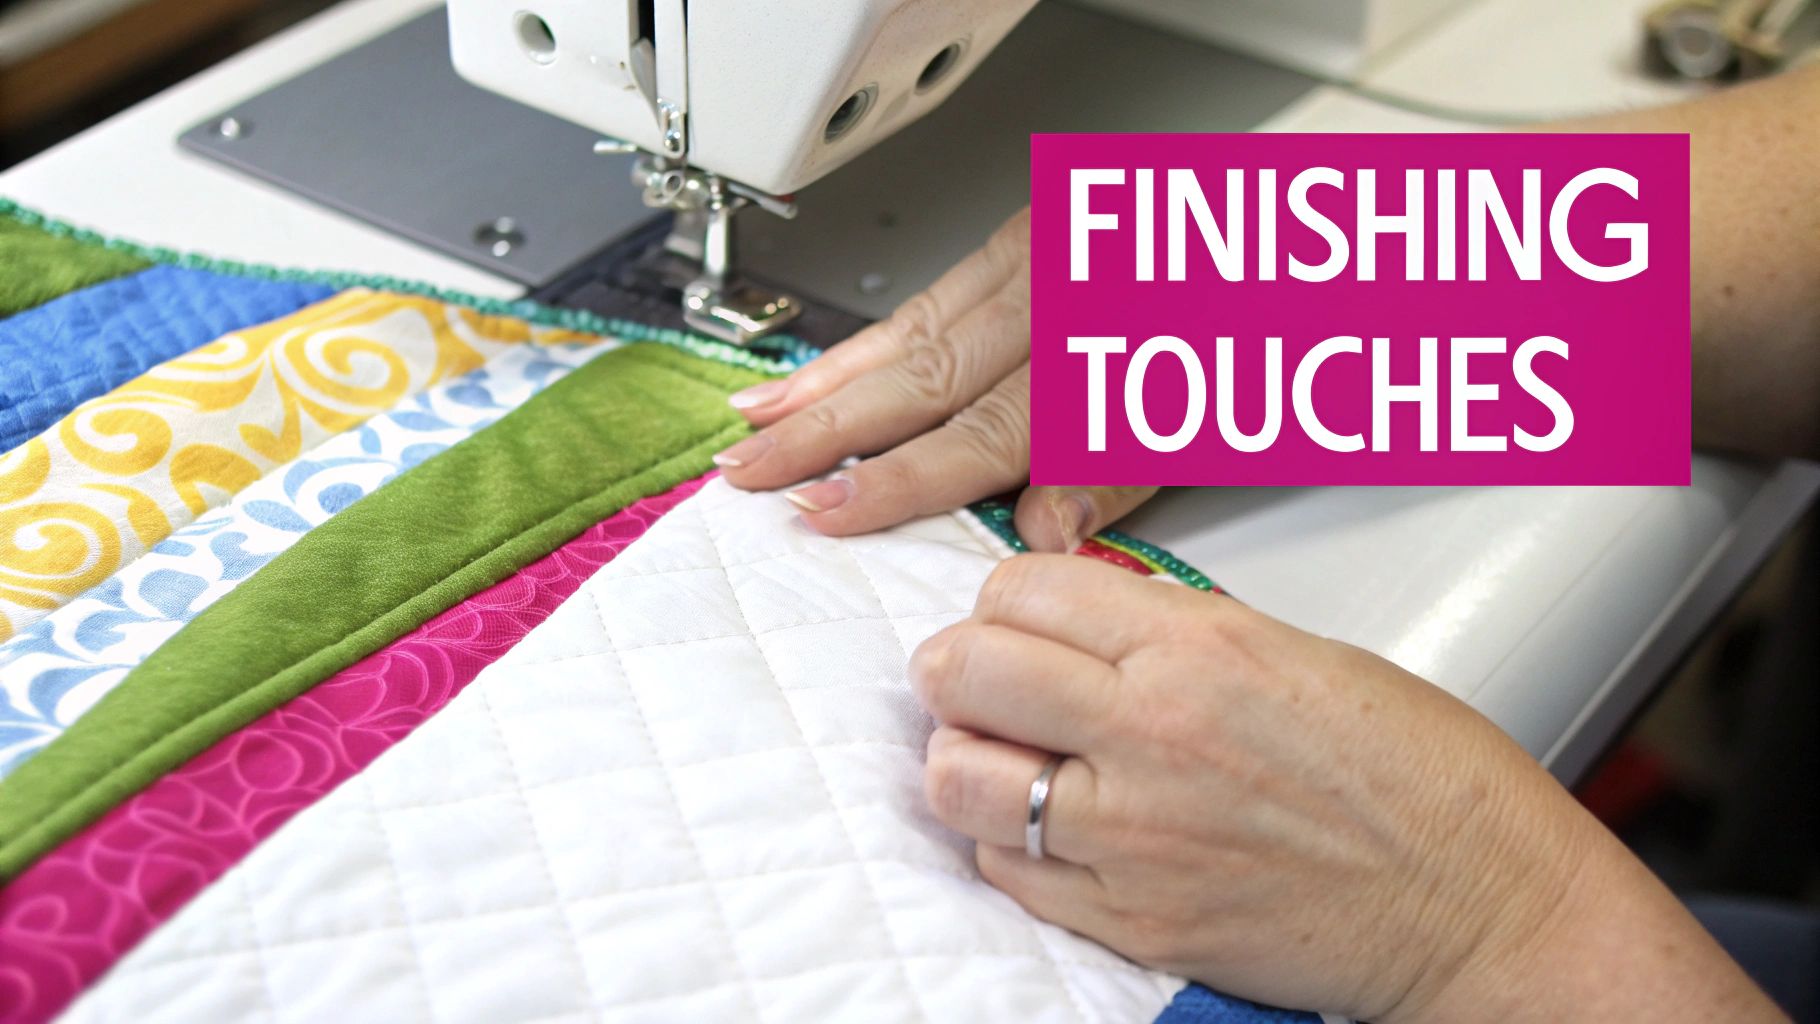
Adding the Finishing Touch: Binding
We're on the home stretch! The final step is to add the binding—a fabric border that encases the raw edges of your quilt for a clean, durable finish.
You’ll create long strips of fabric, typically cut 2.5 inches wide, join them together to make one continuous piece, and then press the whole thing in half lengthwise.
This folded strip gets sewn to the front of the quilt, then wrapped around the raw edge to the back and stitched down securely. Whether you finish it by machine or with a neat hand stitch is up to you. A well-attached binding is the perfect frame for your beautiful work.
Finishing your first baby quilt is a huge accomplishment! For the perfect backing fabric and coziest batting to give your project that professional finish, be sure to explore the amazing collection at Linda's.
Common Beginner Quilting Questions
When you’re just starting out with baby quilt patterns for beginners, it’s only natural to have a few questions pop up. We’ve all been there! Getting those nagging uncertainties out of the way can help you stitch with a lot more confidence. Let's tackle some of the most common questions we hear from new quilters.
One of the first things people ask is, "Do I really need to prewash my fabric?" While you'll find seasoned quilters on both sides of this debate, for a baby quilt, we always recommend it. Prewashing shrinks your fabric before you cut into it, which is a lifesaver for preventing puckering down the road. It also washes away any leftover chemicals from the manufacturing process, making sure the quilt is perfectly soft and safe for a little one's delicate skin.
Navigating Common Quilting Hurdles
Another biggie is that dreaded quarter-inch seam. "How perfect does my ¼-inch seam allowance need to be?" Honestly? It's very critical. That consistent seam is what makes all your pieces fit together like a perfect puzzle and ensures your quilt top lays beautifully flat. Don't stress, though—most sewing machines come with a special foot or a guide to make this much, much easier.
So what do you do when your seams start getting bulky where several points meet? We get this question all the time.
- Make pressing your best friend: Seriously, press your seams as you go. A great trick is to press seams in opposite directions for rows that will be sewn together. This allows them to "nest" snugly, which dramatically cuts down on the bulk.
- Clip those "dog ears": When you sew pieces with diagonal seams (like half-square triangles), you’ll notice little fabric triangles hanging off the corners. Snipping off these "dog ears" cleans everything up and helps your blocks line up more accurately.
Here's something every quilter needs to hear: your first quilt is for learning, not for perfection. We all own a seam ripper for a reason! Just enjoy the process. Every stitch you make is one step closer to your next amazing project.
From First Stitch to Final Care
Finally, once the last stitch is in, quilters often ask, "What's the best way to wash a handmade baby quilt?" You’ll want to treat it with a little TLC. Always use a gentle cycle with cold water and a mild detergent. You can tumble dry on the lowest heat setting, but if you want it to last a lifetime, laying it flat to air dry is the gold standard.
Diving into one of the many free baby quilt patterns for beginners is such a rewarding way to get hooked on quilting. They're designed to be finished quickly, giving you that amazing "I made this!" feeling that will have you excited to start the next one.
Ready to get started? Linda's Electric Quilters has every high-quality tool, cozy fabric, and durable thread you could ever need. We've got your back! Check out our incredible selection and find everything to bring your baby quilt to life at https://lindas.com.


