
If you're just starting out, the best quilting patterns use simple shapes like squares and rectangles to create a block you can repeat. It's the secret to making something beautiful without getting overwhelmed.
The Four Patch block is the perfect example. It's made of just four squares sewn together, making it arguably the most fundamental and beginner-friendly pattern you can learn. Completing this project will not only give you a beautiful finished piece but also the core skills for every quilt you'll make in the future.
Starting Your Quilting Journey with Confidence
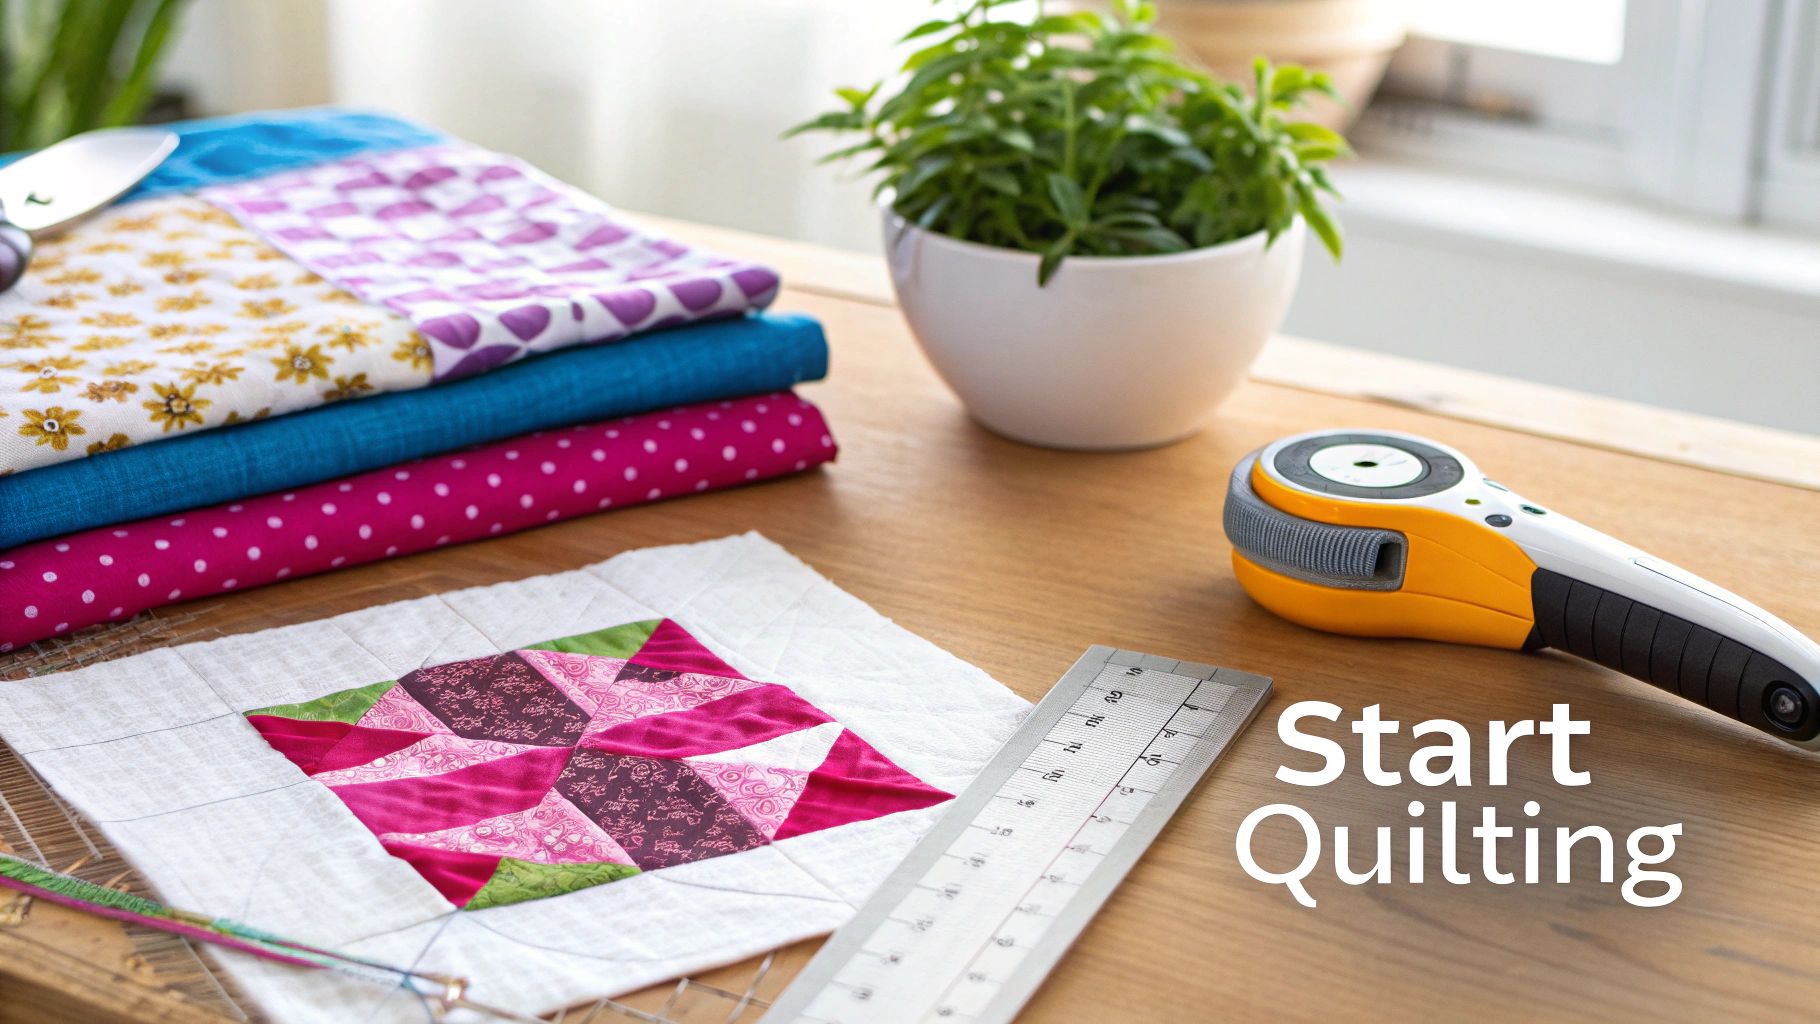
Ready to dive into the wonderfully creative world of quilting? This guide is here to walk you through your very first project, ensuring it’s a fun and successful educational experience. We're going to build a "Four Patch" block, a true classic that teaches you the core skills from the get-go.
Starting with a simple design is the best way to build a solid foundation. You get to really focus on the essentials: cutting accurately, sewing a consistent seam, and pressing properly. The Four Patch is the perfect practice ground for these skills, and once you get it down, you'll be ready to tackle more complex projects with confidence.
The Power of a Simple Block
Don't let the simplicity of the Four Patch fool you—the magic happens when you start putting the blocks together.
By playing with color placement or just rotating the blocks, you can create some truly stunning, dynamic designs that look far more intricate than they really are. It’s an amazing way to learn the basics of quilt layout and design without the headache.
Quilting history is built on these foundational patterns. You can see how simple blocks were adapted across cultures and time. For instance, the Amish community in the 19th century developed their own distinct, bold patterns that became popular across the country. Designs like the Log Cabin and Lone Star became instant icons, proving just how much beauty you can create from basic shapes.
The beauty of quilting is that you can make something comforting and visually stunning from simple squares. A quilt is like a hug, giving comfort far beyond just its warmth.
This guide will give you a stress-free introduction to your first quilting adventure. We'll also cover the key supplies you’ll want to have on hand before you begin.
If you're looking for more ideas, you can always explore other easy quilt patterns for beginners right here on our blog. And when you’re ready to pick the perfect colors for your first quilt, check out the gorgeous fabrics at Linda's to give your project that premium finish it deserves.
Gathering Your Essential Quilting Tools
Before you even think about slicing into that beautiful fabric, let's talk tools. Having the right gear on hand is what turns a potentially frustrating project into a truly joyful one. It's the secret to getting those crisp, accurate results that make a quilt sing.
Think of it this way: a sharp rotary cutter, a good self-healing mat, and a clear acrylic ruler are the dream team of quilting. This trio is your ticket to perfectly straight cuts, which lead to sharp points and even seams—the hallmarks of a quilt you can be proud of. Trust me, trying to get by with wobbly scissor cuts will only lead to headaches and mismatched blocks down the road.
Don't Skimp on the Basics
Your choice of fabric and thread is just as critical as your cutting tools. If you're just starting out, stick with 100% quilting cotton. It behaves beautifully—it’s stable, doesn't stretch all over the place, and presses to a perfect, crisp crease. That crispness is exactly what you need for accurate piecing.
And don't forget your iron! A good steam iron is your best friend for setting seams as you go. Pressing your seams correctly keeps your blocks from getting distorted and helps everything lie nice and flat for the final assembly. It makes a huge difference.
To make it easy, here's a quick checklist of the must-haves for this project.
Essential Supplies For Your First Quilt
| Tool/Material | Recommended Specification | Why It's Important |
|---|---|---|
| Rotary Cutter & Mat | 45mm cutter with a fresh blade & an 18" x 24" self-healing mat. | This combo delivers clean, precise cuts that scissors can't match, ensuring your fabric pieces are the exact size you need. |
| Acrylic Rulers | A long 6" x 24" ruler and a smaller square-up ruler (like 6.5"). | The long ruler is perfect for cutting strips from your yardage, while the square is invaluable for trimming your finished blocks accurately. |
| Quilting Fabric | 100% cotton from a reputable brand. | High-quality cotton frays less, holds its shape, and stands up to the stress of sewing, pressing, and washing. |
| Cotton Thread | 50-weight cotton thread in a neutral color like gray or cream. | A neutral 50wt thread is strong enough for piecing but fine enough to not add bulk to your seams. It will blend into almost any fabric. |
Getting the right thread can be a bit overwhelming with all the options out there. We break it all down in our guide to choosing the best thread for quilting if you want to dive deeper.
If there's one tip I can give you, it's this: don't struggle with a dull rotary blade. A fresh blade should glide through the fabric like butter. If you're snagging or having to press hard, it’s time for a new one. Change it more often than you think you need to!
If you're looking for a simple way to get started, you can find curated beginner quilting kits and all the high-quality tools you'll need right here in Linda's shop. We have everything you need to successfully complete this project and many more to come.
Cutting and Piecing Your First Quilt Blocks
Alright, this is where the magic really starts—turning that gorgeous stack of fabric into the building blocks of your quilt. A classic Four Patch block is perfect for getting the hang of things. We're going to cut strips, slice them into squares, and stitch them together into a beautiful, finished block. It’s a process that I find incredibly rhythmic and satisfying.
Let's be honest: a great quilt block begins with great cuts. Taking your time here will save you so much frustration down the road. The fastest, most accurate way to do this is by cutting your fabric into long strips first, then sub-cutting those strips into squares.
From Fabric to Four Patch
Get your fabric laid out nice and flat on your self-healing mat. Grab your long 6" x 24" acrylic ruler and rotary cutter, and slice several 2.5-inch wide strips from two fabrics with good contrast—a light and a dark usually works perfectly.
With your strips ready, it's time to sub-cut. This is my favorite part! Lay one light strip right on top of a dark strip, making sure those long edges are lined up perfectly. Now, use your ruler to slice through both layers at 2.5-inch intervals. Just like that, you've got a neat little stack of perfect 2.5-inch light and dark squares, ready to go. If you're scratching your head about how much fabric you need to start with, take a peek at our guide on how to calculate fabric yardage.
The absolute key to getting those points to match up beautifully is a consistent quarter-inch seam allowance. Most modern machines have a special foot just for this, but a little piece of painter's tape on your machine bed works just as well. Don't stress about perfection; consistency is what truly matters!
Now, take one light square and one dark square, place them with their right sides facing each other, and sew along one edge with that trusty quarter-inch seam. Do the exact same thing again to create a second pair. You should now have two little two-square units.
The workflow is beautifully simple when you break it down.
This simple flow—fabric, cut, press—is the bedrock of practically every quilt block you'll ever make.
Assembling the Final Block
Pressing isn't just about getting wrinkles out; it's a crucial part of the construction. On one of your two-square units, press the seam allowance toward the dark fabric. On the second unit, do the opposite and press it toward the light fabric. This little trick is what allows your seams to "nest" together.
Place your two units right sides together. As you line up that center seam, you should feel the two seams lock into each other—it's such a satisfying little click! Pin them in place right at that join and sew the final seam that brings it all together into a finished Four Patch block. I like to press this last seam open to help the block lay nice and flat.
To get the best results, you need supplies that feel good in your hands and do their job well. Browse the amazing fabrics, threads, and notions we have here at Linda's to make sure your next project is a joy from start to finish.
Assembling Your Quilt Top Layout
Alright, you've got a gorgeous stack of Four Patch blocks sitting in front of you. This is the fun part—where you get to be the artist and arrange them into a design that’s uniquely yours.
Before you even think about touching your sewing machine, find a big, flat space to work. I always use a clean patch of floor or a design wall so I can lay out every single block. This gives you a chance to step back and really see how the colors and patterns are playing together. Start turning the blocks around. You'll be amazed how rotating a few squares can create a classic checkerboard effect or some really cool diagonal lines.
Creating Rows and Joining Them
Found a layout that makes you happy? Great! Now it's time to start stitching those blocks into rows.
Grab the blocks for your first row in order, stacking them with the first two right on top. Sew them together, then add the next block in the line, and keep going until the whole row is assembled. Do this for all of your rows.
Here’s a pro tip that makes a world of difference: press the seams of each row in alternating directions. So, for Row 1, press all the seams to the right. For Row 2, press them all to the left. Then Row 3 goes to the right, and so on. This one little trick is the secret to getting those perfectly matched points.
When your seams are pressed in opposite directions, they "nest" or lock together when you join the rows. It’s so satisfying! This is how you get those crisp, sharp points where four corners meet—the true sign of a quilt made with care.
Once your rows are pieced and pressed, lay Row 1 on top of Row 2, right sides together. As you line them up, you'll literally feel those nested seams click into place. Pin at each intersection to keep things from sliding around, then sew them together with a consistent quarter-inch seam. Keep adding rows this way until your quilt top is complete! If things start to look a little wonky, don't panic. Our guide on what to do if your quilt top is not square has some fantastic troubleshooting advice.
Elevating Your Design with Sashing and Borders
Feeling like your quilt top needs a little something extra? This is where sashing and borders come in.
Sashing is simply fabric strips sewn between your blocks. It's a great way to frame each block individually and give the overall design some breathing room. Borders are the final frame for your entire quilt top, added around the outer edge. Both are fantastic for adding a pop of color, increasing the final size, and giving your quilt a finished look.
Choosing fabrics for these elements is a lot easier after understanding basic color theory principles. And when you're ready to find that perfect finishing touch, check out the amazing selection of coordinating fabrics at Linda's—you're sure to find exactly what you need to complete your masterpiece.
Finishing Your Quilt for a Professional Look
This is my favorite part! The final steps are where your pieced blocks truly become a cozy, huggable treasure. It all starts with making the "quilt sandwich," which is just a fancy term for layering your three key components.
First, find a large, flat surface and lay down your backing fabric, wrong side up. Next, smooth your batting over the top of it. Finally, lay your perfectly pieced quilt top over the batting, right side up. The goal here is to get all three layers as smooth and wrinkle-free as you possibly can.
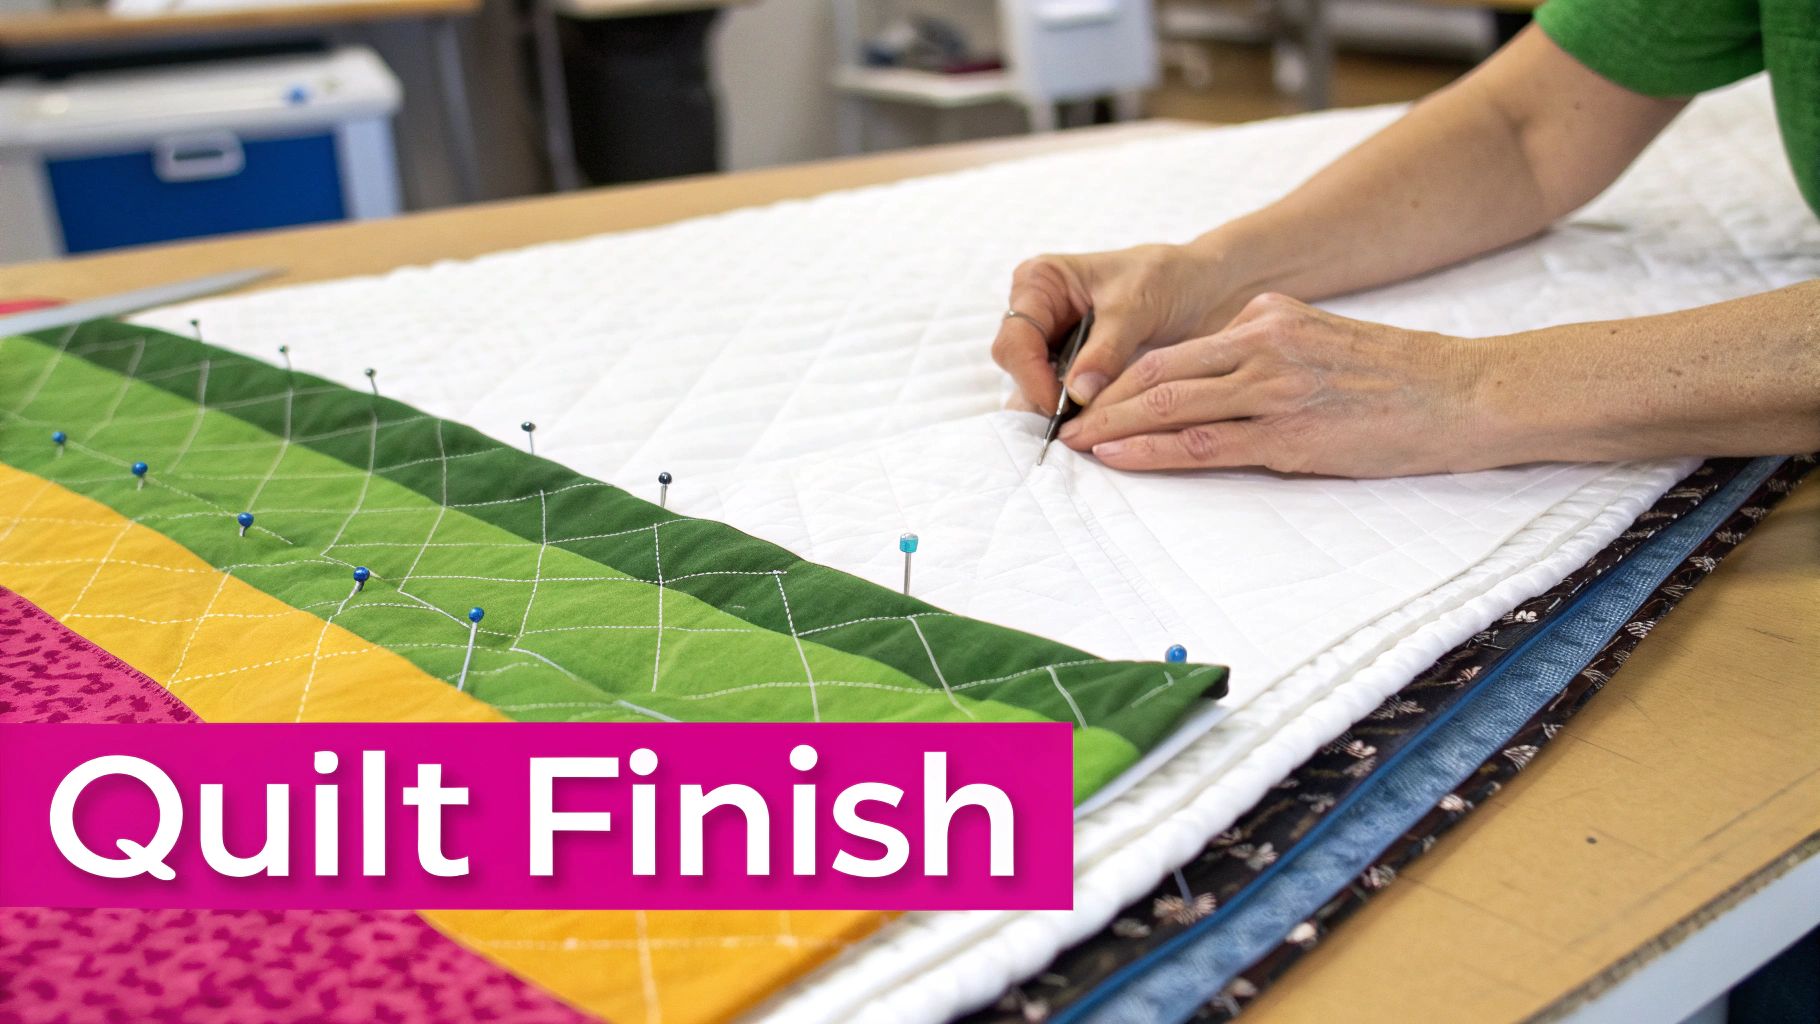
Securing Your Layers
To keep everything from shifting while you quilt, you’ll need to baste the layers together. Think of basting as a temporary hold that keeps your quilt sandwich from falling apart while you add the stitching that makes it a quilt.
You’ve got a couple of great options for this:
- Pin Basting: This is the classic method. Use those special curved safety pins made for quilting and place one every 4-5 inches across the entire quilt.
- Spray Basting: If you're short on time, a temporary adhesive spray can hold the layers together without any pins. Just be sure to do this in a well-ventilated area—the fumes can be strong!
My number one tip for this stage: make sure your backing and batting are at least 4-6 inches larger on all sides than your quilt top. This extra fabric gives you plenty of wiggle room and prevents the layers from pulling apart and misaligning as you quilt.
Once your layers are secure, you can finally start quilting! For a simple and classic look, you can't go wrong with straight lines on your home sewing machine. A great place to start is "stitching in the ditch," which means sewing directly in the seam lines of your blocks. You could also quilt straight lines diagonally across your quilt for a timeless diamond pattern.
The final touch is the binding. This is a strip of fabric that neatly encases the raw edges, giving your project a durable and polished finish. Think of it as the frame for your beautiful artwork.
Of course, the right materials make all the difference. For a deeper dive, check out our post on quilting batting choices for the passionate quilter. And when you need high-quality batting, gorgeous backing fabrics, and coordinating threads to give your project that premium look it deserves, come see us at Linda's. We have an amazing selection waiting to help you finish your project.
Questions Every New Quilter Asks
No matter how simple a pattern looks, you're going to have questions as you start your first quilt. It happens to everyone! Think of it as part of the process—turning those little snags into "aha!" moments is what makes you a quilter.
One of the biggest debates you'll hear is whether you really need to pre-wash your fabric. For your first project, I'm going to say yes, absolutely. It's a great habit to get into. Pre-washing gets rid of factory chemicals, handles any shrinking before you sew, and shows you if any colors are going to bleed—which is a lifesaver with those gorgeous reds and deep blues. A quick wash now can prevent a wonky, discolored quilt later.
Getting Your Points to Meet Perfectly
Another thing that drives beginners crazy is getting those block points to match up. We've all been there! When your points aren't meeting, it almost always comes down to one of three culprits:
- Your fabric pieces weren't cut accurately from the get-go.
- Your quarter-inch seam allowance is a little wobbly.
- You're pressing your seams in the wrong direction.
Honestly, the biggest game-changer is locking in that consistent seam allowance. If you have a quarter-inch foot for your machine, now is the time to use it. It makes a world of difference.
The secret trick for razor-sharp points? "Nesting" your seams. When you press the seams of the pieces you're about to join in opposite directions, they sort of lock into place against each other. It's like a perfect little puzzle, giving you a flawless intersection every time.
And for your very first quilt, do yourself a huge favor and stick with 100% quilting cotton. It behaves beautifully, presses like a dream, and is way more forgiving than other fabrics. You'll have a much better time, I promise.
Ready to dive in? You can get all the best fabrics, notions, and tools to get started at Linda's Electric Quilters. Find everything you need to bring your first project to life at https://lindas.com.


