
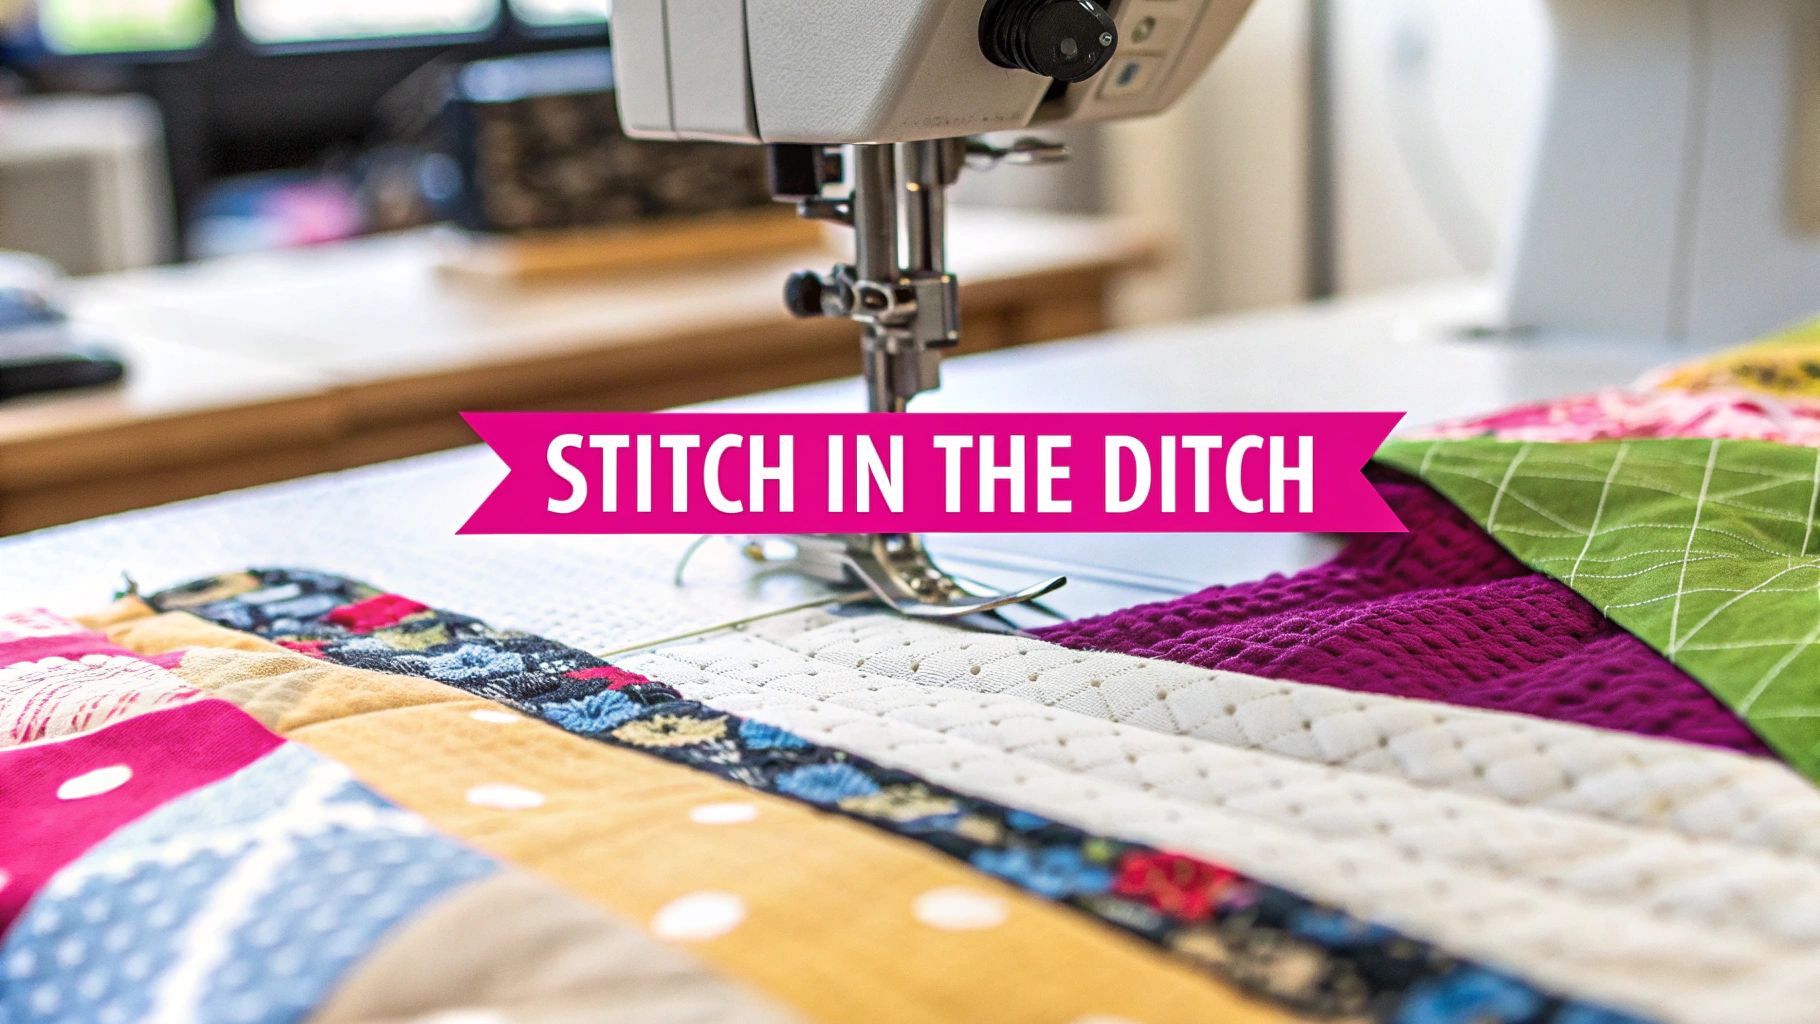
Ever heard the term "stitch in the ditch" and wondered what it's all about? Think of it as the secret agent of quilting stitches. It’s a technique where you sew directly into the seam line—the "ditch"—to invisibly anchor your quilt layers together. It’s like the hidden framework of a house; you don't see it, but it’s essential for holding everything together.
This clever method gives your quilt a crisp, professional finish, letting your beautiful pieced blocks be the main attraction. At Linda's, we believe that mastering foundational skills like this is the key to creating projects you'll love for years to come.
What Is Stitch in the Ditch Quilting
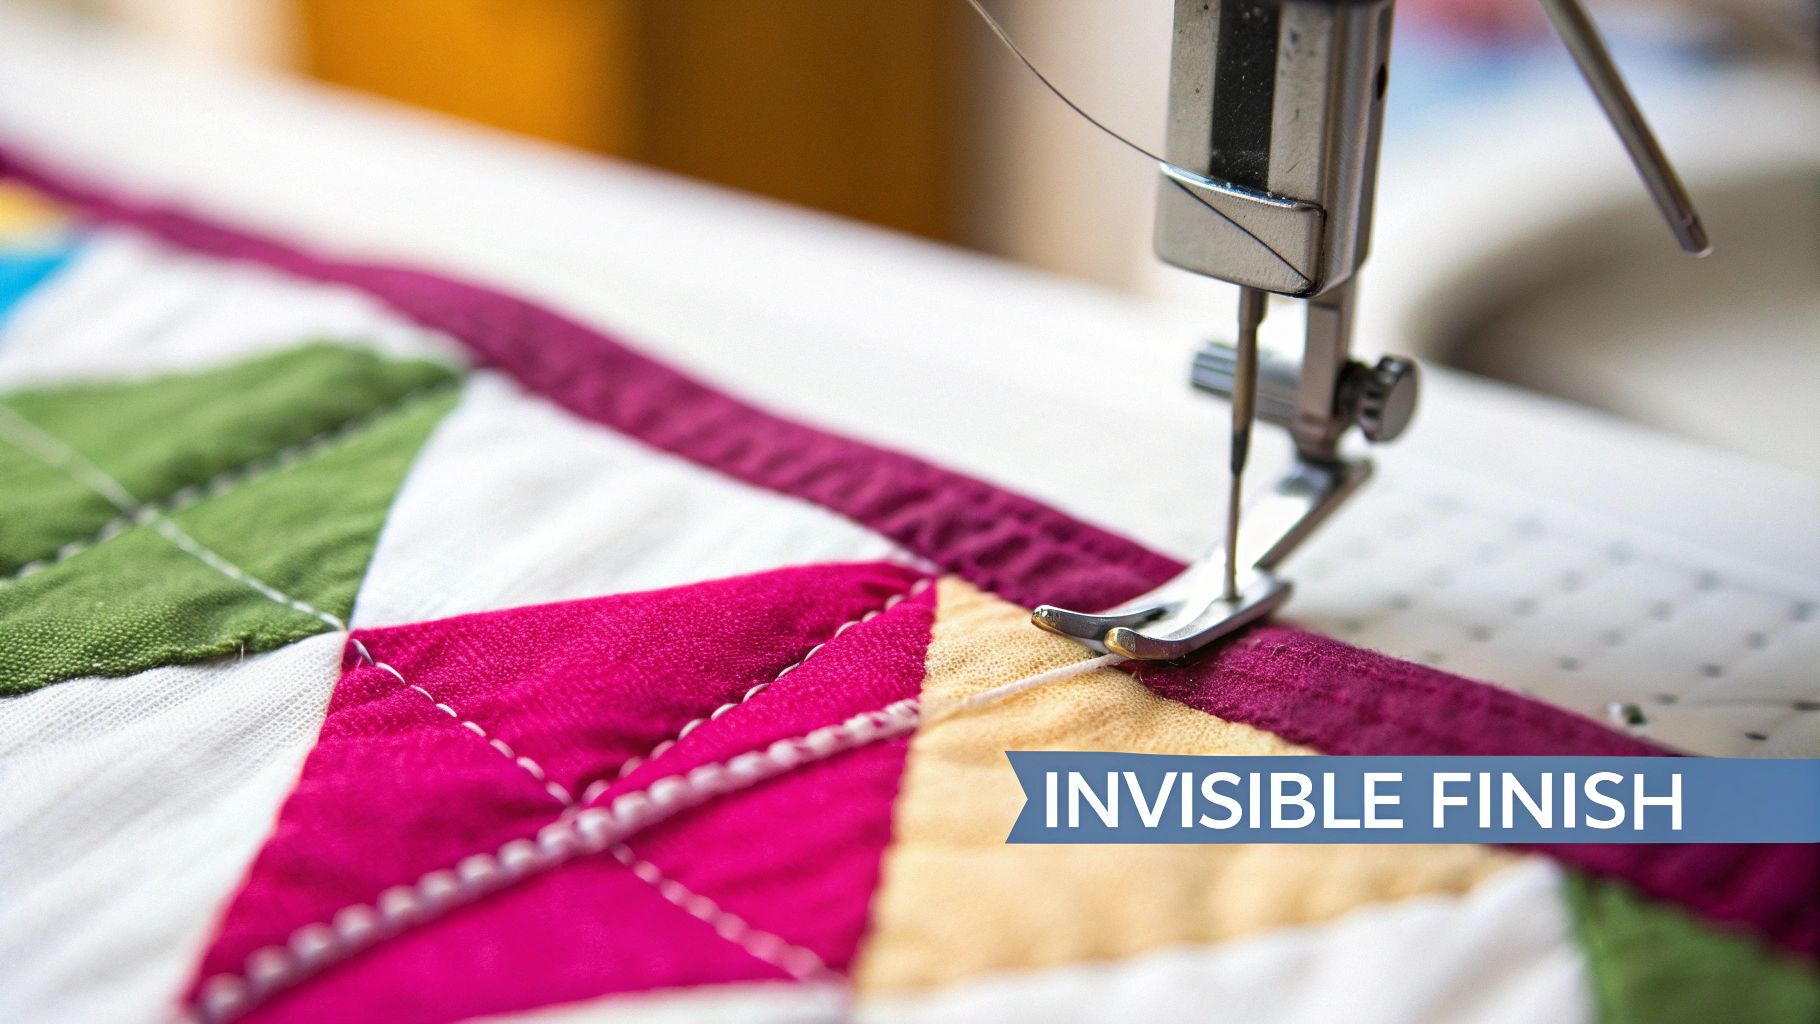
At its heart, stitch in the ditch is all about precision. You’re guiding your sewing machine needle right into that little valley where two fabric pieces join. This one simple move is a powerhouse, tacking down the quilt top, batting, and backing without adding any distracting stitch lines to your blocks.
Let’s say you just spent weeks creating a stunning, intricate quilt top. The very last thing you want is for your quilting stitches to steal the show. When you sew "in the ditch," the thread sinks right down between the fabrics, becoming nearly invisible from the front. The result? Your layers are perfectly secured, and the shapes of your patchwork are beautifully defined, making each block pop.
The Purpose of This Technique
The main reason we love stitch in the ditch is for the stability and definition it brings to a quilt. It’s often the very first quilting step I take, especially on a big project. It locks down the entire quilt sandwich so nothing can shift around when I move on to more decorative free-motion quilting.
Here’s why it’s such a go-to technique:
- It's Invisible: The stitches get tucked away in the seams, so your fabric choices and piecing work can really shine.
- It Adds Structure: Stitching along the seam lines outlines your blocks, giving the whole quilt a clean, tidy look.
- It Creates Stability: It stops the layers from wiggling around during quilting or later when the quilt is being used and washed.
For a quick overview of what makes this technique so useful, check out the table below.
Stitch in the Ditch At a Glance
Here's a quick summary of what this essential quilting technique is all about.
| Aspect | Description |
|---|---|
| Visibility | Stitches are virtually invisible on the quilt top. |
| Purpose | To secure the quilt layers (top, batting, backing) together. |
| Location | Directly in the "ditch" or seam line between two pieced fabrics. |
| Effect | Creates definition, outlines blocks, and adds structure without visual distraction. |
| Common Use | Often the first quilting step to stabilize the quilt for further, more decorative quilting. |
| Best For | Quilts where the piecing, not the quilting, is the main feature. |
As you can see, it's a foundational skill that delivers a clean and professional finish every time.
This method really took off as sewing machines found their way into more homes after the 1950s, and it’s just as vital today. In fact, an estimated 60-75% of modern quilting tutorials feature it as a fundamental skill—a testament to its durability and clean finish. If you want a deeper dive, the tutorial over at Maven Patterns is a fantastic resource.
The real magic of stitch in the ditch is how it adds strength without adding visual noise. Your thread essentially disappears, letting your patchwork tell the story.
Of course, getting that "invisible" look depends heavily on your supplies. Choosing the right thread is a huge piece of the puzzle. You'll want something that either matches your fabric or is fine enough to sink into the seam without a trace. Take a look at our guide on choosing the best thread for quilting to make sure your stitches blend in perfectly. With the right tools from Linda's, you'll be stitching in the ditch like a pro.
When to Use Stitch in the Ditch for the Best Results
Knowing what stitch in the ditch is is one thing, but knowing when to pull it out of your toolbox is where the real magic happens. This isn't just a utility stitch; it's a strategic move that can take your project from looking homemade to beautifully polished. Its biggest advantage is that it’s nearly invisible, adding structure and definition without stealing the show.
Let's say you've just pieced a stunning quilt top full of intricate star blocks. You want those star points to pop and the block shapes to look sharp and defined. This is the perfect job for stitching in the ditch. By sewing right into the seams that frame each block, you create a subtle outline that makes your piecing the hero of the quilt.
Scenarios Where This Technique Excels
This method is surprisingly versatile, working beautifully for both quilting and garment making. It’s the secret to that clean, tailored finish that makes things look store-bought.
Here are a few of my favorite times to use it:
- Outlining Quilt Blocks: It’s ideal for framing individual blocks or specific design elements. This gives them a crisp, defined edge that makes the whole quilt top look clean and professional.
- Stabilizing Before Free-Motion Quilting: Before you jump into decorative swirls or feathers, stitching in the ditch along your main seam lines creates a foundational grid. This locks all three layers of your quilt sandwich together, preventing annoying shifting or puckering when you add more quilting later on.
- Finishing Garments: For a high-end look on clothing, stitch in the ditch is perfect for securing facings, attaching collars and cuffs, and setting waistbands. The stitches just disappear into the seam, leaving a flawless finish.
The Benefits of Strategic Stitching
The real payoff here is a clean, uncluttered look. Because the stitches are hidden, your beautiful piecing or appliqué remains the star. It adds strength and durability to the quilt’s construction without adding any visual noise, ensuring all your hard work on the quilt top gets the attention it deserves.
This technique is a cornerstone of quilting for a reason. If you're just getting started on your journey, learning different methods is the key to building a solid foundation. For more guidance, be sure to check out our beginner quilting lessons that cover all the essential skills.
Stitch in the ditch is your secret weapon for stability. Think of it as the foundational quilting pass that sets the stage for everything else, making sure your final project lies flat and looks fantastic.
But it’s not the right choice for every single project. The one time you should avoid this technique is when your seams have been pressed open instead of to one side. Without a "high side" and a "low side" to create that ditch, your stitches have nowhere to hide and will be visible on both sides of the seam. In that situation, you’re much better off choosing a different quilting approach.
Gathering Your Essential Tools for Perfect Stitches
If you want that truly invisible, flawless stitch in the ditch, having the right gear is non-negotiable. It’s like trying to bake a perfect cake with the wrong ingredients—you just won't get the result you’re after. Your success with this technique really comes down to a few key items from Linda's that will stop your fabric from shifting and help those stitches sink right in.
The absolute hero of this operation is the walking foot. This clever attachment is a game-changer, working in tandem with your machine's feed dogs to pull all three layers of your quilt sandwich (top, batting, and backing) through at the exact same pace. It’s your secret weapon against the puckering and stretching that can ruin a quilt, keeping everything smooth and flat.
Your Must-Have Supplies
Besides the walking foot, a few other well-chosen tools will make your quilting life a whole lot easier and give you that professional finish.
- Sewing Machine Needles: Always start with a sharp, new needle that’s right for your fabric. For most cotton quilting projects, a 80/12 or 90/14 Universal or Quilting needle is the perfect place to start. A fresh needle is your best defense against skipped stitches and fabric snags.
- Quality Thread: The whole point is for the thread to disappear. You can go with an invisible monofilament thread, which is a fantastic choice because it blends in with literally any color. Or, you can pick a high-quality 100% cotton thread that perfectly matches the fabric on the "high side" of your seam.
- Seam Ripper: Let’s be real—mistakes happen, even to the pros. A sharp, easy-to-hold seam ripper is an absolute must-have for those moments when a stitch wanders out of the ditch and needs to be corrected.
Don't just take our word for it. Recent polls in quilting groups show that around 40-50% of quilters use stitch in the ditch all the time for a clean, polished look. And get this—over 70% of them rely on a walking foot to nail it. It just goes to show how important this tool is for getting that precision and stopping the dreaded fabric shift. If you're curious to see how quilters are putting these tools to work, you can discover more insights about quilting techniques here.
Dialing in Your Machine Settings
Once you've got your tools laid out, the final piece of the puzzle is tweaking your sewing machine settings to create those invisible stitches.
A perfectly set-up machine is your best partner in quilting. Taking a moment to adjust your settings before you start sewing will save you hours of frustration and seam-ripping later.
First, let's talk stitch length. I find that a slightly longer stitch, somewhere between 2.5 mm to 3.0 mm, is perfect for quilting. It gives the thread a little extra room to sink down beautifully into the layers. Next, play with your needle position. Most modern machines let you nudge the needle a tiny bit to the left or right, which is a lifesaver for getting it perfectly centered in that ditch. Lastly, always test your thread tension on a practice scrap. You're looking for that sweet spot where the top and bobbin threads lock perfectly between the fabric layers, with no pesky loops showing on either side.
Getting these foundational supplies in order is a massive step toward quilting you can be proud of. If you're just starting to build your sewing kit, our guide on essential sewing supplies for beginners is a great resource. And of course, here at Linda's, we have a fantastic selection of high-quality walking feet, specialty needles, and threads to get your project off to a perfect start.
Your Step-by-Step Guide to Mastering the Technique
Alright, you’ve got the right tools, so let's put them to work. This guide will walk you through stitch in the ditch quilting one simple step at a time. With a little patience, you’ll be creating those beautifully invisible stitches that really make your quilt blocks pop.
The secret to a great finish is all in the prep work. Before you even think about sitting down at your machine, make sure your quilt sandwich—the top, batting, and backing—is basted securely. This one step prevents the layers from shifting around, which is the #1 reason for those frustrating puckers and pleats that can ruin a project.
Setting Up for Success
First things first, attach your walking foot and pop a fresh, sharp needle into your machine. I like to set my stitch length a bit longer for this, usually around 2.5 to 3.0 mm. This helps the stitches settle right down into the seam where they belong.
Now is the perfect time to grab a small scrap of fabric and test your thread tension. You’re looking for perfectly balanced stitches that don’t pull to one side or the other.

This little visual shows how the core trio—your walking foot, needle, and thread—work together to create a flawless stitch. Each part plays a critical role, from guiding the fabric evenly to forming that perfect, hidden stitch.
The Stitching Process
With your machine all set up, it’s time for the fun part. Just follow these steps, and you’ll have a smooth, controlled quilting experience.
- Start in the Middle: Always, always begin quilting from the center of your quilt and work your way out. This is a non-negotiable for me. It methodically pushes any extra fullness or wrinkles toward the edges, so you won't get stuck with a big pucker in the middle of your beautiful work.
- Position Your Needle: Slide your quilt under the walking foot and lower the needle so it lands directly in the "ditch" of the seam you’re quilting. I always use my machine's handwheel to drop it precisely where I want it to go.
- Secure Your Stitch: Sew a couple of stitches forward, then a couple in reverse to lock everything in place. This tiny step ensures your hard work won't unravel down the road.
- Sew Slowly and Steadily: Let the walking foot do its job! Your only task is to gently guide the quilt with both hands—don't push or pull it. Keep your eyes on the seam just a little bit ahead of the needle.
- Navigate Corners and Intersections: When you get to a corner, stop with the needle down in the fabric. Lift the presser foot, pivot the quilt a clean 90 degrees, lower the foot again, and just keep on sewing. It’s the key to getting those sharp, professional-looking turns.
Pro Tip: As you sew, gently use your fingers to open up the seam just ahead of the needle. This creates a clearer path for the stitches to sink into, making them even more invisible. It's a small habit that makes a huge difference.
This technique is a cornerstone of quilting. It’s functional, it’s artistic, and it provides a nearly invisible way to secure and define your quilt blocks. It’s so foundational that nearly 80% of quilting courses include it in their curriculum. You can discover more insights about its role in modern quilting if you want to dig deeper.
Mastering this method just takes a bit of practice, but it's a skill you’ll come back to in countless projects. If you're looking for some great projects to try it out on, check out these easy quilt patterns for beginners.
And remember, patience is your best tool. Of course, a high-quality machine from Linda's Electric Quilters doesn't hurt, either—having that precision control can make even advanced techniques feel effortless.
Common Stitch in the Ditch Mistakes and How to Fix Them
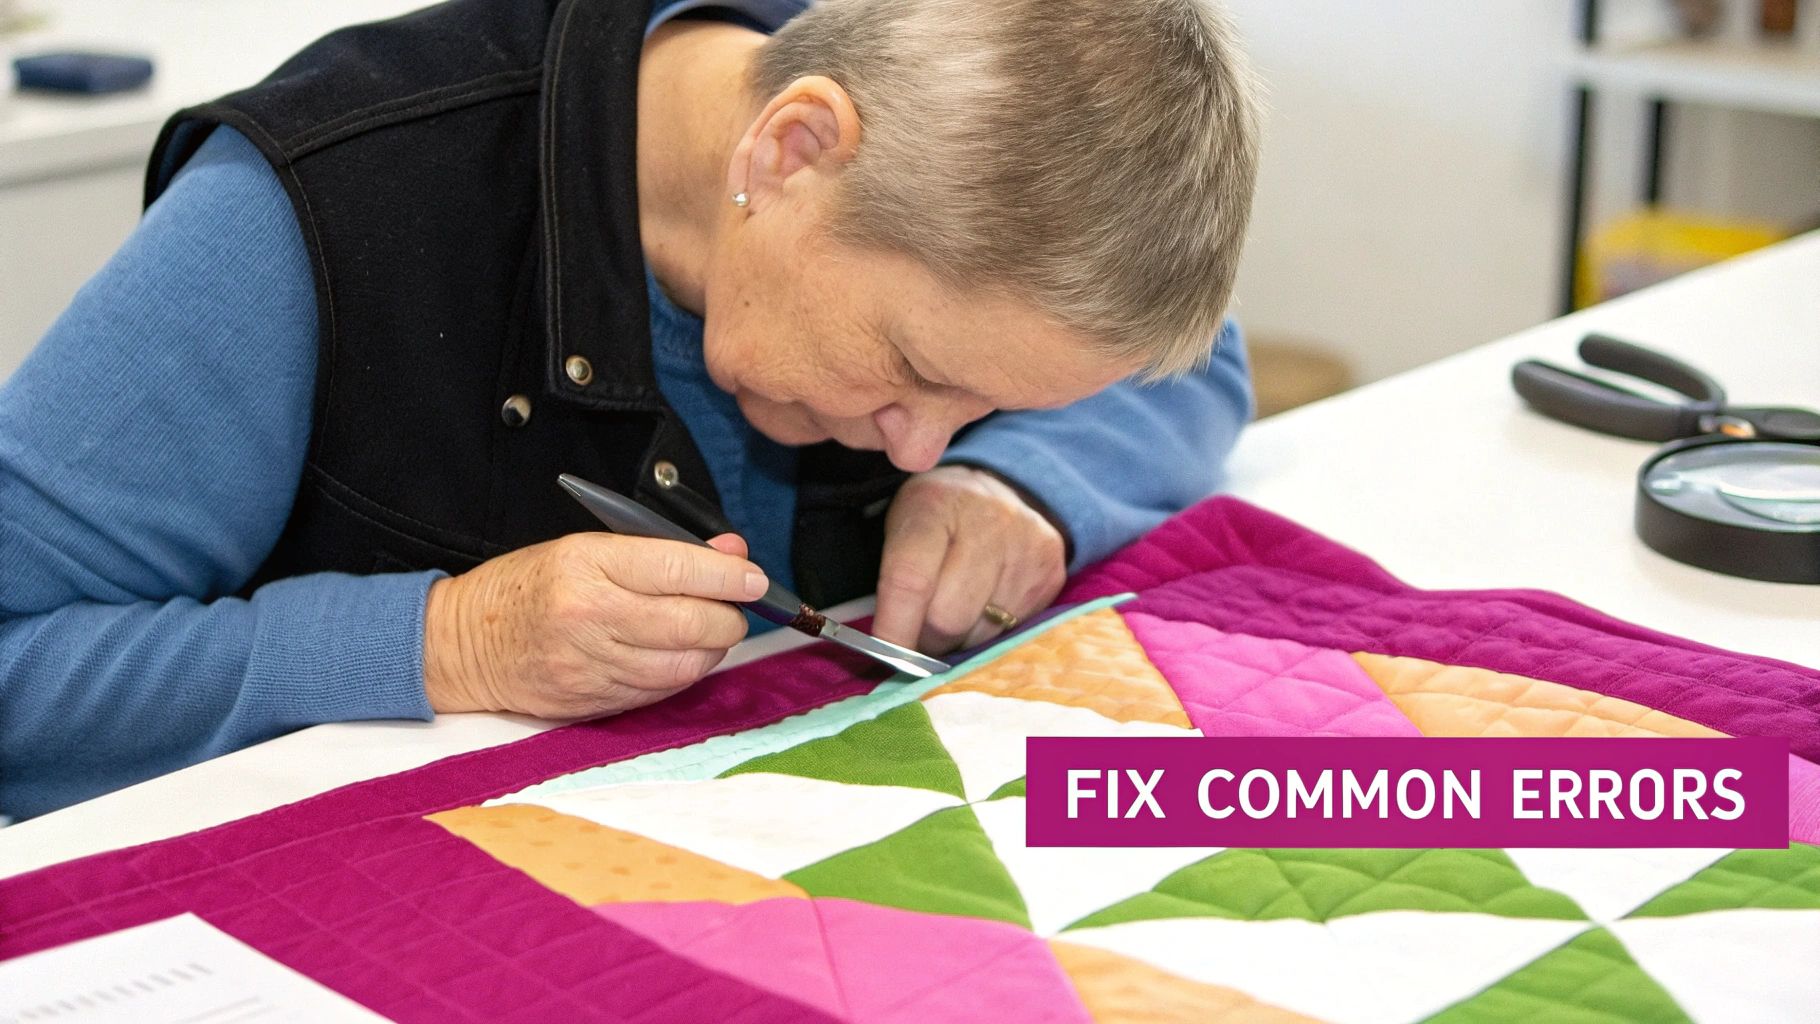
Look, nobody's perfect. Even the most seasoned quilters find themselves reaching for the seam ripper now and then. Don’t sweat it! Every mistake is just a chance to learn something new and get better at your craft.
Let's walk through some of the most common hiccups you might run into with stitch in the ditch quilting. More importantly, we'll cover how to fix them so you can get back to creating something beautiful.
One of the biggest culprits is when your stitches wander out of the seam and start climbing up the "high side" of the fabric. This little mistake instantly makes your quilting visible, which is exactly what we're trying to avoid with this technique.
Another frequent frustration is fabric puckering. You're cruising along, and suddenly you spot little pleats or ripples forming around your stitch line. This usually means the layers of your quilt sandwich aren't playing nicely and feeding through the machine at the same speed.
Taming Wobbly Lines and Wandering Stitches
If your stitches aren’t staying neatly hidden in that ditch, the issue almost always comes down to control and needle position. A wobbly line can make an otherwise gorgeous quilt look a bit less polished, but thankfully, it's an easy fix with a little practice and the right setup.
Think of it this way: your stitches are visible on the top of the quilt block because your needle is off-course. It's either positioned too far to one side, or you're accidentally pushing and pulling the quilt instead of just guiding it.
The fix? First, use your machine's needle position function to nudge it precisely into the center of the seam. Then, slow down! Focus on gently guiding the fabric and let your walking foot do the heavy lifting. A good pair of quilting gloves can also give you a much better grip and more control over the fabric. Find the perfect pair at Linda's to make your next project easier than ever.
Fixing Puckers and Pleats
Puckers are the classic sign that your quilt sandwich has shifted while you were quilting. It's so tempting to just ignore them and hope they'll magically disappear, but they can make the finished quilt look lumpy and unprofessional.
The main culprit is usually a shortcut taken during the basting process. If your layers aren't secured together properly, they'll move independently as you stitch, creating that dreaded slack that bunches up into a pucker.
I always say that 90% of quilting success is in the prep work. Taking your time to baste thoroughly is the single best thing you can do to prevent puckers and ensure your quilt lies flat and beautiful.
Sometimes, even with perfect basting, you might notice a block has a little extra fabric or just isn't perfectly square. This can also cause puckering. If you run into that, we have a detailed guide on what to do if your quilt top is not square that can walk you through it. And for those little corrections, a high-quality seam ripper from our shop at Linda's is an absolute must-have in your sewing kit.
Troubleshooting Common Issues
We all run into the same few problems from time to time. Here's a quick cheat sheet to help you identify what's going wrong and get back on track fast.
| Problem | Likely Cause | Solution |
|---|---|---|
| Visible Stitches | Needle is not centered in the seam. Going too fast. | Use needle-position controls to adjust. Slow down and guide gently. |
| Puckered Fabric | Inadequate basting. Fabric layers are shifting. | Re-baste the area, ensuring it's smooth. Start stitching from the center and work outward. |
| Skipped Stitches | Incorrect needle for the fabric/thread. Needle is dull or bent. | Change to a new, sharp needle (Microtex or Topstitch). Check needle size. |
| Uneven Tension | Top and bobbin tension are unbalanced. | Check your machine's tension settings. Test on a scrap piece of your quilt sandwich first. |
| Wavy Seams | The quilt is being stretched or pulled as it's fed through. | Relax your hands. Let the walking foot and feed dogs do the work. Use quilting gloves for better grip. |
Think of this table as your first line of defense. Most issues with stitch in the ditch are minor and just require a small adjustment to your setup or technique. Don't let a little hiccup discourage you!
Got Questions About Stitch in the Ditch? We've Got Answers.
Once you start using the stitch in the ditch technique, you'll inevitably run into a few questions. It happens to everyone! Think of us as your quilting buddy who's been there, done that, and is happy to share what we've learned.
We’ve pulled together some of the most common questions we hear from fellow quilters. Let's get these sorted out so you can get back to your machine with total confidence.
Can You Stitch in the Ditch by Hand?
You absolutely can! While zipping along with a machine is definitely faster, doing it by hand is a classic approach that gives you a finish unlike any other. It offers amazing control and results in a wonderfully soft quilt that a machine just can't replicate.
When you're hand-stitching, you’ll use a basic running stitch, trying your best to keep the stitches small and consistently even. The goal is exactly the same: hide those stitches right down in the seam line. It's a much slower, more meditative way to quilt, perfect for anyone who truly savors the process of making.
What Is the Best Thread Color to Use?
This is a fantastic question because the right thread is what makes your stitches truly disappear. You have two solid choices here:
- Matching Thread: Grab a spool of high-quality cotton thread that’s a dead ringer for the fabric on the "high side" of your seam (the piece that’s folded over the top). This is the easiest way to make your thread blend right in.
- Invisible Thread: A monofilament or "invisible" thread is another great trick. This super-fine, clear nylon thread plays nicely with any fabric color, which makes it a must-have in your sewing box. Just remember to switch to a smaller needle and ease up on your tension a bit when you use it.
You can find a huge selection of both matching and invisible threads at Linda's to get the perfect finish for your project.
How Is Stitch in the Ditch Different from Echo Quilting?
It's easy to get these two mixed up because they often appear on the same quilt, but they have very different jobs. They're related, but definitely not the same.
Stitch in the ditch is all about hiding, while echo quilting is all about highlighting. One works behind the scenes, while the other creates a beautiful, visible ripple effect across your quilt top.
Here’s the breakdown: Stitch in the ditch means you are sewing directly inside the seam line to be as invisible as possible. On the other hand, echo quilting is when you stitch lines that run parallel to the seam, usually about 1/4 inch away. These lines create a "ripple" or "echo" that outlines and really makes your pieced shapes pop.
Do I Always Need a Walking Foot?
Look, could you technically do this without a walking foot? Yes. Should you? Probably not, especially if you're just starting out. A walking foot is your number one tool for stopping the layers of your quilt sandwich from shifting around, which is what causes those dreaded puckers and pleats.
It works by feeding both the top and bottom layers of fabric through your machine at the same time, keeping everything perfectly smooth. When you're working on a quilt, that stability is priceless and will save you from a whole lot of quality time with your seam ripper. Just think of it as your secret weapon for a professional-looking finish.
Nothing feels better than finishing a project with techniques you're proud of, and the right tools make all the difference. Here at Linda's Electric Quilters, we've got everything you need, from specialty feet and invisible threads to the perfect needles for your machine. Explore our amazing collection of over 30,000 products and find exactly what you need to complete your masterpiece today!


