

Hi Bestie,
It feels right to tighten your backing until it’s perfectly taut.
But fabric has give.
Pull it too tight, and you can stretch the backing while it’s on the frame. Then you quilt that stretched fabric into place.
The problem may not show up until you take the quilt off.
As the backing relaxes, the stitches stay put, creating puckers and wrinkles you never saw coming.
Why a Drum-Tight Backing Puckers Later
Here’s the mechanism, because once you see it you’ll never crank the rollers the same way again.
When you over-tighten, the woven threads in your backing are stretched a little longer than they want to be. Every stitch you take locks the top, batting, and that stretched backing together at that stretched length.
Then you unroll the quilt and the tension disappears. The backing fabric tries to relax back to its natural size, but the thread holding it doesn’t shrink with it. That extra fabric has nowhere to go, so it gathers into small ripples between your quilting lines.
It’s the same reason pulling minky through your machine gives you wavy seams. Stretch a fabric, stitch it in the stretched state, and it remembers.
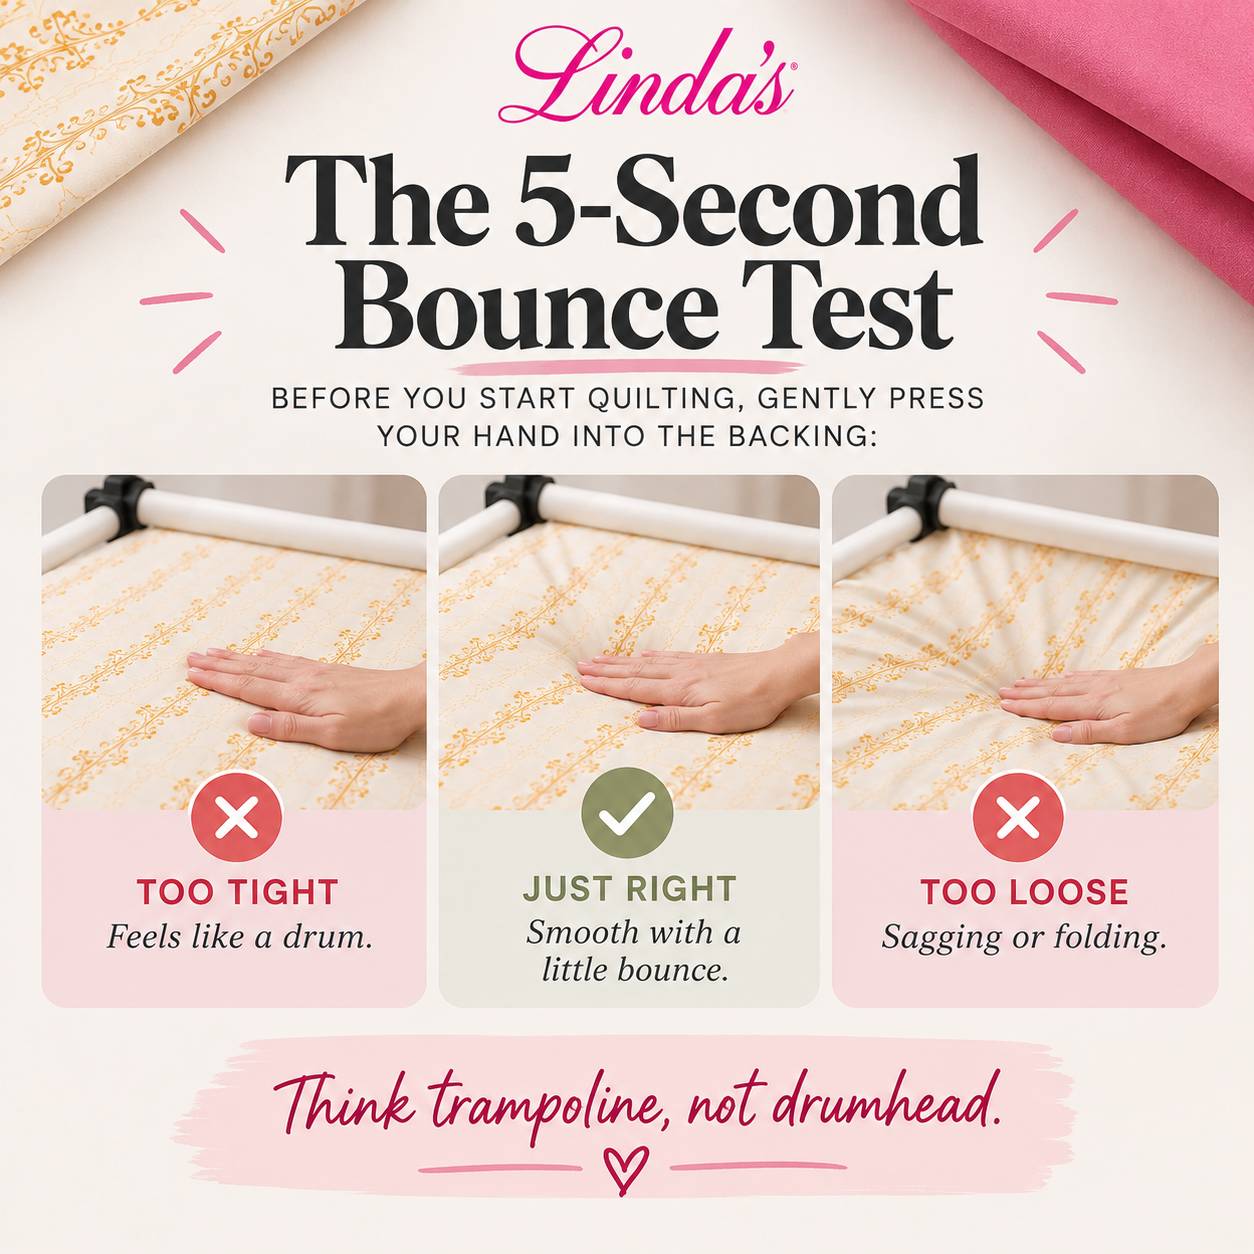
The 5-Second Bounce Test
Before you start quilting, gently press your hand into the backing:
🥁 Hard like a drum?
Too tight.
〰️ Sagging or folding?
Too loose.
✓ Smooth with a little bounce?
That’s what you want.
Think trampoline, not drumhead.
If you’re new to the frame or want a full refresher on rollers, leaders, and advancing, our step-by-step guide to loading a quilt on a frame walks through the whole process.
A Better Quilt Starts Before the First Stitch
The right setup makes it easier to load, advance, and manage your quilt without fighting your frame.
A few things that help you keep the backing smooth without over-tightening it:
- Start with a square, pressed backing. A crooked or wrinkled back tempts you to pull harder to “fix” it. Our backing fabric guide covers yardage, piecing, and prep.
- Go seamless when you can. A wideback loads more evenly than a pieced back because there’s no seam ridge changing the tension across the roller.
- Control the sides, not just the rollers. Side grips keep the edges straight with light, even pull, so you don’t have to overload the take-up to get rid of slack.
- Load evenly. A snap-on system like Renae’s Red Snappers spreads tension along the whole leader instead of concentrating it at pins.
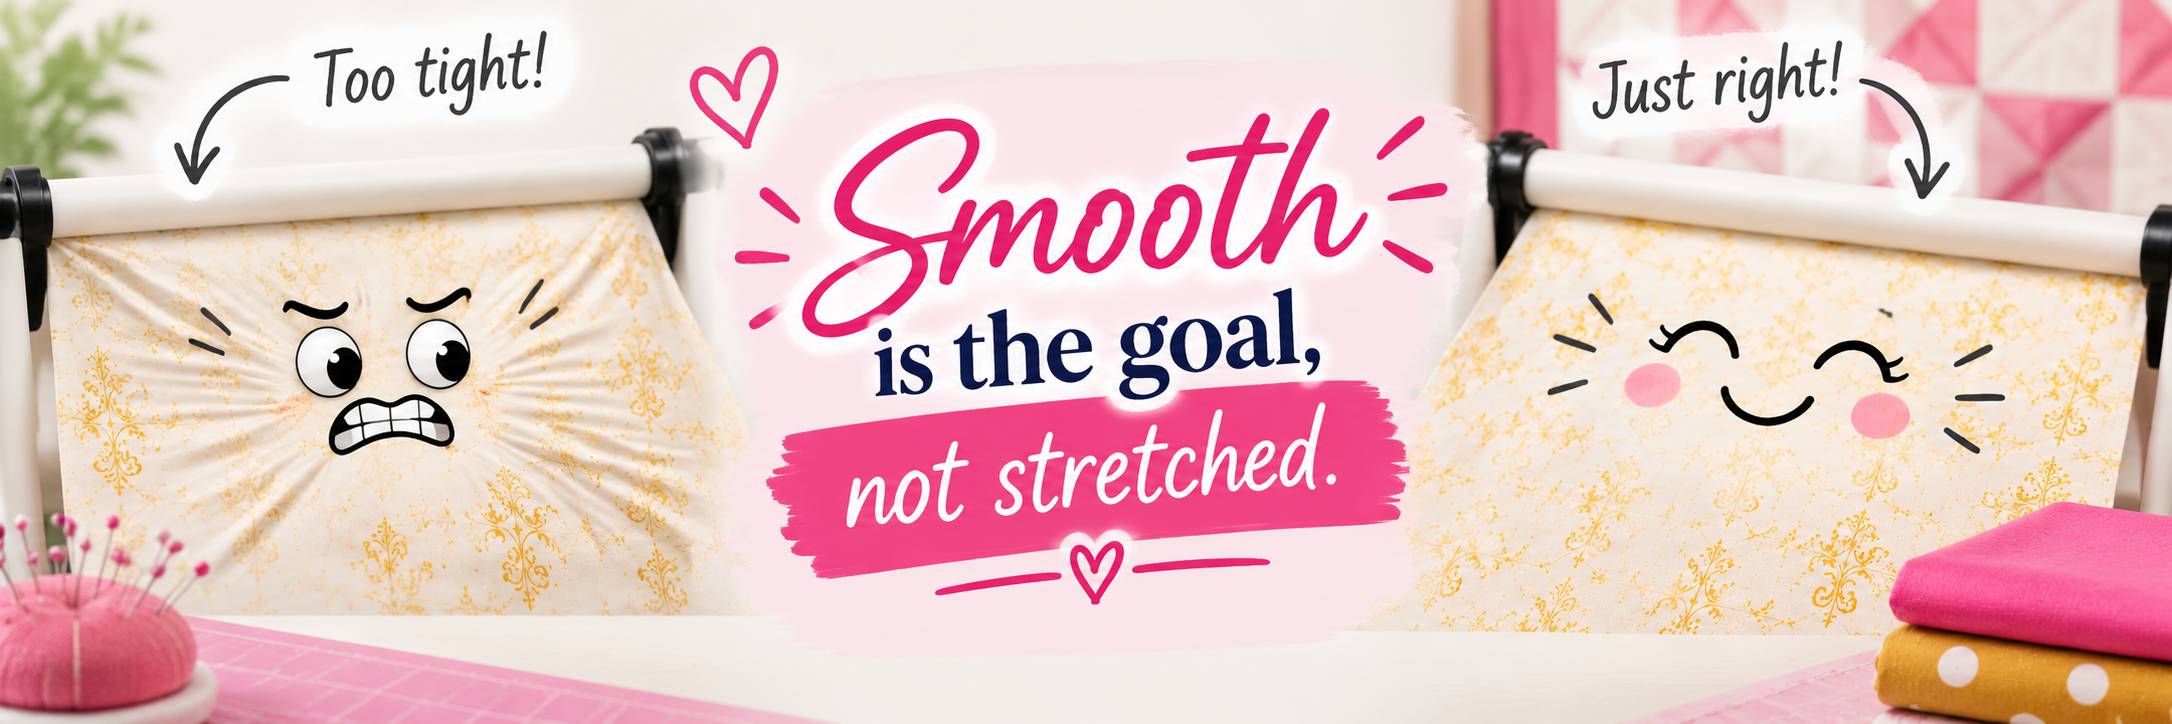
Remember,
Smooth is the goal, not stretched. Your backing should have just enough tension to stay flat while still giving a little when you press it. Think trampoline, not drumhead, and you’ll give your quilt a better chance of coming off the frame as beautifully as it looked going on.
Happy Quilting!
From Corey.
Set Your Next Quilt Up Right
A smooth back starts with the right fabric and the right frame tools. Browse our 108" and 120" wideback fabrics for a seamless backing that loads evenly, and stock up on longarm loading tools like side grips and snap-on leaders that keep everything flat without cranking.
Frequently Asked Questions
How tight should quilt backing be on a longarm frame?
Just tight enough to lie flat with no sags or folds, and no tighter. When you press your palm into it, it should give a little and spring back, like a trampoline. If it feels hard like a drumhead, back the rollers off a bit. Over-tightening stretches the fabric, and that stretch turns into puckers once the quilt is off the frame. For the full loading sequence, see our guide to loading a quilt on a frame.
Why does the back of my quilt pucker after I take it off the frame?
Most of the time the backing was stretched while it was loaded. The stitches locked the fabric at that stretched length, and when the tension was released the fabric relaxed but the thread didn’t. The extra fabric gathers into ripples between the quilting lines. Uneven tension side to side, a pieced back with a bulky seam, or a backing that wasn’t square can all make it worse. Basting method matters on a domestic machine too, which we covered in spray basting vs. pin basting.
How do I check if my backing is too tight or too loose?
Use the 5-second bounce test. Gently press your hand into the loaded backing. Hard like a drum means too tight. Sagging or folding means too loose. Smooth with a little bounce is just right. Check again each time you advance the quilt, because tension can creep up as the take-up roller fills.
Does the type of backing fabric change how tightly I should load it?
Yes. Quilting cotton has a little give on the grain and a lot on the bias, so keep it relaxed and load it straight. Knits like minky and Cuddle stretch dramatically and should be loaded with almost no pull, just enough to remove sag. A seamless wideback loads more evenly than a pieced back because there’s no seam changing the tension across the roller. Our backing fabric guide compares the options.
What tools help keep backing smooth without over-tightening it?
Side clamps or side grips keep the edges straight with light, even pull so you don’t have to overload the rollers. A snap-on leader system like Renae’s Red Snappers spreads tension along the whole width instead of at pin points. And a good batting with some loft gives the layers a little cushion so small tension differences don’t show. You’ll find all of these in our longarm tools collection.


