
Bubbling fusible interfacing almost always traces to one of four causes: incomplete fusion (heat, pressure or time short of the product's specification), the iron sliding instead of being lifted and pressed, an interfacing whose weight or type mismatches the fashion fabric, or a fabric finish that resists the adhesive. Diagnose in that order — re-press a test corner correctly first, because most bubbles are fusion failures, not bad product.
This decision tree uses the actual fabric and interfacing from your project. Work on a test swatch cut from both materials, change one variable at a time, and let every test cool flat before judging it. Pellon's published instructions for the specific product are the authority for temperature, time, pressure and moisture; do not use a generic heat setting.
Step 1: Name the symptom precisely
Bubbles appear immediately. The adhesive probably never fully melted or the piece was moved while warm. Go to the fusion test below.
Bubbles appear only after washing. The original bond may have been marginal, or the two layers may care differently. Laundering can reveal weak adhesion that looked acceptable at the pressing table. Note whether the care instructions for both layers match before blaming the pressing alone.
Bubbles sit at edges or corners only. Edges receive the least iron coverage and are the first places a sliding iron or an early lift breaks the bond. Check your overlap pattern before changing products.
The whole piece puckers rather than blistering. That points toward a weight or type mismatch, or fabric shrinkage, rather than a simple missed spot.
Step 2: The fusion test — re-press one corner to specification
Place the interfacing's adhesive side to the wrong side of a fabric swatch, cover with the press cloth the instructions call for, and press exactly as the product specifies: full time, firm pressure, lift-and-overlap, never sliding. Then leave the swatch flat and untouched until completely cool. Moving a warm fusible piece stretches the still-soft adhesive layer and can create the very bubbles you are diagnosing.
If the test corner bonds smoothly, the original pressing was the problem. Re-fuse the project piece section by section at the same specification, then cool it flat before handling.
If the test corner bubbles too, pressing technique is not the whole story. Continue down the tree.
Step 3: Check for iron-sliding marks
Look for bubbles that run in streaks or arcs matching an iron's path. Sliding drags the top layer over adhesive that has only partly melted, shearing the bond into ridges. The fix is mechanical: set the iron down, hold for the full count, lift straight up, and overlap the next placement. If your iron's steam or soleplate makes lift-and-press awkward on a large piece, work in smaller sections and steam-baste the edges first with the tip of the iron, as Pellon's directions describe.
Step 4: Check the weight and type match
Interfacing should support the fabric without overpowering it. A firm craft fusible on a fluid garment fabric will fight the drape and pucker; a featherweight on a fabric that needed real structure will wrinkle inside the bond. Compare classes honestly: featherweight non-woven for light fabrics, a woven fusible such as Shape-Flex when the garment fabric is woven and you want the two layers to move together, and a firm craft fusible only where crisp body is the goal. If the pairing is wrong, no pressing sequence will save it — re-cut with the right class. That is the stop rule for this branch.
Step 5: Check the fabric finish
Sizing, softeners and surface finishes can resist adhesive. Pre-wash a second swatch of the fashion fabric following its care label — without fabric softener — dry it, and repeat the fusion test. If the washed swatch bonds and the unwashed one bubbles, the finish was the barrier. Pre-treat the project fabric the same way, provided its care label allows washing. If pre-washing is not allowed, test whether a sew-in interfacing is the honest alternative for that fabric.
When to stop and re-cut
Stop re-pressing when a correctly fused test swatch still bubbles after the finish check. At that point the pairing itself is incompatible, and more heat risks damaging the fashion fabric. Change the interfacing class or move to a sew-in, and say plainly that the original combination was the problem — not your iron.
For the pressing variables themselves — temperature, time, moisture and cool-down checked one by one — work through the pressing, heat and moisture check in our non-woven fusible guide before applying the fix to a structured project such as a reinforced tote. More troubleshooting guides live in the Sewing Problems Solved hub.
Interfacing options for each branch
The main place to compare classes is the Pellon collection. Three verified options map to the branches above:
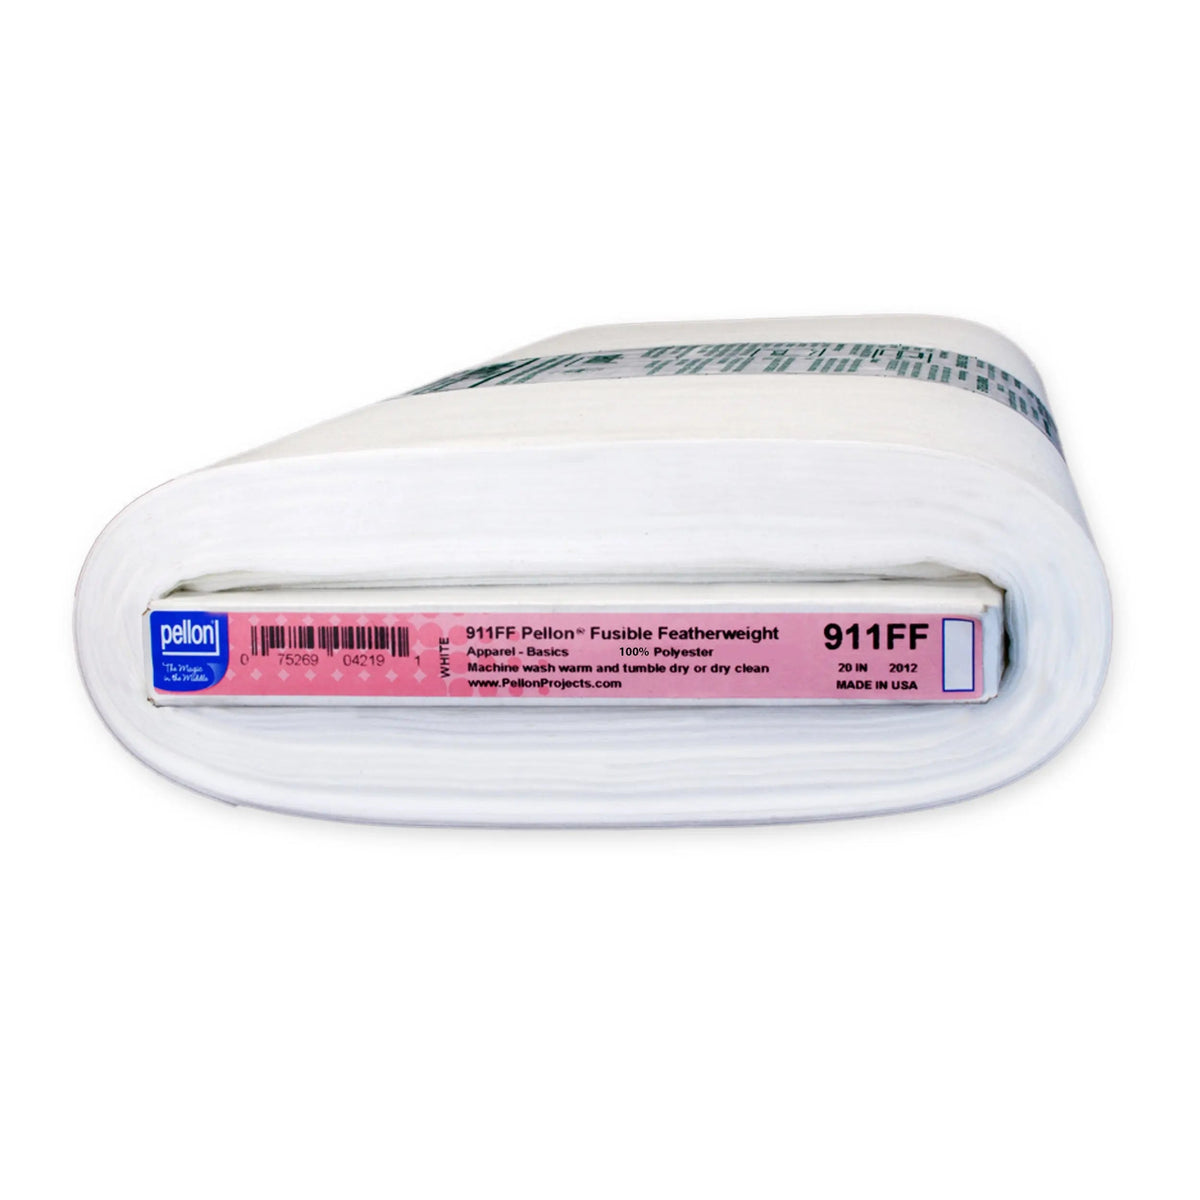
- Pellon® 911FF Fusible Featherweight Interfacing 20" × 10 yards Bolt, White ($22.45) — the featherweight non-woven class for light fabrics, and the product whose instructions anchor the fusion test.
- Pellon® SF101 Shape-Flex® Cotton Woven Fusible Interfacing 20" × 10 yards Bolt, White ($37.81) — the woven alternative when a non-woven bubbles or puckers on a woven garment fabric.
- Pellon® 808 Craft-Fuse® Stabilizer 20" × 10 yards Bolt, White ($24.74) — the firm class for the weight-mismatch branch, where real body is the point.
Care note: after fusing, follow the stricter of the two layers' care instructions, and expect that some marginal bonds only declare themselves after the first wash — one more reason the test swatch, not the garment, should fail first.


