
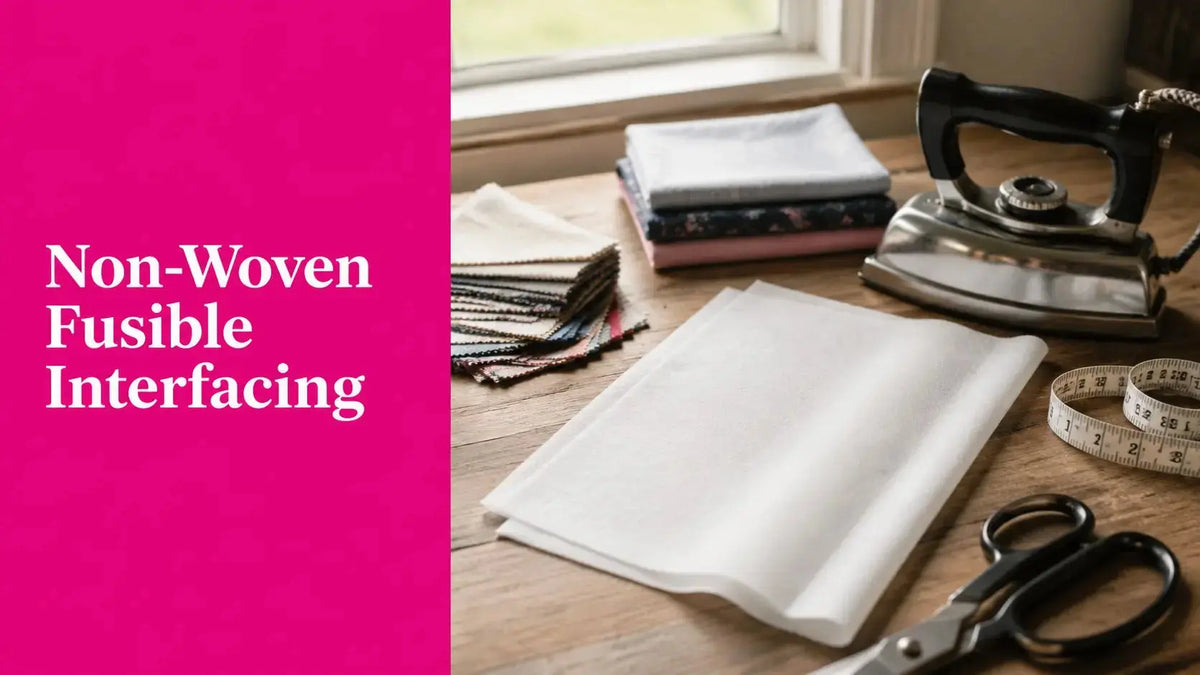
Non-woven fusible interfacing is a sheet of bonded fibers with a heat-activated adhesive on one side. It's used to add stiffness, structure, and stability to fabric without a grainline, which makes it faster and easier to use for projects like collars, cuffs, and bags.
You've probably been there. The fabric is lovely, your stitching is neat, and then the final piece still looks a little soft, a little limp, or a little homemade in a way you didn't intend. Most of the time, that missing ingredient isn't better sewing. It's better support.
As someone who's spent a lot of time around quilting cotton, shirting, bag fabric, and the practical trial and error that happens in a busy sewing room in McKinney, Texas, I can tell you this. Interfacing changes the hand, the drape, and the finish of a project more than many sewists expect. Once you understand what non-woven fusible interfacing does, and how to apply it correctly, your projects start looking sharper and feeling more intentional.
The Secret to Professional Projects
A collar that won't stand up. A cuff that twists after washing. A tote that collapses into a heap. Those problems usually don't start at the sewing machine. They start with a fabric that needs more structure than it naturally has.
Non-woven fusible interfacing acts like an internal support layer. One side has adhesive. The other side behaves more like a stable sheet than a fabric. When you fuse it to the wrong side of your material, you give that area more body and control.

Why sewists reach for it so often
This isn't a niche supply. Non-woven fusible interfacing became the dominant option in ready-to-wear because it solved production problems at scale. It was standardized in the late 1970s and quickly overtook woven types in ready-to-wear garments, driven by a 40% reduction in production costs and a 30% increase in manufacturing speed due to the absence of grainline constraints [N: 2].
In plain English, it's efficient because you don't have to fuss over direction the way you do with woven interfacing. That matters in factories, and it matters at your cutting table too.
Practical rule: If a part of the project needs to keep its shape instead of collapsing into the fabric's natural drape, interfacing usually belongs there.
What it changes in the finished project
The biggest difference is tactile. Your project's hand changes. A soft quilting cotton can feel firmer. A shirt collar can feel crisp instead of floppy. A bag flap can hold a clean edge.
Sources that explain the mechanics of this material consistently describe it as papery and stiffer after fusing, with less drape than woven interfacing, which is why it suits structural areas better than fabric-like flexible areas. They also caution that improper fusing can lead to bubbling, crinkles, or creases, so bond integrity depends on correct pressing technique, heat, and cooling time, as outlined by Sacôtin's woven vs non-woven interfacing guide.
That papery quality isn't a flaw. It's the reason non-woven fusible interfacing can deliver a polished finish for collars, plackets, bag panels, and craft pieces that need to stay put.
Where beginners get tripped up
Many sewists assume interfacing is just a hidden extra layer. It isn't. It's a design decision. If you choose too heavy a weight, the fabric loses too much drape. If you choose too light a weight, the support disappears.
That's why the best results come from thinking beyond “Does this need interfacing?” and asking, “What should this piece feel like in the finished project?”
Understanding Non Woven vs Woven Interfacing
The simplest way to understand this difference is to compare paper with cloth.
Woven interfacing is made like fabric. It has threads running in directions that create a grainline. Non-woven interfacing is made from bonded fibers. It doesn't have a grainline, so it behaves like a stable sheet.

What no grainline actually means
This is the feature that clears up a lot of confusion. Because non-woven fusible interfacing has no grain, you can cut it in any direction. That removes grainline-dependent distortion and makes layout easier for small or irregular pattern pieces, especially compared with woven interfacing, as noted in WAWAK's guide to choosing interfacing.
For garment details and bag parts, that can make cutting much simpler. Small tabs, curved facings, odd-shaped pocket pieces, and structured trims are easier to place and cut efficiently.
How the structure affects feel
Woven interfacing tends to move more like fabric. It usually preserves more natural drape. Non-woven interfacing resists movement more evenly across the whole piece.
That's why a woven fusible often feels more at home in a blouse front or a softly shaped garment, while a non-woven fusible often shines in areas that need firmness.
Think of woven interfacing as support that still speaks the language of fabric. Think of non-woven interfacing as support that speaks the language of shape.
Why manufacturers embraced non-woven
In ready-to-wear, speed and consistency matter. Since non-woven pieces don't require grainline matching, they simplified cutting and assembly. That practical advantage is a big part of why non-woven fusible interfacing moved into widespread garment production so quickly [N: 2].
For home sewists, the benefit isn't factory speed. It's fewer layout headaches and more predictable stability.
How to Choose the Right Interfacing
Choosing interfacing gets easier when you focus on two things. First, how much support the fabric needs. Second, how much hand and drape you want to preserve.
Start with the table below, then test a swatch before you commit.
Interfacing Comparison Guide
| Interfacing Type | Structure | Drape and Hand | Ease of Use | Best For |
|---|---|---|---|---|
| Non-woven fusible | Bonded fibers, no grainline | Firmer, more stable, often papery | Very easy to cut and fuse | Collars, cuffs, bag parts, plackets, quilted craft pieces |
| Woven fusible | Fabric-like woven structure with grainline | More natural drape, more fabric-like hand | Requires attention to grainline | Tailored garments, areas where flexibility matters |
| Sew-in interfacing | No adhesive, stitched in place | Can preserve softness better | Slower to apply | Heat-sensitive fabrics, delicate fabrics, projects where fusing changes the hand too much |
Match the weight to the fabric
This is the rule that saves the most projects.
- Lightweight fabrics need lightweight support. Use a lighter non-woven fusible for quilting cotton, lightweight shirting, and other fabrics that need stability without turning stiff.
- Medium fabrics can handle more structure. Medium-weight support works well for many cuffs, collars, facings, and casual bag elements.
- Heavy fabrics need strength, but not bulk for its own sake. Canvas, denim, and home dec fabrics may need a sturdier interfacing, though sometimes a sew-in option gives a cleaner result.
If the interfacing overpowers the fabric, the project can feel board-like. If it's too soft, the fabric still sags.
Pay attention to stiffness, not just weight
Premium non-woven fusible interfacing is typically made from 100% polyamide fibers, can increase a fabric's stiffness by 2.5 to 3 times, and is engineered to withstand over 100 wash cycles with minimal degradation, making it a durable choice for structured garments [N: 3].
That sounds wonderful until you put it on the wrong fabric.
A delicate lawn, rayon, or softly draping blouse fabric may technically fuse just fine, but the final hand can feel wrong. The fabric may lose the softness that made you choose it in the first place. That's why swatch testing matters more than package labels.
A simple decision filter
Ask these questions before you fuse anything.
-
Should this area bend softly or hold a crisp edge?
Crisp edges point toward non-woven fusible interfacing. -
Does the fabric already have body?
If yes, choose the lightest support that gets the job done. -
Will heat change the fabric in an unwanted way?
If yes, consider sew-in interfacing instead. -
Do I want the finished piece to feel like fabric or like structure?
That answer often decides between woven and non-woven.
A good interfacing choice doesn't just support the fabric. It supports the look you want after the project is worn, washed, carried, or quilted.
Perfect Fusing Technique Every Time
Even the right interfacing can fail if the fusing is sloppy. Most problems come from rushing, sliding the iron, or moving the piece before the adhesive sets.
Here's the method I'd teach at the cutting table before anyone touches a collar, bag panel, or t-shirt quilt block.

Set up the fabric first
Begin with fabric that's smooth and ready to receive the adhesive. If you normally pre-wash that project fabric, do that before fusing so you're not surprised later by shrinkage or distortion.
Then cut a test swatch. Use the actual fabric, the actual interfacing, and the same iron settings you plan to use for the project. This small step answers the questions that packaging can't. How does the fused fabric feel? Did the drape change too much? Did the adhesive bond cleanly?
Follow a press and lift method
Place the adhesive side of the interfacing against the wrong side of the fabric. If you're unsure which side is adhesive, feel for a slightly bumpy or coated surface.
Then work in this order:
- Protect the surface. Use a press cloth if the fabric needs it.
- Position carefully. Don't start ironing until the piece is aligned.
- Press straight down. Don't slide the iron around.
- Hold in place. Give the adhesive time to melt and bond.
- Lift and overlap. Move to the next area with slight overlap so no spots are missed.
- Cool completely on a flat surface. This helps the bond set.
Improper fusing can cause bubbling, crinkles, or creases on the right side of the garment, and correct heat, steam or lack of steam, and full cooling time are critical to bond integrity [verified data].
Steam or dry iron
Conflicting advice often surfaces. In practice, manufacturer instructions should lead. If you don't have them, a cautious approach works best. Current guidance around fusible application often emphasizes a long press, careful heat control, and close matching of the interfacing to the fabric so you don't create puckering or a harsh hand, as discussed in Seamwork's interfacing guidance.
For many fabrics, a dry press is the safer starting point. If the bond isn't complete, adjust carefully on a test swatch rather than guessing on the project piece.
Pro tip from the workroom
Pro tip
If the project includes several small pieces, fuse a larger section first and then cut your pattern pieces from the stabilized fabric. That often gives cleaner edges, more accurate shapes, and less shifting during stitching.
This is especially helpful for facings, bag tabs, narrow plackets, and oddly shaped craft pieces.
A live visual helps here, especially if you're unsure how long to hold the iron or how to position the press cloth.
Recommended Uses Across Your Craft Room
Non-woven fusible interfacing earns its keep because it solves very different problems in very different projects.
In quilting, it's often the quiet helper behind smooth piecing and stable specialty fabrics. In garment sewing, it creates that clean edge people notice even when they can't name why the piece looks polished. In bags and accessories, it gives shape where fabric alone would slump.
Quilting and t-shirt quilt prep
Stretchy jersey from old tees doesn't behave like quilting cotton. It stretches, rolls, and shifts. A lightweight non-woven fusible can calm that movement so the fabric becomes easier to cut and piece accurately.
That same idea applies when a quilting cotton feels too soft for a label area, an appliqué base, or a small structured unit that needs a bit more backbone.

If you're pairing stabilized piecing with loft and finish decisions for the full quilt, it's helpful to browse batting options for quilting projects as part of the full project plan.
Garment details that need to hold their line
Shirt collars, cuffs, waistbands, and front plackets are classic uses for non-woven fusible interfacing. These are the spots where limp fabric reads as unfinished.
The lack of grainline is especially useful when you're cutting many small or irregular pattern pieces. Because non-woven fusible interfacing can be cut in any direction, it removes grainline-dependent distortion and simplifies layout for these shapes [verified data].
Bags, crafts, and embroidery support
A soft tote body, pouch flap, or storage bin panel often needs crispness more than drape. Non-woven fusible interfacing gives that kind of support well.
It can also help under embroidery when the base fabric needs more control. The key is not to overbuild the project. A heavily stabilized piece may stitch beautifully, but if the hand becomes too hard, the project can lose its charm.
The best structured project still needs to feel intentional in your hands, not just stand up on the table.
For notions that help finish these projects neatly, many sewists also shop a dedicated interfacing and stabilizer collection and pair it with a practical sewing lesson such as how to calculate quilt binding when the project moves into quilting territory.
Troubleshooting Common Interfacing Issues
When non-woven fusible interfacing misbehaves, the symptoms usually show up fast. Bubbles. Peeling corners. Puckers. A strange stiff hand that doesn't suit the fabric.
The good news is that most of these problems have a clear cause.
If you see bubbles or ripples
Start with the bond. Uneven adhesion often comes from too little heat, too little pressure, or moving the iron instead of pressing. Re-press the area carefully and let it cool flat before judging the result.
If the right side looks crinkled, stop and test on scraps before going further. The problem may be technique, but it may also be a mismatch between the interfacing and the fabric.
If it won't stick properly
Check the basics first.
- Adhesive side placement matters. It's surprisingly easy to put the wrong side down.
- Heat transfer matters. A very thick press cloth can block enough heat to weaken the bond.
- Cooling matters. If you lift and move the piece while warm, the adhesive may not set evenly.
If the fabric feels too stiff
This is usually a selection problem, not an ironing problem. A frequently missed question is how to avoid fusible failure on heat-sensitive or stretchy fabrics, and expert tutorials caution that fusible selection must be matched closely to fabric weight and drape to prevent puckering or unwanted changes to the fabric's hand [verified data].
That's especially important with lightweight quilting cotton, knits, and t-shirt quilt panels. If the fused swatch feels harsher than you want, change the interfacing before cutting the full project.
Your Non Woven Interfacing Questions Answered
Should I pre-wash fabric before using non-woven fusible interfacing
If you normally pre-wash that fabric for the finished project, do it before fusing. You want the fabric's shrinkage and finish to settle before you add adhesive. Always test a scrap after washing so you can check the hand and bond.
Can I use non-woven fusible interfacing on knit fabric
Yes, but use caution. Knit fabric stretches, and a non-woven fusible can remove too much flexibility if it's too firm. Test a lightweight option first and make sure the stabilized area still suits the project.
Why does my fused fabric feel papery
That papery feel is part of how non-woven fusible interfacing behaves. It's a stable sheet, not a woven fabric, so it naturally adds firmness. If the result feels harsher than you want, try a lighter weight or switch to a woven or sew-in interfacing.
How should I store interfacing
Store it flat or rolled when possible, with the adhesive side protected from dust and accidental heat. A clean, dry sewing space helps preserve the glue surface so it's ready when you need it.
Do I always need a press cloth
Not always, but it's a smart habit for delicate or heat-sensitive fabrics. It protects the fabric surface and helps prevent adhesive residue from reaching your iron.
If you're ready to put this into practice, Linda's Electric Quilters is a great place to shop for the supplies that bring structure and polish to your next project. From quilting basics and batting to sewing notions and specialty materials, you'll find tools that help you get the finish, hand, and drape you want. If you'd like to browse while planning your next make, take a look at their project-ready selection and finish that amazing piece with confidence.


