
Hi Bestie,
You've spent hours choosing fabrics, matching seams, and quilting every inch.
The last thing you want is a binding that bunches, ripples, or refuses to lie flat.
Here's something experienced quilters know: a beautiful binding isn't just about neat stitching. It's about getting the little details right before you sew.
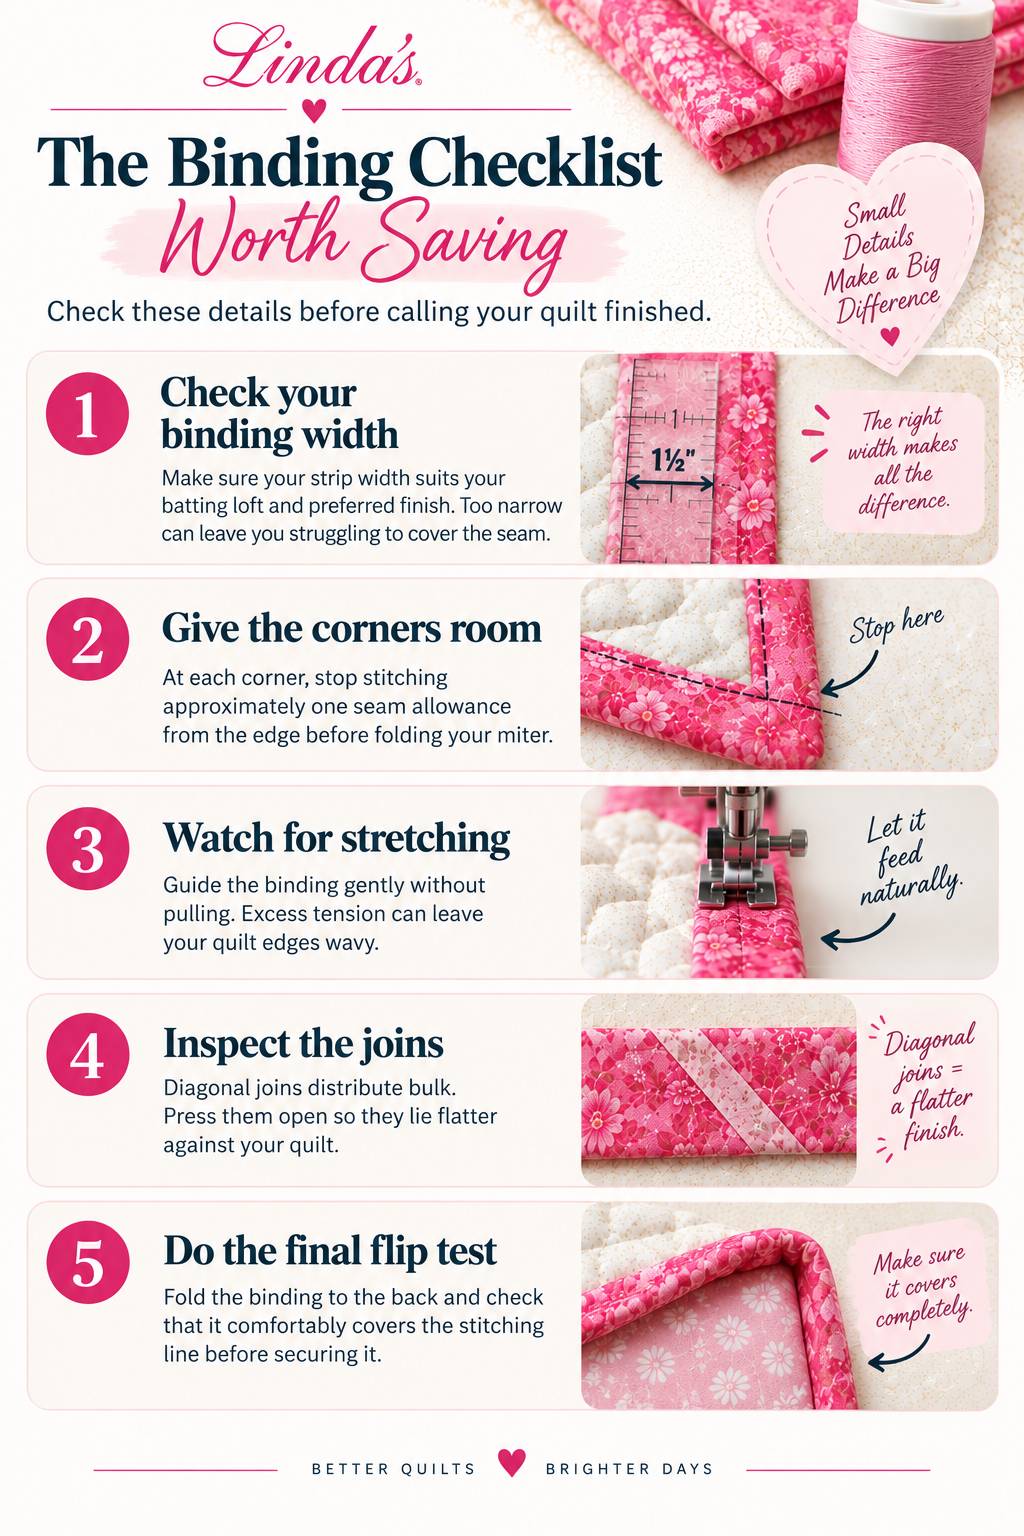
The Binding Checklist
Run through these before you sew the binding down, and most binding problems never get a chance to start:
- Square up the quilt first. Trim the edges straight and the corners to true 90 degrees. Binding can't hide a wavy edge, it only follows it.
- Cut strips the right width. Most quilts bind cleanly with 2.25" or 2.5" strips. The quilt binding size chart has the yardage and widths worked out for you.
- Join strips on the diagonal and press the seams open so the joins don't leave lumps along the edge.
- Press the strip in half, wrong sides together, without stretching it. (Yes, you can over-press. See are you pressing your seams too much?)
- Leave a long tail at the start and begin away from a corner so the final join has room.
- Miter every corner with a consistent fold. Bulky binding corners? Try this.
- Clip, don't pin, when you fold the binding to the back. Clips hold the fold without distorting it.
One Last Tip Before You Celebrate…
Don't judge your binding while your quilt is still bunched up at the machine.
Lay it flat, smooth the edges, and take a look at all four corners. Sometimes, what feels like a perfect finish while sewing looks a little different once the quilt is spread out.
And if you spot something? It's much easier to adjust a small section now than after everything is secured.
A few extra minutes of checking can make all those hours of quilting feel even more worthwhile.
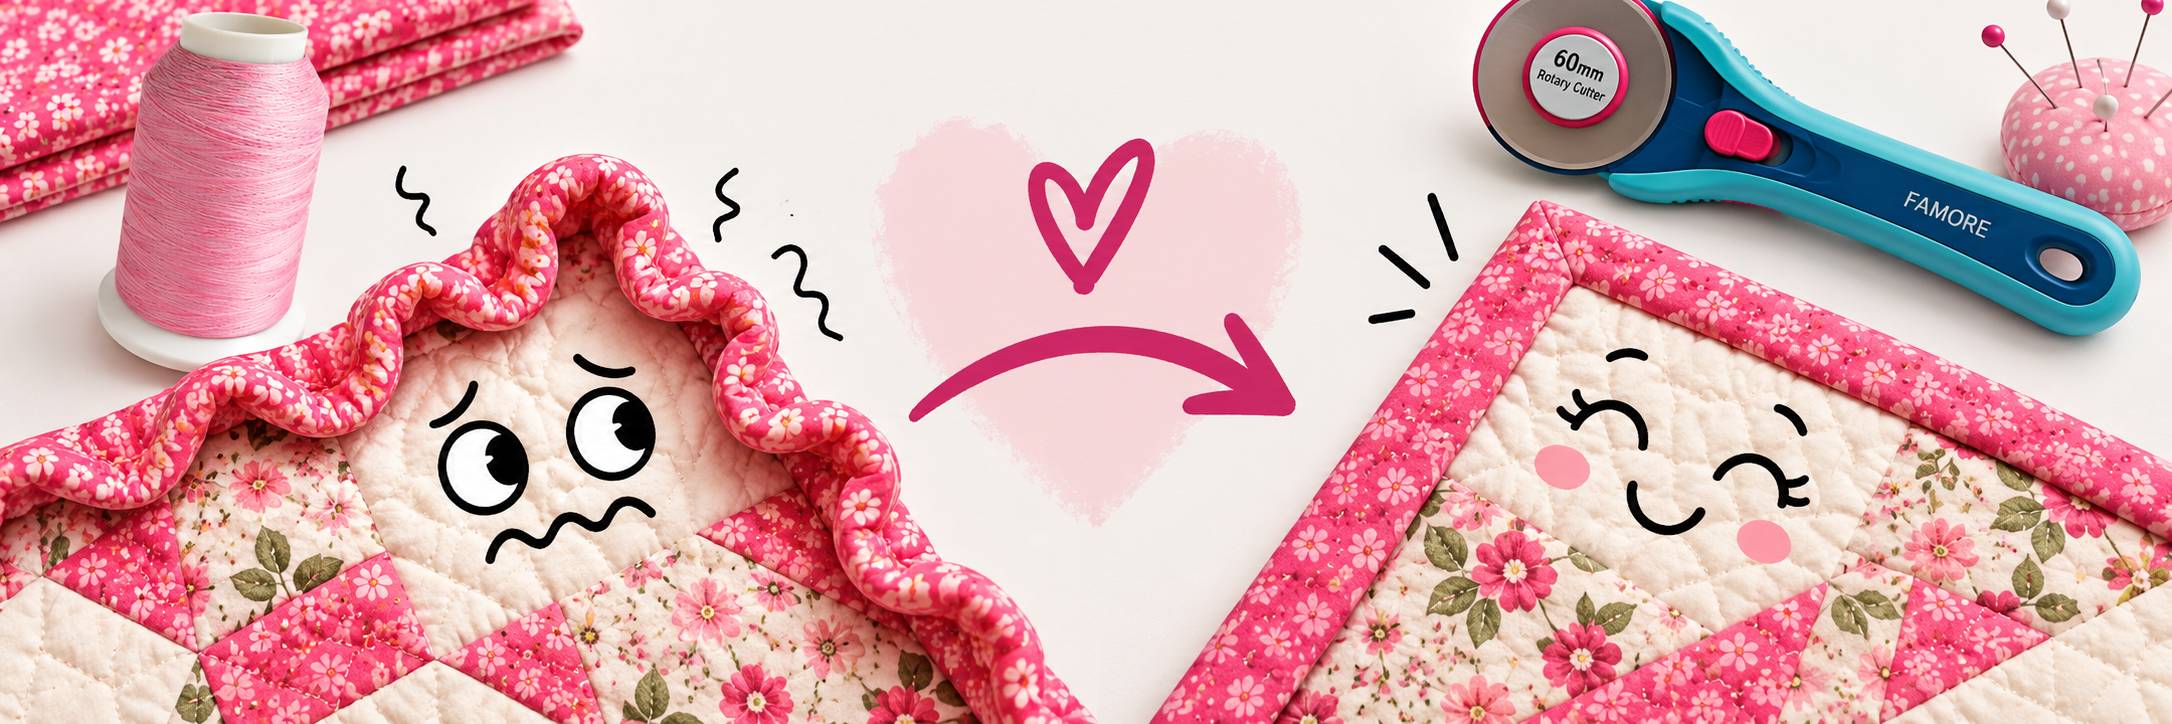
Why Binding Ripples in the First Place
Binding ripples when the strip and the quilt edge are different lengths by the time they're sewn together. That happens in three common ways: the strip was stretched while pressing or sewing, the quilt edge wasn't squared so the binding is following a wave, or the binding was pulled tight around the corners. Lying the quilt flat is how you catch it, because a stretched strip relaxes once the quilt is spread out and the ripple shows. Cutting binding on the straight grain, pressing without tugging, and letting the feed dogs move the strip instead of pulling it from behind keeps both edges the same length.
Remember,
Before securing your binding, lay your quilt flat, check all four corners, and make sure the folded edge covers your stitching line. It's a small step that can make a big difference in how your quilt looks, feels, and holds up for years to come.
Happy Quilting!
From Corey.
Tools That Make Binding Easier
A handful of Wonder Clips holds the folded edge in place while you stitch, and the Sasher binding tool set folds and presses strips to a consistent width every time. Thread organizers are on sale this week too, so if your binding thread lives in a tangle, see a place for every project and check this week's sales and deals.
Frequently Asked Questions
Why does my quilt binding ripple or wave?
Rippled binding almost always means the binding strip and the quilt edge ended up different lengths. The usual causes are stretching the strip while pressing, sewing over an edge that wasn't squared up, or pulling the binding tight around corners. Square the quilt first, press the strip without tugging, and let the machine feed the strip rather than pulling it. Laying the quilt flat before you secure the binding shows the ripple while it is still easy to fix.
How wide should I cut quilt binding strips?
Most quilters cut 2.25" or 2.5" strips for a double-fold binding on a standard quilt. Thicker batting or a wider finished binding calls for 2.5" or more; a thin, flat quilt can take 2.25". The quilt binding size chart gives widths and yardage for every common quilt size.
Should quilt binding be cut on the bias or the straight grain?
Straight-grain binding is fine for quilts with straight edges and is less likely to stretch while you sew. Bias binding is the right choice for curved or scalloped edges because it bends smoothly. If you need bias strips, how to cut bias strips walks through the method.
How do I get flat, sharp binding corners?
Stop stitching a seam allowance's width from the corner, fold the strip straight up at 45 degrees, then fold it back down even with the next edge and continue. Keep the fold crisp rather than pulling it tight. If your corners come out bulky, this corner fix solves it.
How do I check my binding before I finish it?
Take the quilt off the machine, lay it flat on a table or floor, smooth the edges, and look at all four corners and along every side. Check that the folded edge covers the stitching line everywhere and that no section ripples or pulls. Fix anything you see before the last stitches go in, because a small adjustment now is far easier than unpicking a finished edge. If the quilt itself needs a bit more width before binding, see before you add a border, try this.


